

Frequently Asked Questions
How to integrate QuickBooks Online with Visp
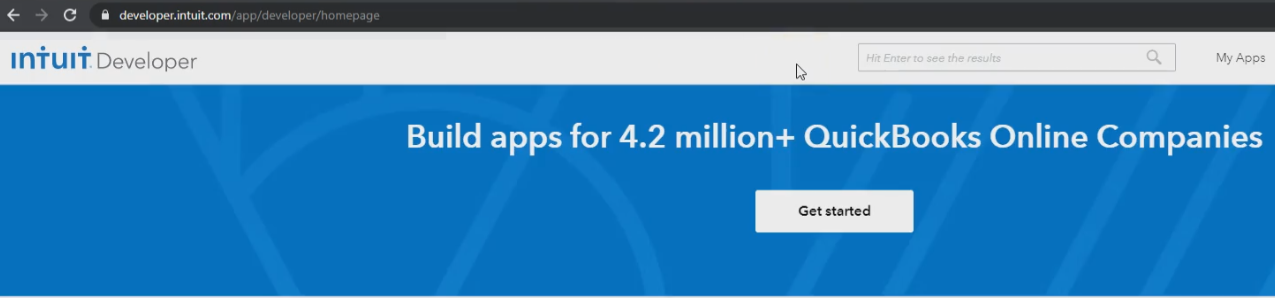
Go to My Apps (https://developer.intuit.com/app/developer/myapps). Click on the Create an app button.
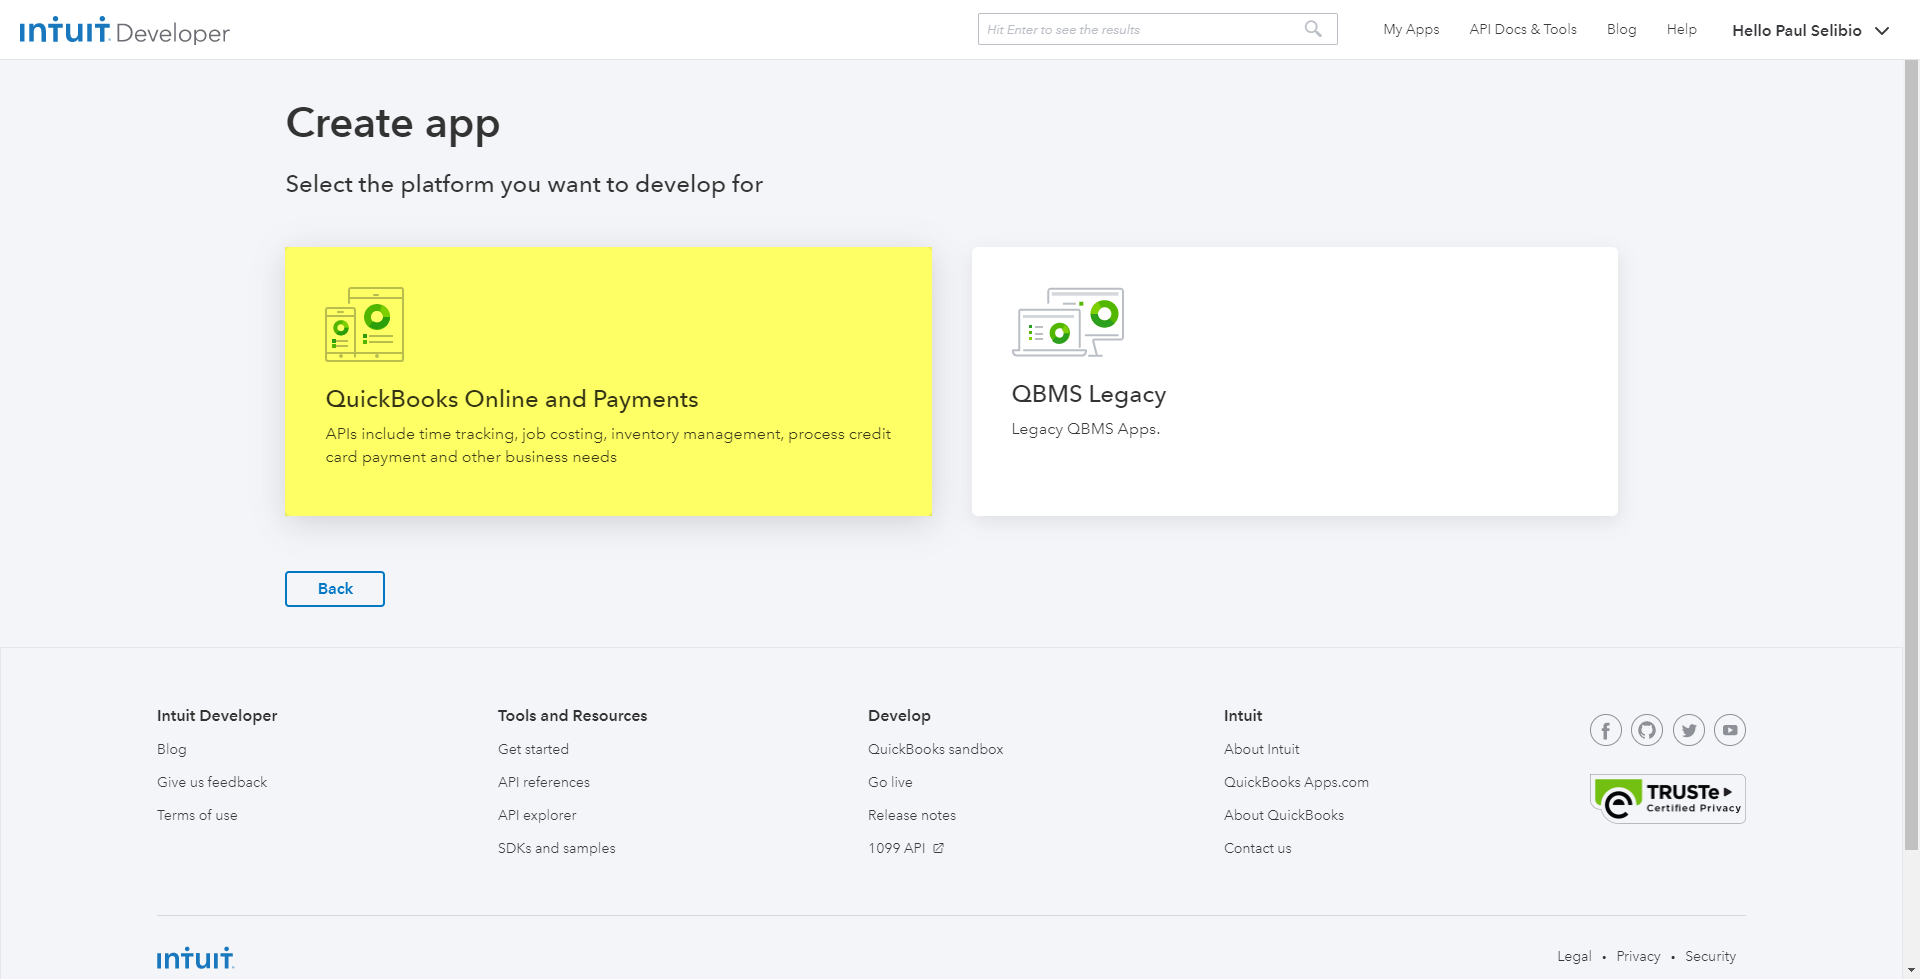
QuickBooks Online and Payments
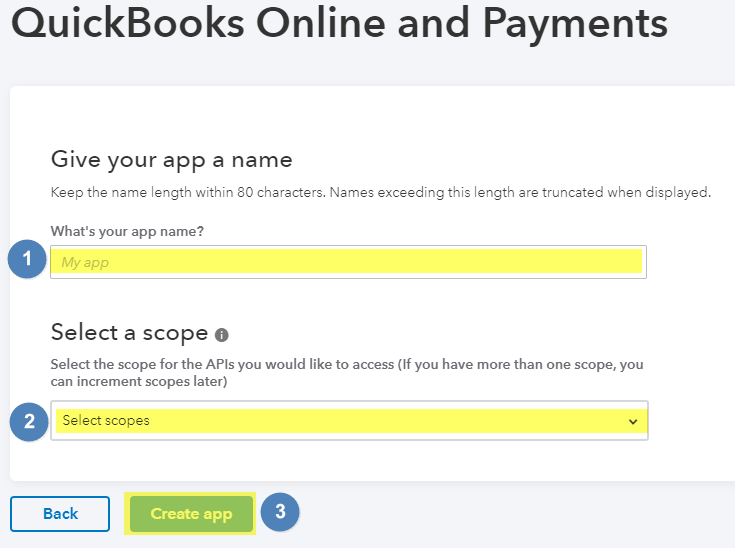
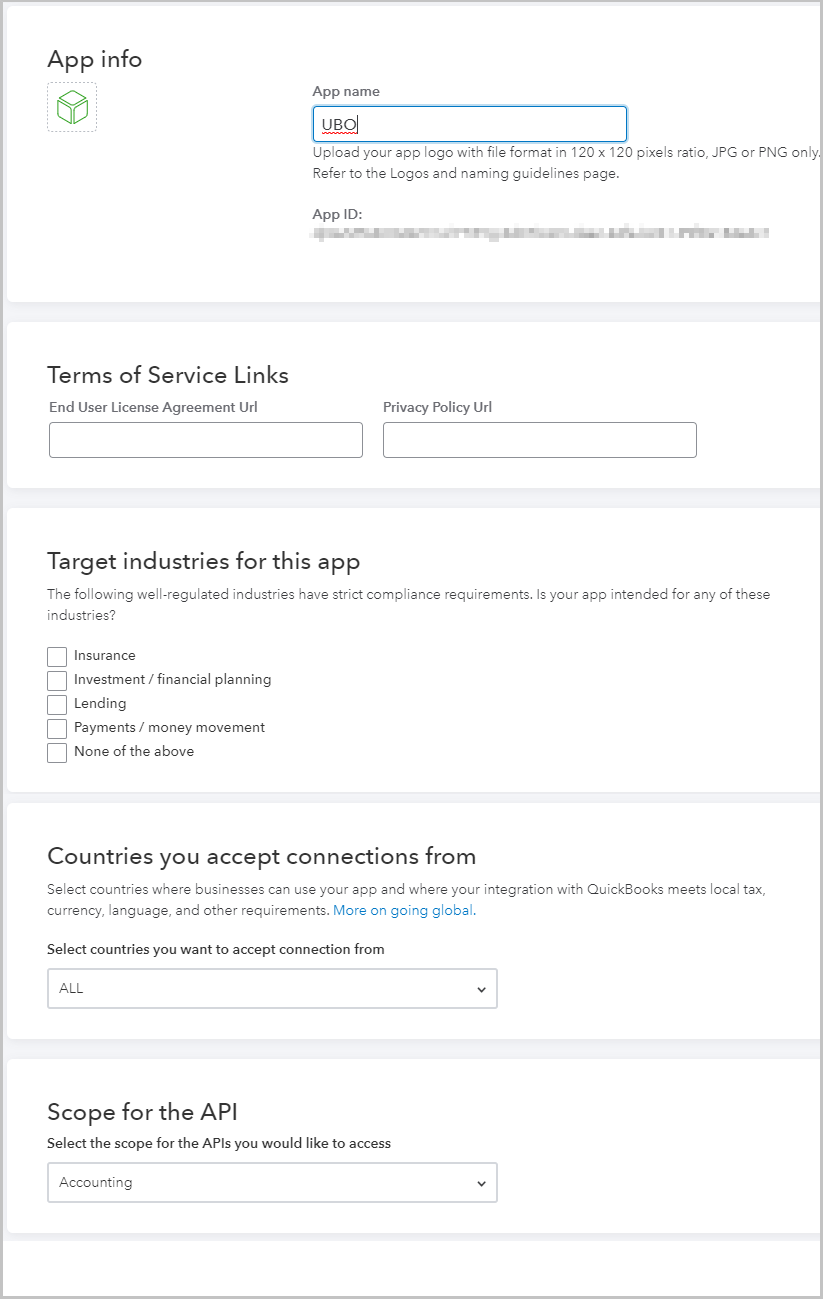
- In the ‘What’s your app name?‘ field, type UBO.
- Choose ‘Accounting,’ when you are asked to ‘Select a scope.’
- Click on Create App when you’re done.
- Click on Production on the left-sidebar menu.
- Fill out your App Info:
Application Name: UBO
End-User License Agreement URL: https://www.domain.com/sampleterms
Privacy Policy URL: https://www.domain.com/sampleprivacypolicy
Target Industries for this app: Payments. You may also opt for None if your industry is not listed.
Countries you accept can be limited to your country: United States (may vary according to your country)
Scope for the API: Accounting.
Complete the fields above to generate the production keys for your account.
- Host Name Domain: domain.com
- Launch URL: https://qbo.visp.net/
- Disconnect Landing URL: https://qbo.visp.net/

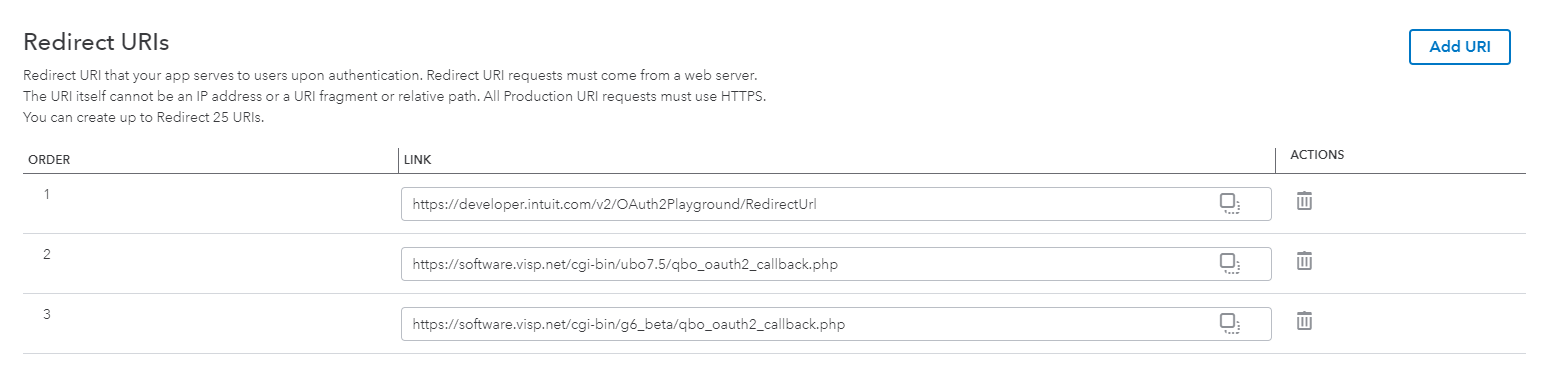
- https://developer.intuit.com/v2/OAuth2Playground/RedirectUrl
- https://software.visp.net/cgi-bin/ubo7.5/qbo_oauth2_callback.php
- https://software.visp.net/cgi-bin/g6_beta/qbo_oauth2_callback.php
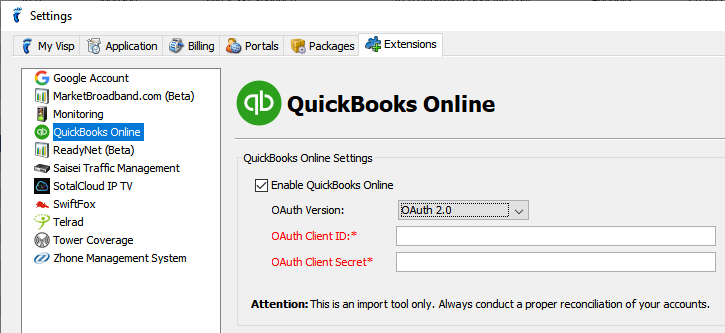
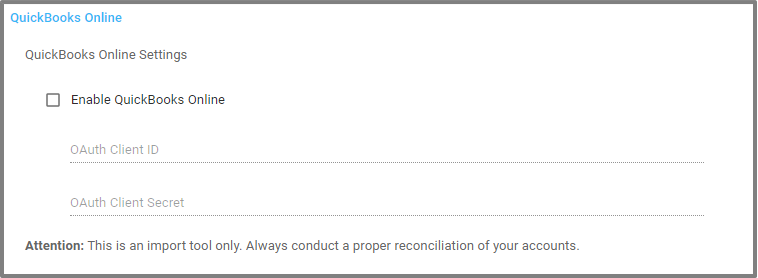
Or in the VISP Web App, go to your Menu Apps > Settings > Extensions > QuickBooks Online

Restart the UBO.
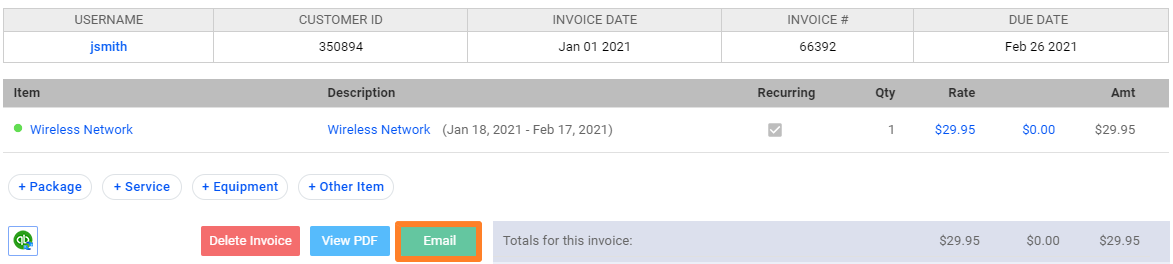
Now attempt to process payments or create an invoice to verify the connection between UBO and QBO.
Receive Payments via Echeck
Steps
1. First, you must select a subscriber from your subscribers’ list.
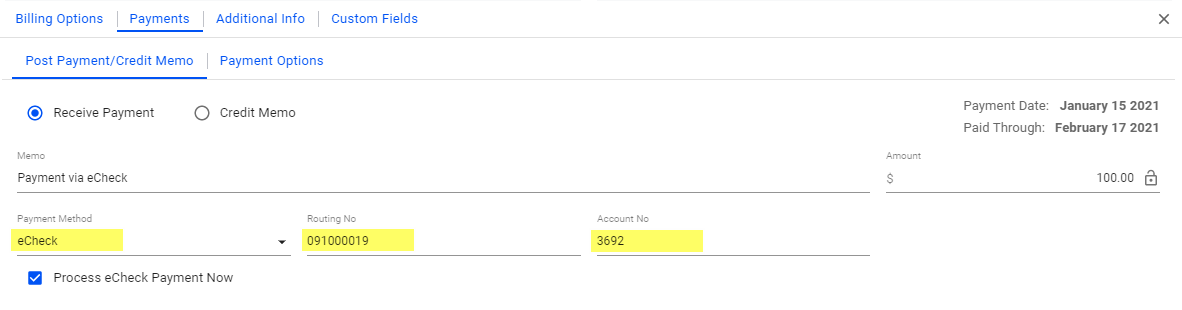
2. Click on the Payments tab.
3. From the Payment Method drop-down, select eCheck.
4. Next, fill-in your subscribers’ Routing and Account Number. You may have the subscriber call their bank to get the right information.
5. Save when done.
After you finish adding the eCheck information, you should be able to process payments from the software, or your subscribers’ can pay via their Account Manager, using their eCheck account.
Note: E-check payment processing is currently available for the following supported merchant providers- IPPay, Authorize.net, and Propay.
Get Support When You Want It
Visp Support Policy
Regular business hours are from 6:00 a.m. to 6:00 p.m., Pacific Standard Time (from approx. November 7 to March 12), and 7:00 a.m. to 7:00 p.m., Pacific Daylight Time (from approx. March 13 to November 6).
The Visp Success and Network Administration teams are available to assist you during regular business hours. The contact information for the people that can help you best are in the “Key Contacts” grid below.
| Name | Company Phone Numbers | Extension | Role | Schedule | |
| Philip Chan | (971) 249-8354 | 6984 | pchan@visp.net | CS | 9AM – 5PM |
| Aubrey Tan | (541) 955-6917 | 6954 | atan@visp.net | CS | 10AM – 6PM |
| Eden Cerrudo | (541) 955-6907 | 6975 | ecerrudo@visp.net | Admin / CS | 6AM – 2PM / Flexible |
| John Rhyl Castro | (541) 507-9888 | 6979 | jcastro@visp.net | CS | 8AM – 2PM |
| Mark Gio Amoguis | (541) 955-6902 | 6902 | mamoguis@visp.net | Onboarding | 6AM – 2PM |
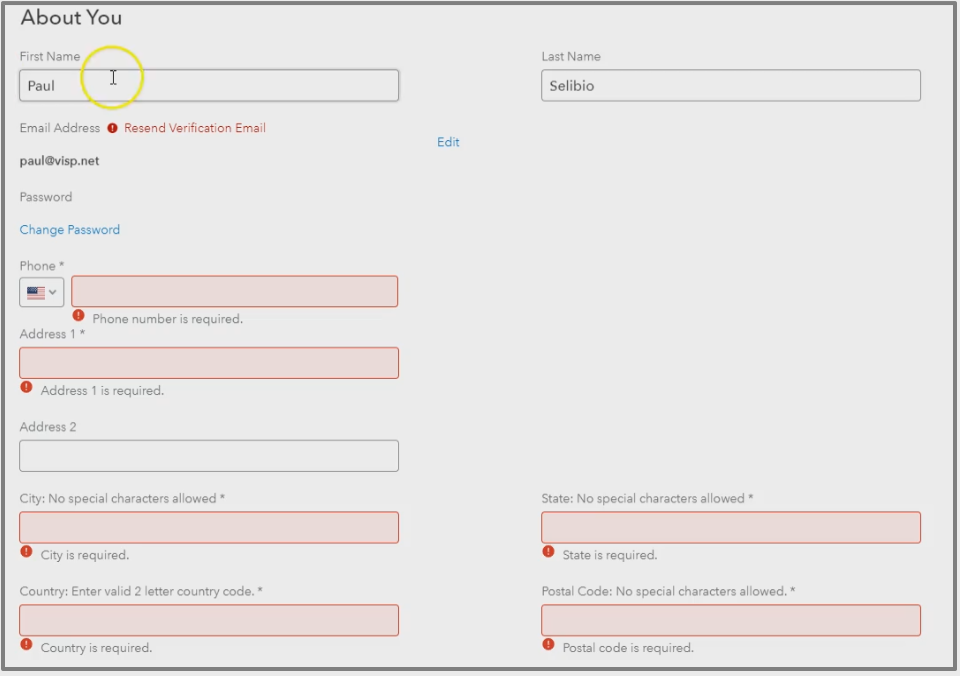
| Paul Vincent Selibio | (541)-955-6906 | 6906 | pselibio@visp.net | Onboarding / Training | 6AM – 2PM |
| Rafael Salcedo | (541) 955-6916 | 6948 | rsalcedo@visp.net | CS / Collections | 6AM – 2PM |
| Ramel De La Cruz | (541) 955-6909 | 6909 | rdelacruz@visp.net | Sys Admin / DevOps | 7AM – 3PM |
| Eric Reyes | (541)-955-6900 | 6982 | jreyes@visp.net | Sys Admin | 6AM – 2PM |
After-Hours Support
Unexpected emergencies don’t always happen during regular business hours. There may be times when you want after-hours support. To minimize your downtime, Visp’s Development and QA teams are available to resolve your emergencies from 4:00 p.m. to 12:30 a.m. Pacific Standard Time or 5:00 p.m. to 1:30 a.m. Pacific Daylight Time.
Typical after-hours support services are available to Visp customers at no cost. We do what we can to resolve all your issues. If the problem resides with Visp services, the resolution is free. The only time a charge will be applied is if the problem lies with your network and is unrelated to Visp services. To avoid a charge, be sure to eliminate your infrastructure as being the root cause of the issue and then call Visp.
To request support services after regular business hours, open a ticket via www.visp.net/ticket
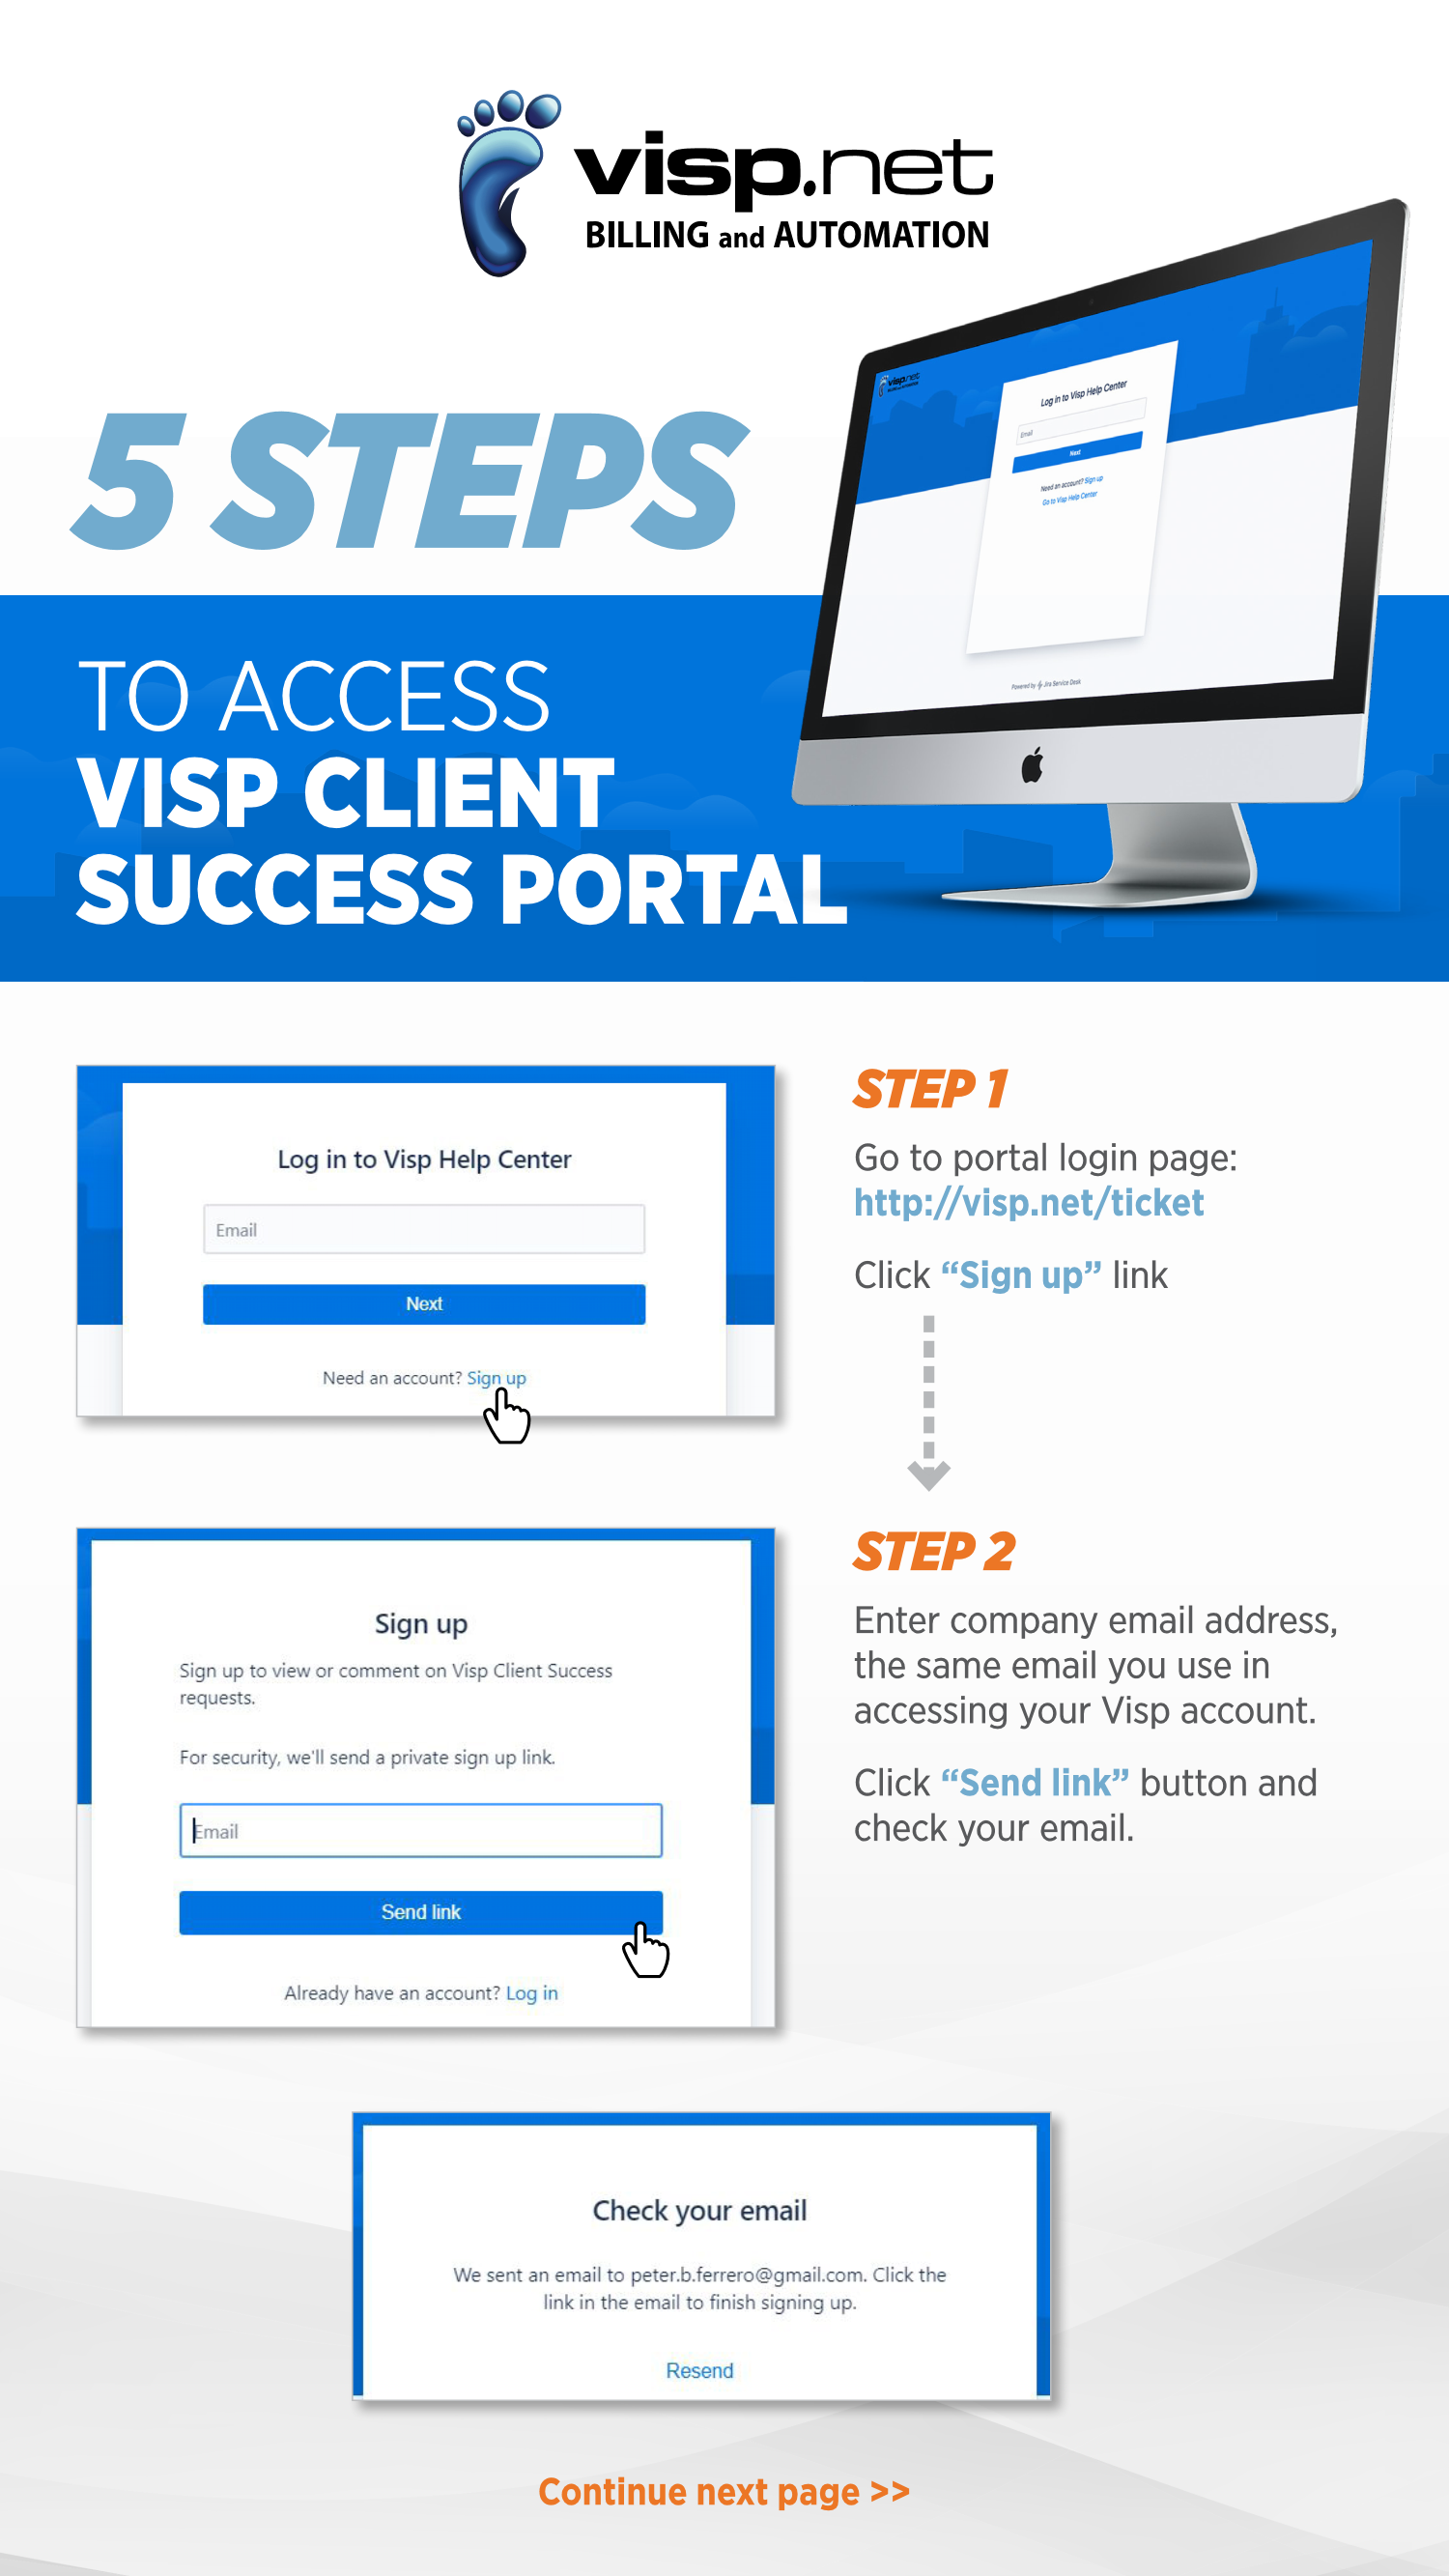
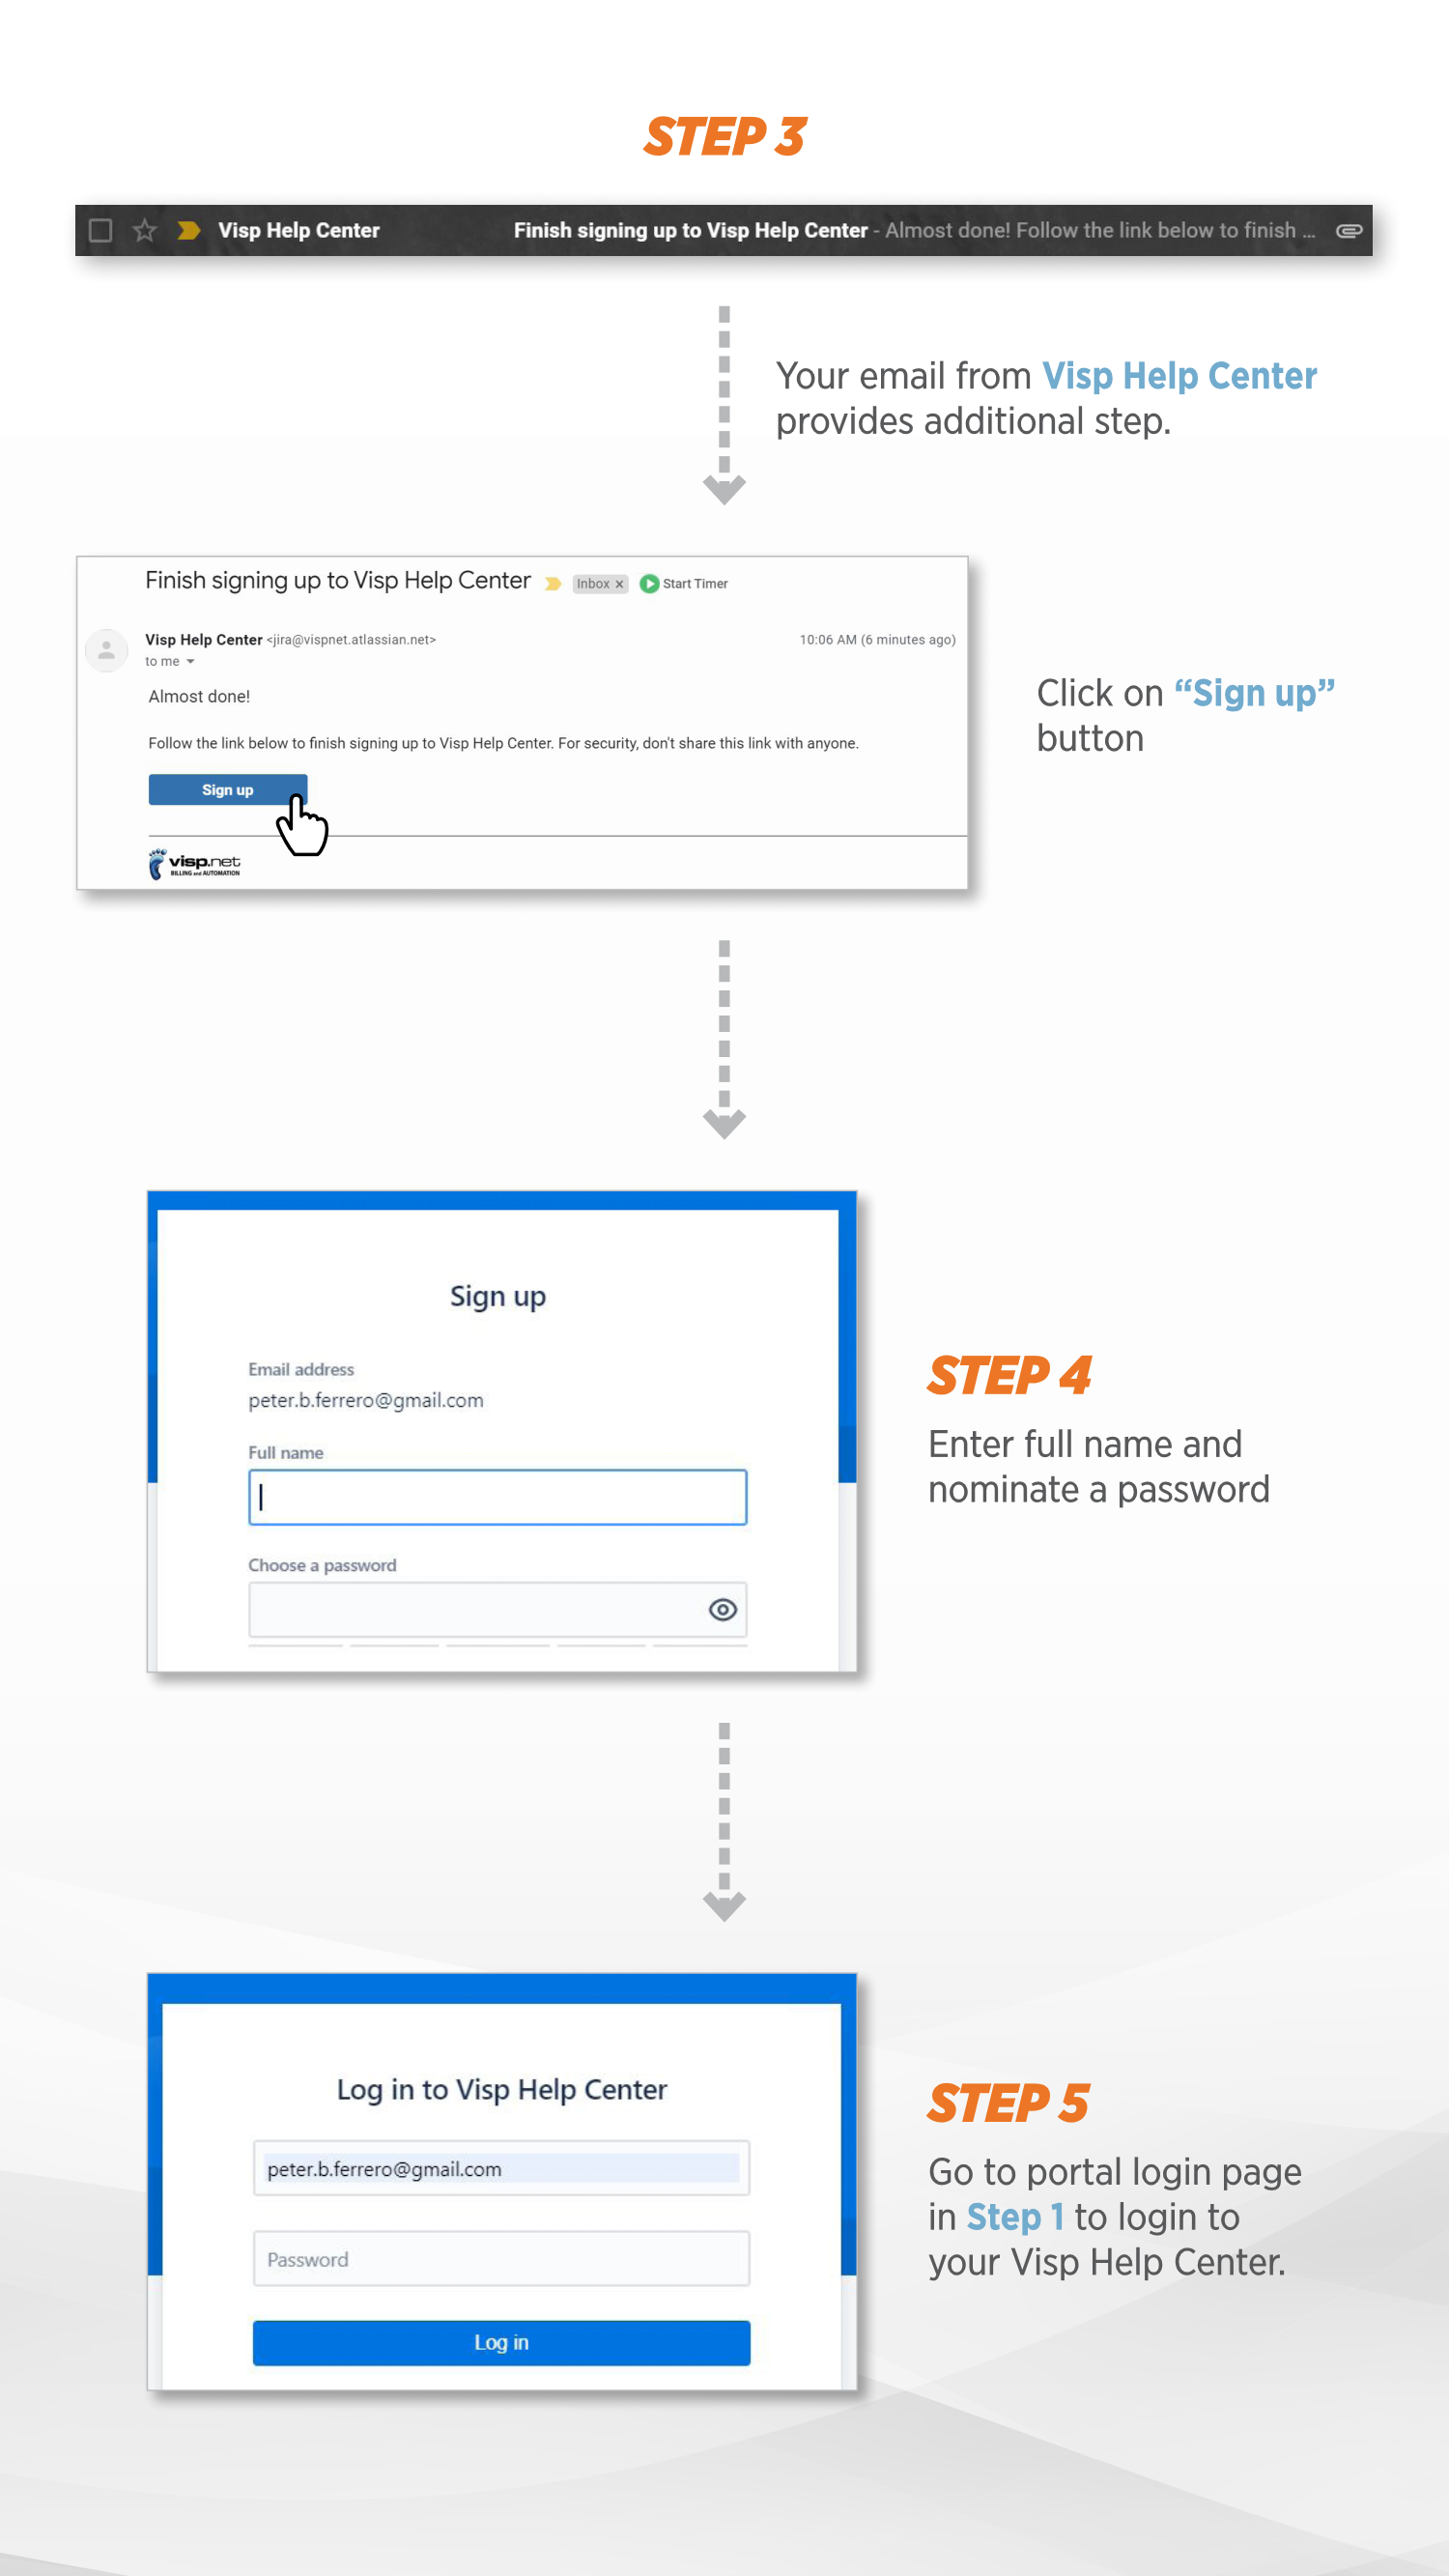
How to Login to Your VISP Client Success Portal
How to reset your VISP Appuser Password?
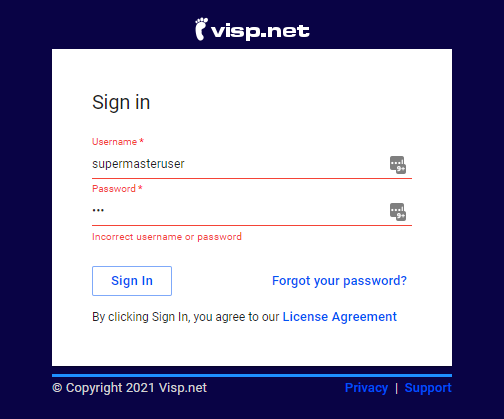
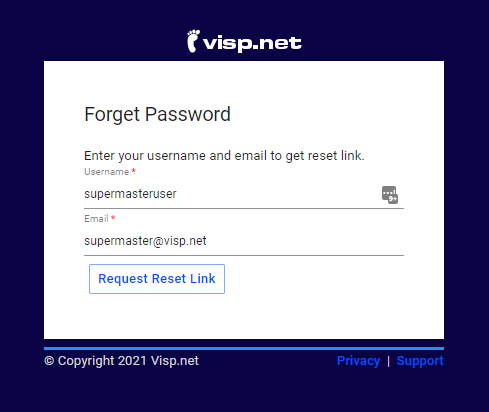
1. Click on “Forgot your password?”.
Provide your VISP username and the email address stored on file for your account.
2. Request a Password Reset from Another AppUser

If there’s an existing AppUser that has elevated permission to edit ISP and Application information in VISP, then you may request them to edit your password.
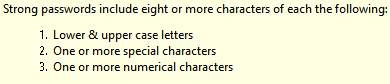
Take note that password fields have the following conditions in VISP:
Save the changes after the password is updated, and then restart the software and login.
3. Request a Password Reset from the VISP Client Success Team
Send an email to the VISP Client Success team at success@visp.net, with your phone number.
After you speak with your Client Success team to verify your identity, your password will be updated and sent to you via email thru the Secure Note service.
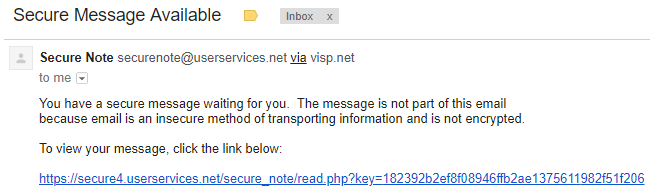
The link on the secure note contains your new password and can only be opened once.
Why subscriber is not receiving your emailed invoice?
Add VISP IP Addresses to Your Domain’s SPF Records
- SPF or the Sender Policy Framework helps reduce email fraud and spam by identifying the servers permitted to send email on behalf of your domain. Nowadays, emails disguised as coming from you but originating outside your email server, are treated as malicious or illicit. When sending invoices through the Mass Email tool in VISP, the messages originate from the VISP mail servers instead of yours. It is recommended to include the following information in your domain SPF record, so your messages don’t get filtered or locked.“include:spf.visp.net“
Let us know via email success@visp.net if you want assistance making the changes above.

Videos and Tutorials

Documentation

Changelog

FAQ