Follow the steps below to set up and configure your QuickBooks Online for integration with the VISP Desktop or Web App.
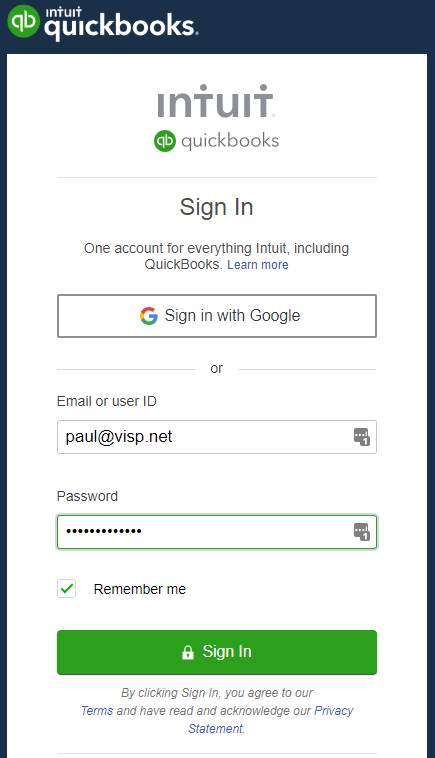
1. Sign-in or Create a Quickbooks Online Account
2. Intuit Developer
Once your account is active, go to the Intuit Developer Page (https://developer.intuit.com). If you’re required to sign-in again, use your QuickBooks Online account credentials to log in.
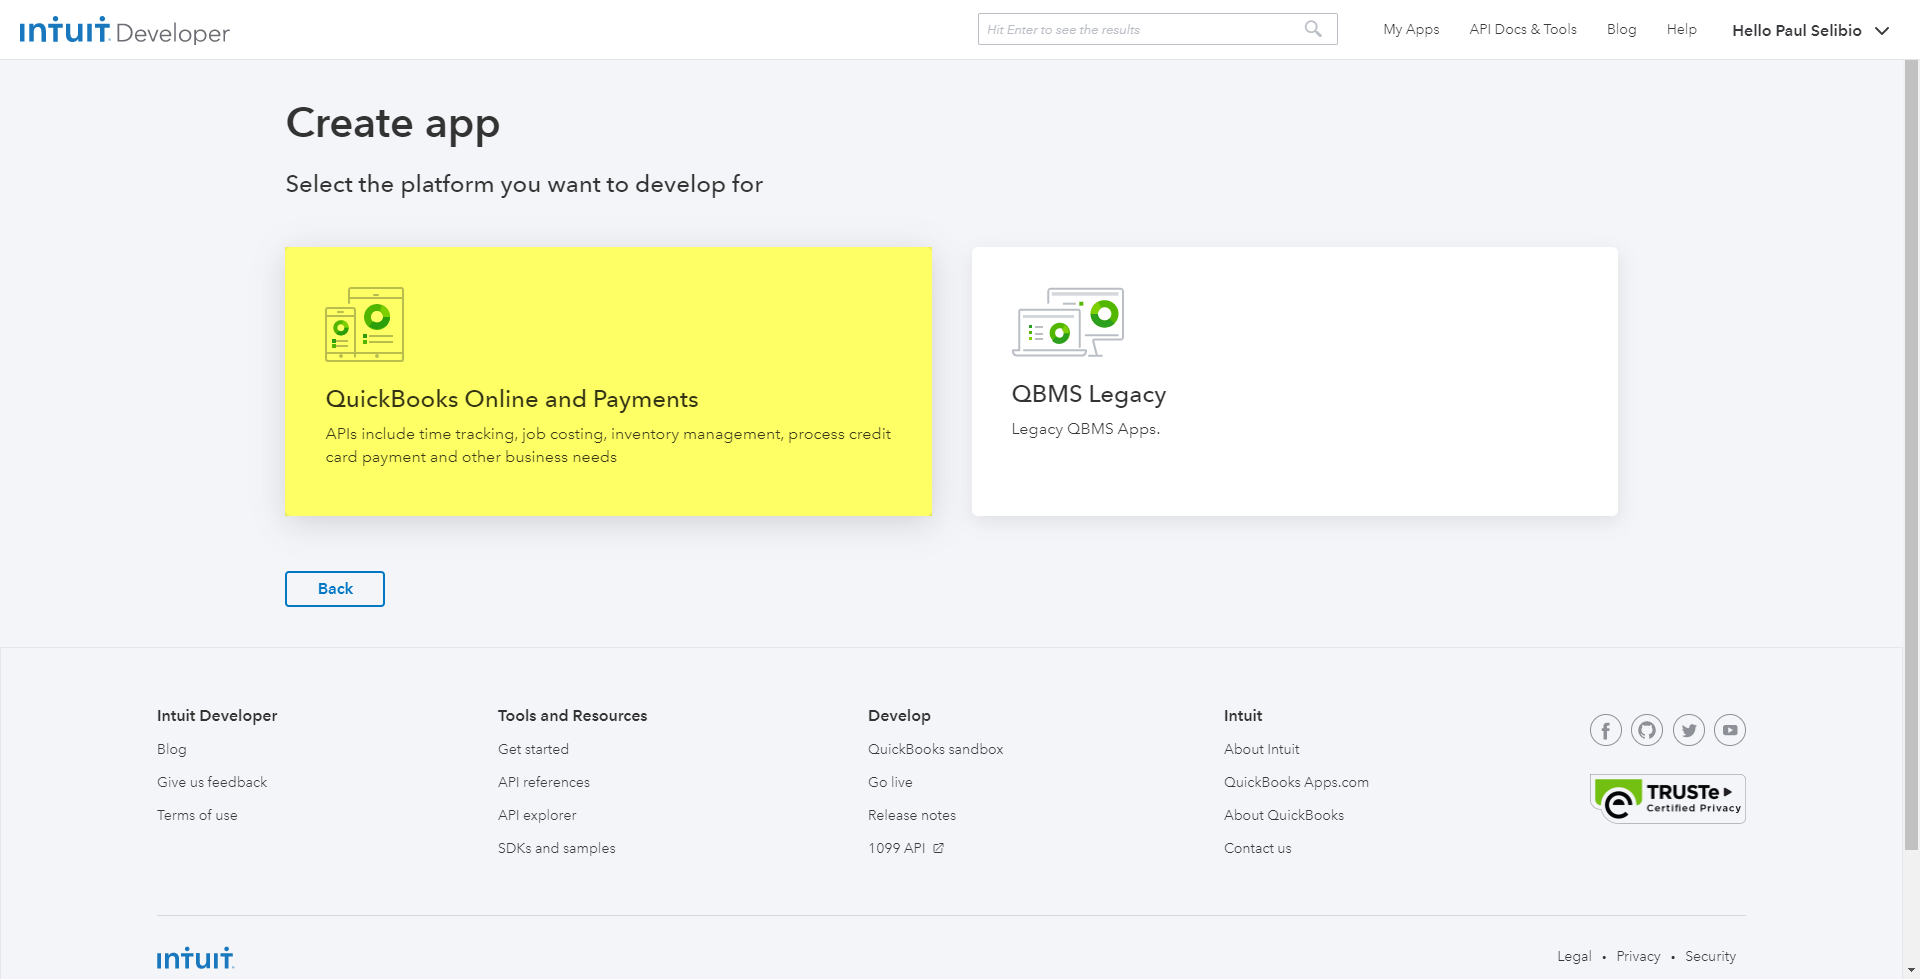
Go to My Apps (https://developer.intuit.com/app/developer/myapps). Click on the Create an app button.
3. Create App
When you are asked to ‘Select the platform you want to develop for,’ choose ‘Quickbooks Online and Payments’.
4. QuickBooks Online and Payments
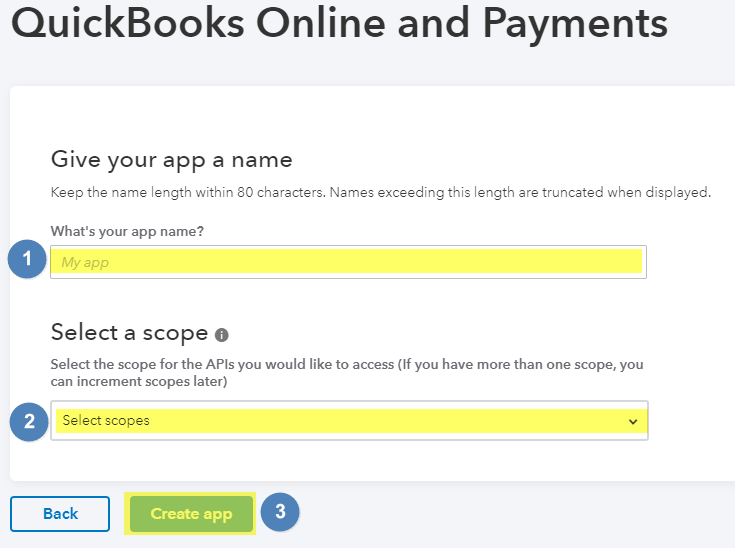
QuickBooks Online and Payments
- In the ‘What’s your app name?‘ field, type UBO.
- Choose ‘Accounting,’ when you are asked to ‘Select a scope.’
- Click on Create App when you’re done.
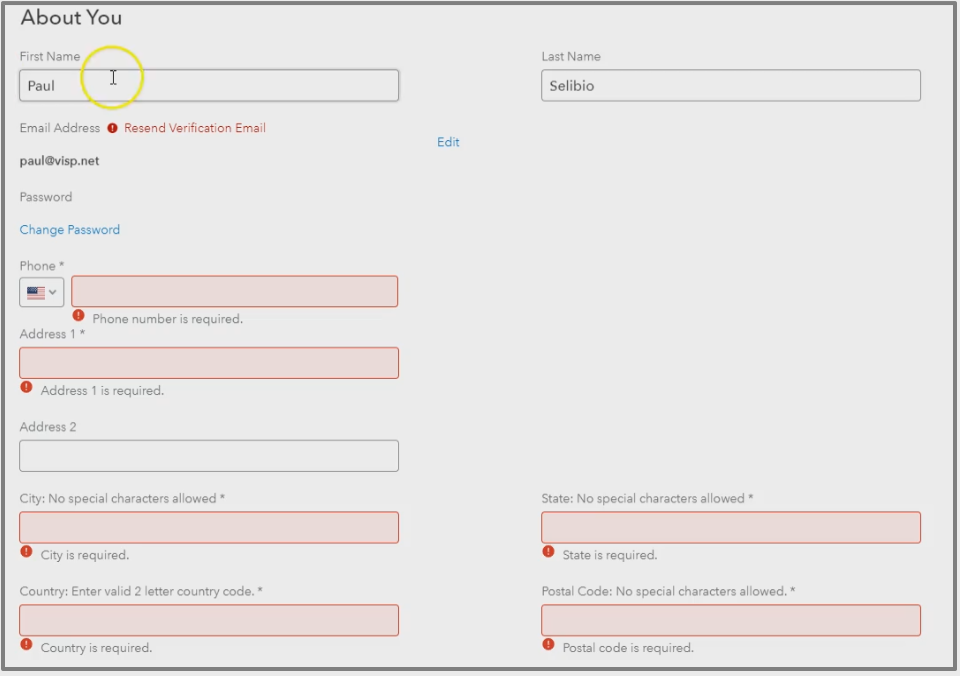
5. Complete your profile and verify your email
You may be required to resend the verification if you haven’t received the confirmation email initially.

6. Generate Production Keys
- Click on Production on the left-sidebar menu.
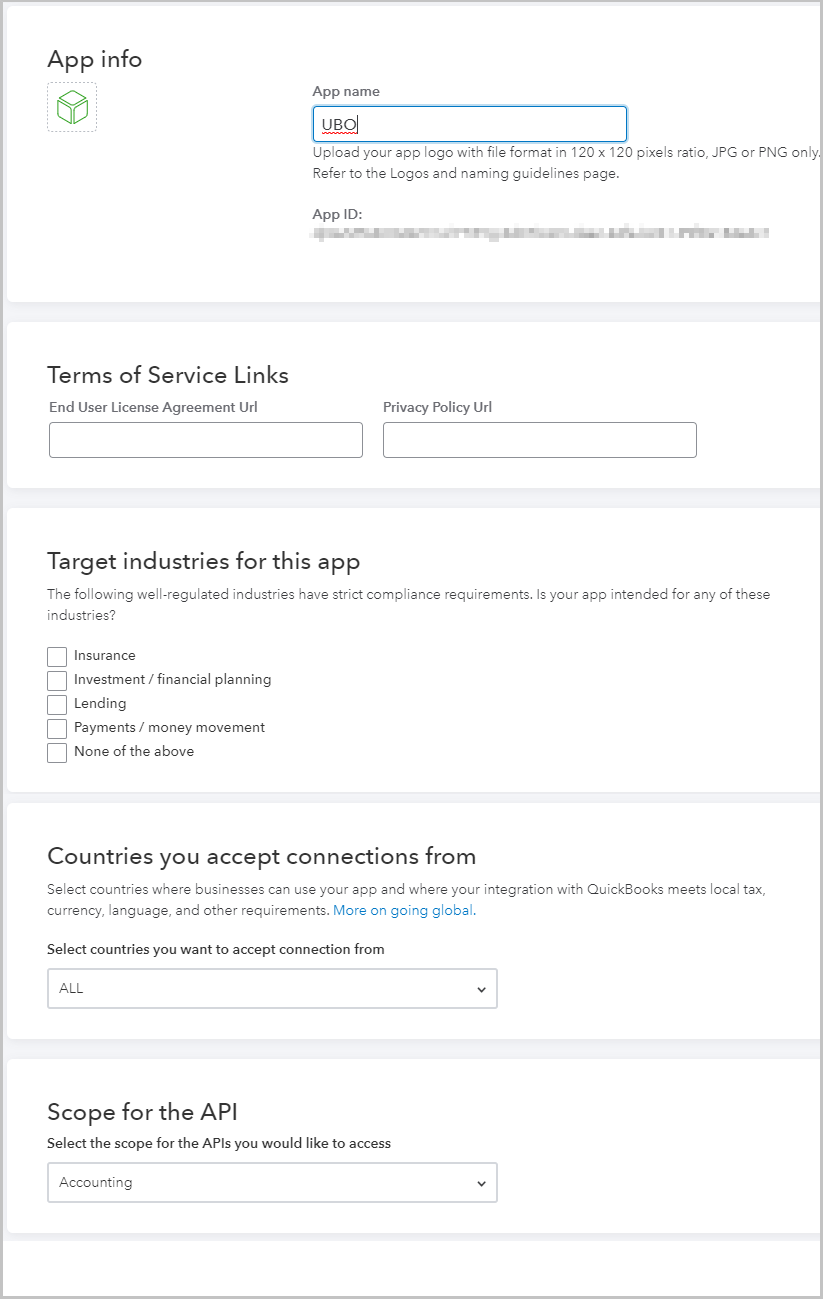
- Fill out your App Info:
Application Name: UBO
End-User License Agreement URL: https://www.domain.com/sampleterms
Privacy Policy URL: https://www.domain.com/sampleprivacypolicy
Target Industries for this app: Payments. You may also opt for None if your industry is not listed.
Countries you accept can be limited to your country: United States (may vary according to your country)
Scope for the API: Accounting.
Complete the fields above to generate the production keys for your account.
7. App URL's
- Host Name Domain: domain.com
- Launch URL: https://qbo.visp.net/
- Disconnect Landing URL: https://qbo.visp.net/
8. Redirect URI's
Add the follow Redirect URLs
- https://developer.intuit.com/v2/OAuth2Playground/RedirectUrl
- https://software.visp.net/cgi-bin/ubo7.5/qbo_oauth2_callback.php
- https://software.visp.net/cgi-bin/g6_beta/qbo_oauth2_callback.php
9. Update UBO Extension Settings
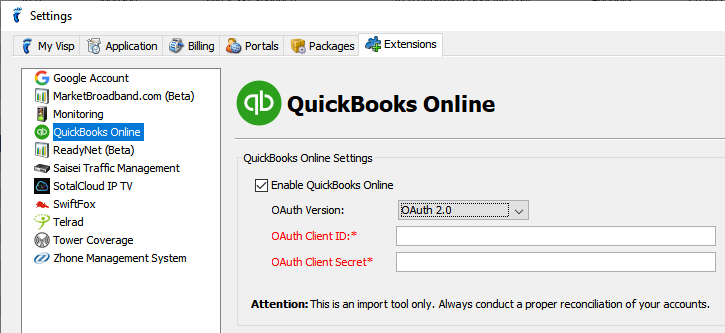
Click Keys. Copy OAuth Client ID and OAuth Client Secret and paste it on Settings > Extensions > QuickBooks Online in UBO 7.x.
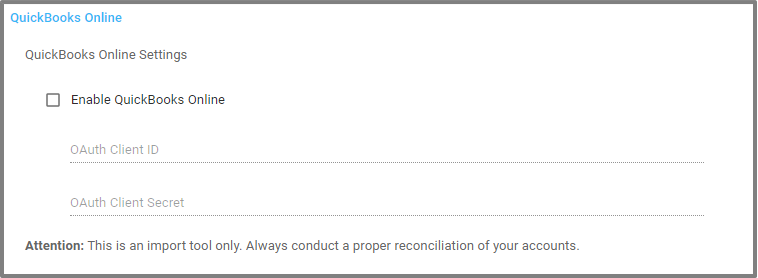
Or in the VISP Web App, go to your Menu Apps > Settings > Extensions > QuickBooks Online
10. Connect Apps
Click Connect to QuickBooks online and authorize sharing of data to UBO. The message below verifies that the connection is successful.
Restart the UBO.
Now attempt to process payments or create an invoice to verify the connection between UBO and QBO.


