

- What You Can Use the Saved Filters For:
- Use as filter for email recipients for Mass Email templates.
- Create a customized report, in CSV format, right from the main table.
- If you are keeping track of or performing the same set of operations to a specific list of subscribers, the saved filters will be a convenient way to handle them.
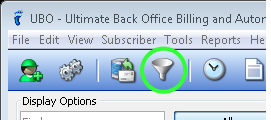
- Click Filter in the Tool Bar.
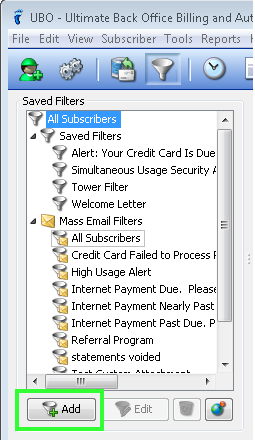
Add a Filter
- Go to Filter > Add.
- Fill up the Filter window with your criteria to successfully create a filter.
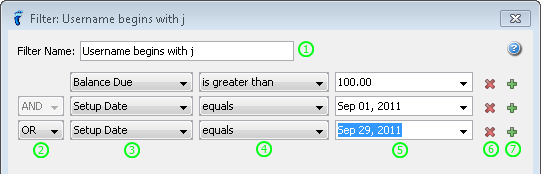
- Filter Name – brief description for the filter you’re creating
- Logical Operators
- AND – the subscriber should satisfy the criterion to be included in the resulting list
- OR – the subscriber may or may not satisfy the criterion to be included in the resulting list
- Select the column by which you want to filter the table.
- Select the condition for the filter.
- Select/Type the desired standard of your filter.
- Delete the corresponding criterion row.
- Add more criteria below the current one. (This will only be enabled once the current criteria is completely filled up.)
Edit a Filter
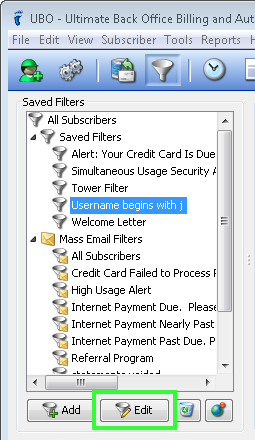
- Go to Filter
- Choose a filter to edit from the Saved Filters panel
- Click Edit
- Update the criteria of the filter.

- Then you can either
- Save – overwrite the criteria of the filter you’re editing
- Save As – add another filter with the criteria you’ve just set; this will retain the other criteria of the filter you’ve just edited
- Cancel – discard the updates you’ve made in the current filter
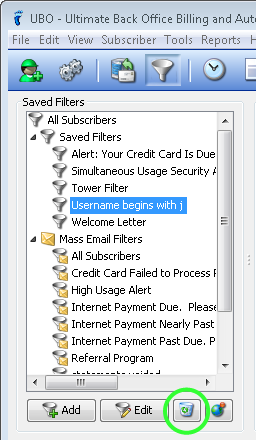
Delete a Filter
- Go to Filter
- Choose a filter to delete from the Saved Filters panel
- Click Delete
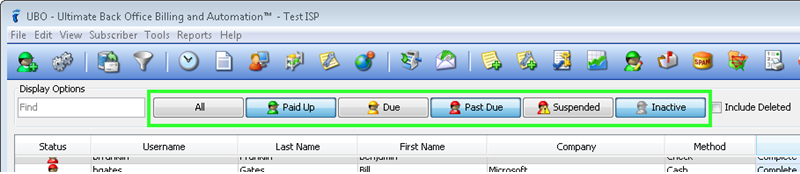
Filter by Subscriber Status
- You can filter the subscriber list using varying combinations of the Status toggle buttons.
Filter by Column
- Show the Column you want to use as filter.
- Right-click the column header of that column.
- Click Filter.
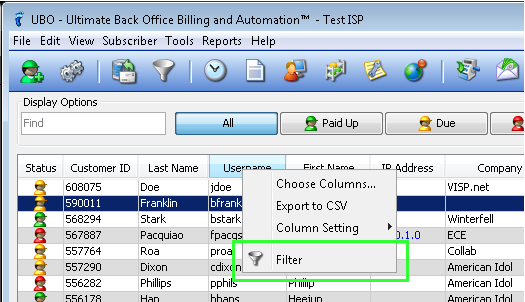
- Fill up the Filter window with your criteria to successfully create a filter, as in adding a new filter.