

Note: The guide below contains instructions for both the VISP Desktop and Web App.
To process a subscriber’s e-check payment, first, save their e-check account information in the software. If your subscriber wants to pay using another e-check account, you must first remove their existing e-check information before adding a new one.
VISP Web App, v8.x
VISP Desktop App, v7.x
Follow these steps:
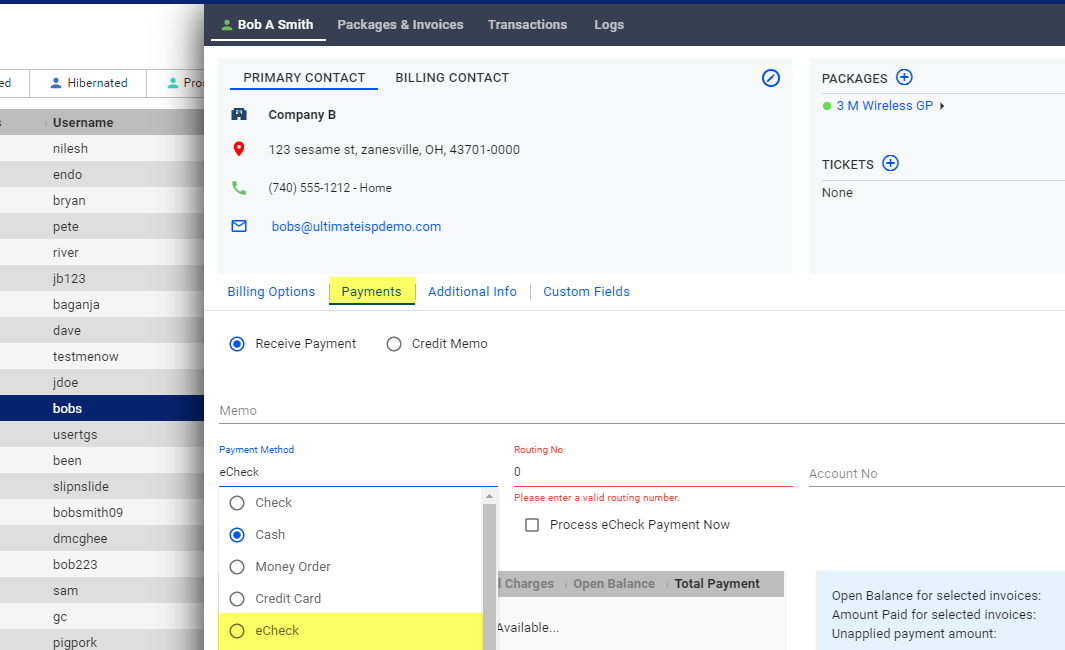
1. First, you must select your subscriber from the main table or from your subscriber list.
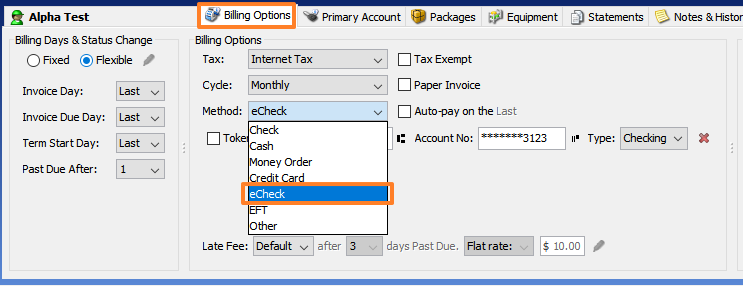
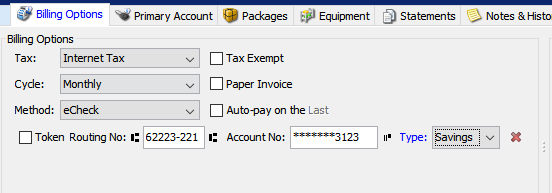
2. In the VISP Desktop App, click on the Billing Options tab. In the VISP Web App, click on the Payments tab.
3. From the Payment Method drop-down, select eCheck.
4. Next, fill in your subscribers’ Routing and Account Number. In the VISP Desktop App, the payment type (Checking or Savings) should be filled out. The subscriber can coordinate with their bank to get the right information.
5. Save your changes.
VISP Desktop App, v7.x

VISP Web App, v8.x
After you finish adding the eCheck information, you should be able to process payments from the software, or your subscribers’ can pay via their Account Manager, using their eCheck account.
Note: E-check payment processing is currently available for the following supported merchant providers- IPPay, Authorize.net, and Propay.