A package can include multiple services, each with its settings and metadata. The services are billed as one. However, if you want to create a custom package with custom items billed separately, you can do so via the Items Manager. Reach out to your Visp Client Success team for more information.
How to Create a Package?
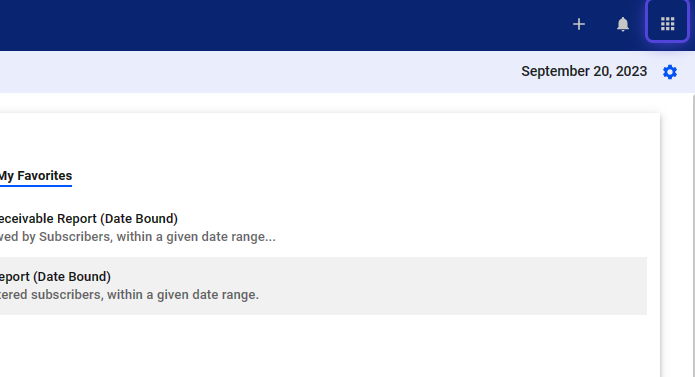
1. Click the nine-dot menu in the upper right corner to open the VISP Admin Page.
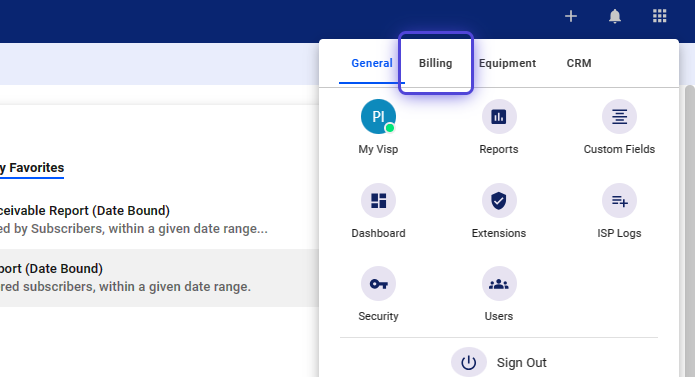
2. Click on Billing
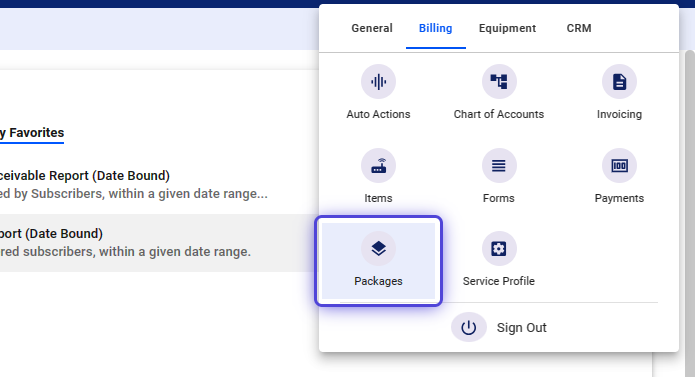
3. Select Packages
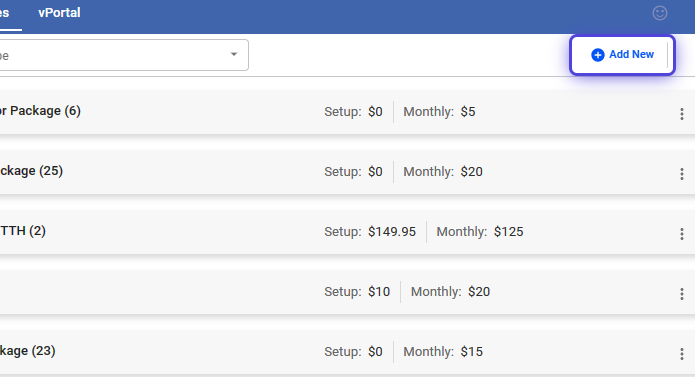
4. Click on “Add New.”
How to Configure the Basic Package Details Package?
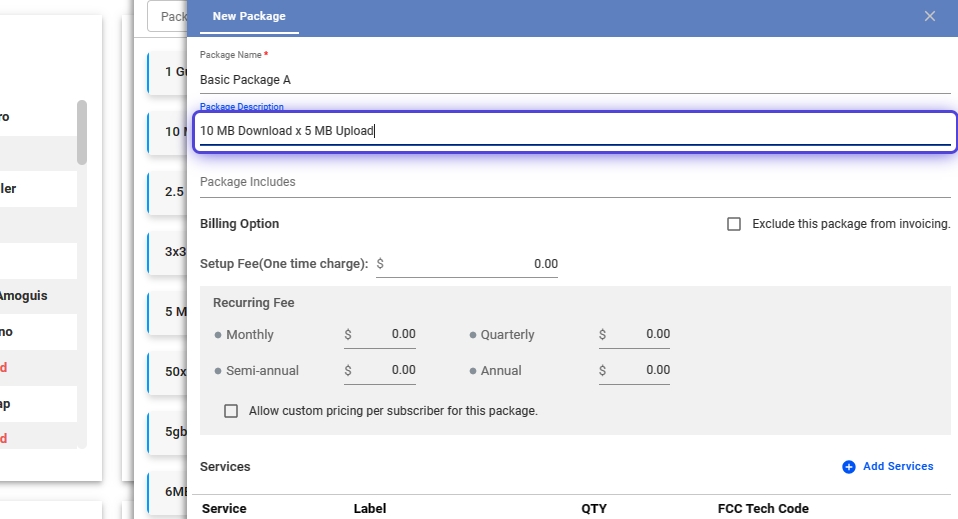
5. Input the Package Name

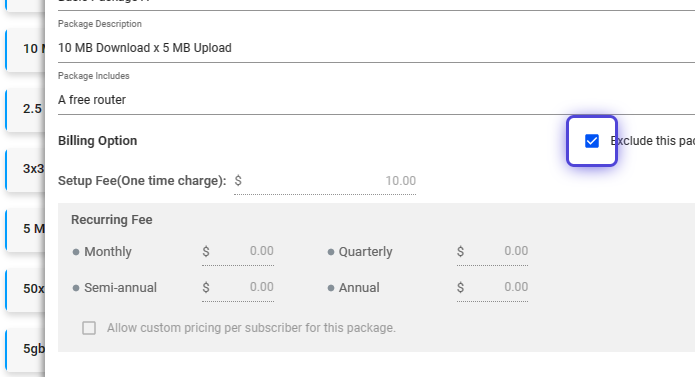
6. Add a Package Description
You may include a summary of your upload and download speeds.
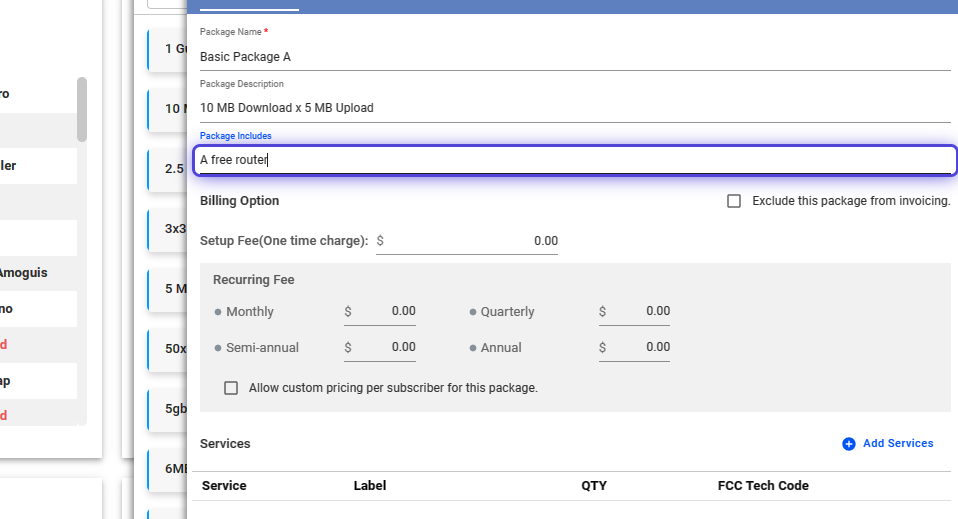
7. The Package Includes section alllows you to add quick details on routers or devices included with your service.
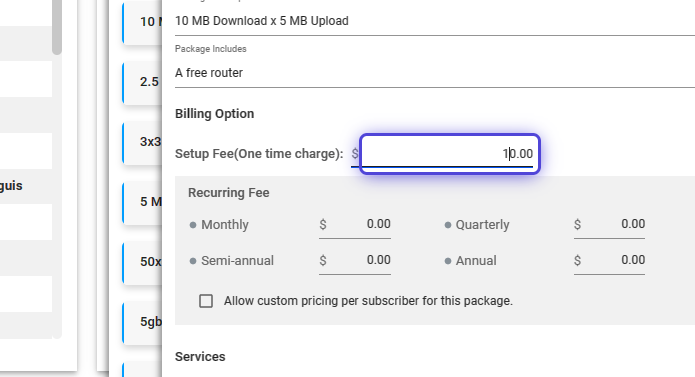
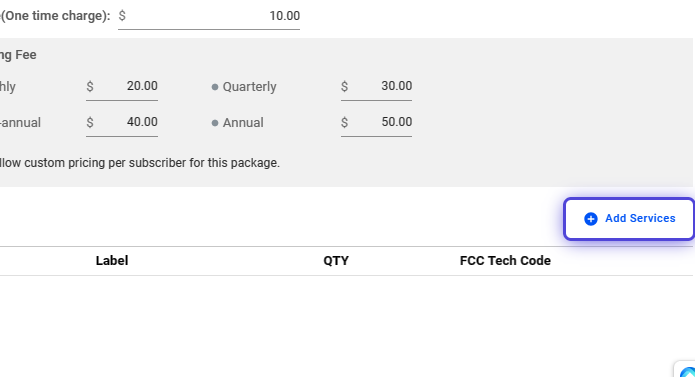
8. Add a one-time Setup or Install Fee.
9. Toggle, “Exclude this package from invoicing,” if you do not want to invoice any customer on this package.
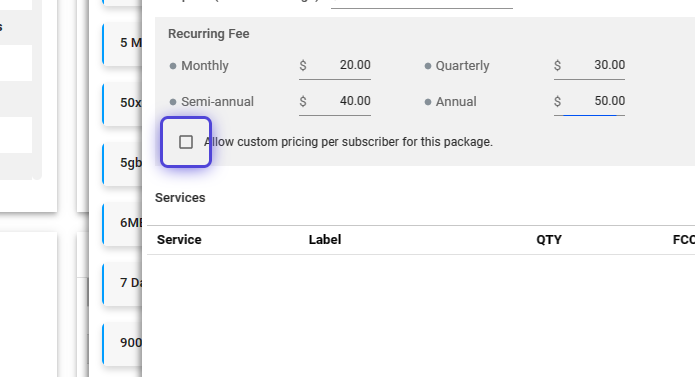
10. Set the monthly-recurring rate for the package.
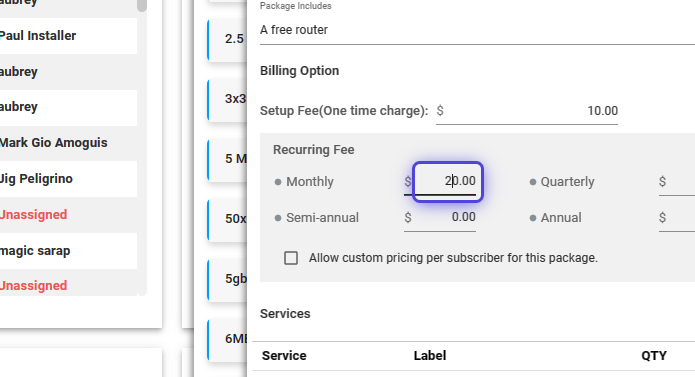
💡 If you don’t set Quarterly, Semi-Annual, or Annual rates, those Billing Cycles will be disabled for subscribers.
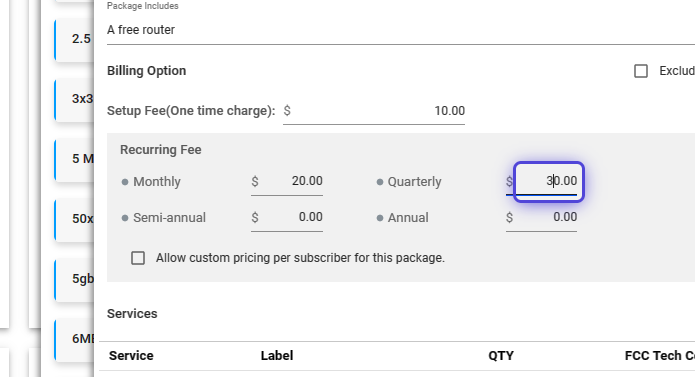
11. Set the quarterly-recurring rate for the package (optional).
12. Set the semi-annual-recurring rate for the package (optional).
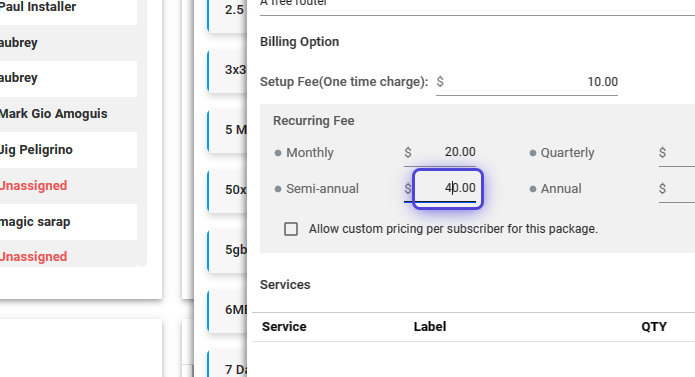
13. Set the annually-recurring rate for the package (optional).

14. Toggle this option, to enable custom or unique rates per subscriber.
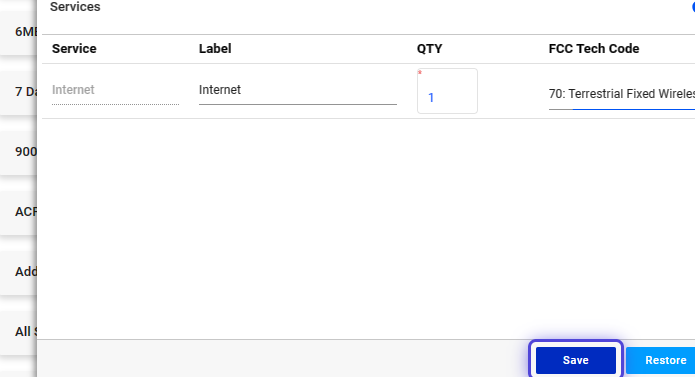
15. Click on “Add Services” to start adding services to the package.
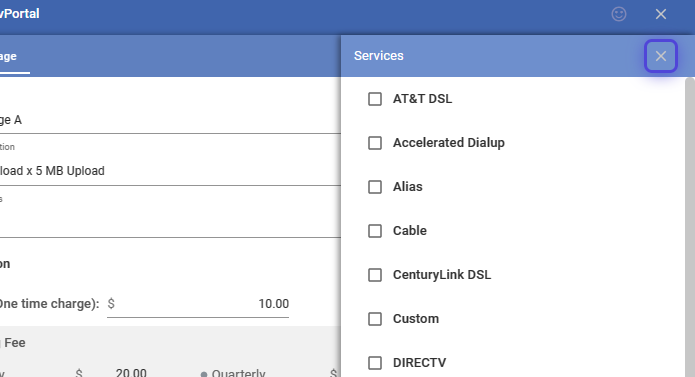
16. Use the dropdown to select a service,

17. Once done, click on the X icon to close the panel.
18. You may click and rename the label of the package.
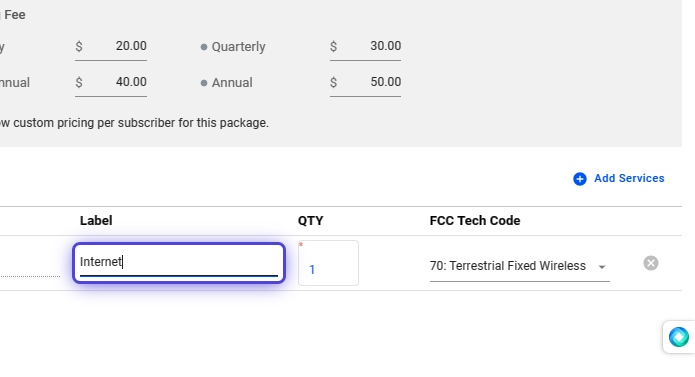
19. Click on the “FCC Tech Code” field and use the dropdown to select the tech code.

20. Save your work.
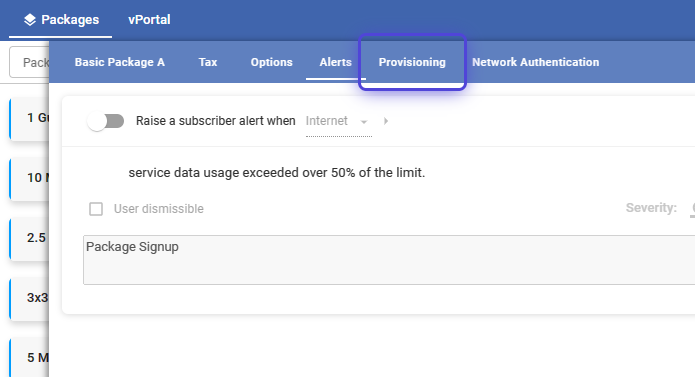
How to Set Package Speeds and Other Provisioning Options?
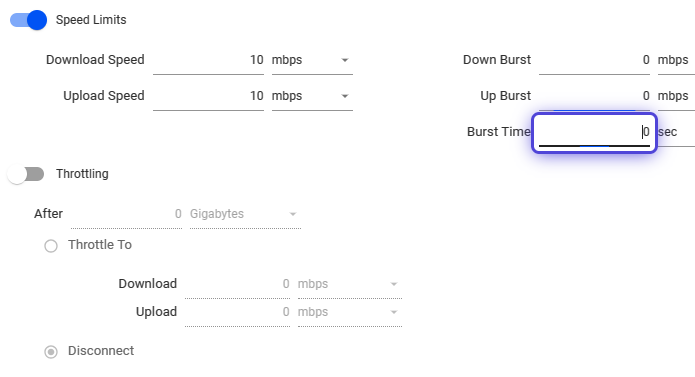
21. Click on Provisioning
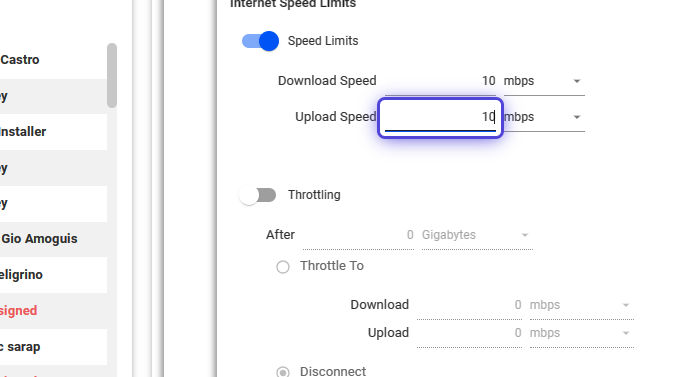
22. Toggle Speed Limits
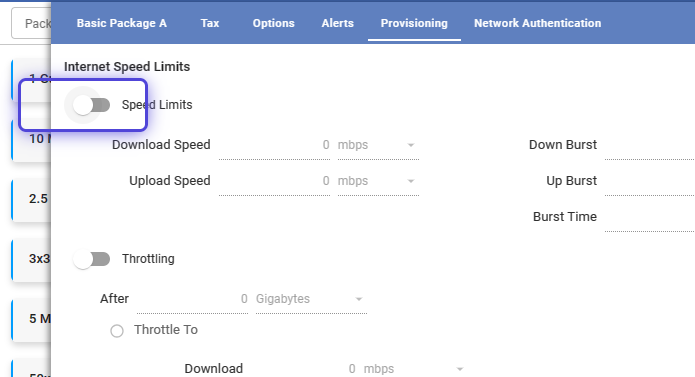
23. Input a value for the Download Speed.
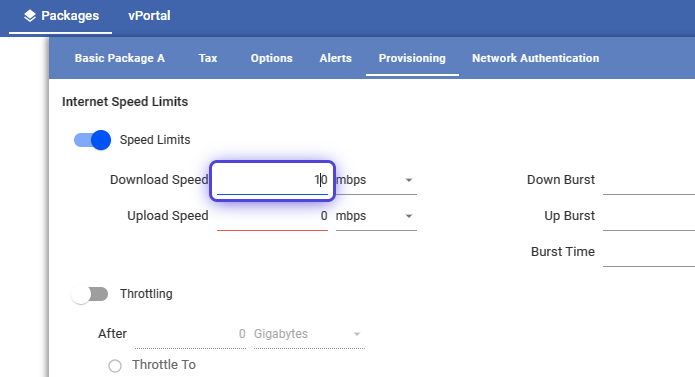
24. Input a value for the Upload Speed.
💡 On Burst Speed Limits
Burst speed limits refer to the maximum speed that the internet service can reach for the set Burst time. These limits are often higher than the average or sustained speed of the connection. Burst speeds are typically advertised as a way to showcase the potential capabilities of the network.
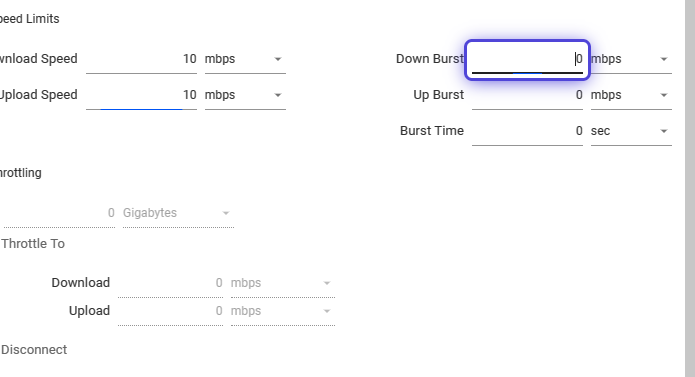
25. Input a value for the Down Burst Speed
A zero value means unlimited or the maximum allowed speed in the network.
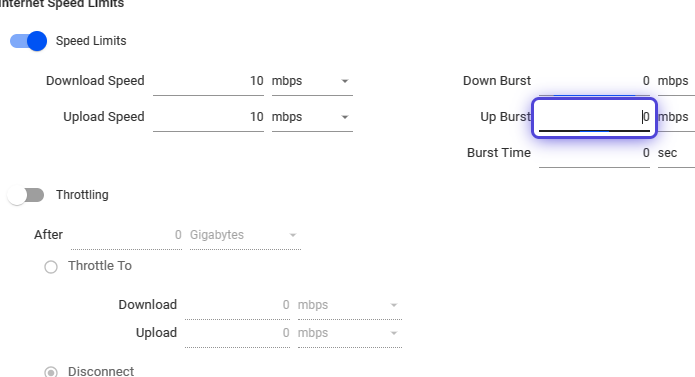
26. Input a value for the Up Burst Speed
A zero value means unlimited or the maximum allowed speed in the network.
27. Input a value for the Burst time.
A zero value indicates no limit or the highest allowed speed for the network’s allowed time. Typically around to 2-5 seconds, in certain use cases.