

How to Process a One-Time Payment?
1. Click on Subscribers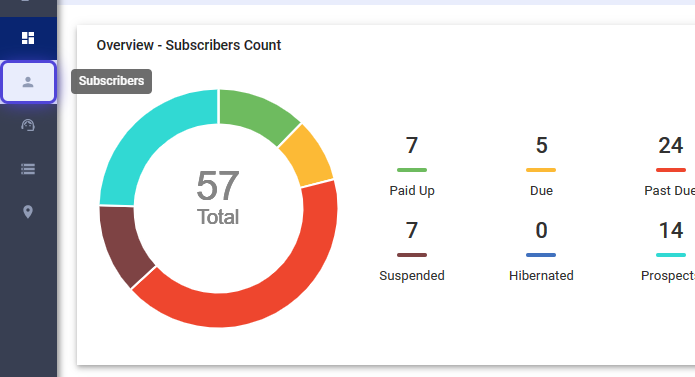
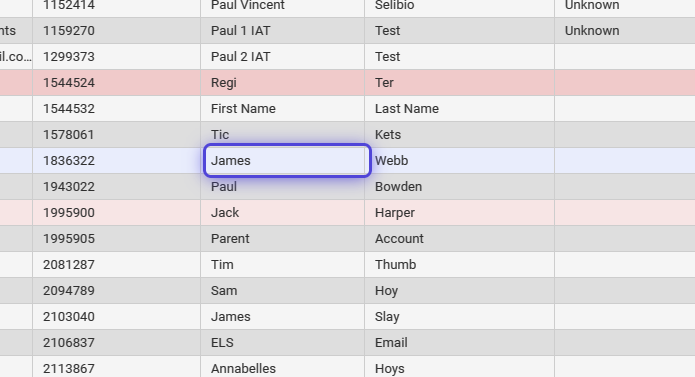
2. Search for the subscriber or select from the list.
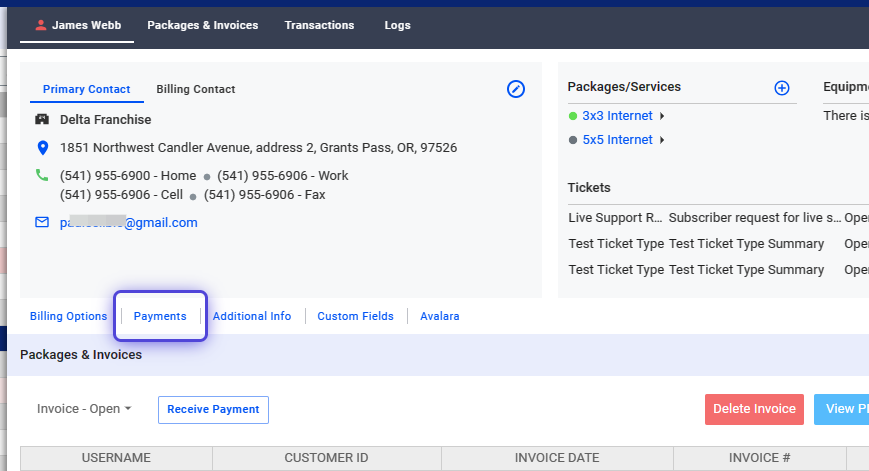
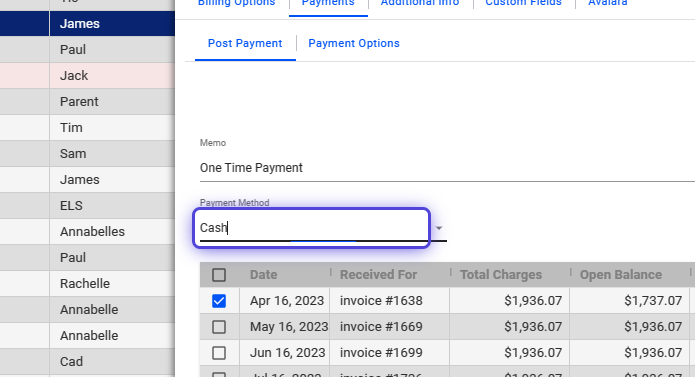
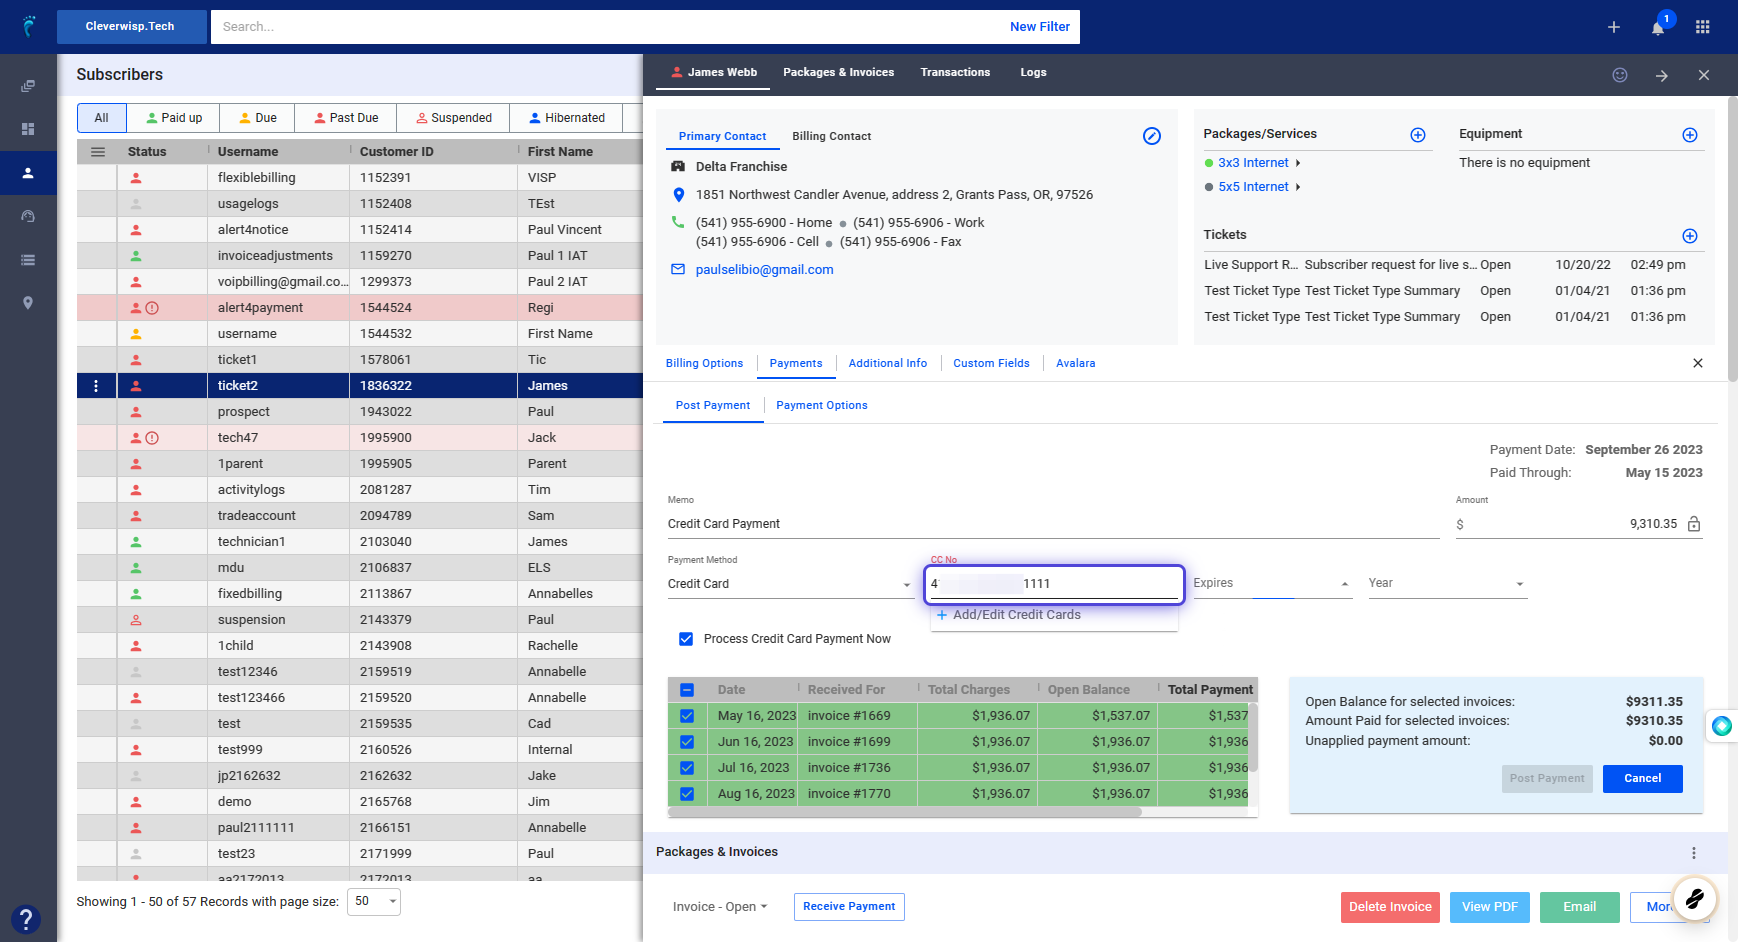
3. Click on Payments
4. Click and add a memo or note.
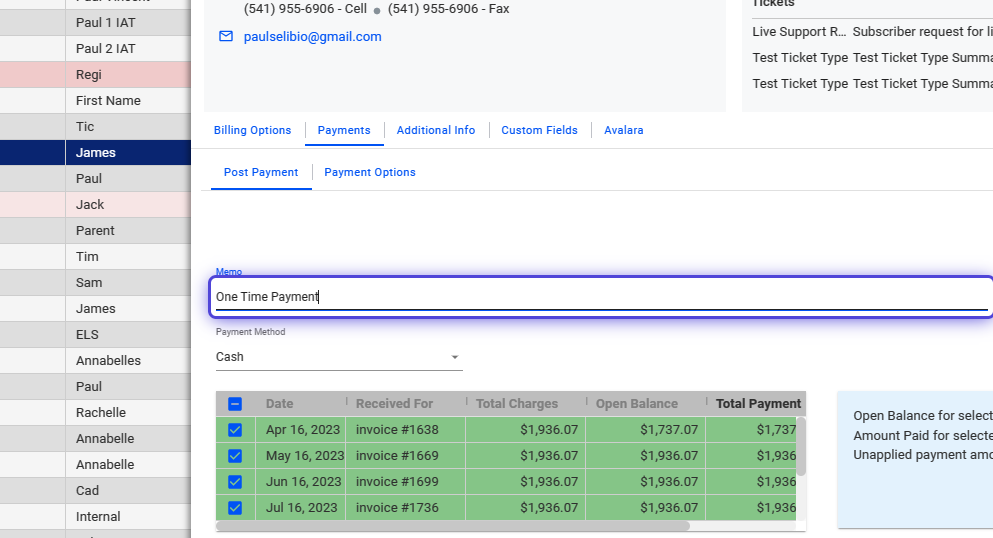
5. Input the amount.
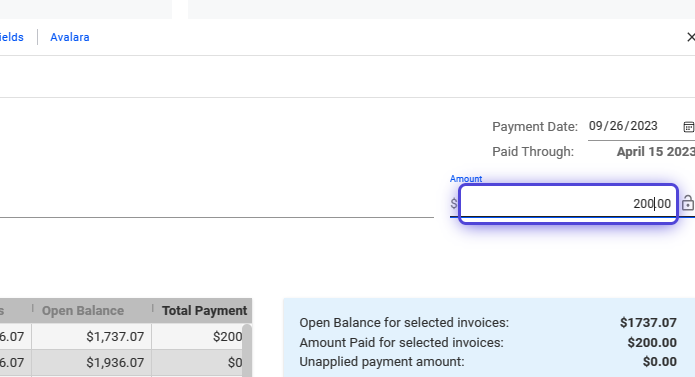
6. Or select invoices to distribute the payment to.
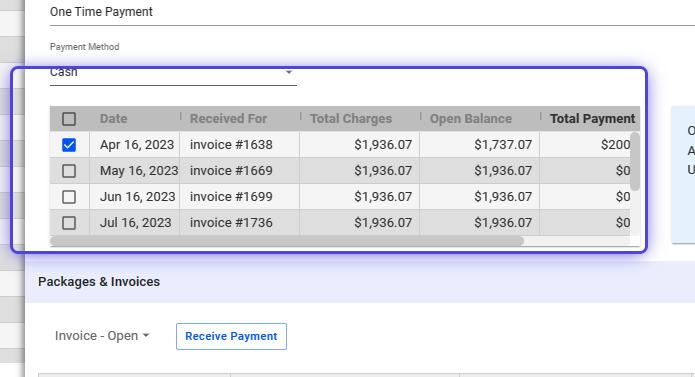
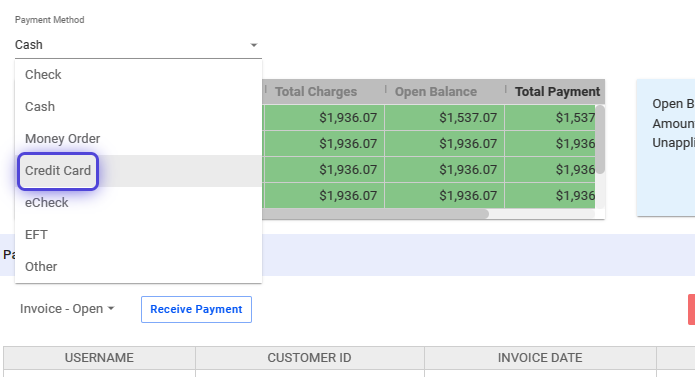
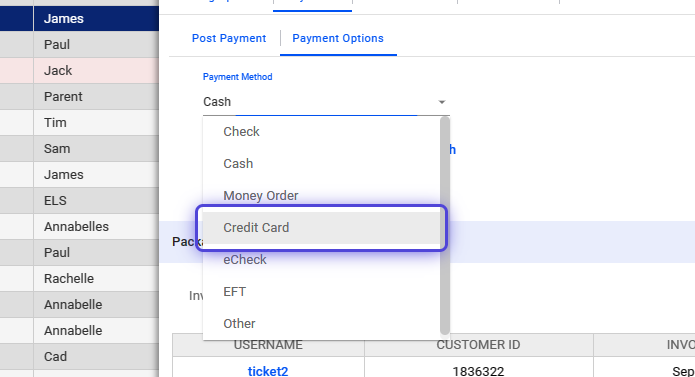
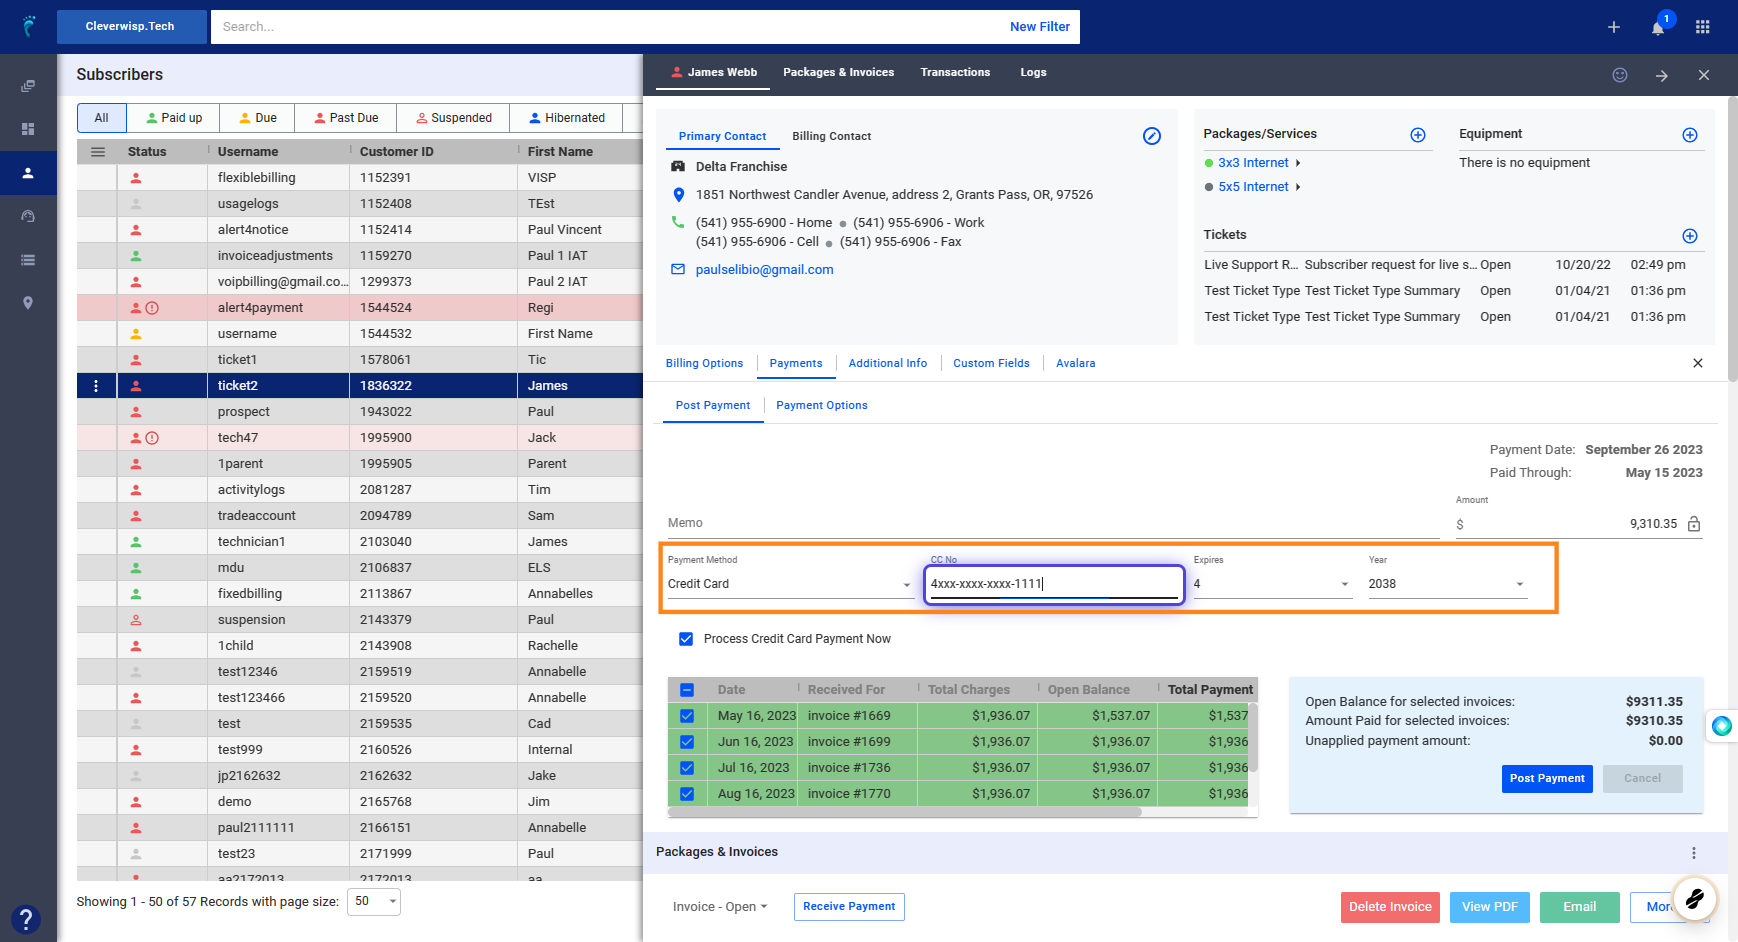
7. Click on the Payment Method
8. Use the dropdown to select the payment method.
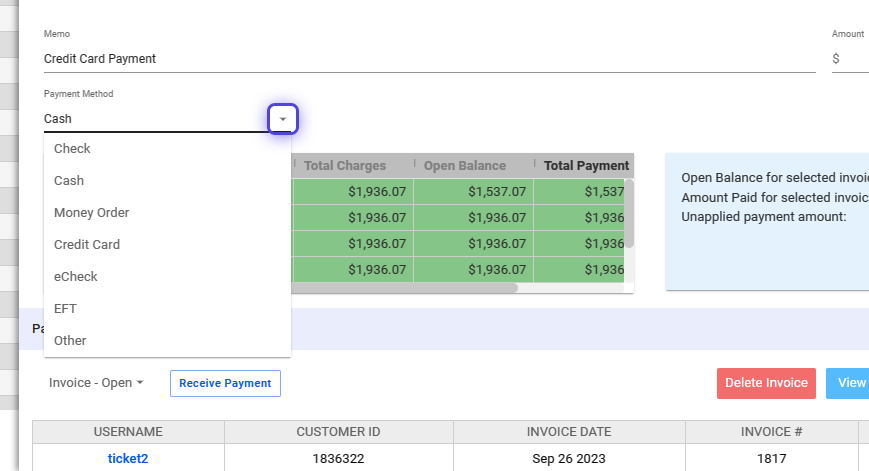
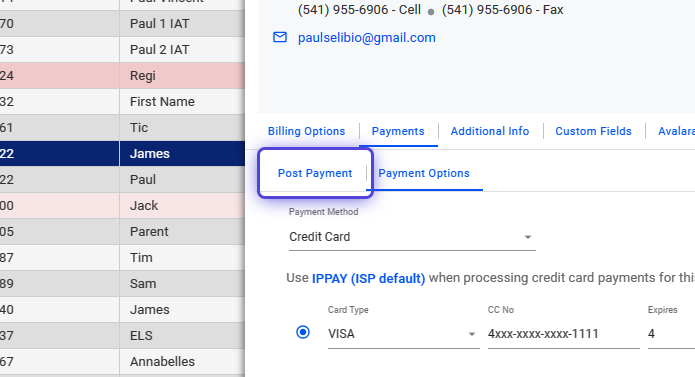
9. Click on Credit Card
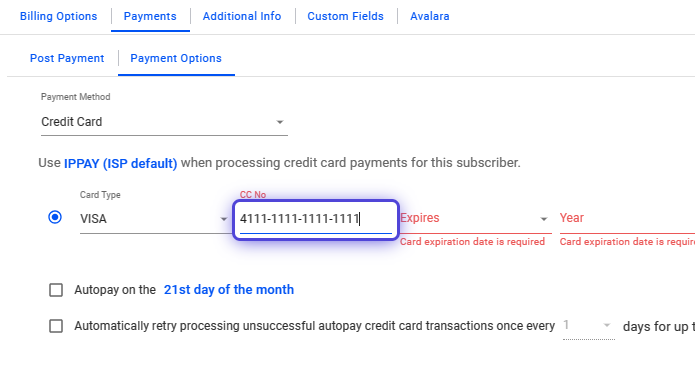
10. Input the Customer’s Credit Card Number
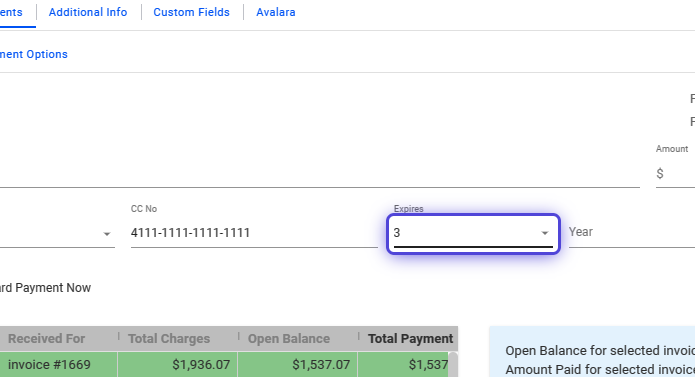
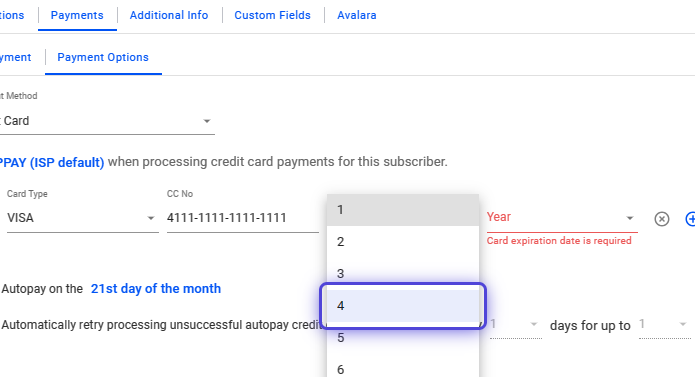
11. Click and select the credit card’s expiration month.
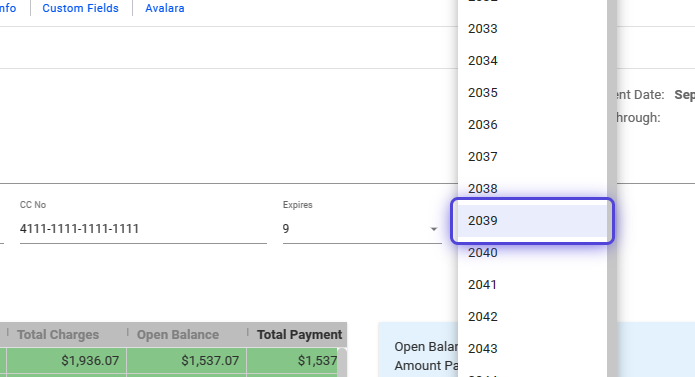
12. Click and select the credit card’s expiration year.
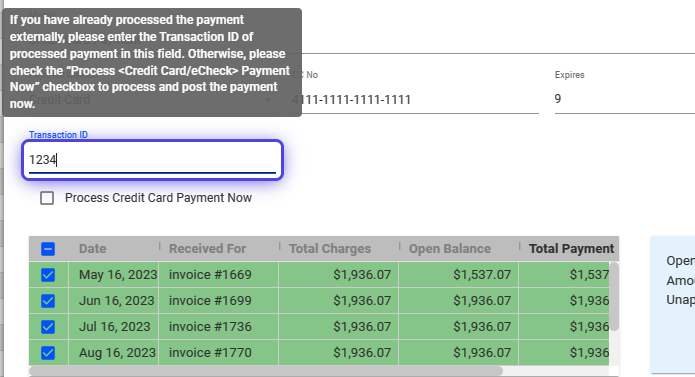
13. Toggle “Process Credit Card Payment Now”
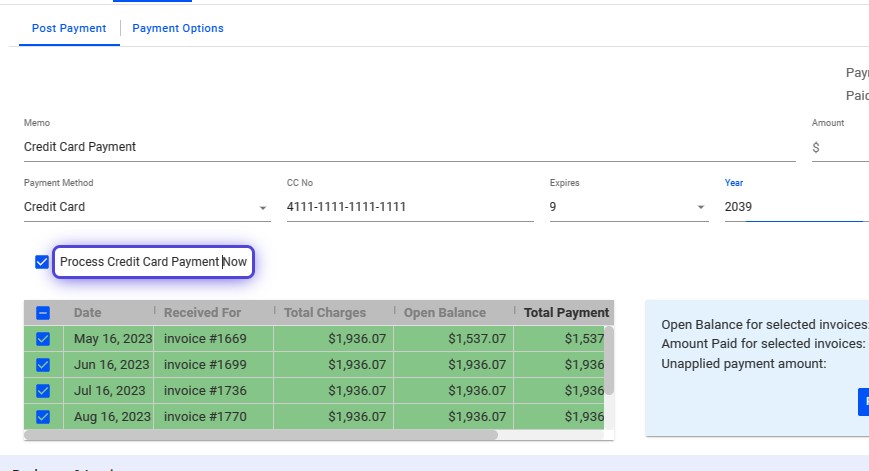
⚠️ If the “Process Credit Card Payment Now” is unchecked or disabled, payments will only be recorded.
However, it will not transfer funds from the customer’s bank or account.
14. Manually input the ID for this transaction.
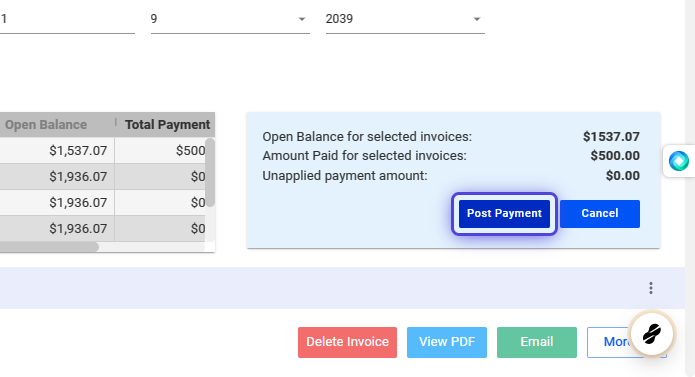
15. Click on Post Payment
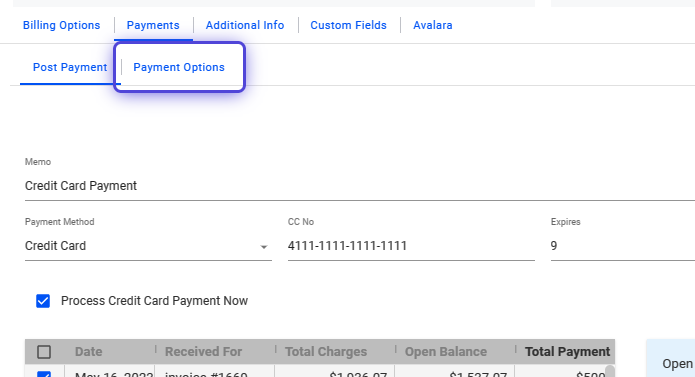
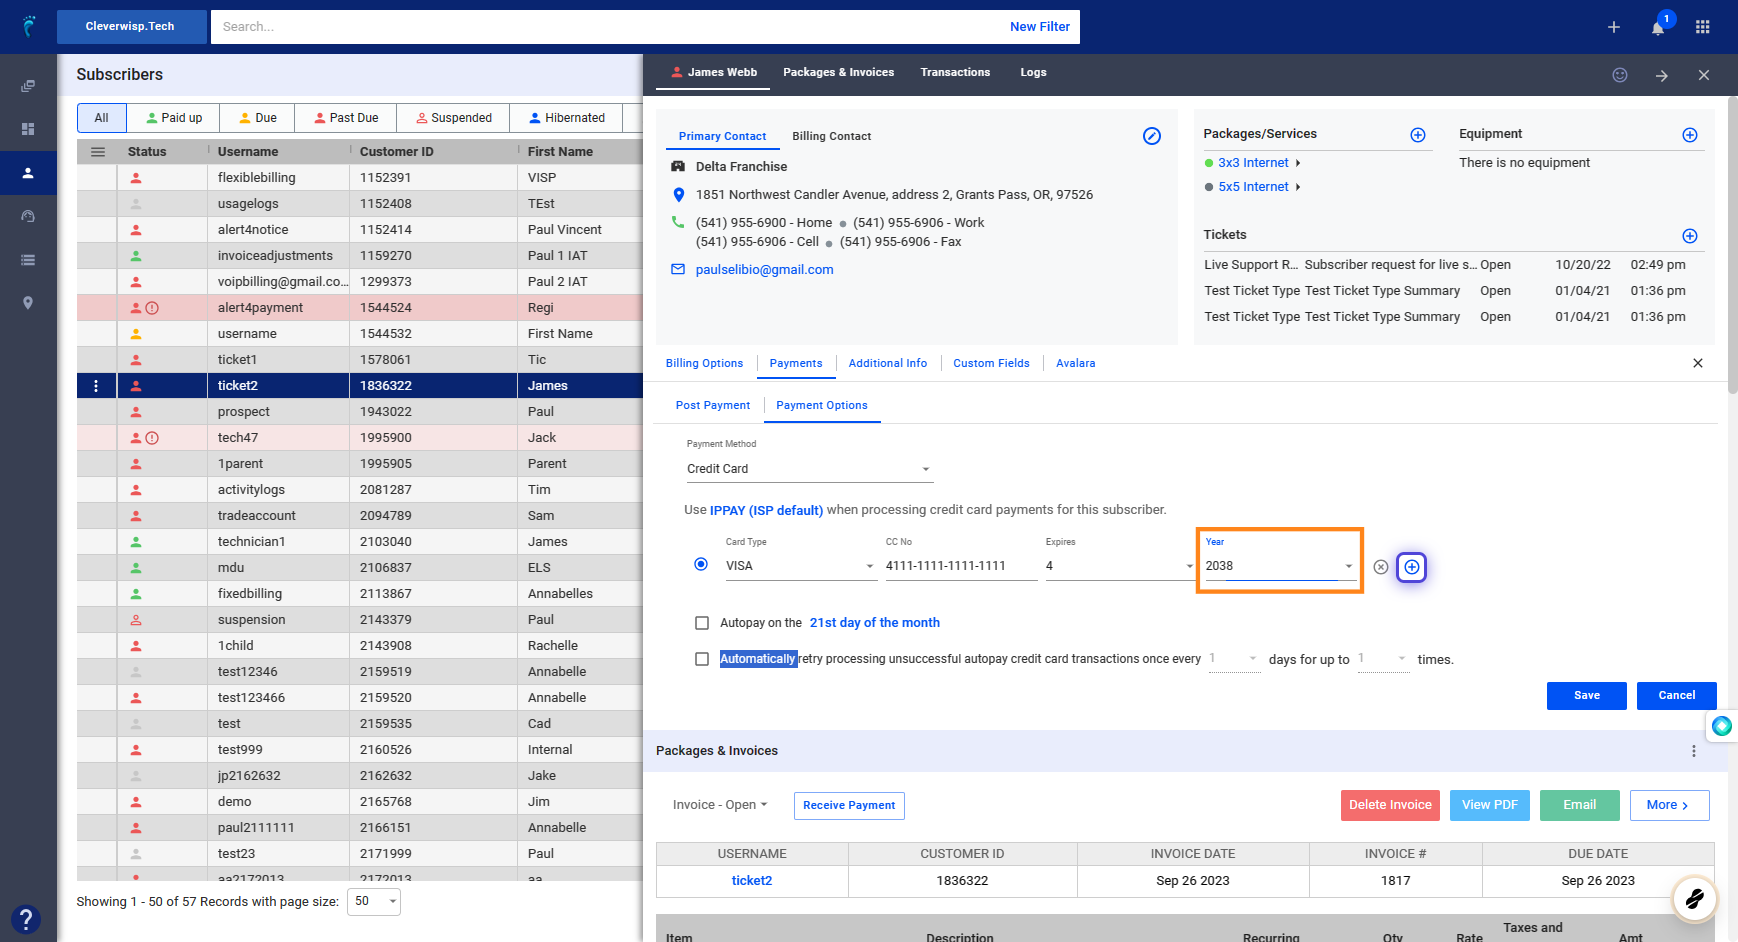
How to Save a Card on File?
16. Click on Payment Options
17. Click on the Payment Method field
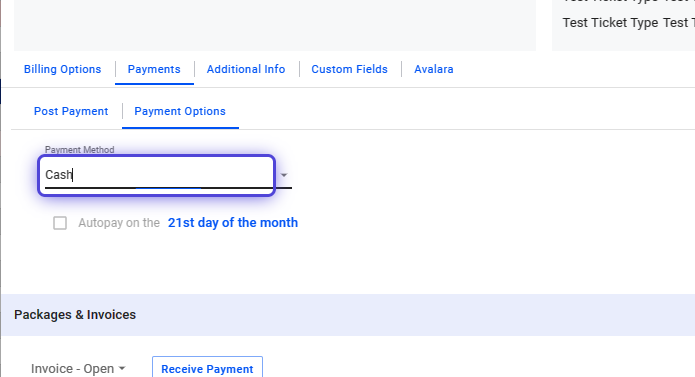
18. Use the dropdown and select the customer’s payment method, (e.g. Credit Card, eCheck).
19. Input the Credit Card number.
20. Click and select the credit card’s expiration month.
21. Click and select the credit card’s expiration year.
How to Enable and Configure Autopay for a Subscriber?
22. Toggle Autopay to enable automatic billing.
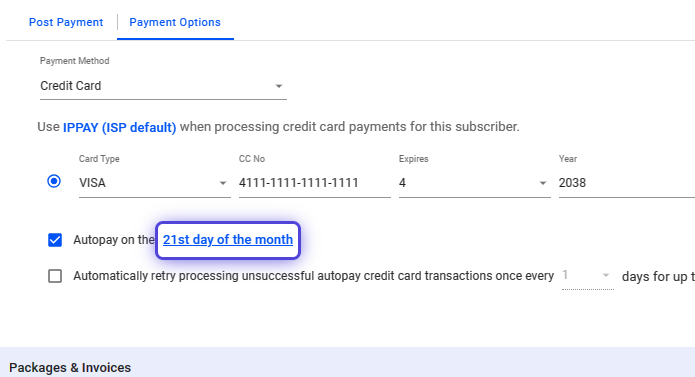
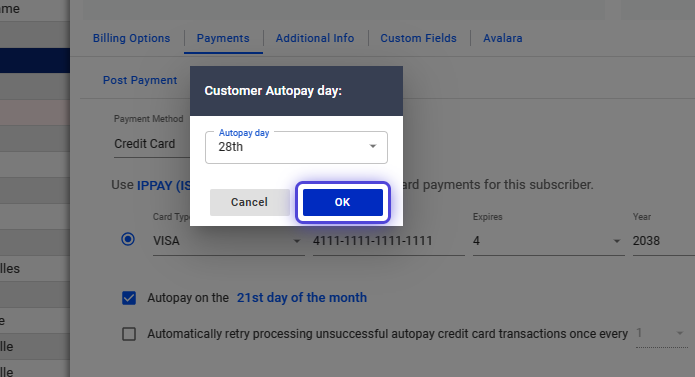
23. Click and use the dropdown to set a schedule for the autopay.
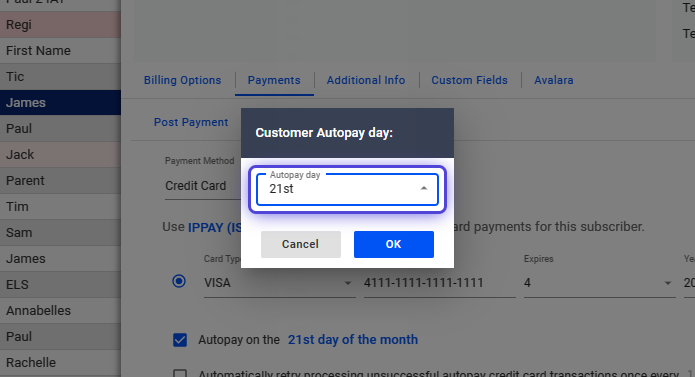
24. Click on OK
25. Note: You can add multiple cards to an account.
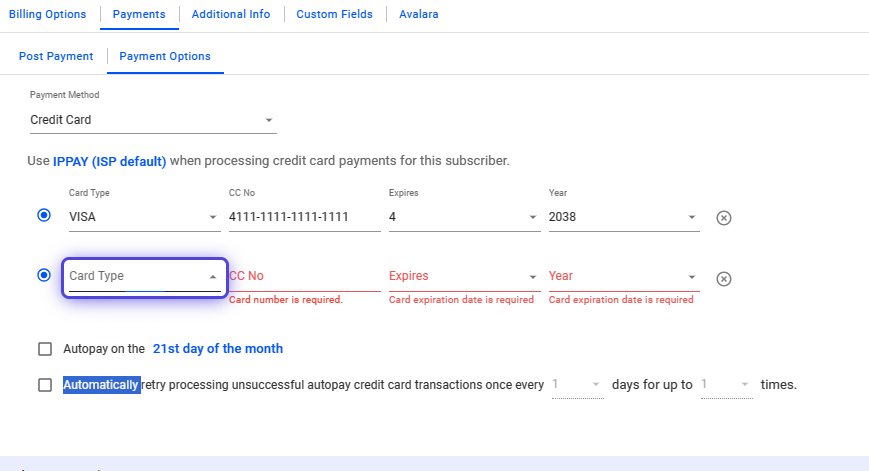
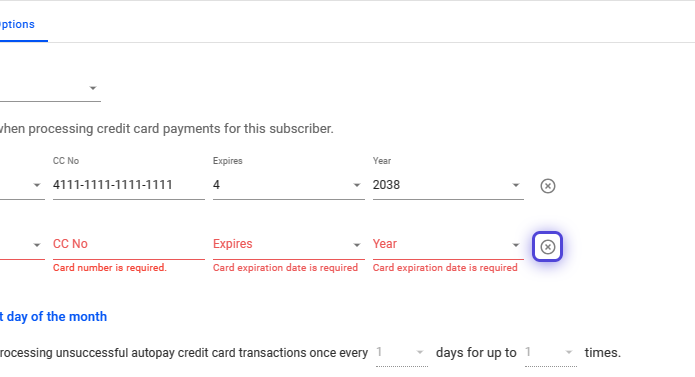
26. To remove added cards, click on the X icon.
27. Click on highlight
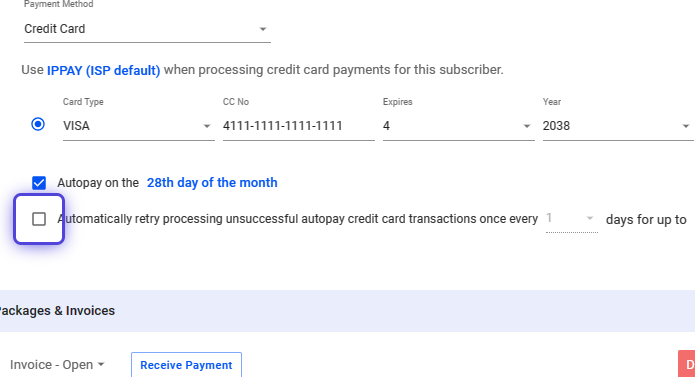
How to Enable Automatic Payment Retry?
28. Toggle automatic retry for unsuccessful credit card autopays.
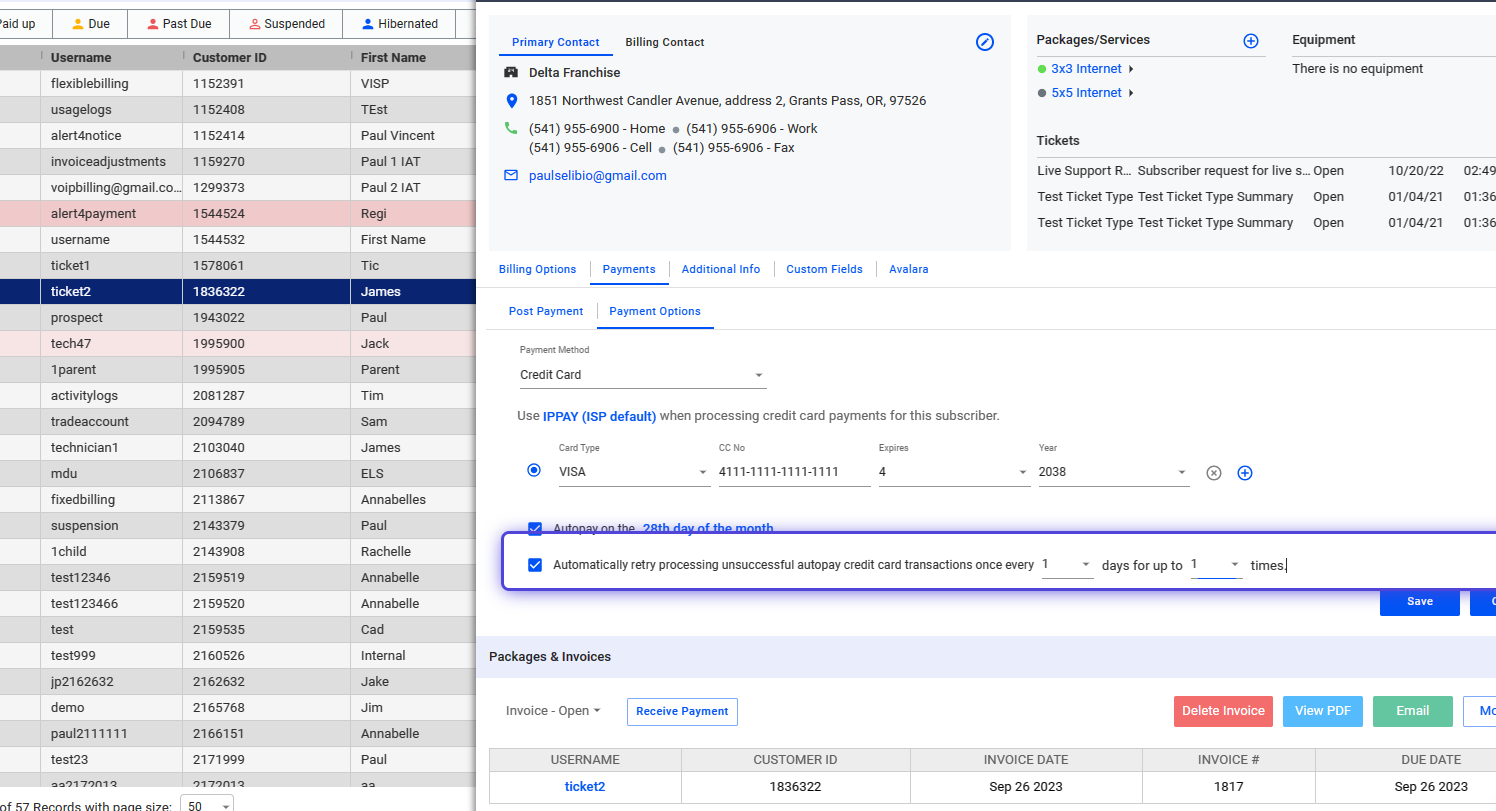
29. Use the dropdown to select the number of days and the frequency of the processing retry.

30. Save your changes.

31. Click on Post Payment
32. Verify that your new card is now the default for this section.
 For more information about this and all other features in Visp, reach out to your Visp Client Success Team today.
Phone: 541-955-6900
Email: success@visp.net
Open a ticket via www.visp.net/ticket