

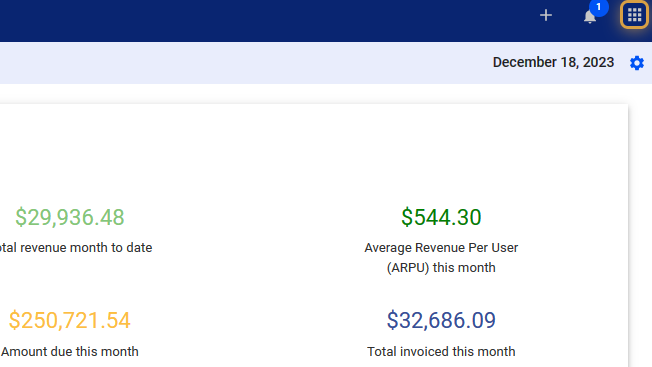
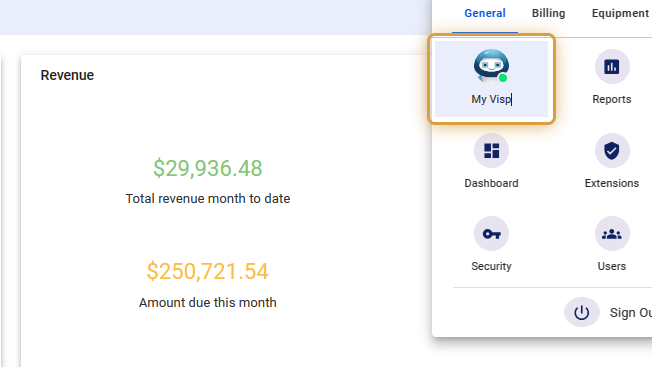
This feature or section lets Application Users pay their Visp bill and save their cards or bank accounts for one-time or recurring payments. You can also view your items and balance due in the account information.
1. Click the nine-dot menu in the upper right corner to open the VISP Admin Page.
2. Click on General
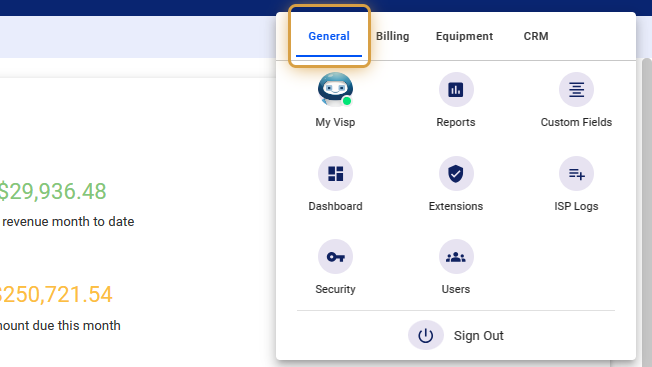
3. Select My Visp
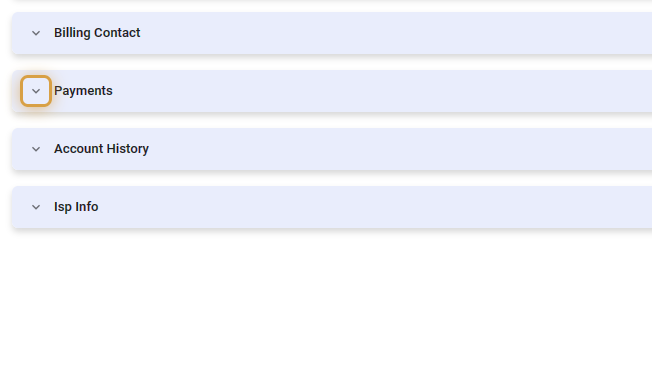
4. Expand Payments
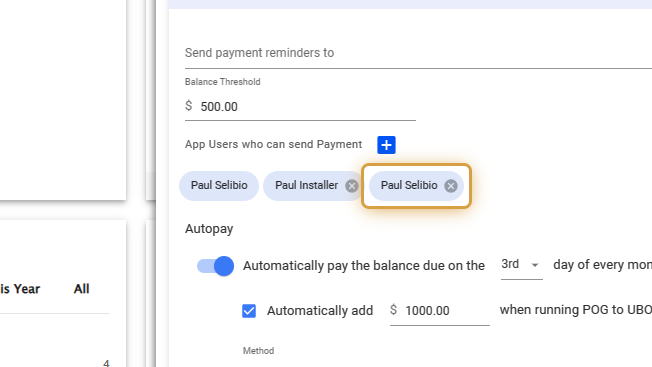
5. After click the field, select Users that receives payment reminders from Visp.
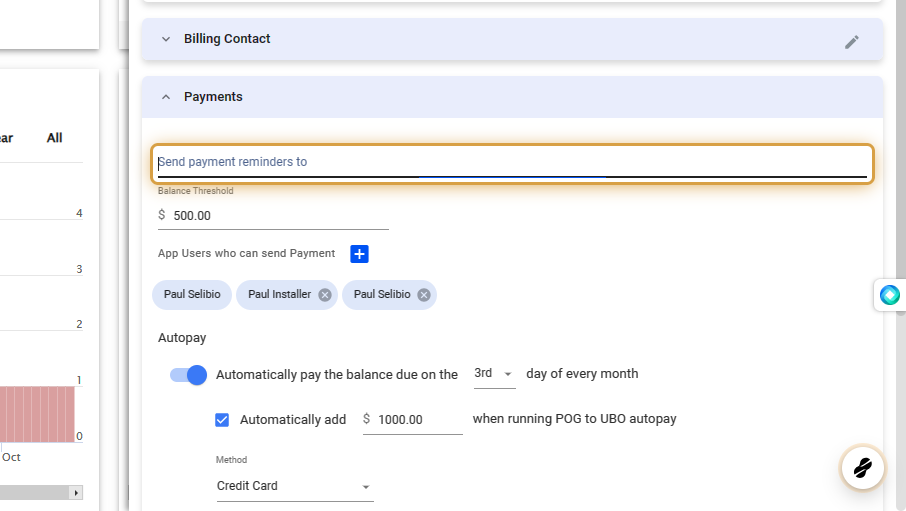
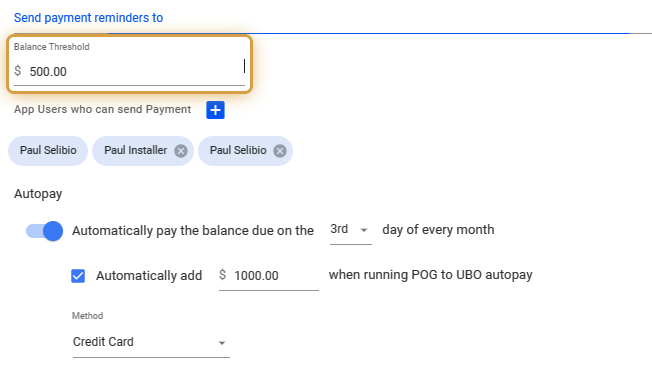
6. A balance threshold is the minimum amount an ISP keeps in their account to cover payments for paper invoices.
Click on the field and set the amount.
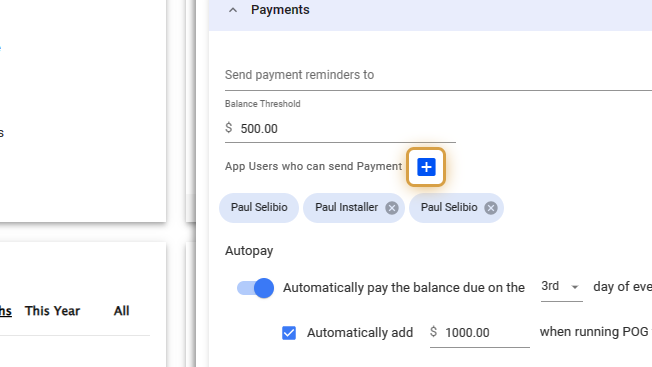
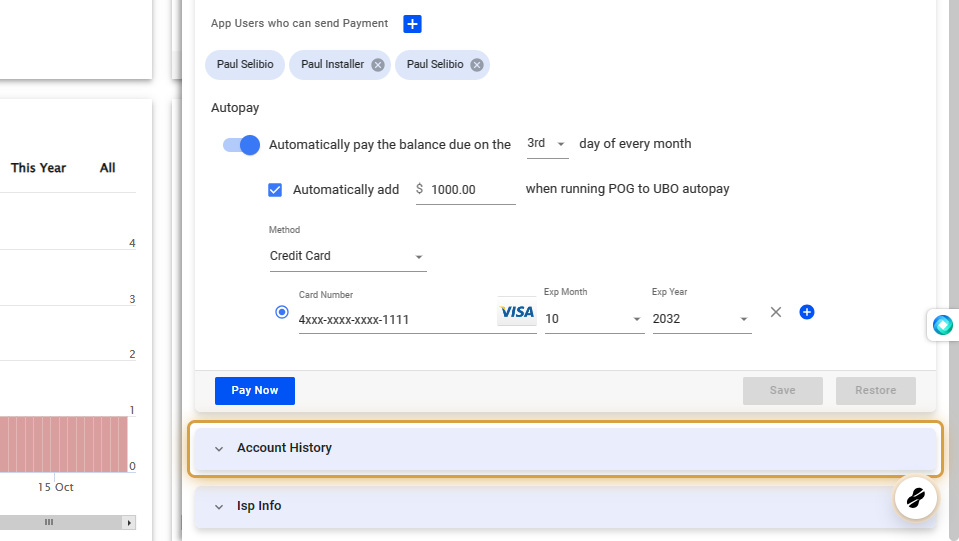
7. Click on the blue plus sign beside “App Users who can send Payment” to select Uses who can process payments for your ISP in Visp.
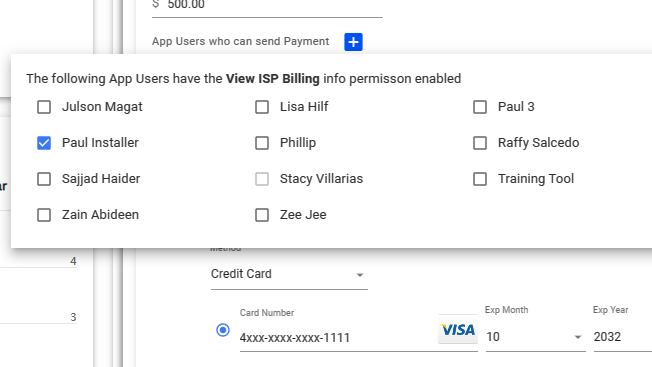
8. Place a checkmark next to the User’s name.
9. Click the gray X icon next to the User to remove them from the list.
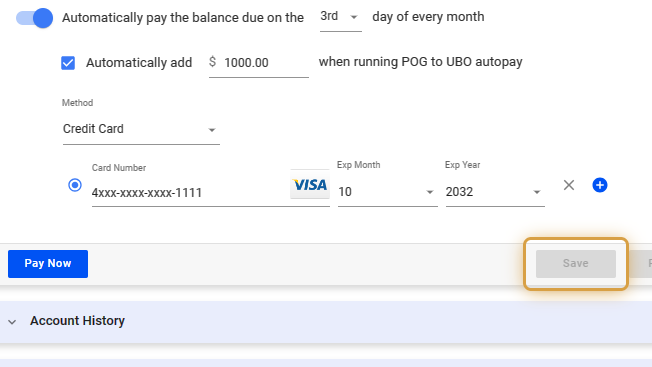
10. In the Autopay section, turn on “Auto-pay balance due.”
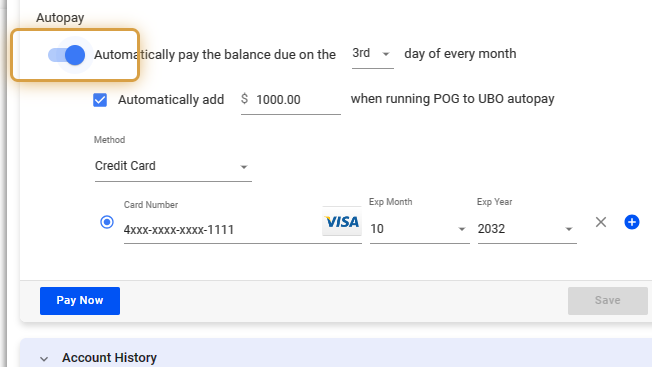
11. Use the dropdown to select a specific day each month for processing payments.

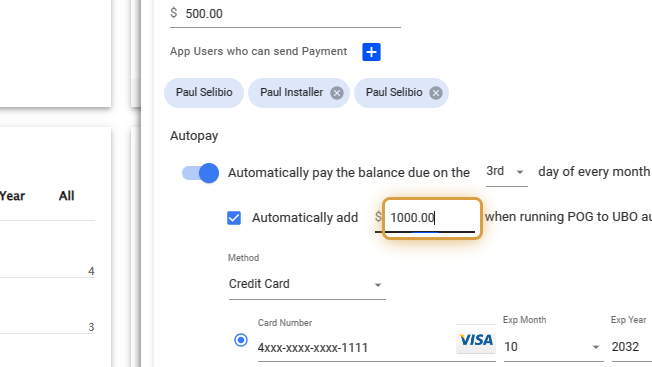
12. Click and enable, “Automatically add,”
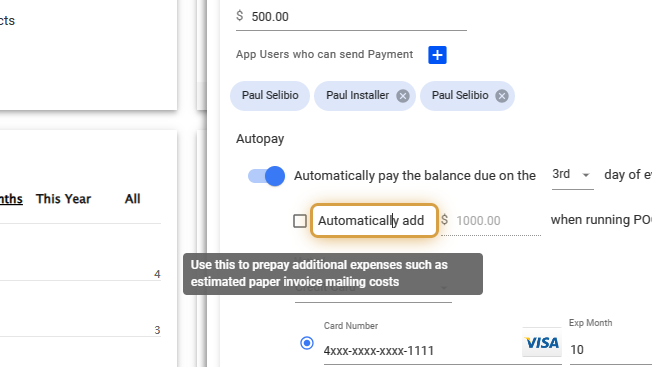
13. Click on the field and set the amount.
This setting enables automatic payment processing for the specific amount entered in the field.
14. Click on the Method field, and select Credit Card or Check.

15. If Credit Card is selected, input the card information below.

16. Input the Credit Card number.
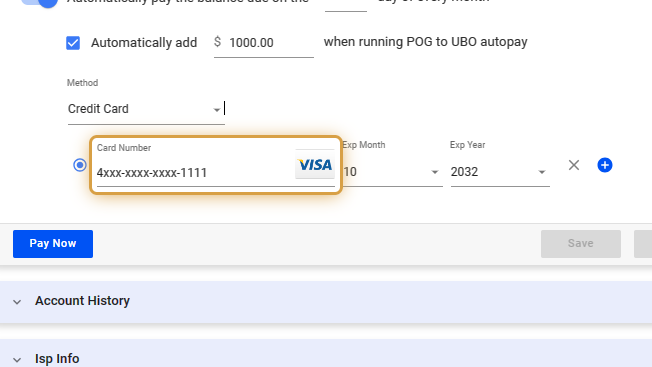
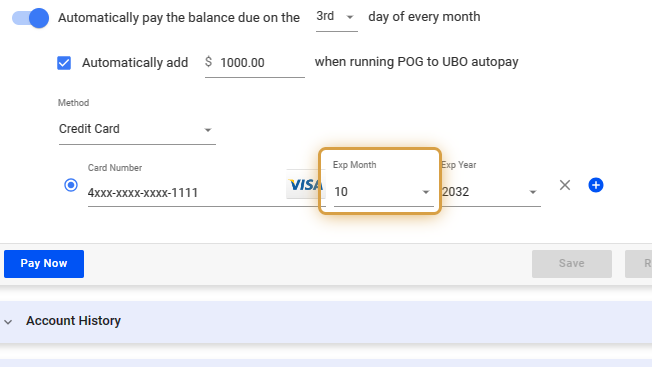
17. Input the Month of Expiry
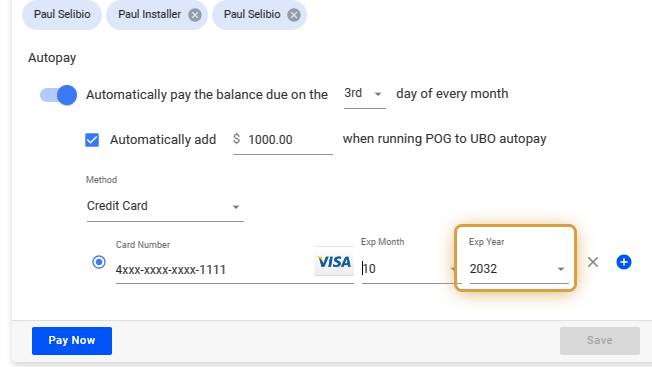
18. Add the Year of Expiry
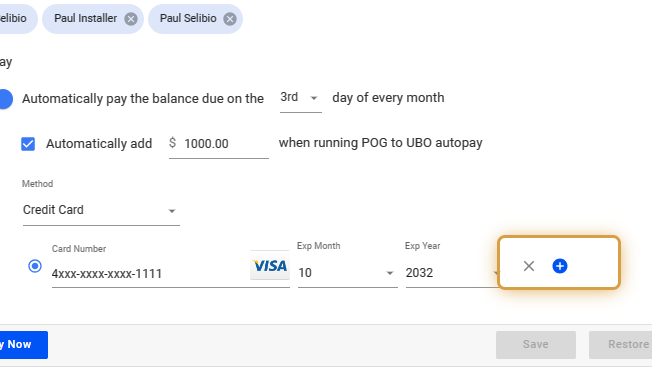
19. Click the blue plus to add a card, or the X icon to remove one.
20. Click on Pay Now to process a payment.
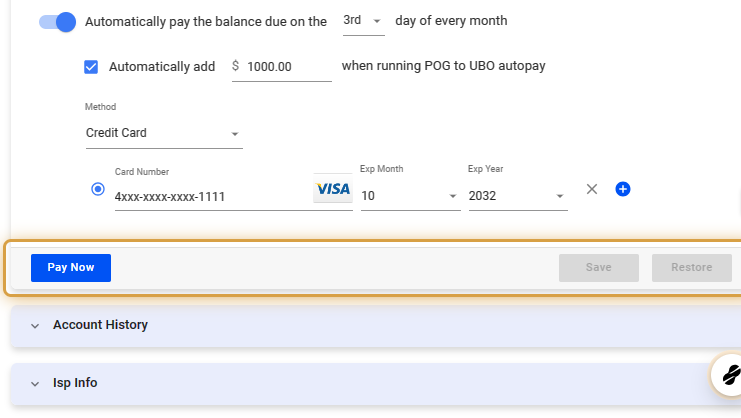
21. Save your changes when done.
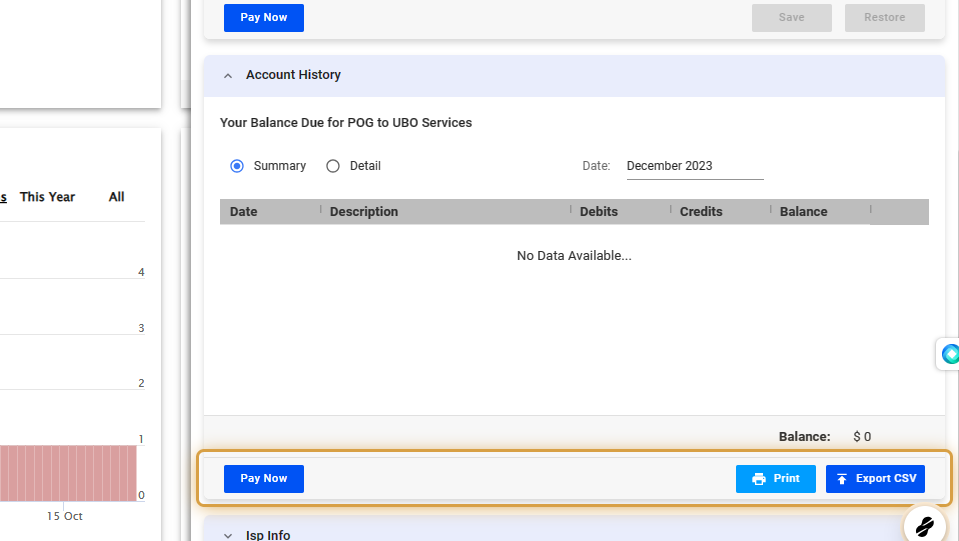
View Your Balance Due
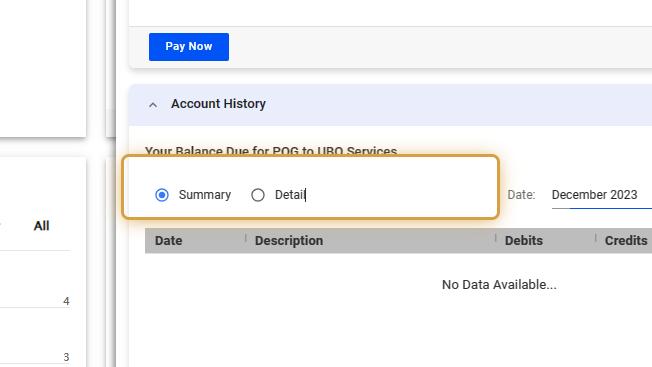
22. Click and expand the Account History accordion.
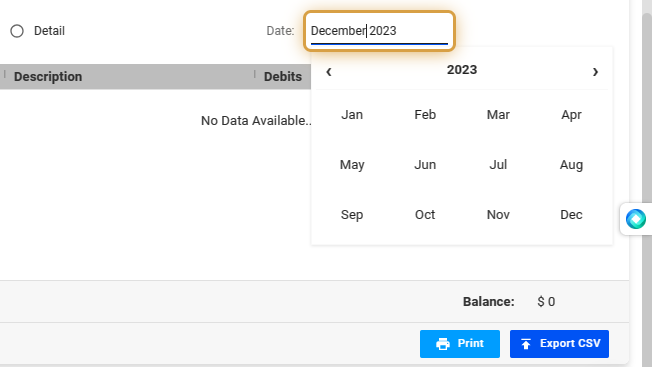
23. Set a date.
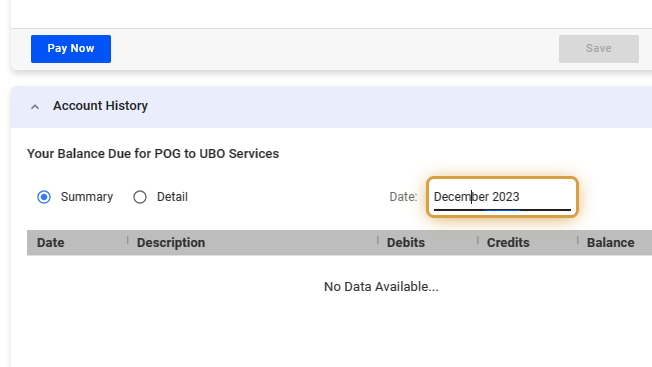
24. Click on highlight
25. Choose Summary or Detail to view your preferred information.
26. Updated items and balances is shown on this field.
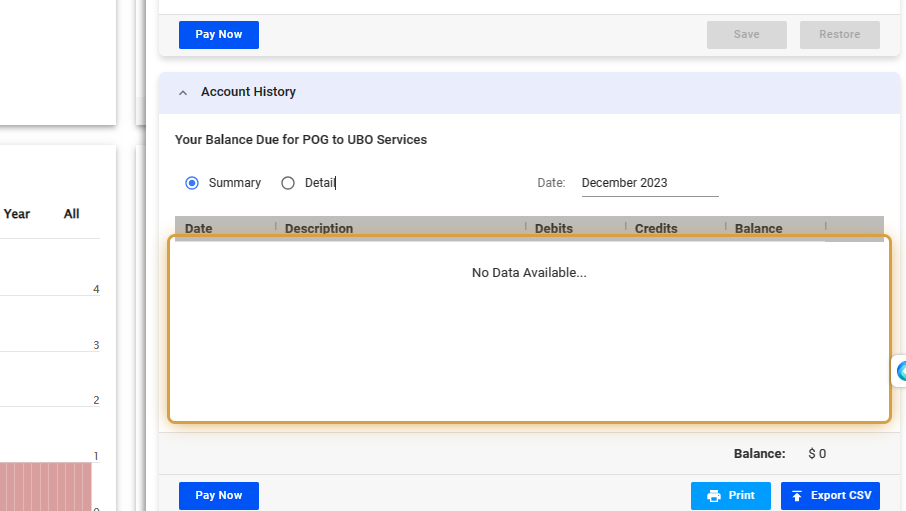
27. Click on Pay Now to process a payment.
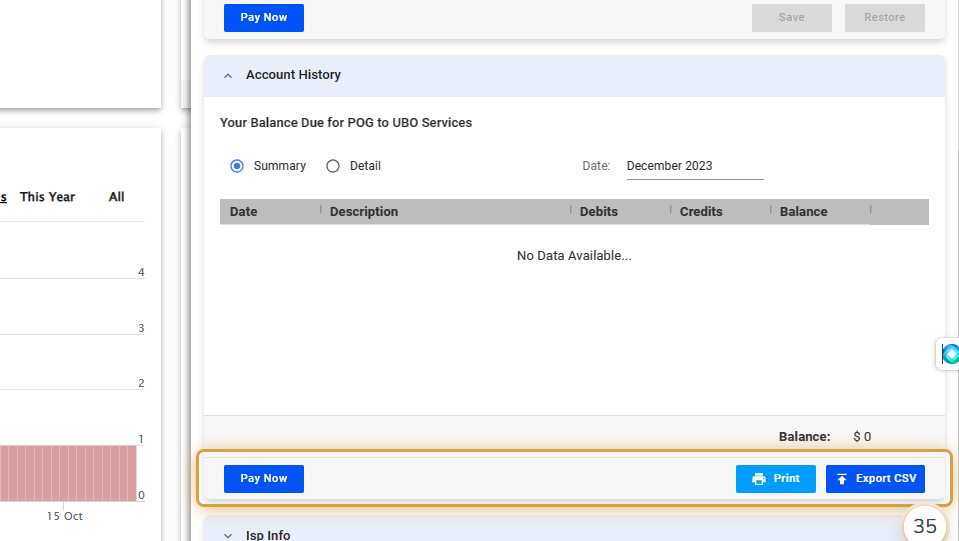
28. You can also Print or export your transactions to a CSV file.
💡 For more information about this and all other features in Visp, reach out to your Visp Client Success Team today.
Phone: 541-955-6900Email: success@visp.net
Open a ticket via www.visp.net/ticket