

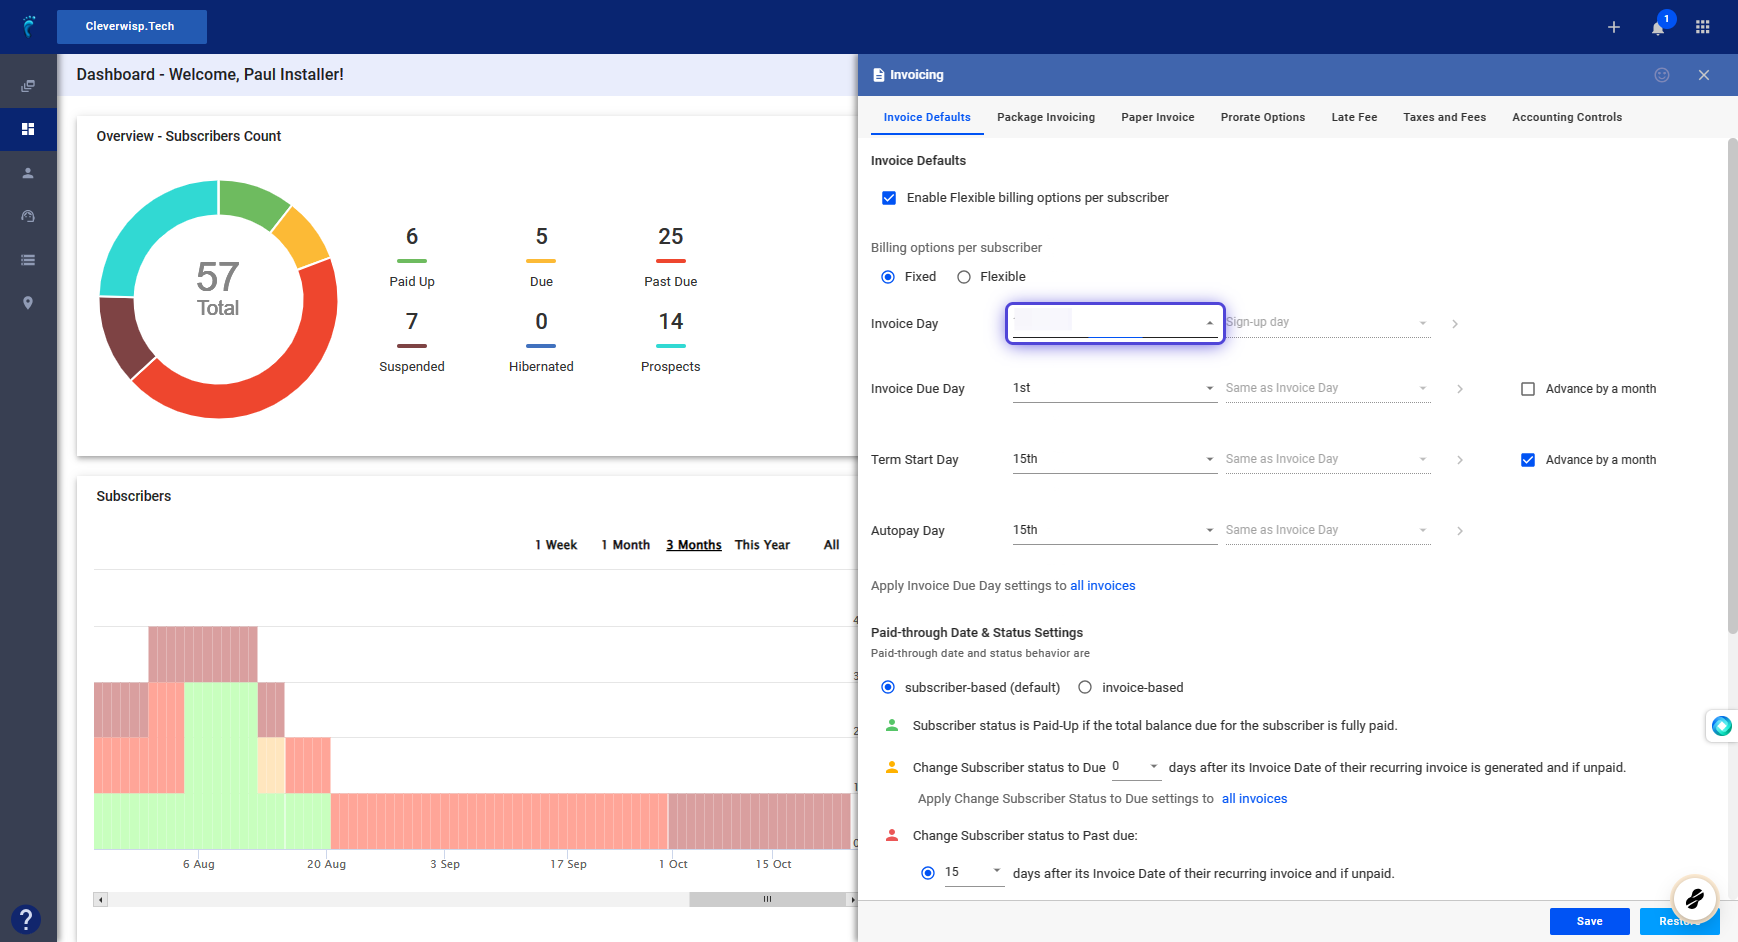
1. What are Invoice Defaults?

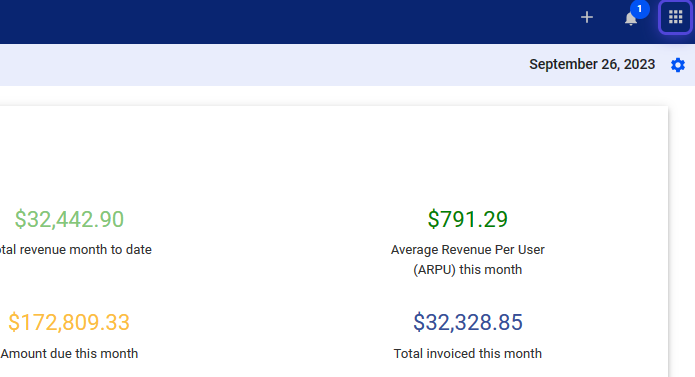
Invoice Defaults lets you set the global invoicing schedule and triggers for customer statutes and automation in Visp.
How to Access Invoice Defaults?
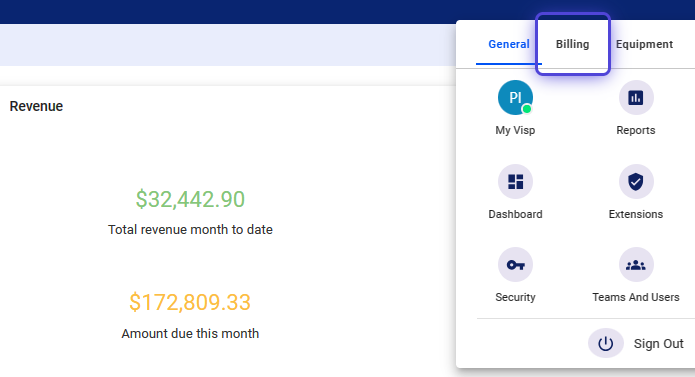
2. Click the nine-dot menu in the upper right corner to open the VISP Admin Page.
3. Click on Billing
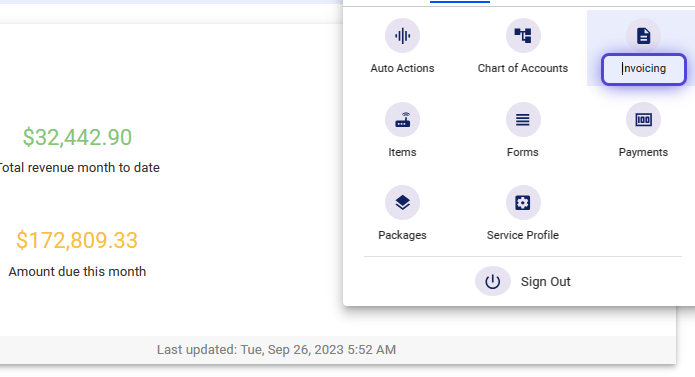
4. Select Invoicing
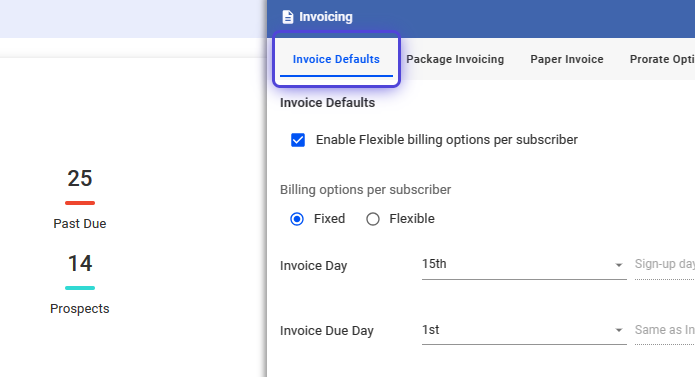
5. Click on Invoice Defaults
Enable Custom Dates for Billing
6. Enable Flexible billing options per subscriber.
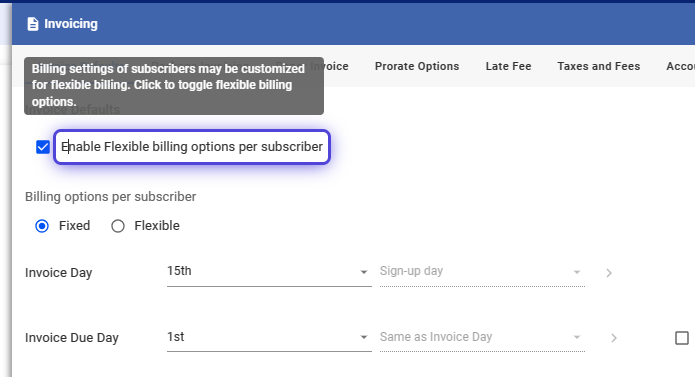
For any billing type (fixed or flexible), set custom dates for invoice, due day, term start, and auto-pay for customers.
7. Select Flexible
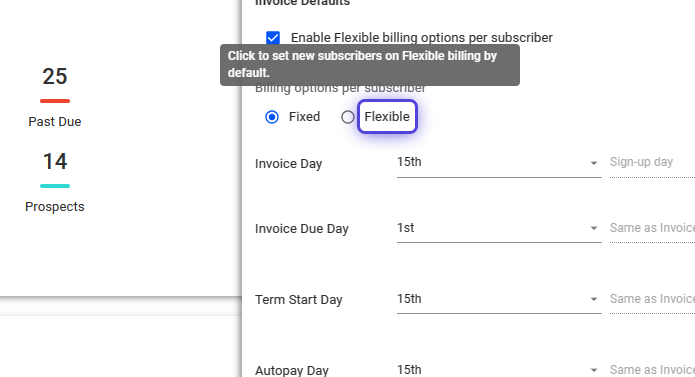
A Flexible Billing cycle, by default, starts on a customer’s sign-up date. We shall cover the Flexible Billing cycle in a separate guide.
For now, the focus will be on setting a Fixed Billing cycle.
How to Configure for Fixed Billing?
8. Select “Fixed” Billing
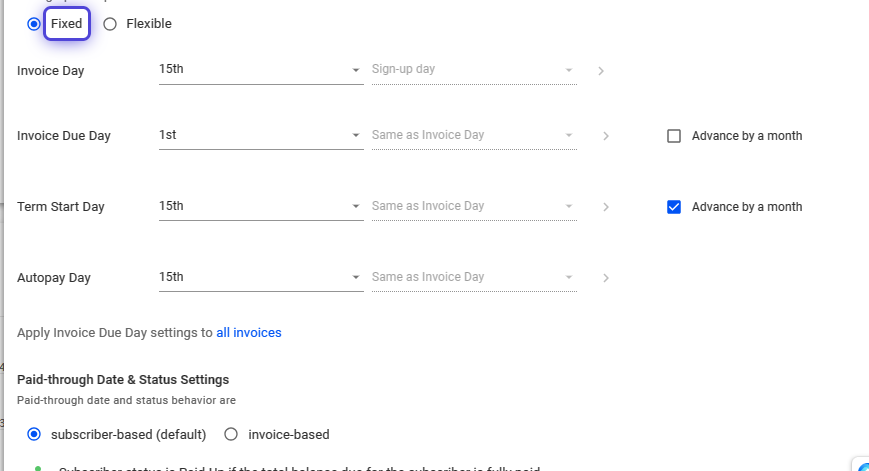
Invoices are created and sent on the same day each billing cycle, no matter when the customer signed up for service.
For instance, a default schedule for most ISPs is to set a monthly fixed billing cycle where invoices go out on the 1st of every month, no matter the sign-up date.
9. Set the Invoice Day
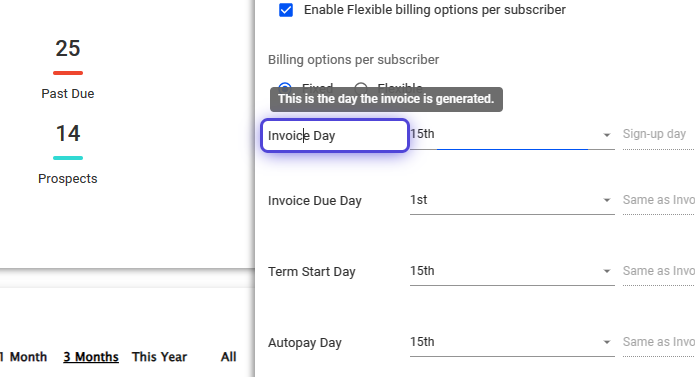
This is the day when the system automatically generates your customers’ invoices.
10. Click and use the dropdown to select a specific date.
Most ISPs on the “Fixed” billing schedule select the 1st of the month as the default invoice date.
You can choose a date that best suits when you want to collect most of your customer payments.
11. Select a Due Day
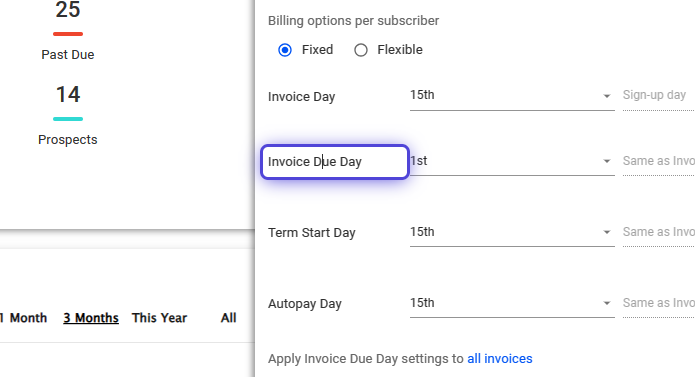
Set when generated invoices sent to customers become due.
12. Set the Term Start Day
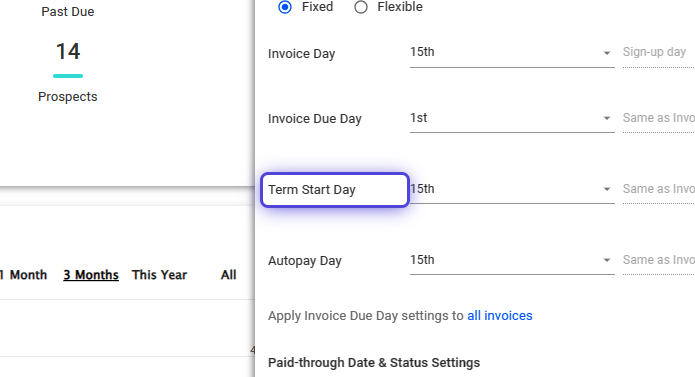
A billing term start day refers to the specific day of the month when a billing cycle begins for a particular service or subscription.
It is the starting point for calculating the duration of the billing period.
For example, if your billing term start day is on the 1st of the month, then your billing cycle will typically run from the 1st to the last day of that month.
13. Set the “Autopay Day”
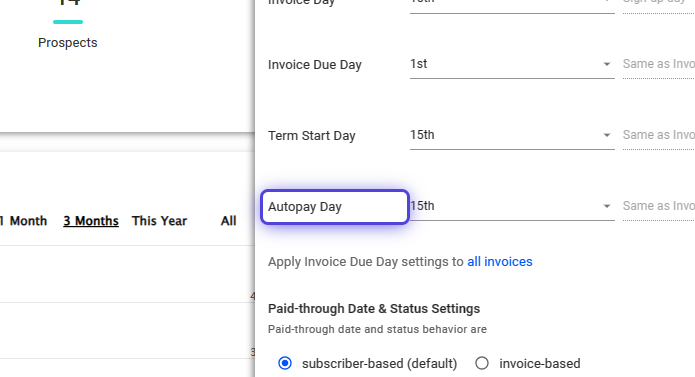
On this particular date, subscriber payments get processed.
14. Set to “Advance by a Month”

Set default billing schedules a month ahead for due dates and term starts on all invoices and statements.
15. Click on Apply Invoice Due Day settings to “all invoices”

You can apply the default invoice schedule dates to all invoices, including custom ones and those with prorate/setup fees.
16. Select subscriber-based (default)
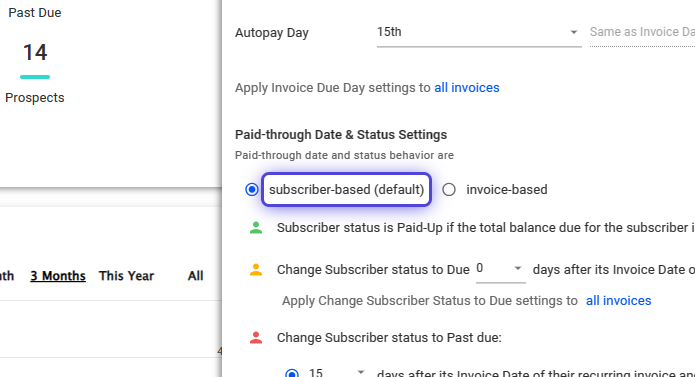
In a subscriber-based billing model, customers pay a fixed amount regularly, like monthly or yearly, to use a product or service.
Companies with subscription services, like streaming platforms, software-as-a-service (SaaS) providers, and online publications, use this model. The subscription fee is automatically charged to the customer’s credit card or bank account.
17. Use “invoice-based” billling.
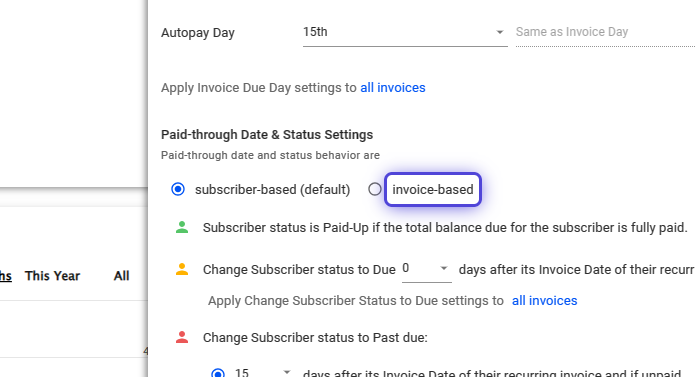
On the other hand, invoice-based billing is a payment model where customers are billed for the products or services they have purchased on a one-time basis. Invoicing is typically done on a monthly basis, and the customer is required to pay the invoice within a specified period, such as 30 days.
18. Use the dropdown and select a date when you want the subscriber status to turn Due.
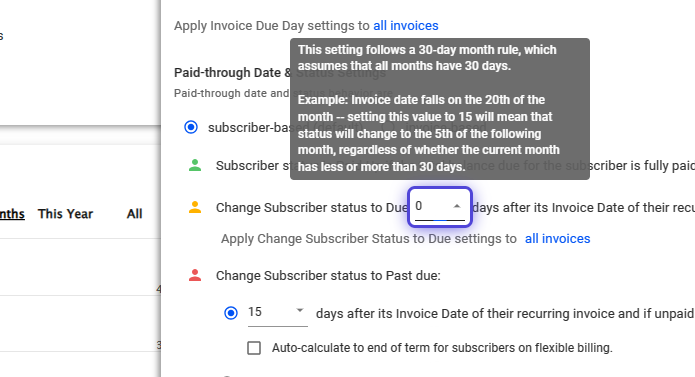
This feature enables you to modify the customer’s status between green (paid up) and yellow (due). It is separate from the actual invoice due date and allows you to trigger a status update ahead of time. This gives you a visual cue regarding the customer’s account being due or close to due.
19. Click on “all invoices”
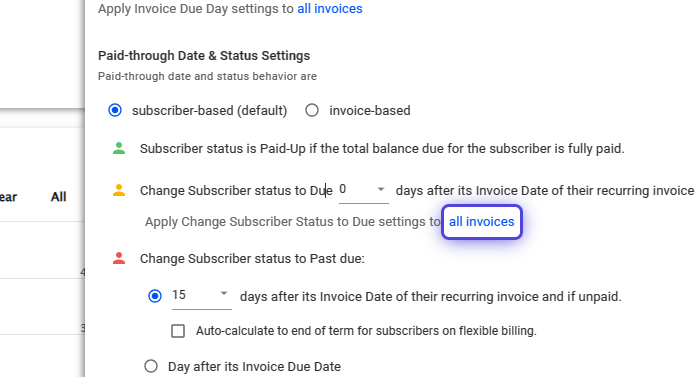
You can apply the “Change Subscriber status to Due” setting for all invoices, including custom ones and those with prorate/setup fees.
20. Set the “Change Subscriber status to Past due” condition.
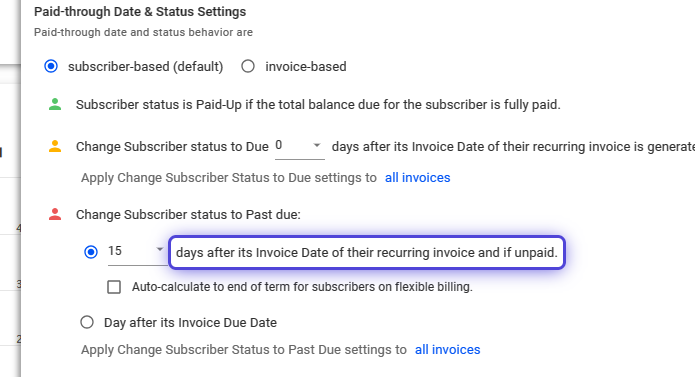
Click on the dropdown before the “days after its Invoice Date of their recurring invoice and if unpaid” option.
21. Use the dropdown and select a day.

When a subscriber’s account remains unpaid after their recurring invoice date, this option will change their status to past due based on the number of days elapsed. Additionally, for those using flexible billing, the system can automatically calculate until the end of the subscriber’s term.
22. Enable “Auto-calculate to end of term for subscribers on flexible billing.”
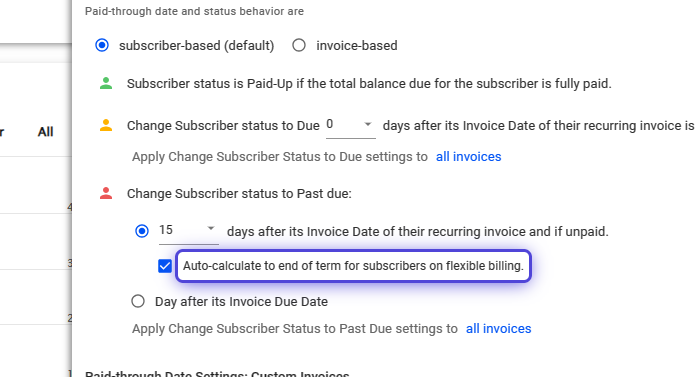
Allows for the calculation of charges or payments for the remainder of a subscription term.
23. Toggle, “Day after its Invoice Due Date”

Marks an invoice as past due immediately after the invoice due date.
24. Enable for all invoices.
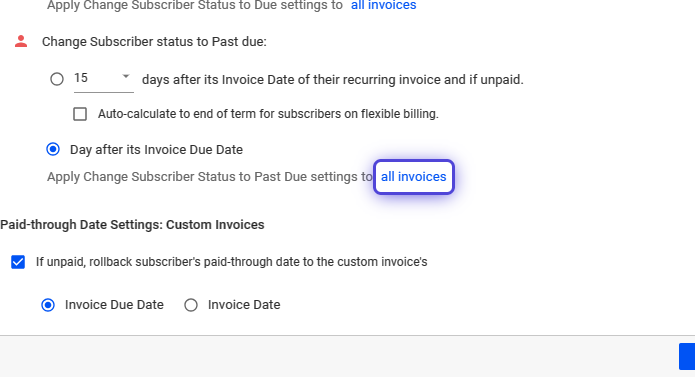
You can apply the “Change Subscriber status to Past Due” setting for all invoices, including custom ones and those with prorate/setup fees.
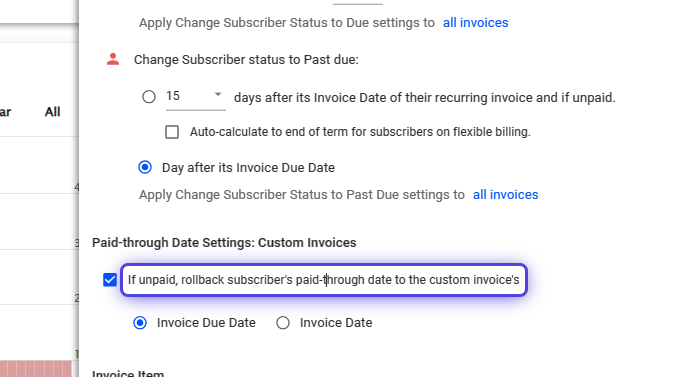
25. Click on Paid-through Date Settings: Custom Invoices
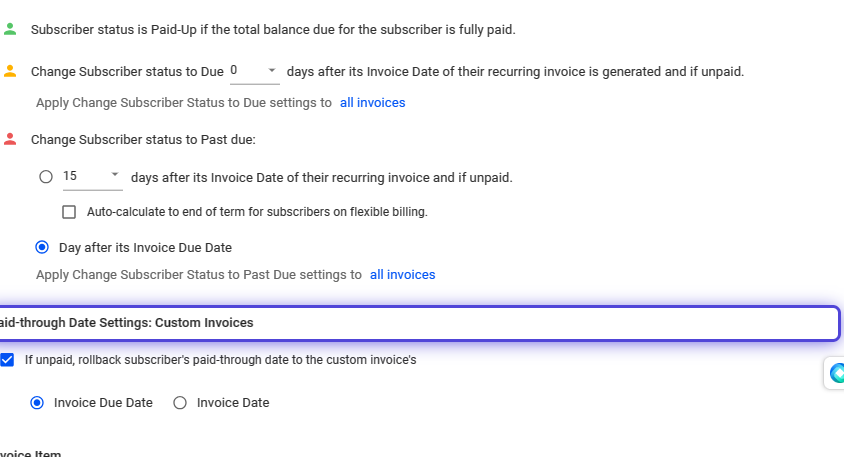
26. Click on If unpaid, rollback subscriber’s paid-through date to the custom invoice’s
Configure Paid-Through Date on Custom Invoices
27. Click on If unpaid, rollback subscriber’s paid-through date to the custom invoice’s
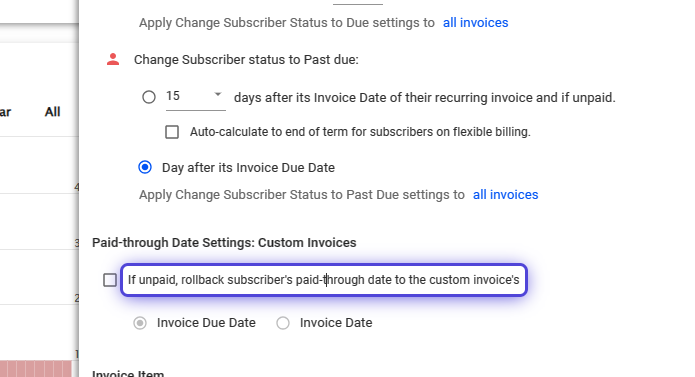
The paid-through date is the date until which the subscriber’s payment covers. By moving back the date, the system acknowledges the subscriber’s account isn’t in good standing due to an unpaid bill.
28. Select whether to roll back to the Invoice Due Date or the Invoice Date.
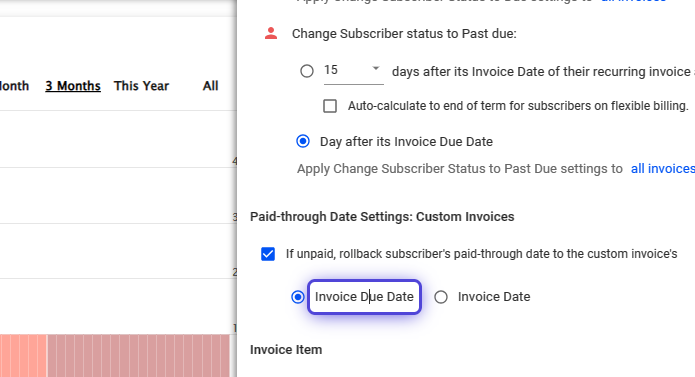
If a payment is not received by the due date, some companies might roll back services or benefits to the invoice date, effectively recognizing that the services or benefits were not paid for.
Rolling back to the “invoice date” or “due date” depends on the specific circumstances and the policies of the company.
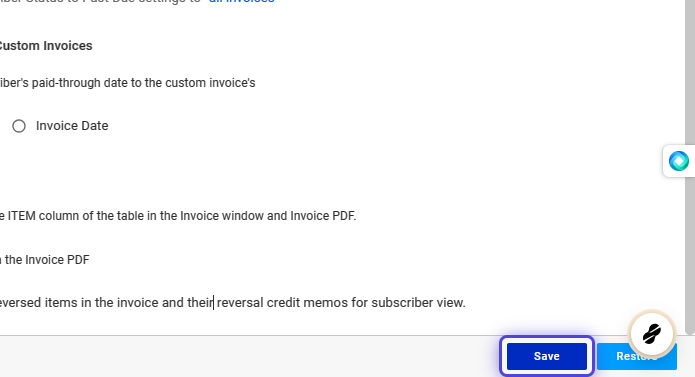
Configure Invoice Items
29. Enable or Disable the options for Invoice Items
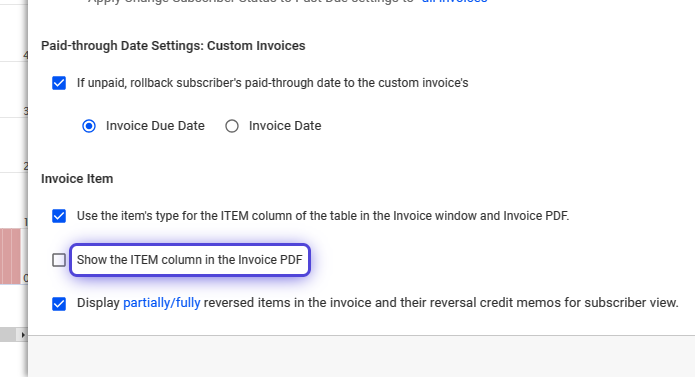
- Use the Item’s type for the ITEM column.
- In Visp, items have a specific category that can be shown as a column on system invoices.
- Show the ITEM column on the invoice PDF
- Item columns can be shown on PDF invoices.
- Display partially / fully reversed items in the invoice and their reversal credit memo.
- You can display reversal credit memos for items partially or fully reversed on an invoice, and also show the reversed items on the invoice.
30. Save your work when done.
31. Toggle “Update status for all invoices now.”\
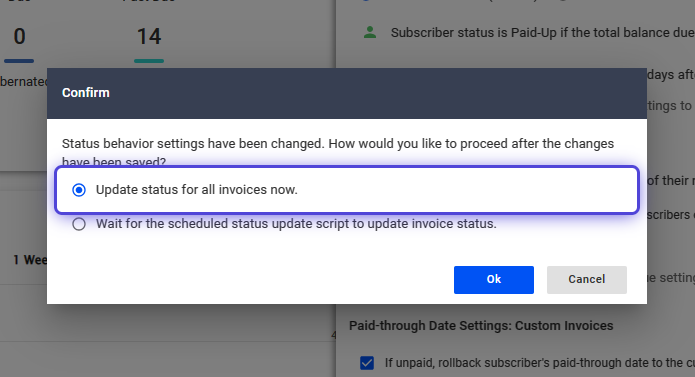
This feature lets you update all invoice statuses. With the status behavior settings changed, you can apply changes instantly.
32. Select “Wait for the scheduled status update script to update invoice status.”
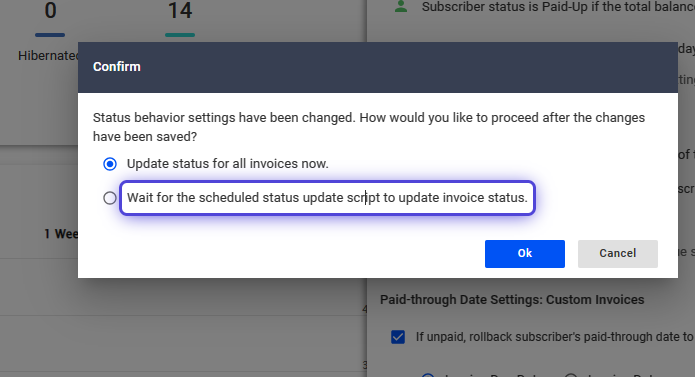
You can choose to wait for the scheduled update script to update invoices and customer status. Choosing the invoice status option allows you to rely on the regular system updates for invoice and customer status changes.
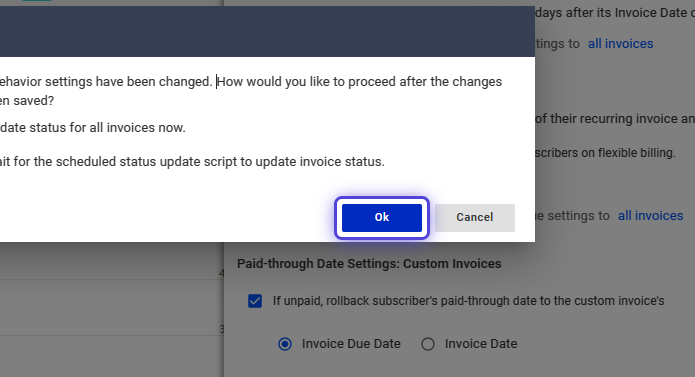
33. Click on Ok to save your changes.
💡 For more information about this and all other features in Visp, reach out to your Visp Client Success Team today.
Phone: 541-955-6900Email: success@visp.net
Open a ticket via www.visp.net/ticket