

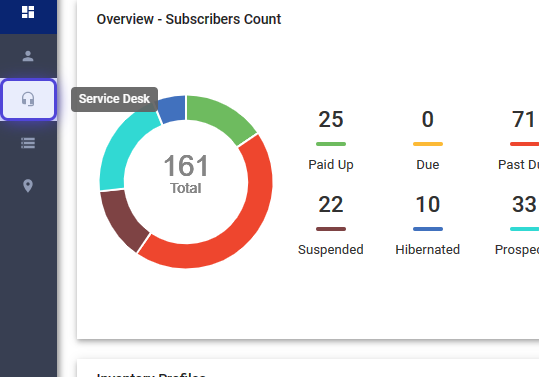
Open the Service Desk
1. Click on Service Desk
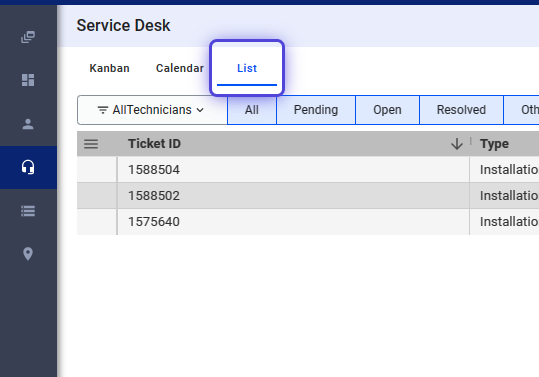
How to Sort and Organize Your Tickets?
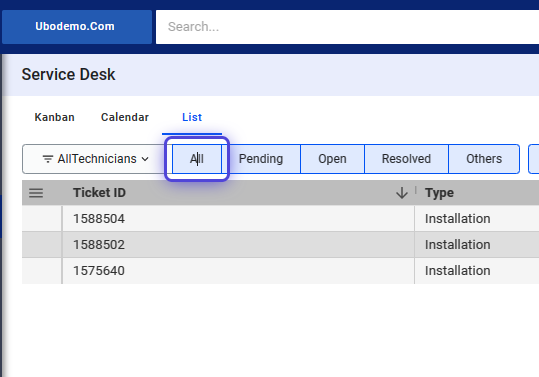
2. Select List
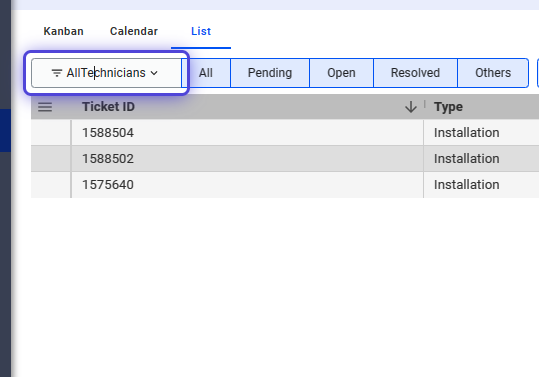
3. Click on All Technicians.
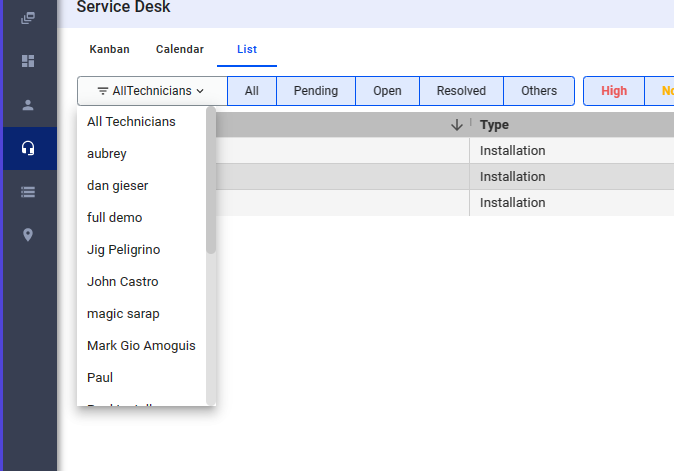
4. Use the dropdown to select the technician and view that technician’s ticket list.
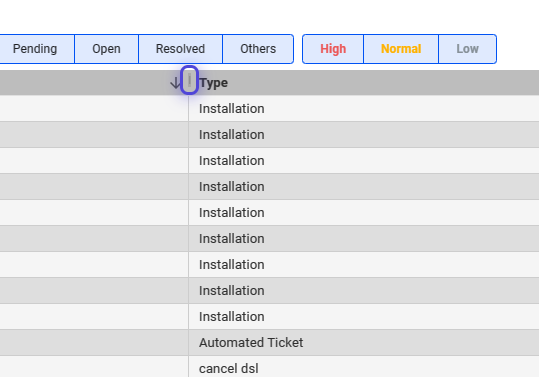
5. Use the status buttons to sort tickets based on status.
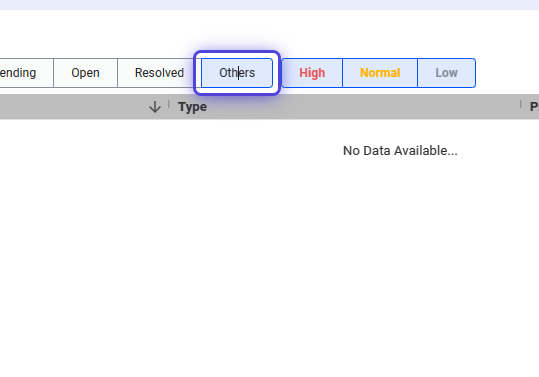
6. Click on Others
7. Use the dropdown to toggle tickets based on custom status.
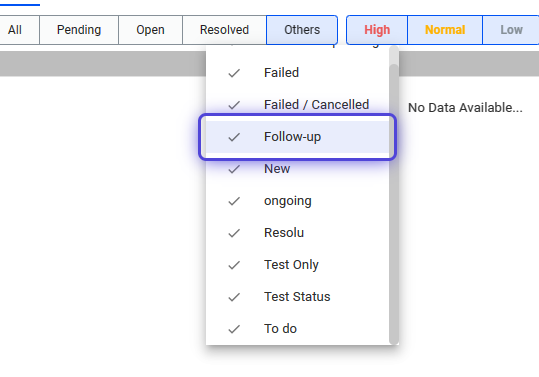
Use the Kanban board to assign custom status to tickets.
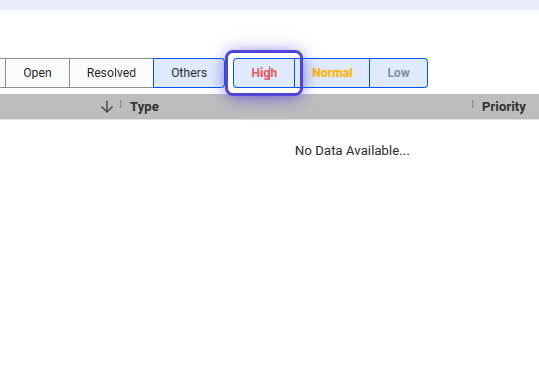
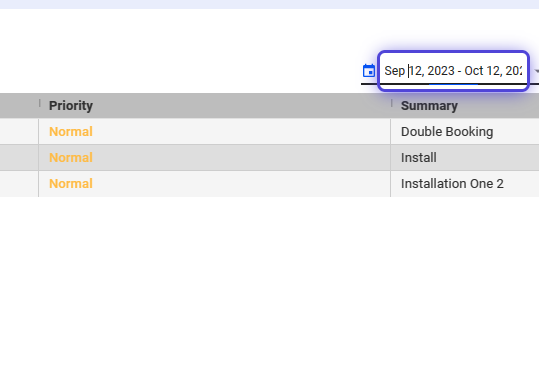
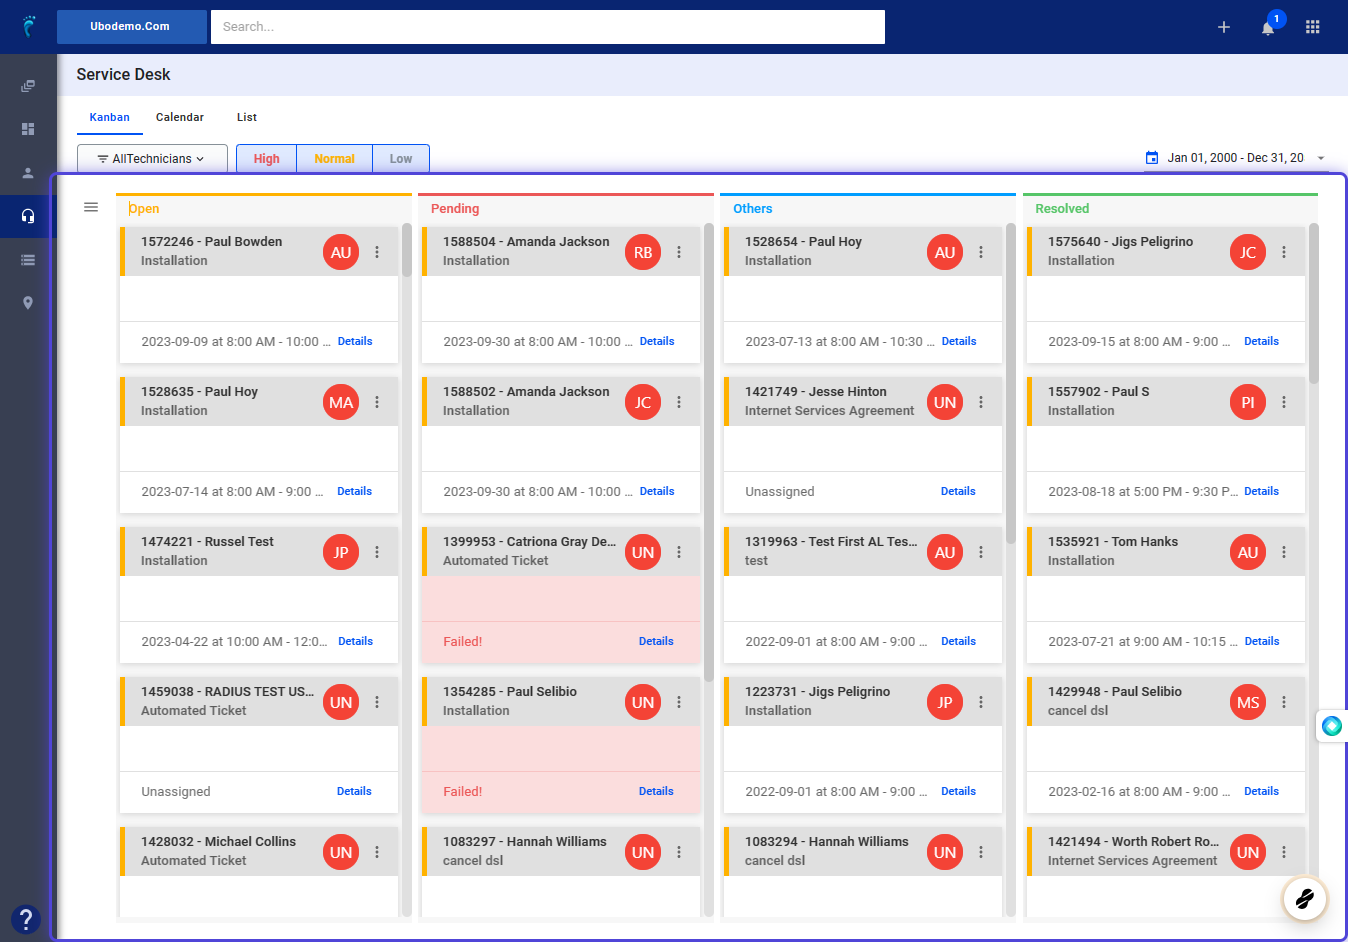
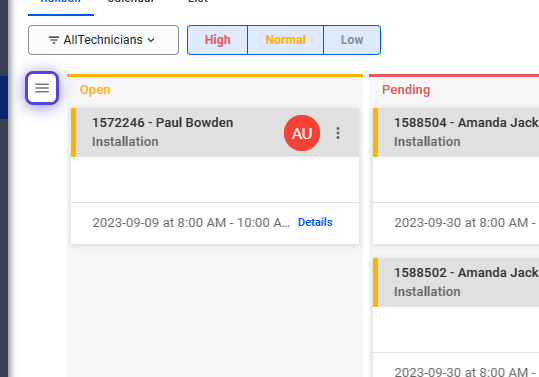
8. Click on the priority buttons to sort by priority.
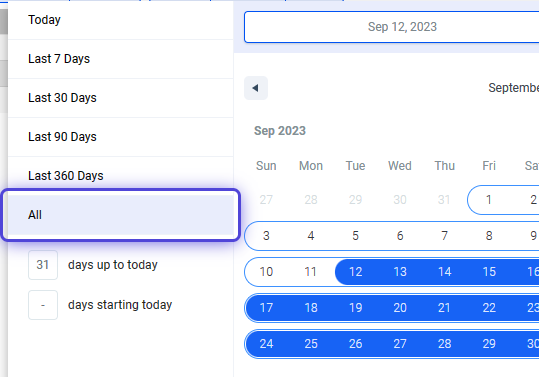
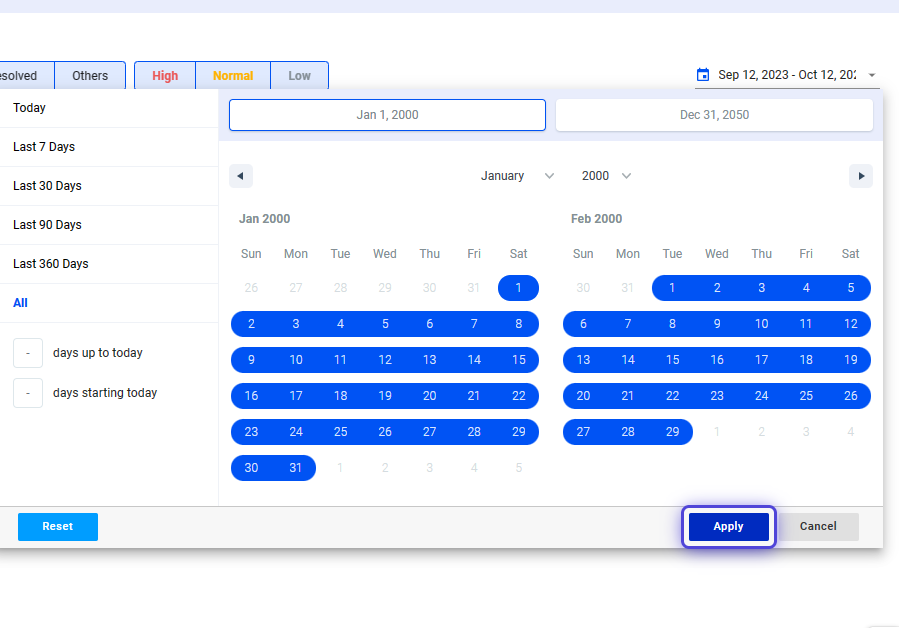
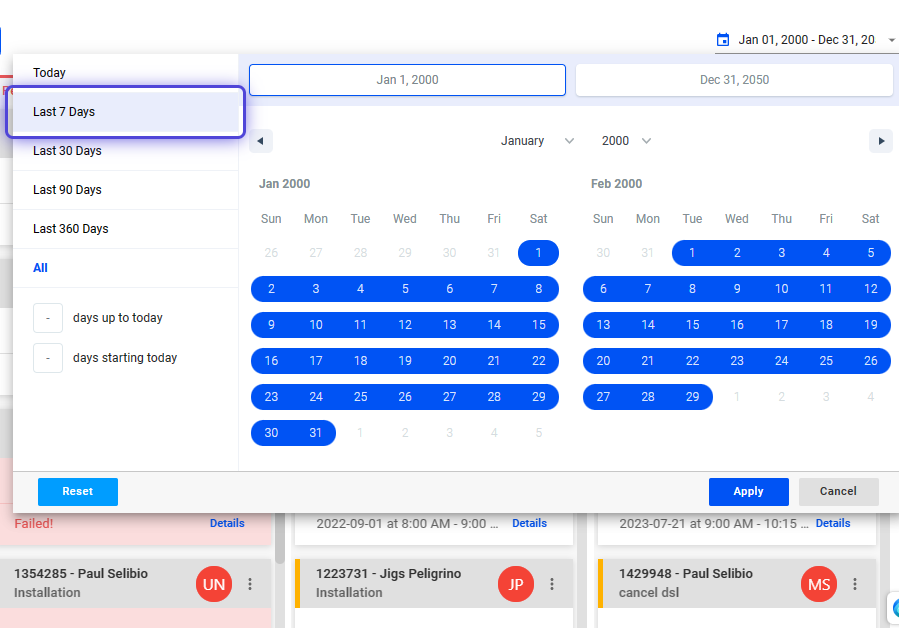
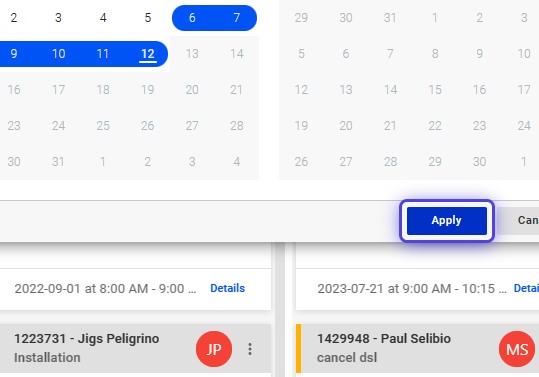
9. Click on the date field.
10. Use the date picker to select a date or choose from the custom schedules on the left sidebar.
11. Click on Apply to save your changes.
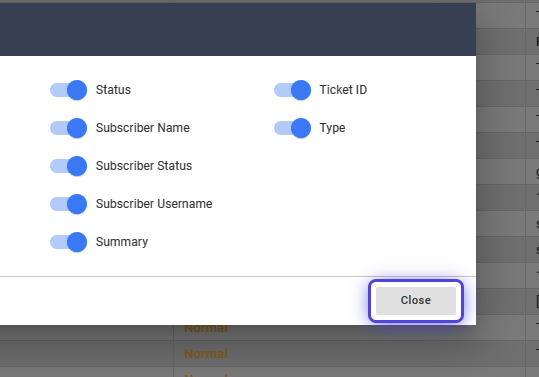
How to Customize Columns?
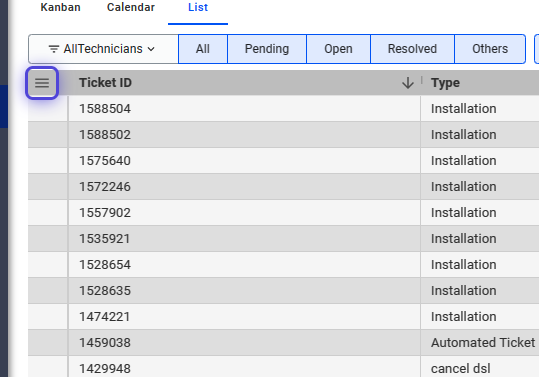
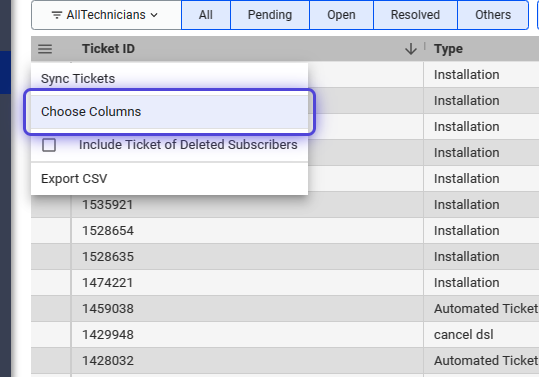
12. Click on the hamburger menu.
13. Select Choose Columns
14. Enable the fields you want to display.
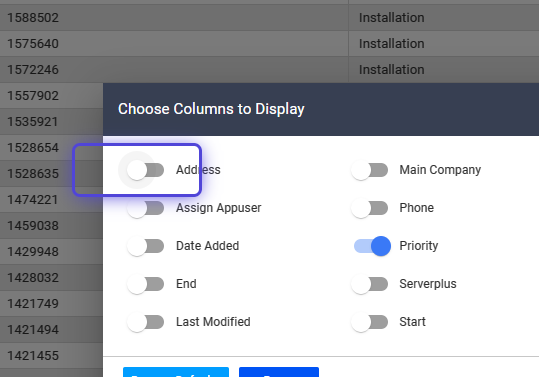
15. Disable the columns you want to hide.
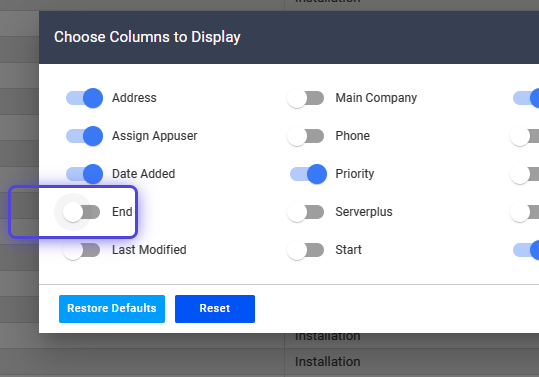
16. Click on Restore Defaults to restore to the last saved configuration.
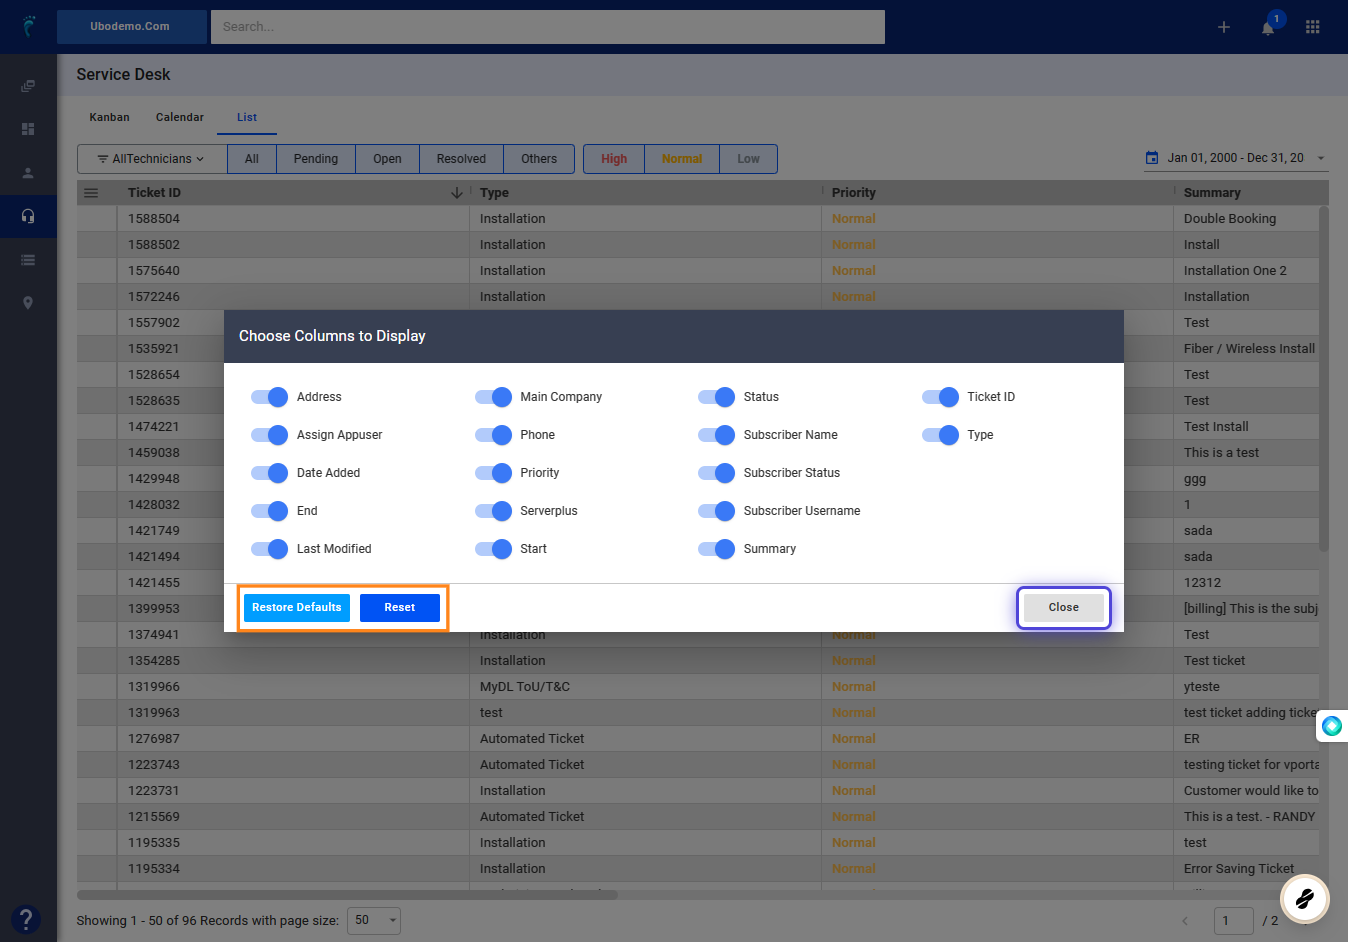
Click Reset to restore the system-defaults.
17. Click on Close to save the changes.
18. Adjust column headers by clicking and dragging the separator.
Export CSV Reports
19. Click on the Hamburger menu.

20. Click on Include Ticket of Deleted Subscribers
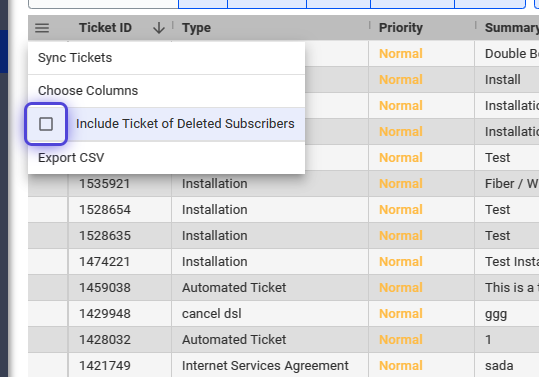
This will load all tickets within a given date range, for a given status or priority, including those from Deleted Subscribers.
21. Click on Export CSV
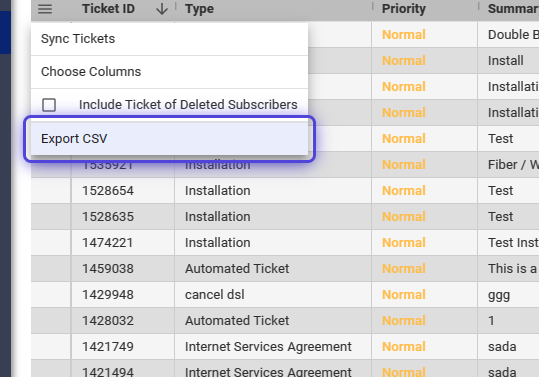
A CSV file will automatically be downloaded, containing the columns and tickets on your current selected data sets.
Ticket Calendar View
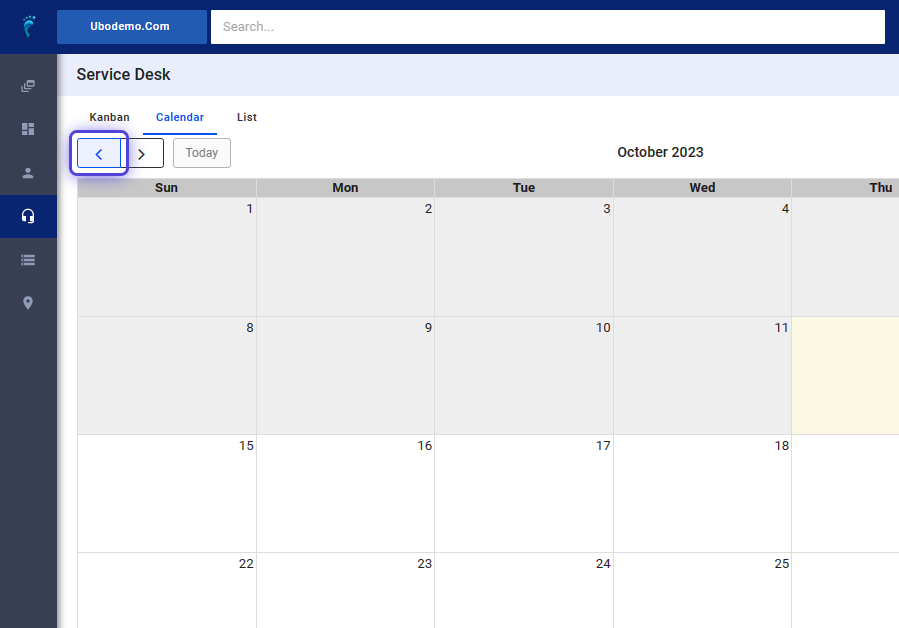
22. Click on Calendar
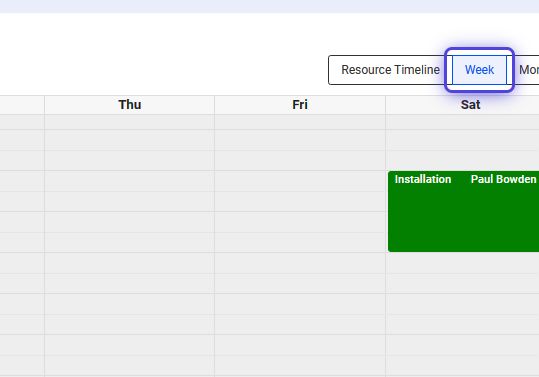
 23. Click on Week
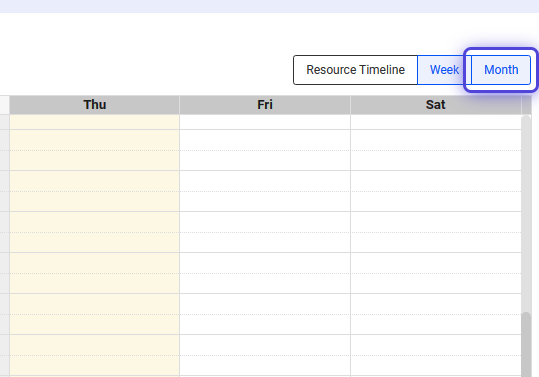
24. Select Month to display all tickets within a 30-day period.
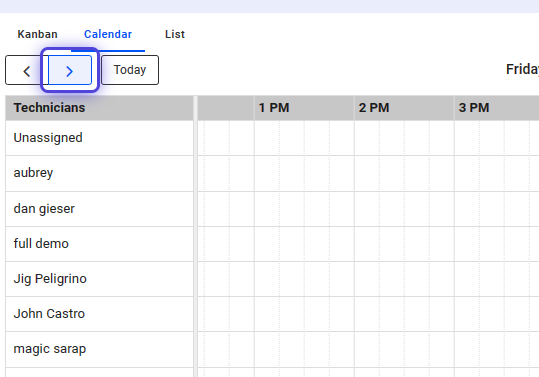
25. Press the left and right arrows to navigate the calendar view forwards or backwards from the present date range.
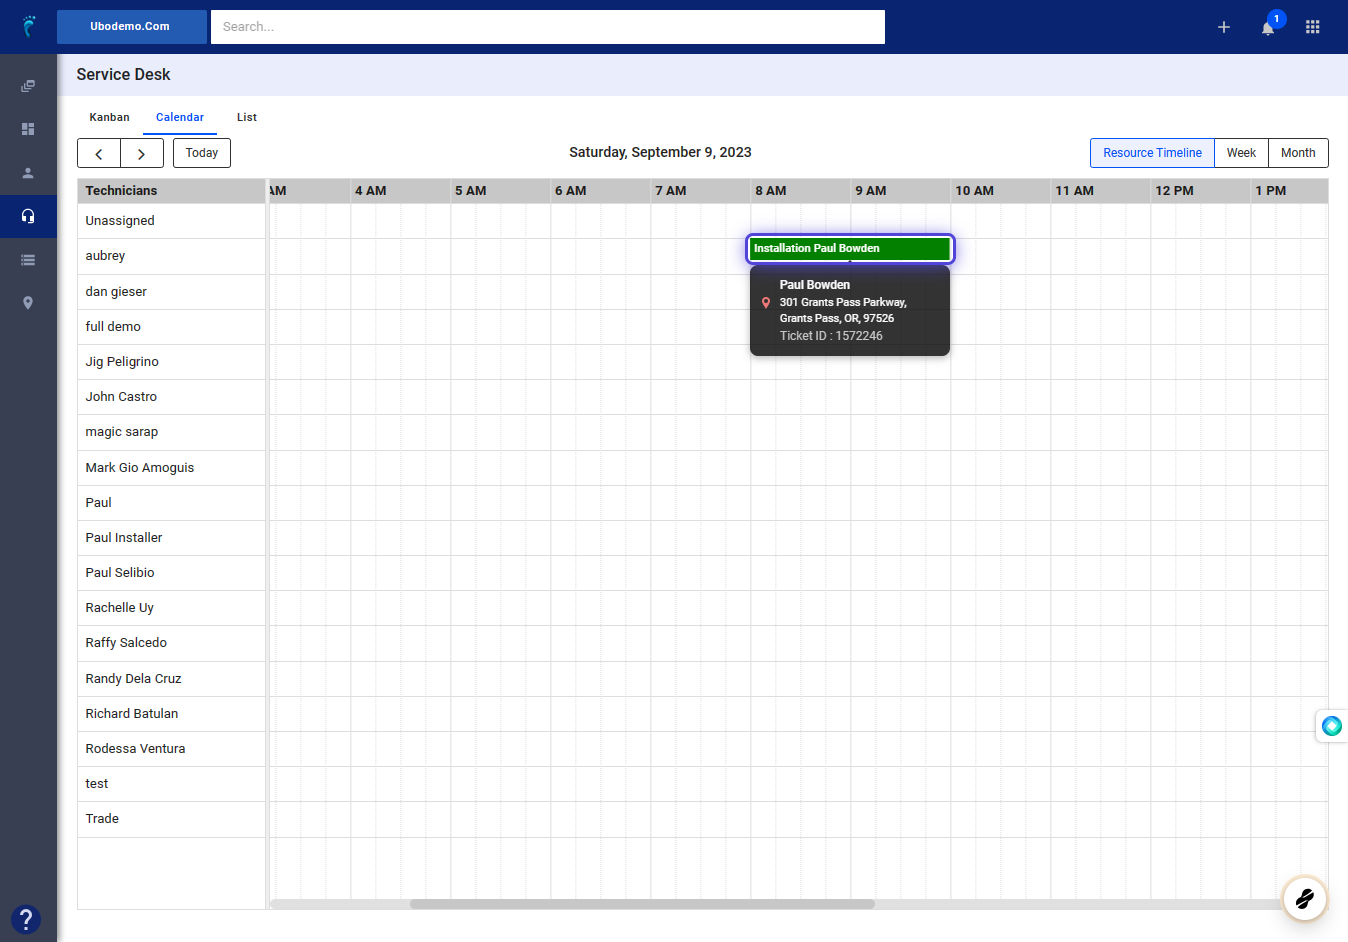
26. The Resource Timeline functionality allows you to view technician schedules on an hourly basis for a specific date.
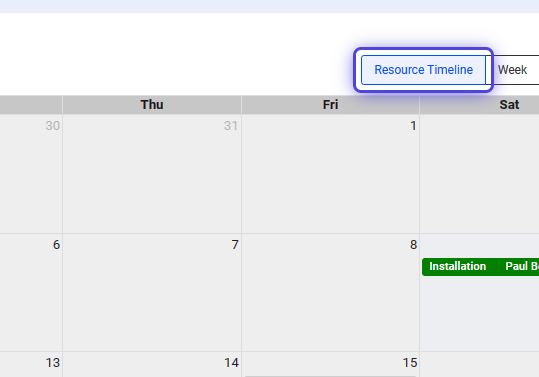
27. Use the left and right arrow keys to move through the Resource Timeline view one day at a time, either forward or backward.
28. In the Resource Timeline display, you can confirm if schedules overlap or examine the technician’s availability on an hourly basis.

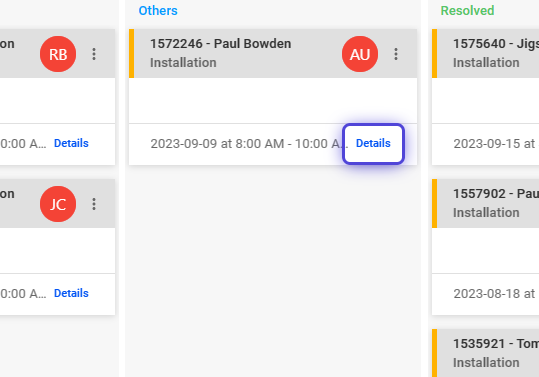
29. Hover over tickets to view additional details.
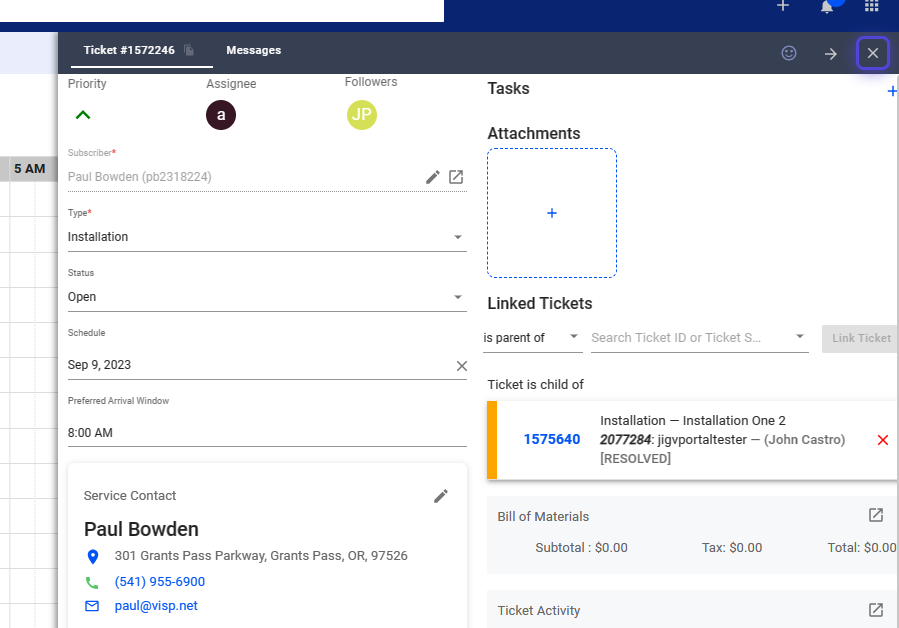
30. Or click on a ticket to view all details.
Click on the X icon on the ticket to close the panel.
Ticket Kanban View
31. Click on Kanban
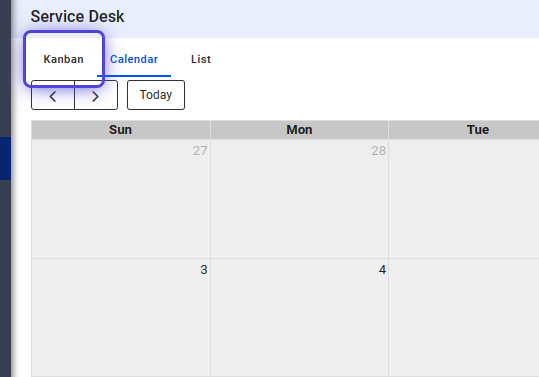
32. The Kanban View allows you to view tickets based on their status of progress.
33. Click on the date field.

34. Use the date picker for selecting a date, or select from one of the custom schedules available on the left sidebar.
35. Click on Apply to save your changes.
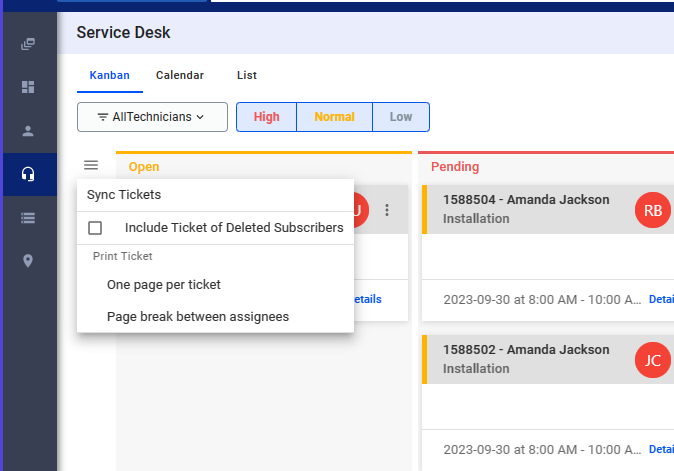
36. Click on the Hamburger menu.
37. Explore options for syncing tickets with Google Calendar, or see the toggles for showing deleted subscriber tickets, and the options for printing.
38. Click and hold a ticket from one column.
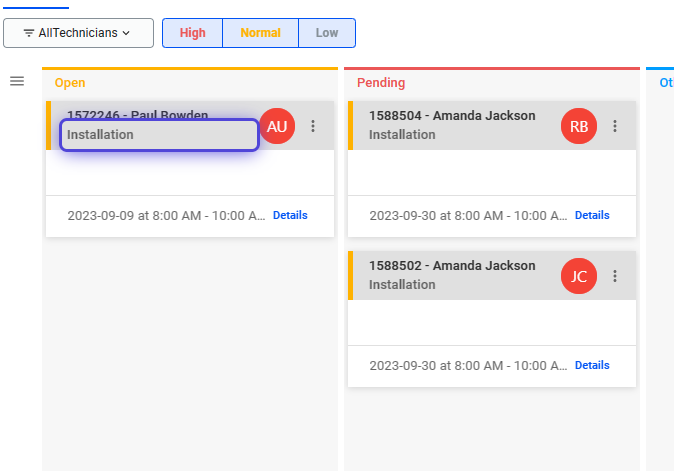
39. Move the ticket to another column.
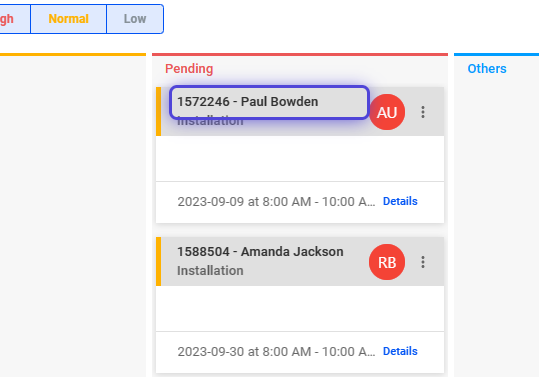
40. Move the ticket to the “Others” column.
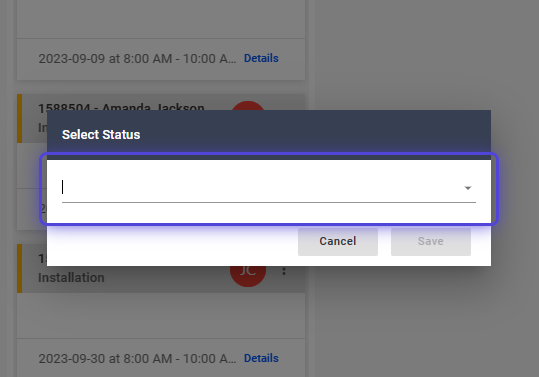
A Select Status field opens.
41. Click on the dropdown.
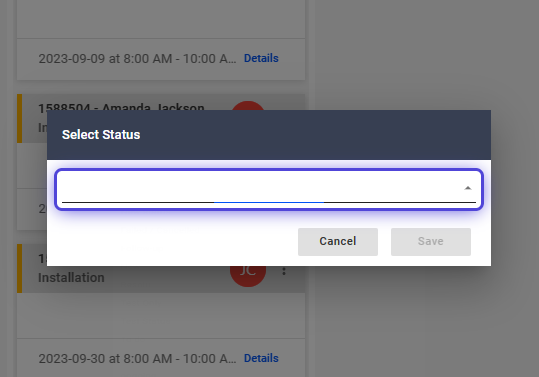
42. Use the dropdown to select a status for the ticket.
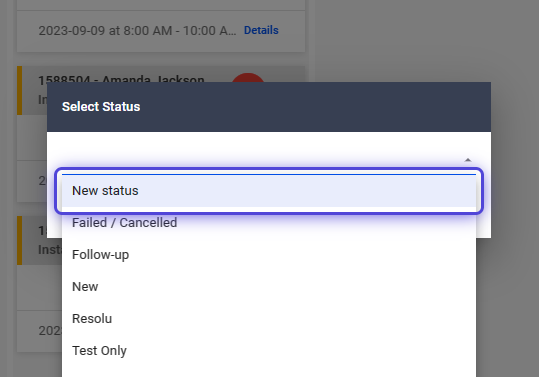
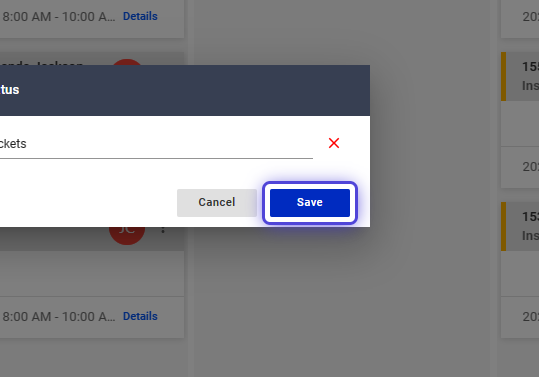
Click on “New status” to assign a new one.
43. Click on Cancel to discard the changes.
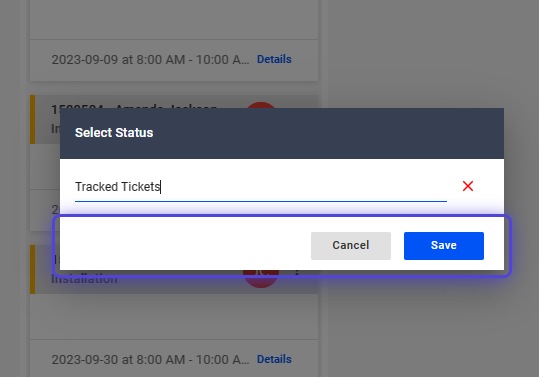
44. Press the Save button to generate a new status and associate your ticket with it.
Moving Tickets to the Resolved Column in Kanban View
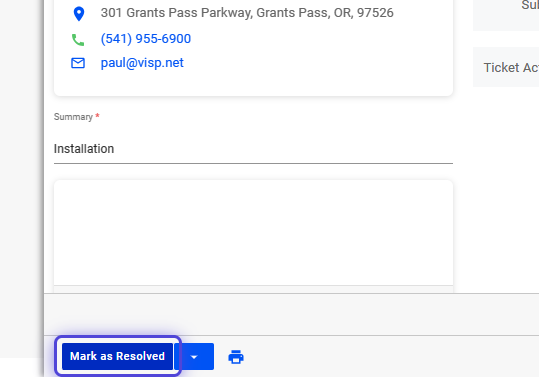
45. Click on Details to open the full ticket view.
46. Hit “Mark as Resolved.”
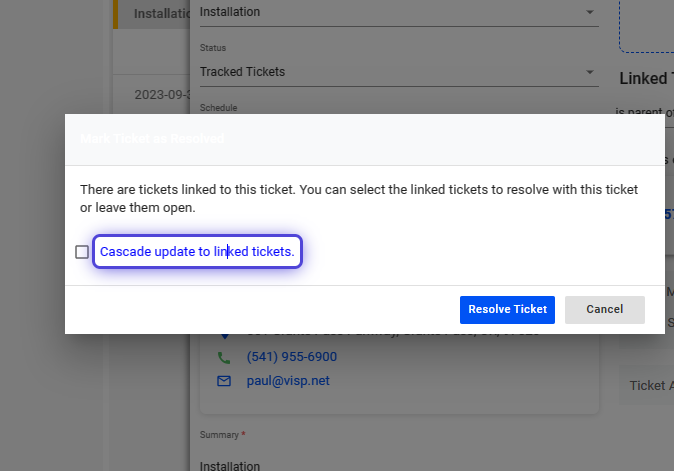
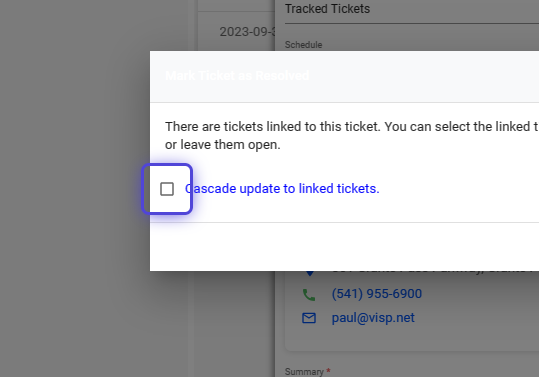
47. In case of linked tickets, you have the option to Resolve them as well. To see linked tickets, click on “Cascade update to linked tickets.”
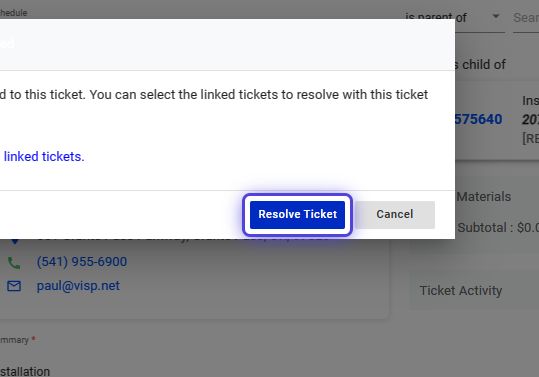
48. If you want to apply changes to every linked ticket, toggle the “Select All” option.
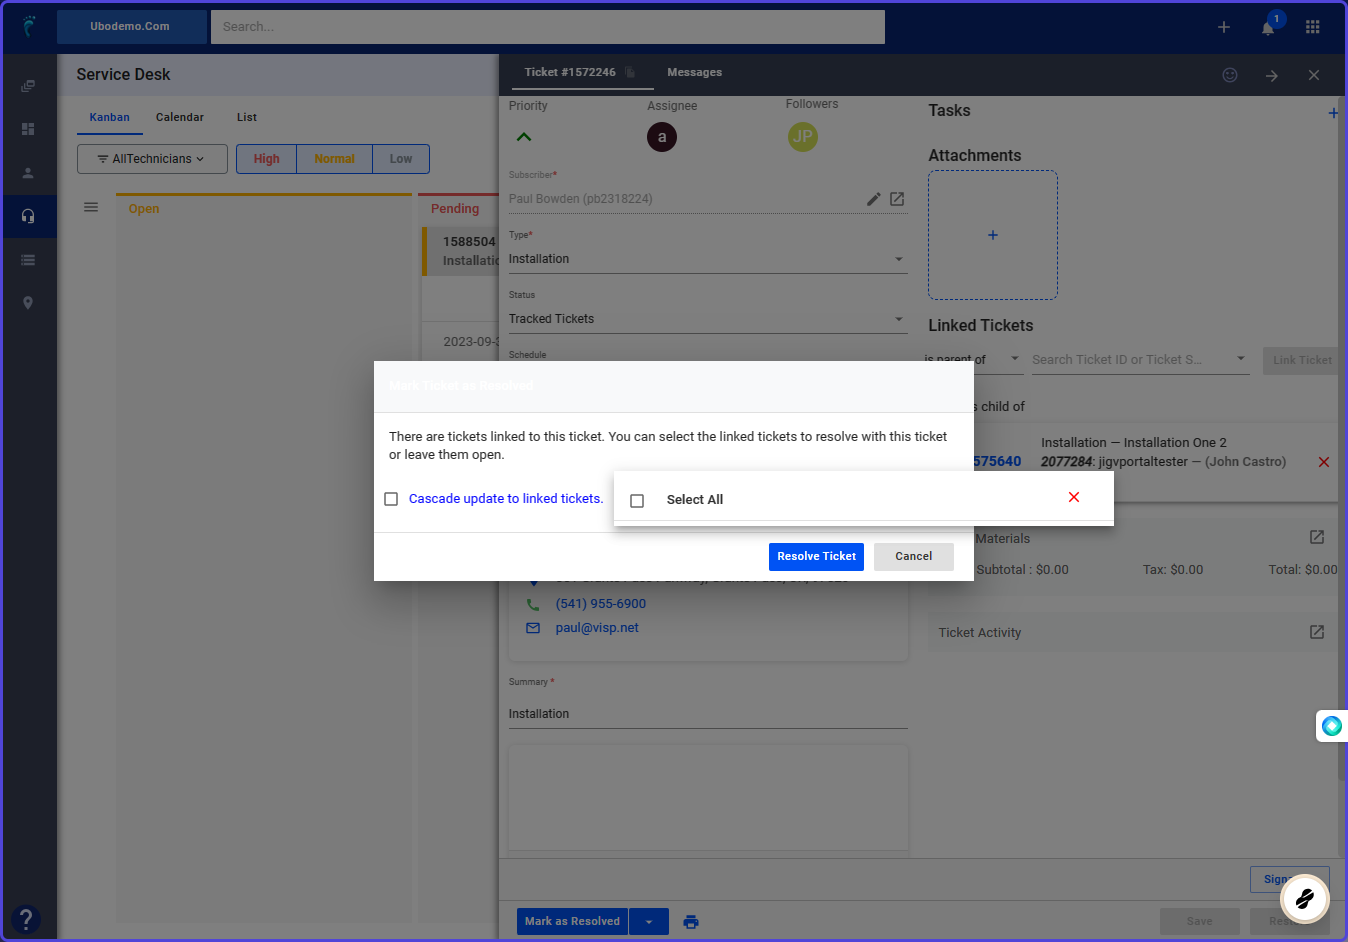
49. Enable the “Cascade update to linked tickets.”
50. Click on “Resolve Ticket.”
51. You can send email notifications regarding changes made to the tickets.
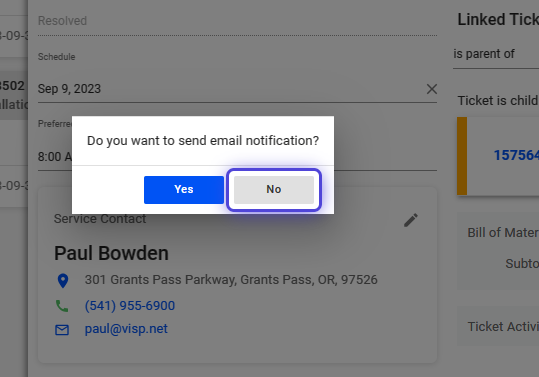
Click Yes , to send. Or click, No , to skip sending email notifications.
52. Click on the X icon to close the panel.
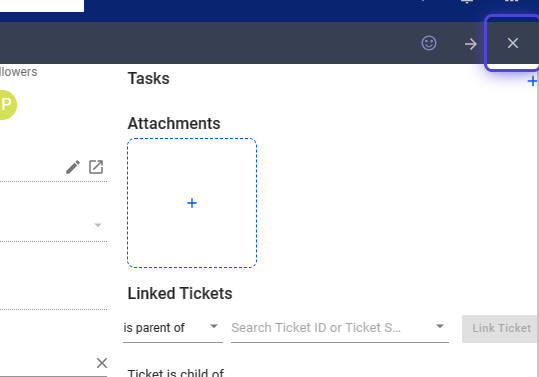
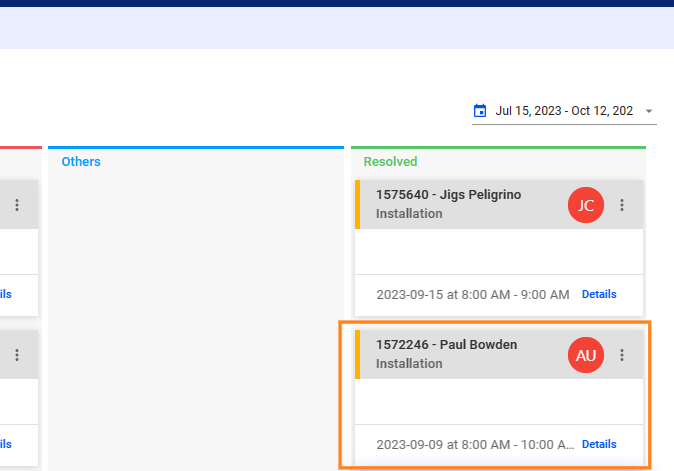
53. Upon refreshing the webpage, you will now see your ticket displayed in the Resolved section.
💡 For more information about this and all other features in Visp, reach out to your Visp Client Success Team today.
Phone: 541-955-6900
Email: success@visp.net
Open a ticket via www.visp.net/ticket