

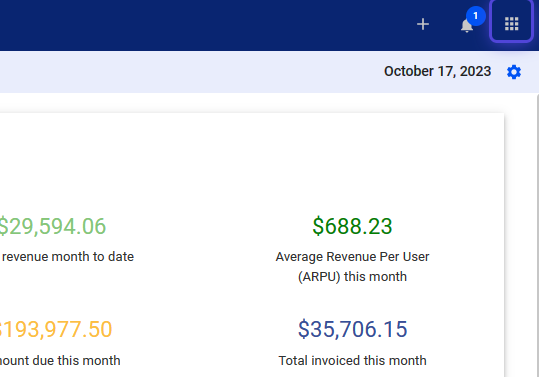
A Chart of Accounts (COA) is crucial for organizing your finances. It contains five main Types : assets, liabilities, equity, revenue, and expenses. Each account has a unique Code for easy classification in the general ledger, which can be numeric, alphanumeric, or a combination. Also, add a Description for each account to explain its purpose.
Importance of a Chart of Account
- A well-structured COA ensures reliable financial reports like balance sheets and income statements.
- Financial analysis: Categorized data helps reveal insights into business performance and areas needing improvement.
- Internal controls: COAs clarify responsibilities for different accounts and prevent mistakes.
- Compliance: Following accounting standards like GAAP often requires a properly organized COA.
Chart of Accounts is essential for effective financial tracking, decision-making, and maintaining accurate records.
Access Chart of Accounts
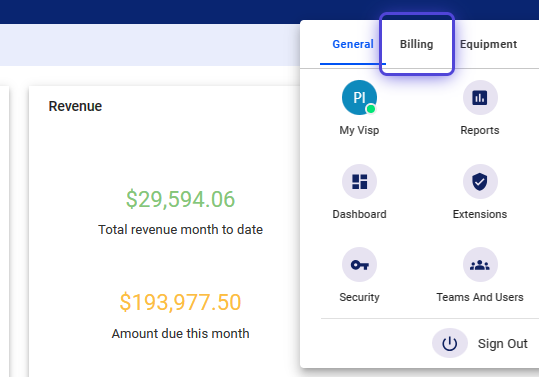
1. Click the nine-dot menu in the upper right corner to open the Visp Admin Page.
2. Click on Billing
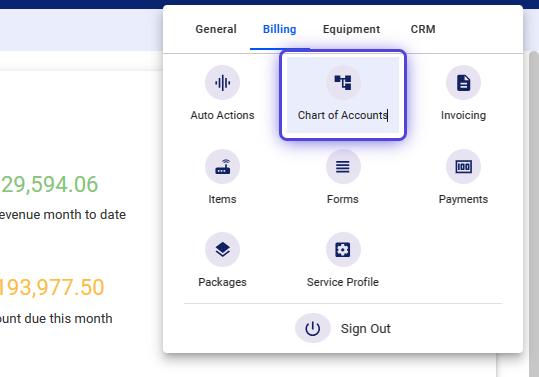
3. Select Chart of Accounts
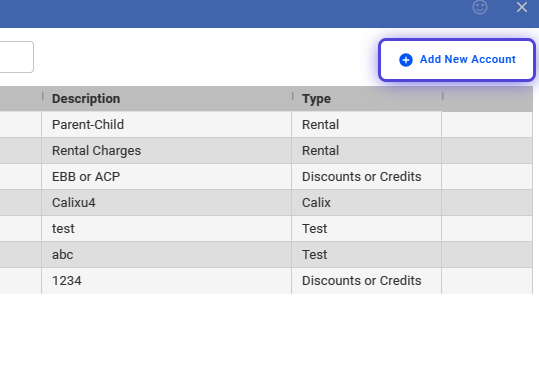
Add New Chart of Account Category
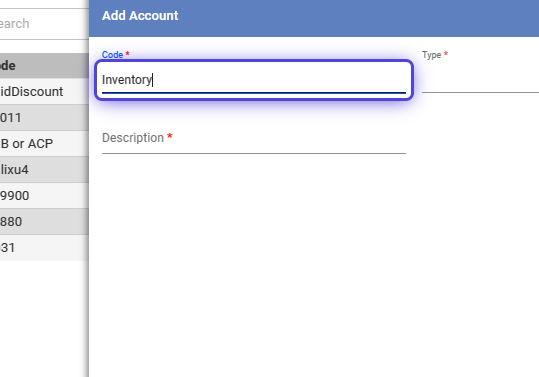
4. Click on Add New Account
5. Input a Unique Code
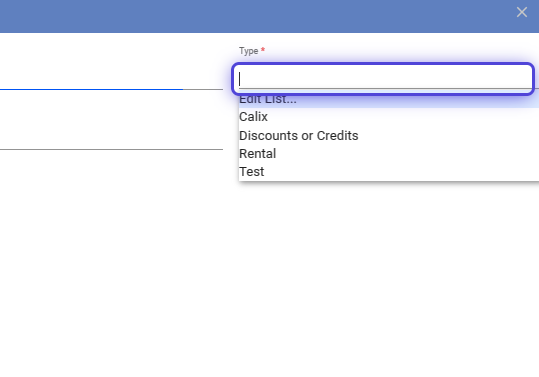
6. Select an Account Type
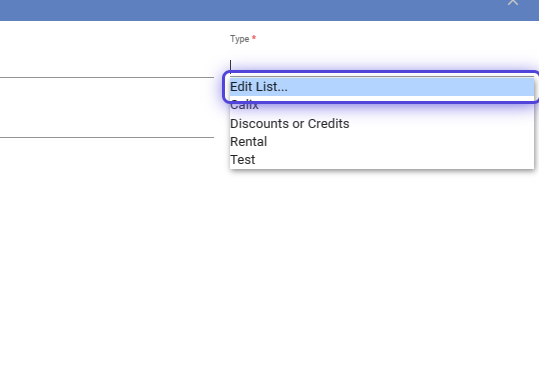
7. Click on Edit List to update the existing types.
8. Click on the blue plus icon to add additional account types.
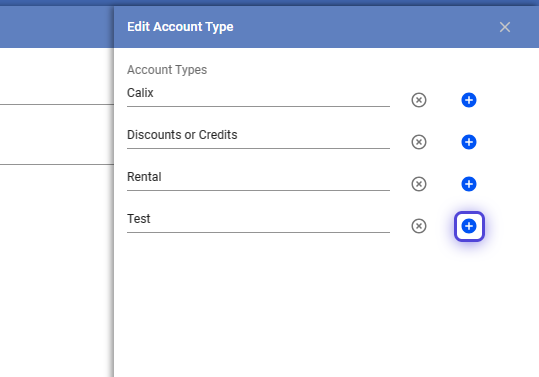
9. Save your work when done.

10. Back in the Type field, select the new type added.

11. Add an explanation for this account type.
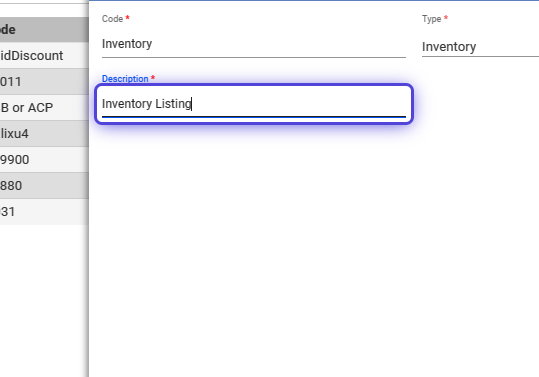
12. Click on “Add” to save.

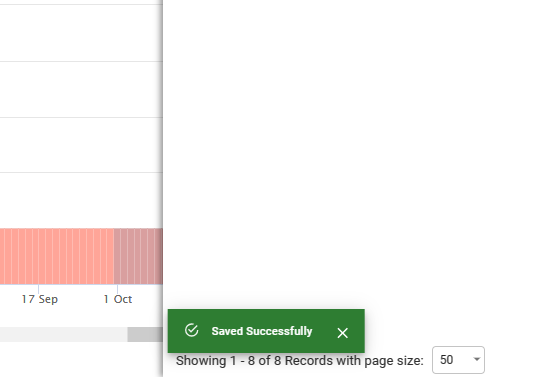
13. Prompt “Saved Successfully” Appears
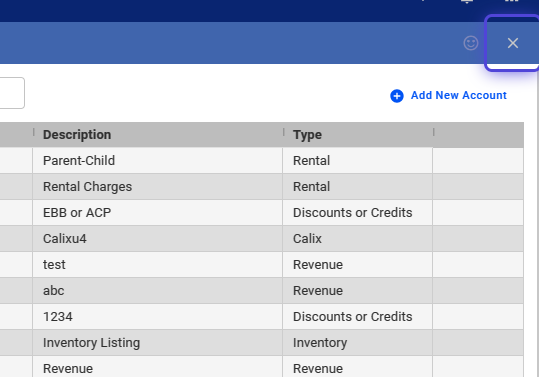
14. Click on the X icon to close the panel.
Set Chart of Accounts on an Item
15. Click the nine-dot menu in the upper right corner to open the Visp Admin Page.

16. Click on Billing

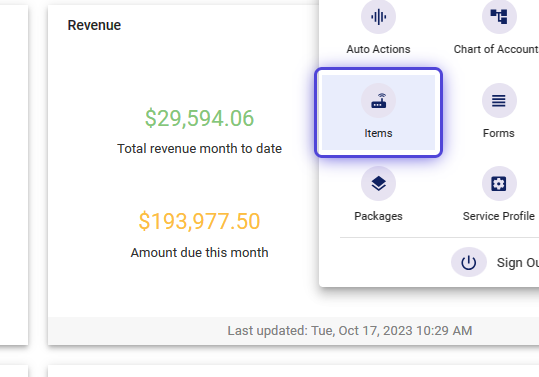
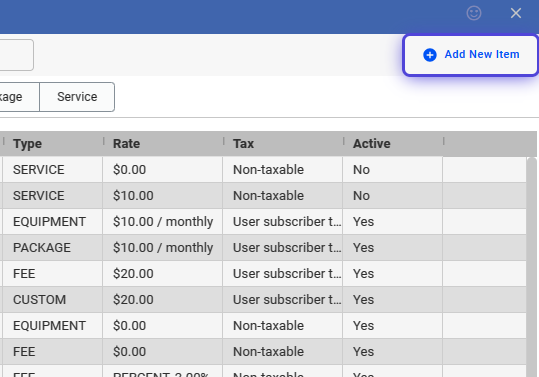
17. Select Items
18. Click on Add New Item
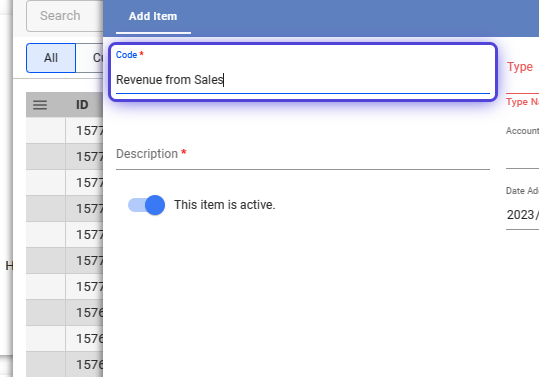
19. Add a Code
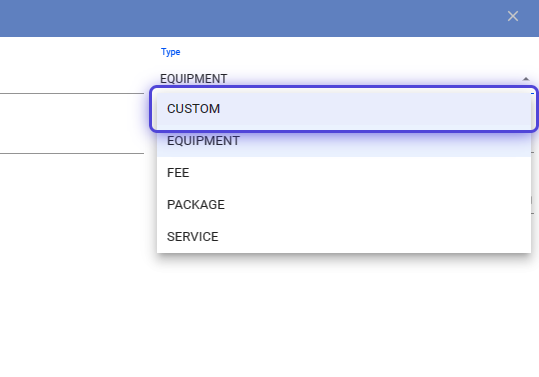
20. Use the dropdown and select the item Type.
21. Ensure that the item is active.
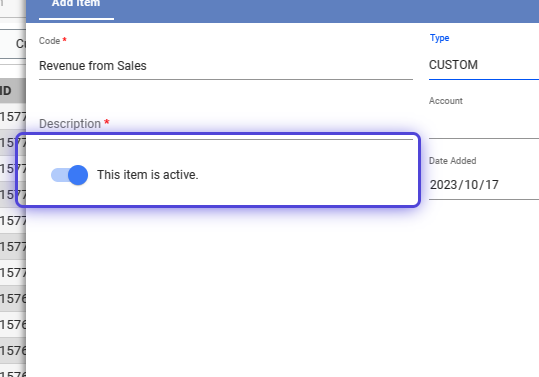
22. Input the item Description
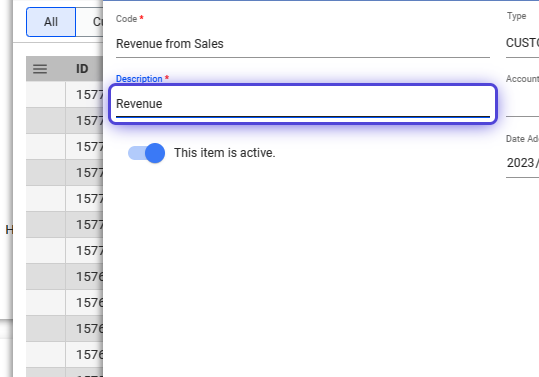
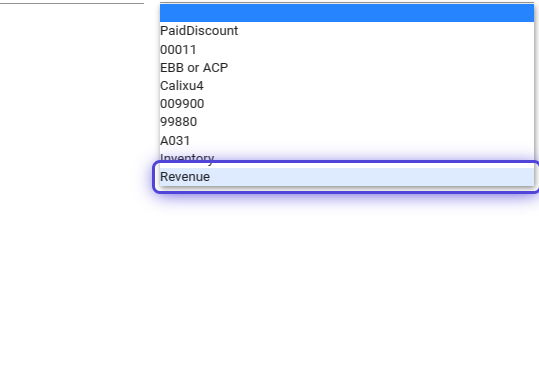
23. Use the dropdown to assign the item to a Chart of Account.

24. Click on Revenue
25. Click on Add, to save your changes.

Additional Steps
26. Click on the Rates tab, and input a value for the item.
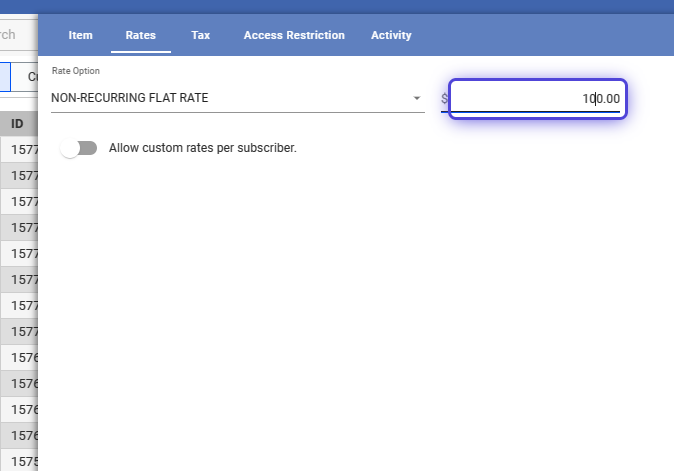
27. Save your work when done.

Add an Item (with Chart of Accounts)
28. Click on the Subscriber’s List
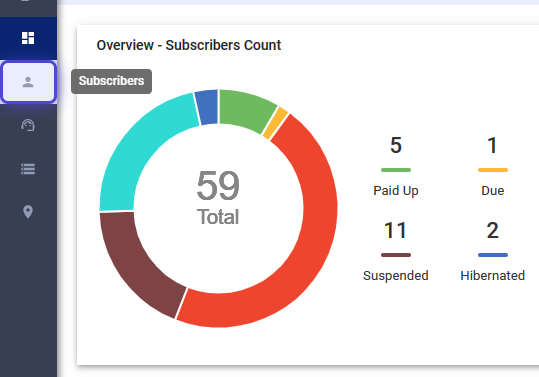
29. Search for the subscriber or select from the list.

30. Click on an Open Invoice and add an +Other Item
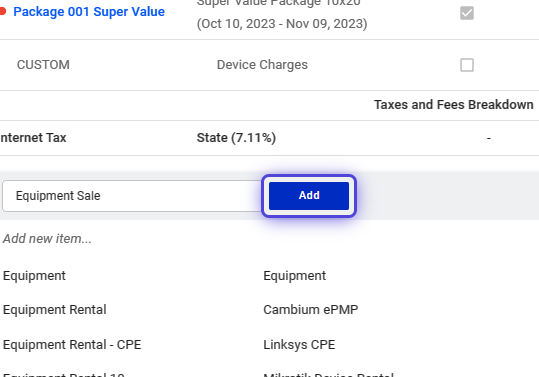
31. Select the item that you added and configured with a Chart of Account
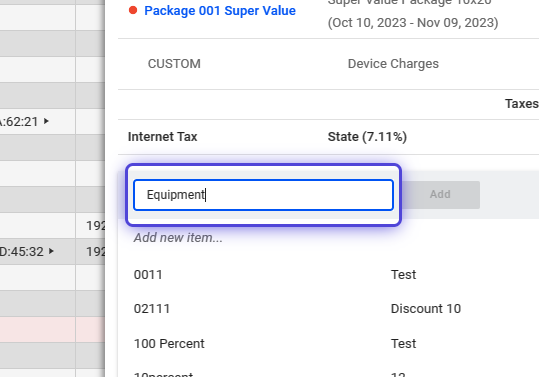
32. Click “Add”, to add the item to the invoice.
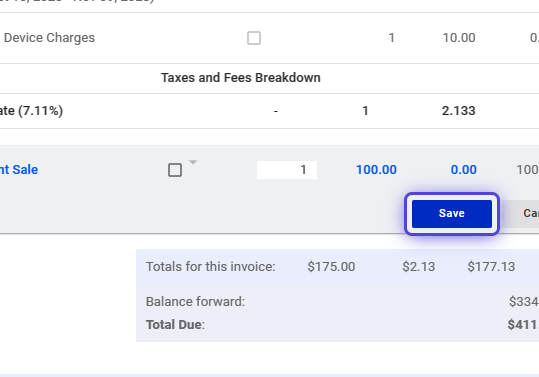
33. Save your work when done.
Confirm Chart of Account Entry in Reports
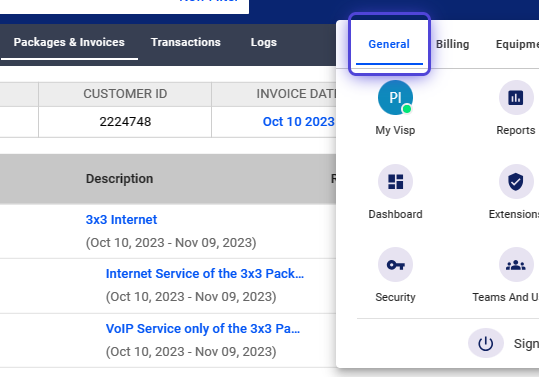
34. Click the nine-dot menu in the upper right corner to open the Visp Admin Page.
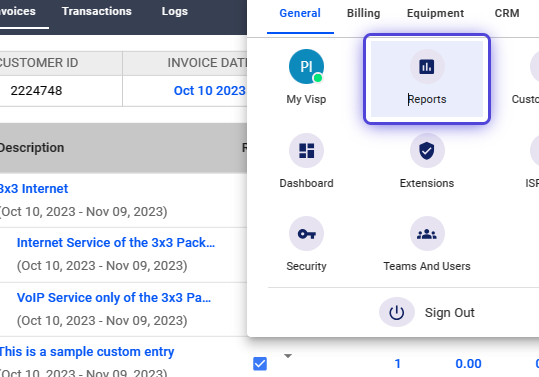
35. Click on General
36. Select Reports
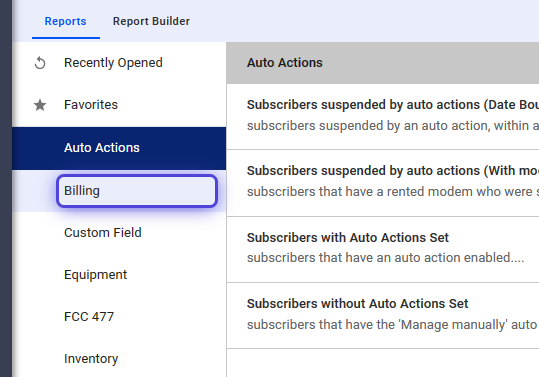
37. From the Reports page, select Billing.
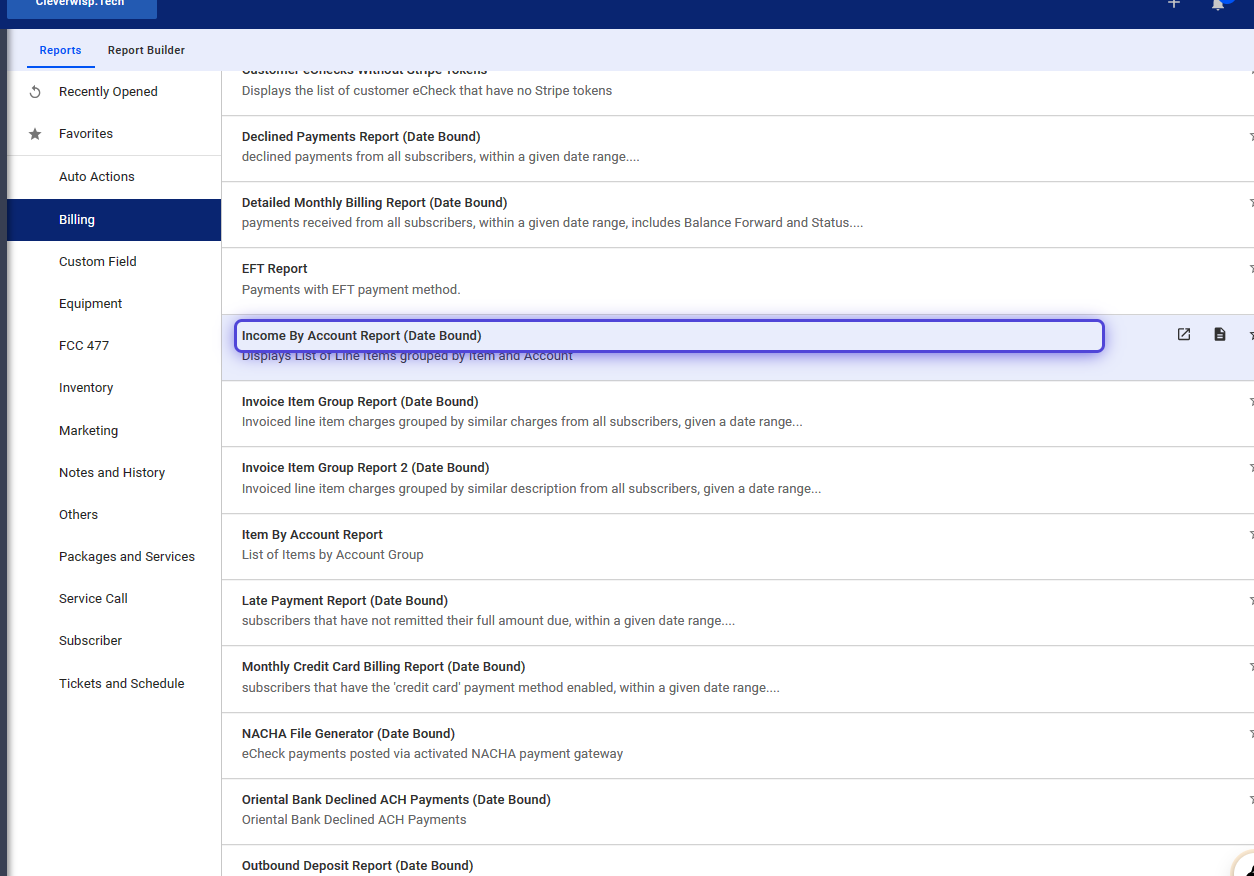
38. Select “Income By Account” Report (Date Bound)
39. Search for the Account Type or Category for the Chart of Account.
In the example, we used “Revenue”
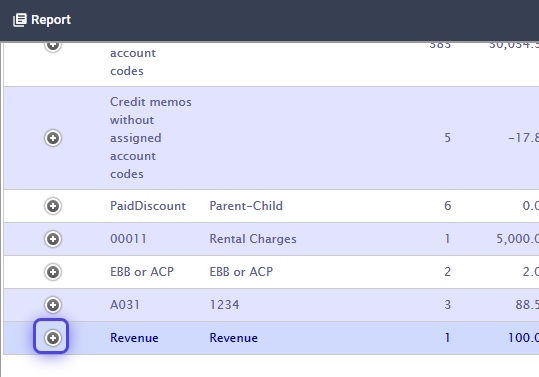
40. Click on the gray + / – icon to maximize or minimize the report.
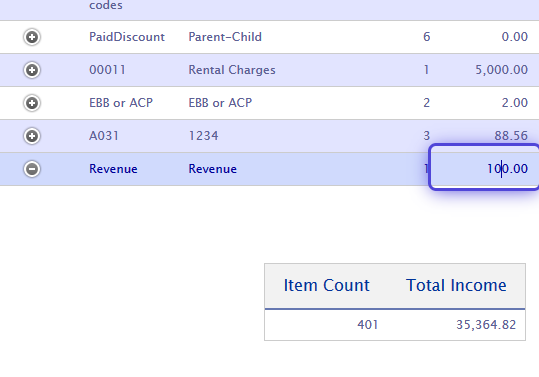
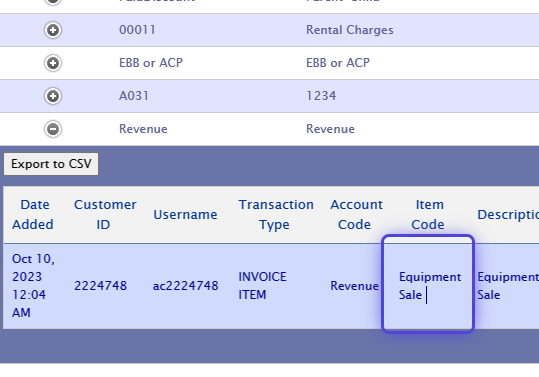
41. Verify that the Chart of Account contains the code for the newly added item.
💡 For more information about this and all other features in Visp, reach out to your Visp Client Success Team today.
Phone: 541-955-6900Email: success@visp.net
Open a ticket via www.visp.net/ticket