

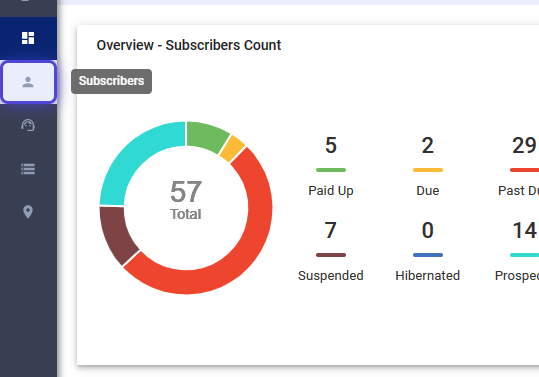
1. Click on Subscribers
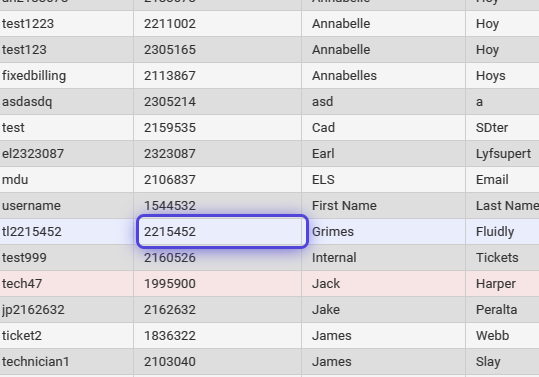
2. Search for the subscriber or select from the list.
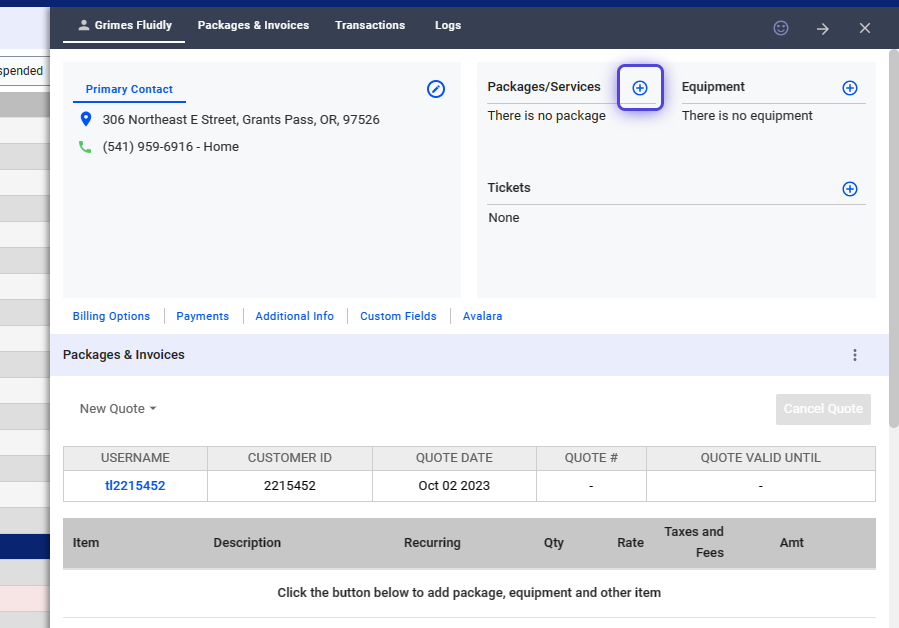
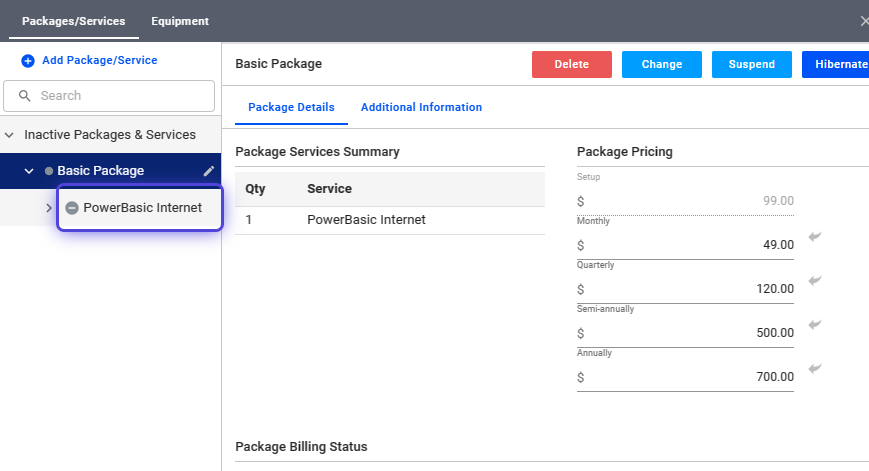
3. Click on the plus icon in the Packages/Services section.
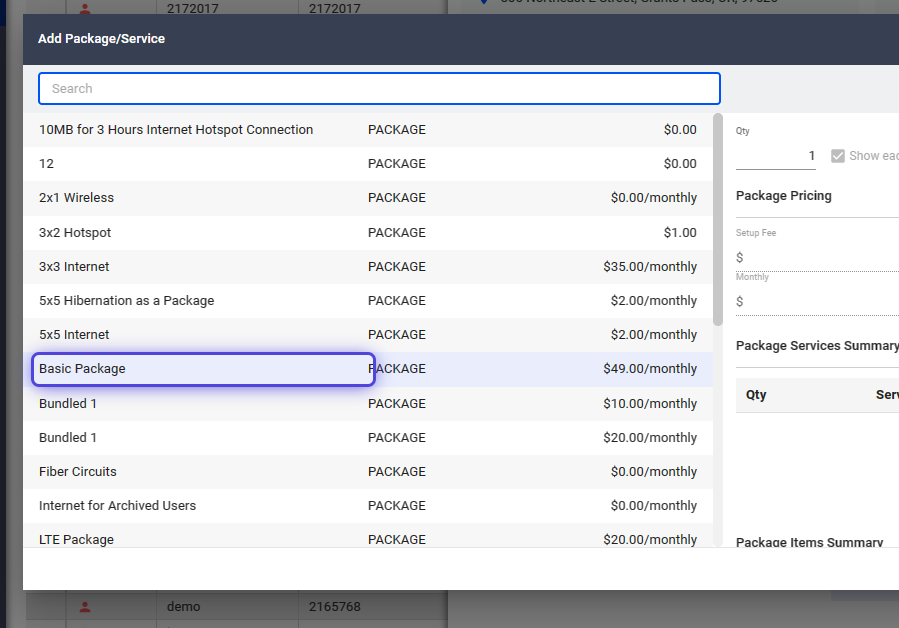
4. Using the pop-up list of Packages/Services, select a package.
5. Click on Add and Configure

How to Set the Bill Start Date and Invoice for the Package?
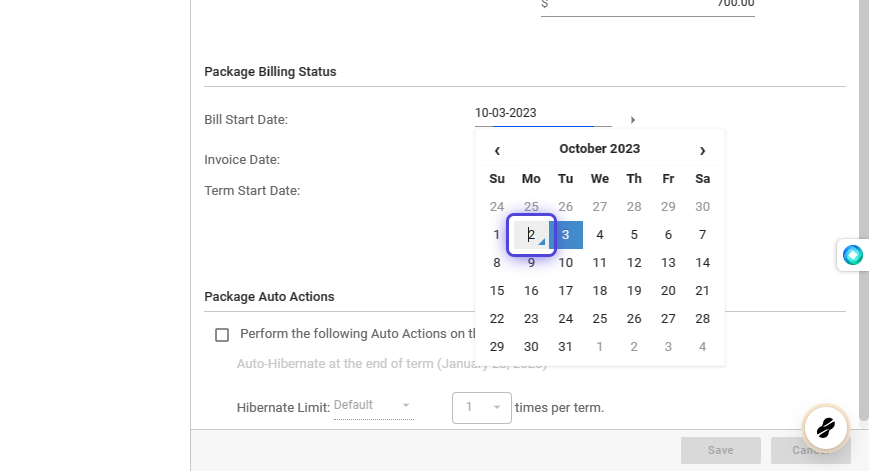
6. Click on the Bill Start Date field.
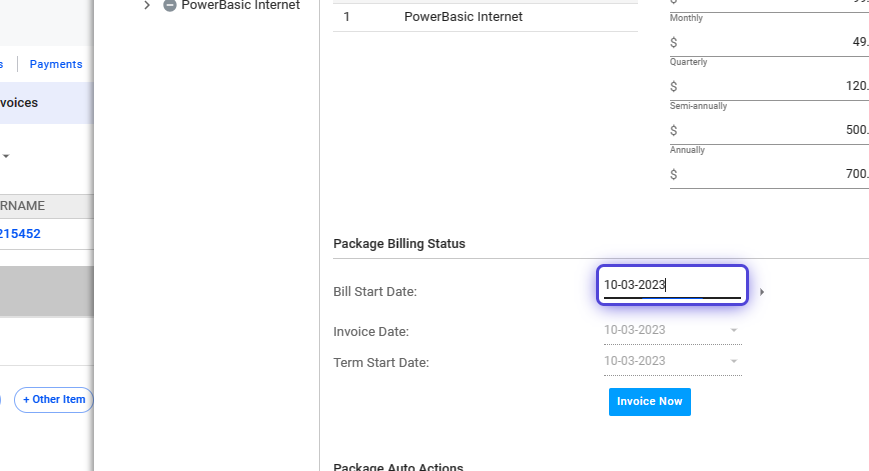
7. Use the calendar to select the current date or the date when the package should start billing.
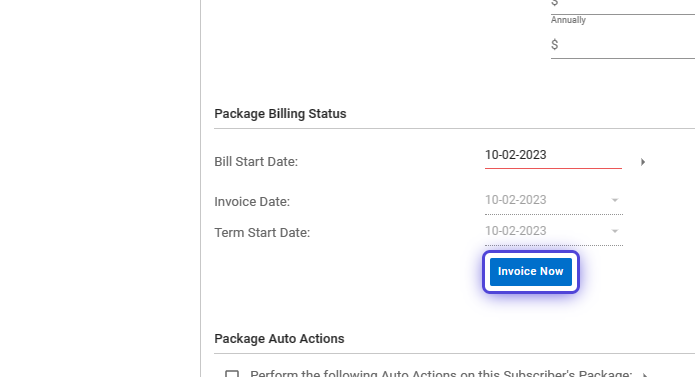
8. Click on Invoice Now
9. Click on Save & Configure

The package preview lets you adjust quantity, rates, and taxes, and modify add-ons.
How to Activate the Service?
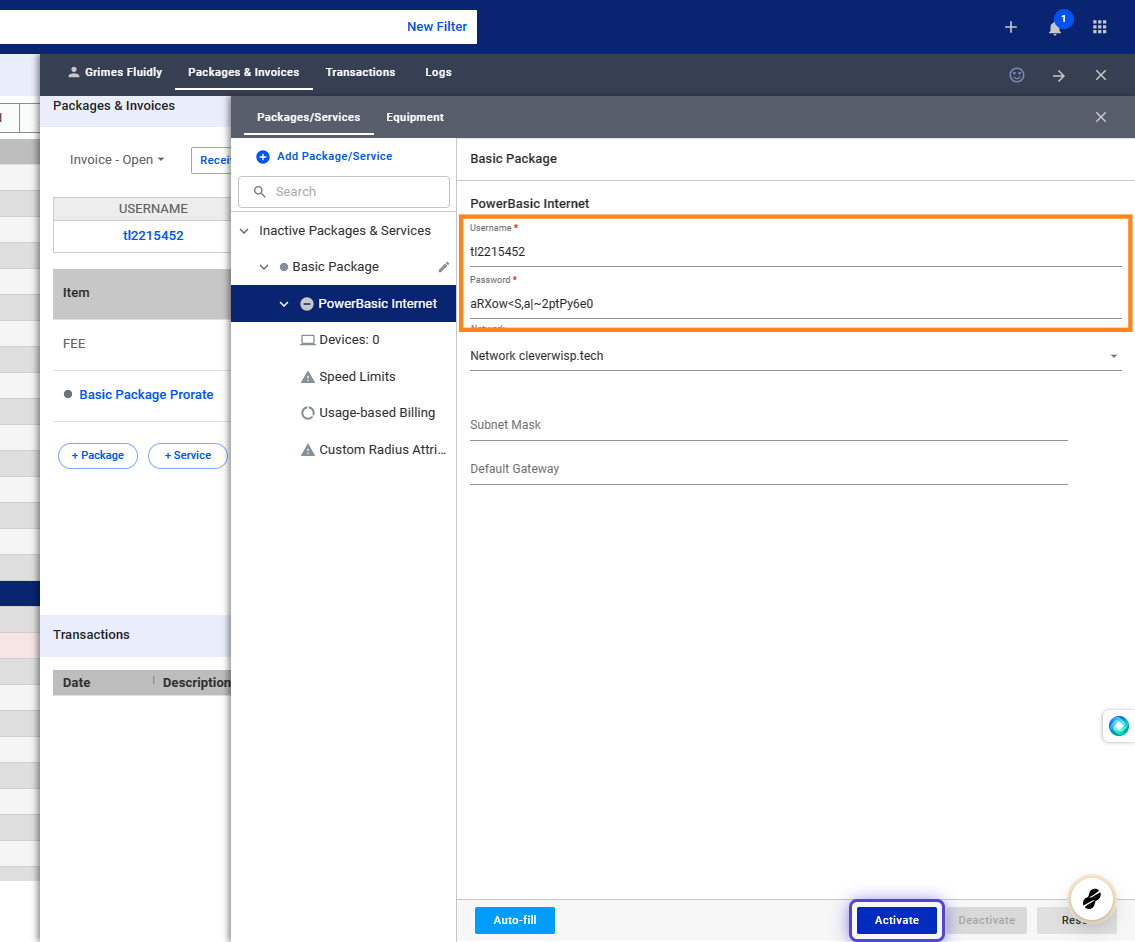
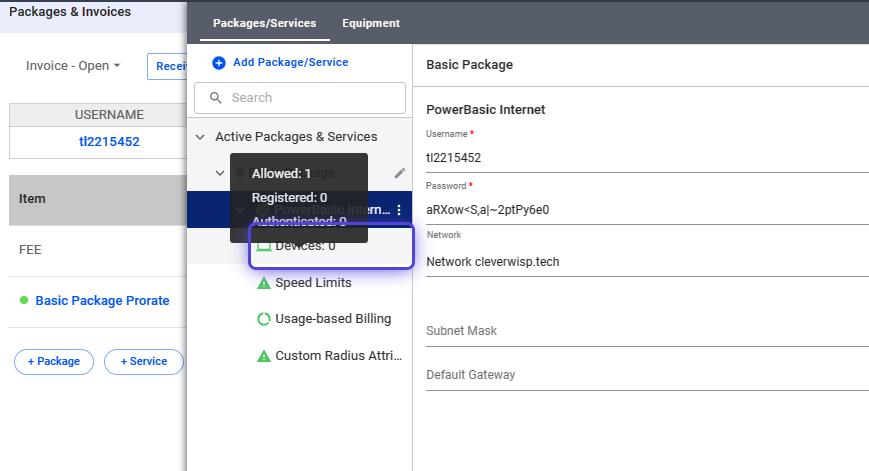
10. Click on the Service
11. Click on Auto-fill
Auto-fill copies the same Username and Password the customer uses to login to their Account Manager.

12. Click on Activate to enable the service.
How to Verify Authenticated Devices?
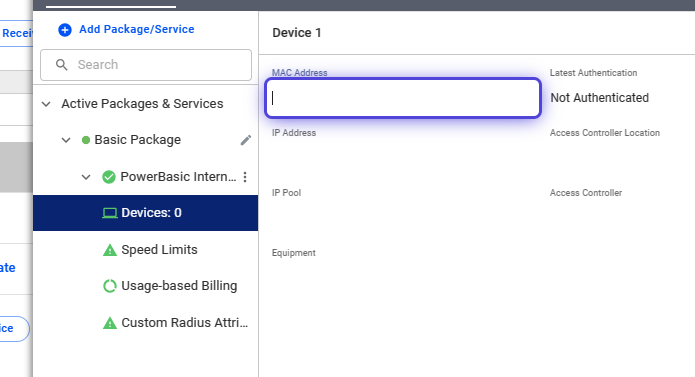
13. Click on Devices
14. Authenticated devices can be viewed or validated here.
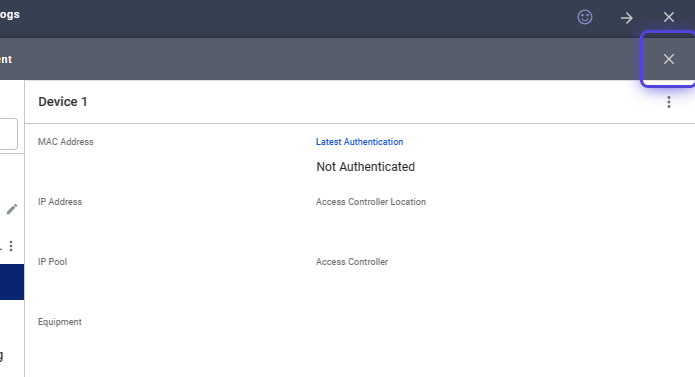
15. Click on the X icon to close the panel.
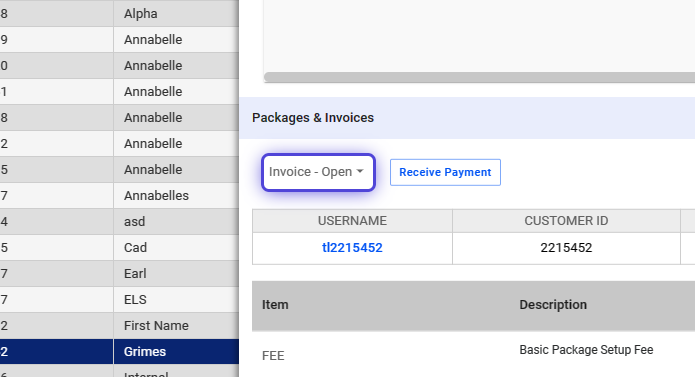
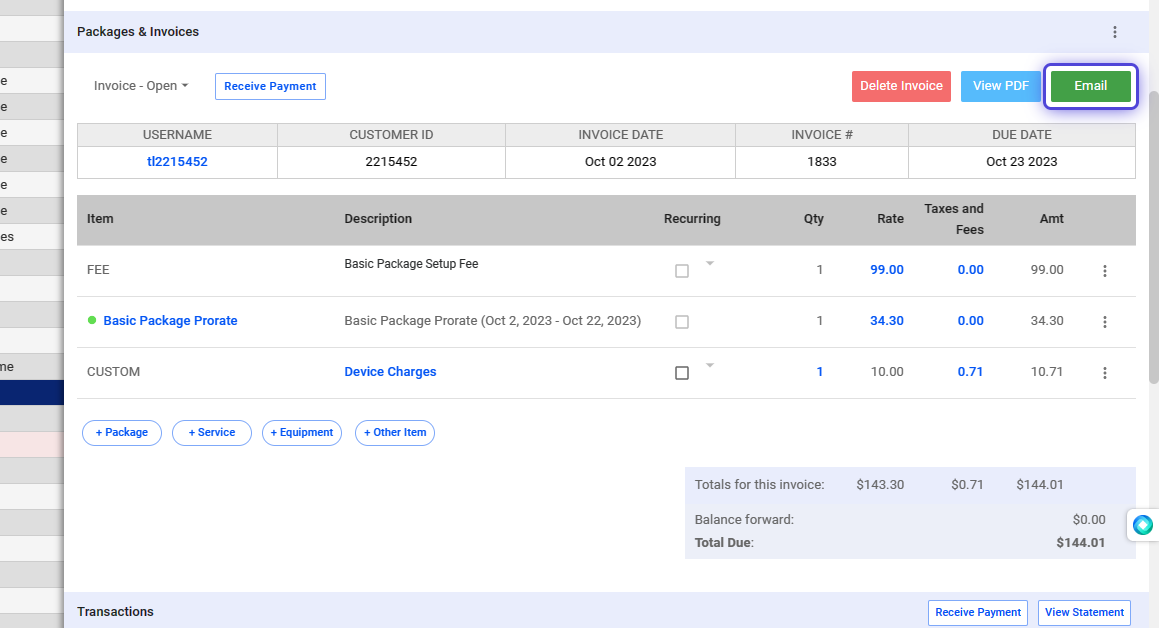
How to Add Charges to the Open Invoice?
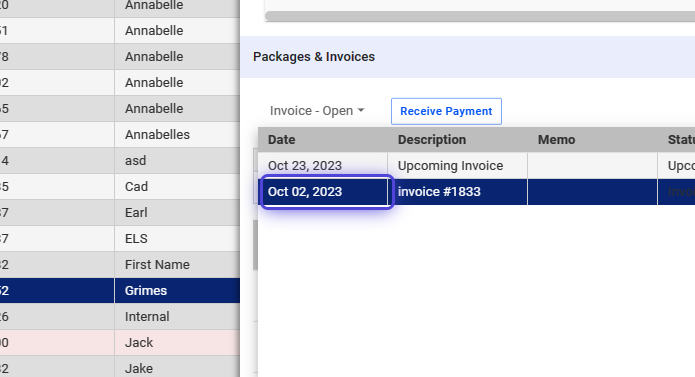
16. Click on Invoice – Open
17. Use the dropdown to select the current invoice.
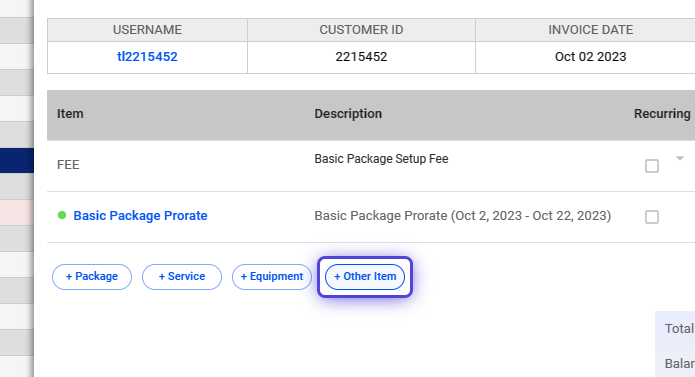
18. Click on + Other Item for additional custom charges.
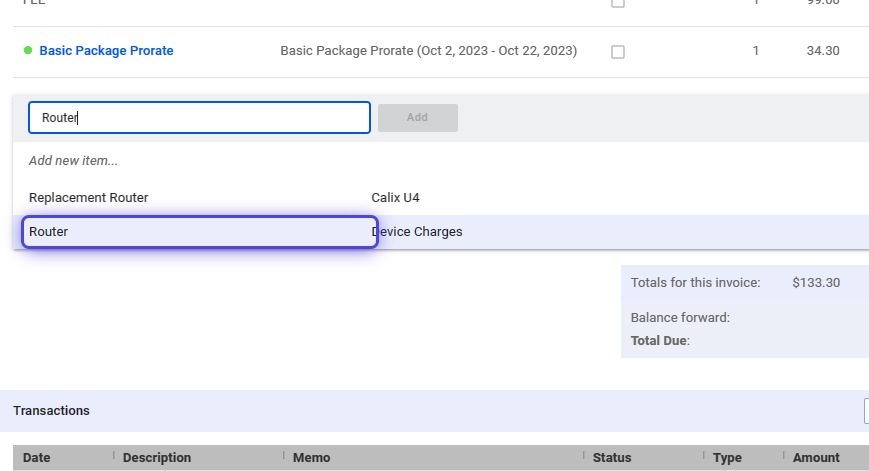
19. Click on the field to search for a custom item.
If the item does not exist, click on Add new item…
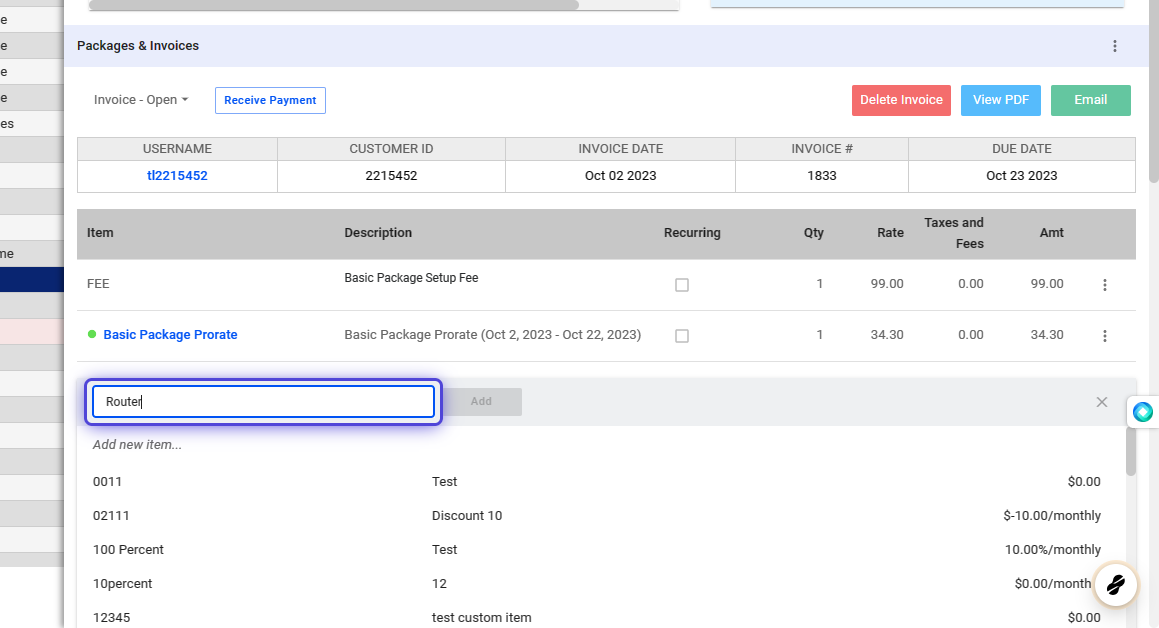
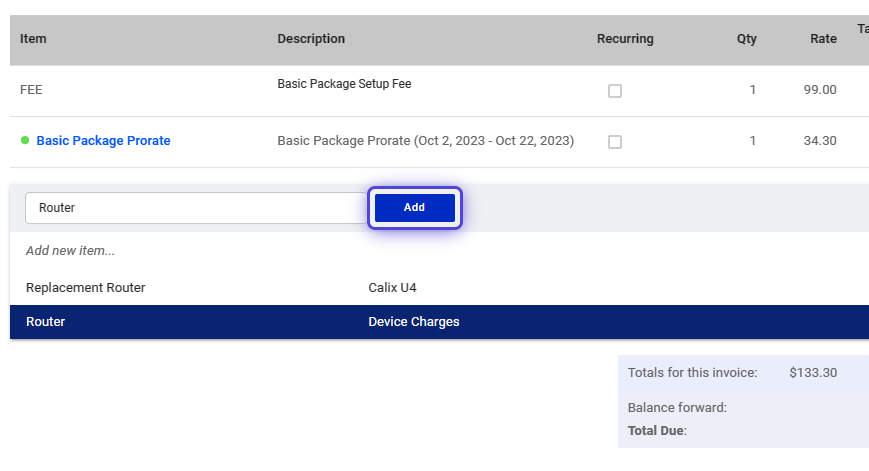
20. Use the list to select the item.
21. Click on Add
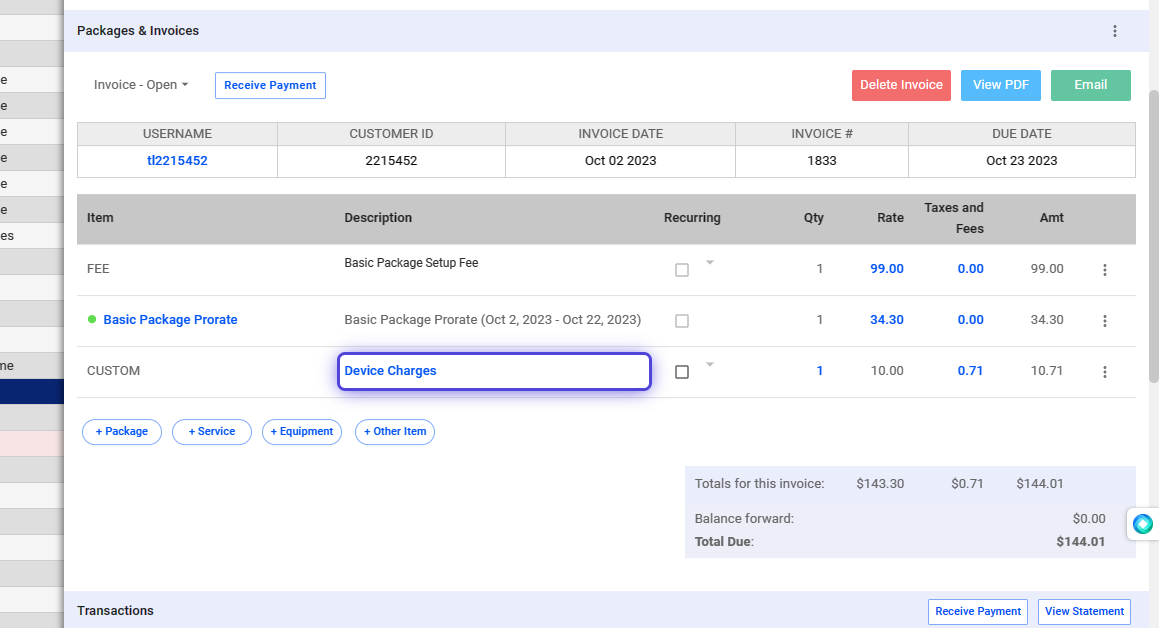
22. Click on Save to add the custom item charge on the invoice.

23. You may edit the description on the item, before sending the invoice to your customer.
How to View the PDF Copy and Send the Invoice to the Customer?
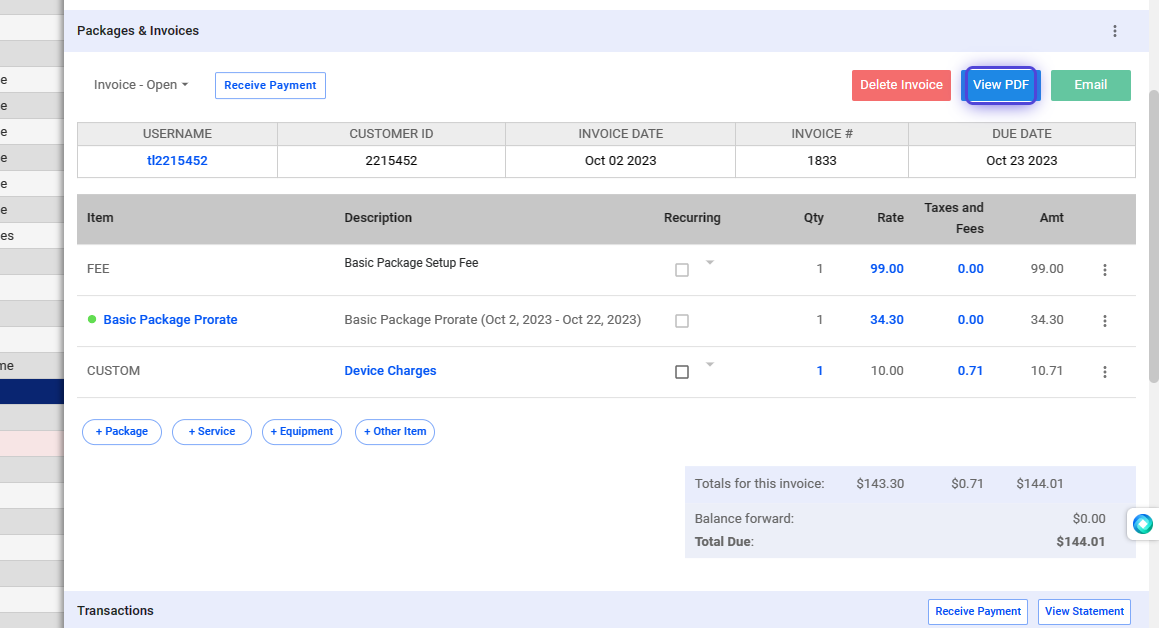
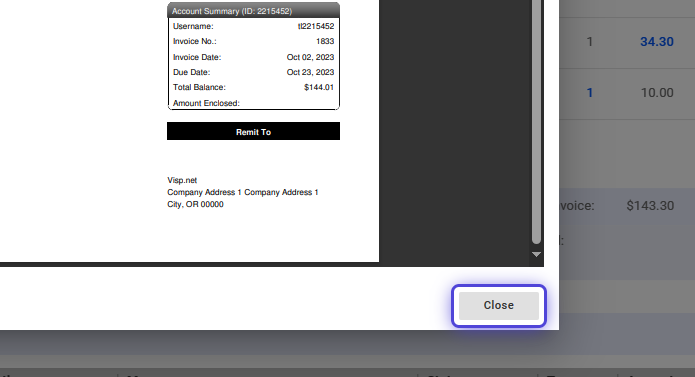
24. Click on View PDF to review the invoice.
25. Click on Close, to exit the PDF view.
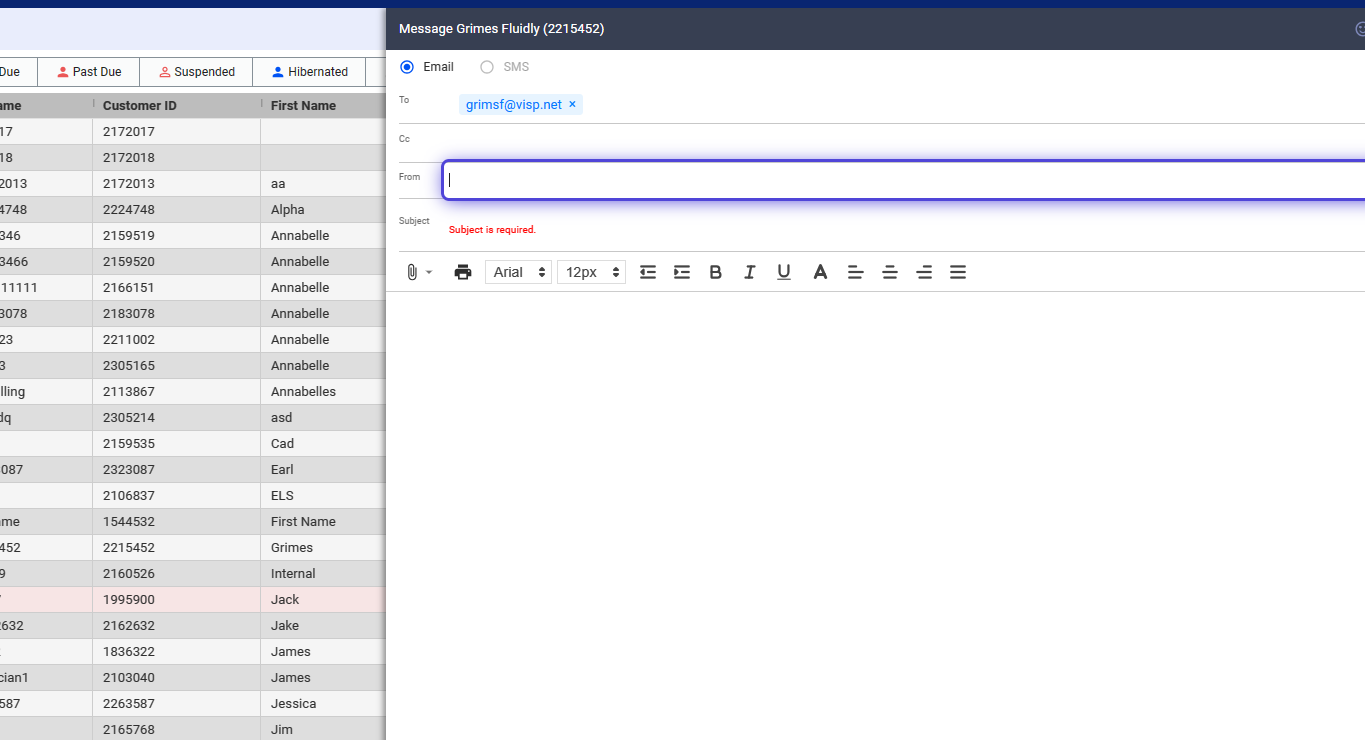
26. Click on Email to compose a message and attach the invoice.
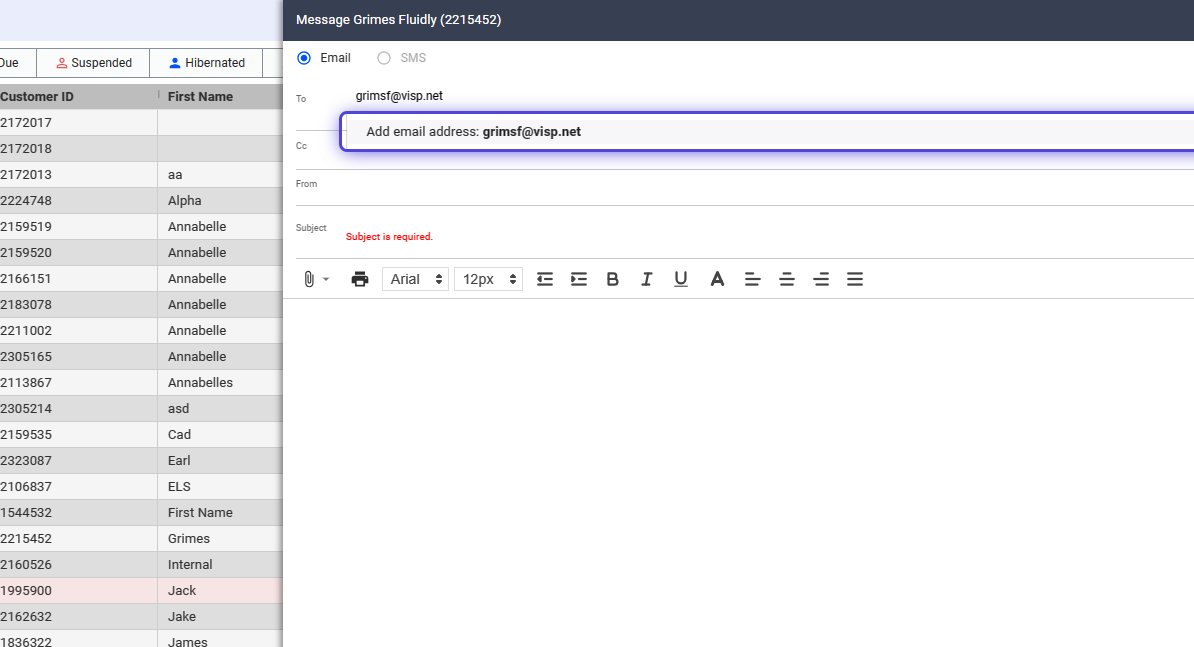
27. Input the recipient of the message, if there’s no email address added on the account.
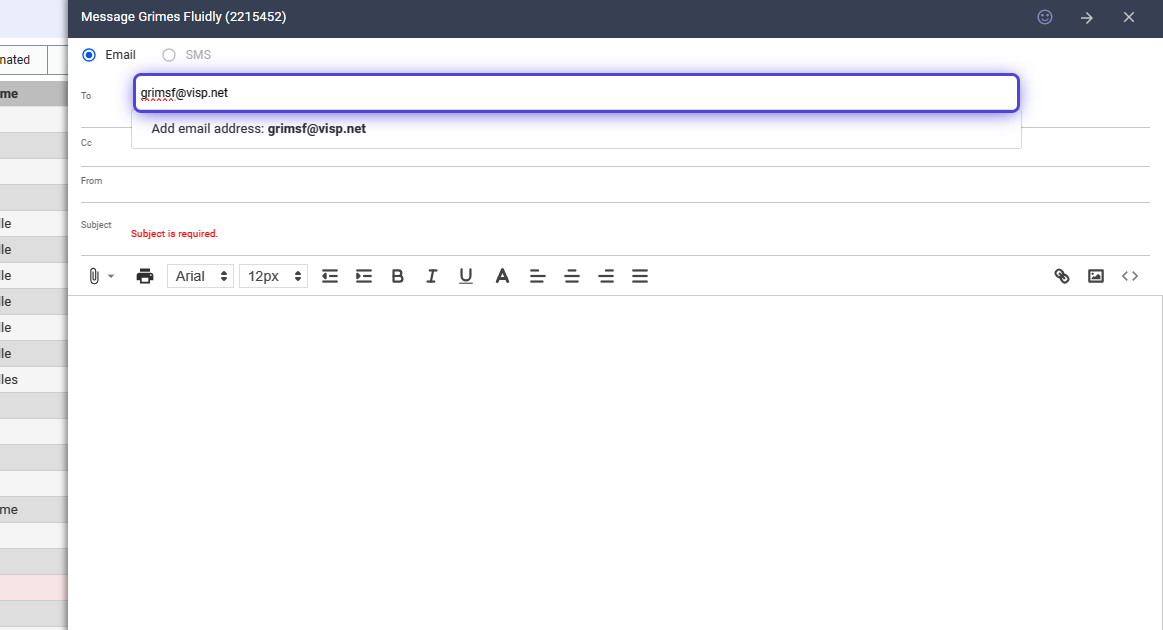
28. Click on Add email address, to use the email for one-time sending.
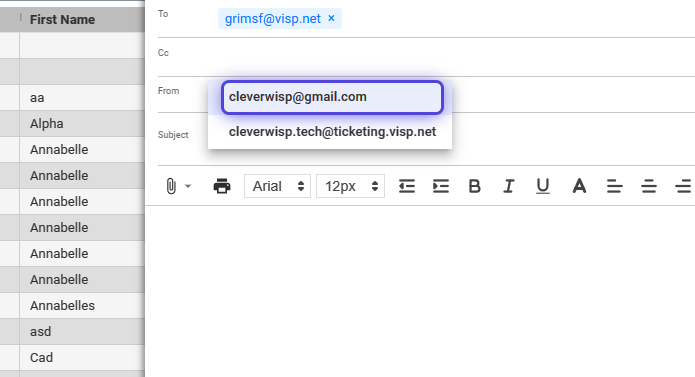
29. Click on the From field.
30. Use the dropdown to select a company “Sender” email.
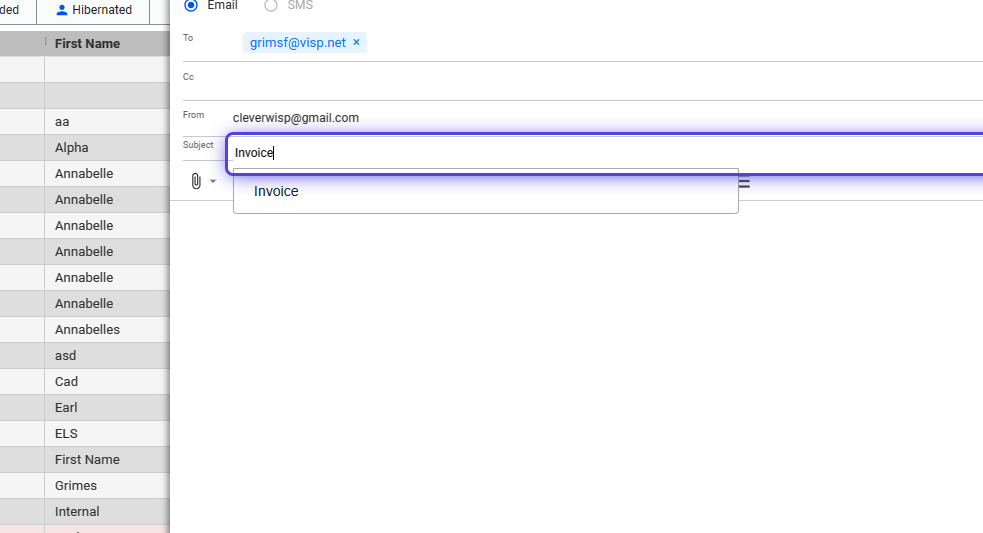
31. Input the subject of your message.
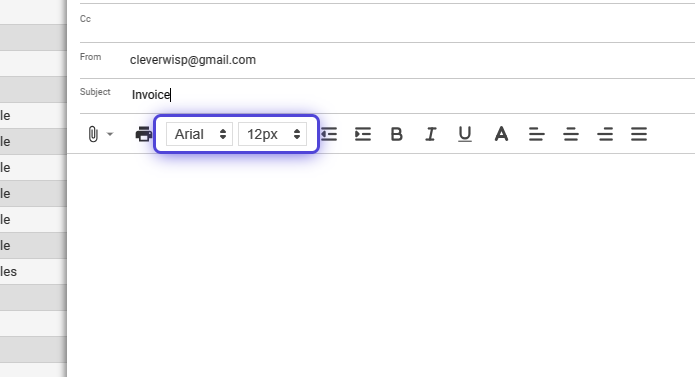
32. Format and compose your message.
33. The invoice is automatically attached at the bottom of the editor.
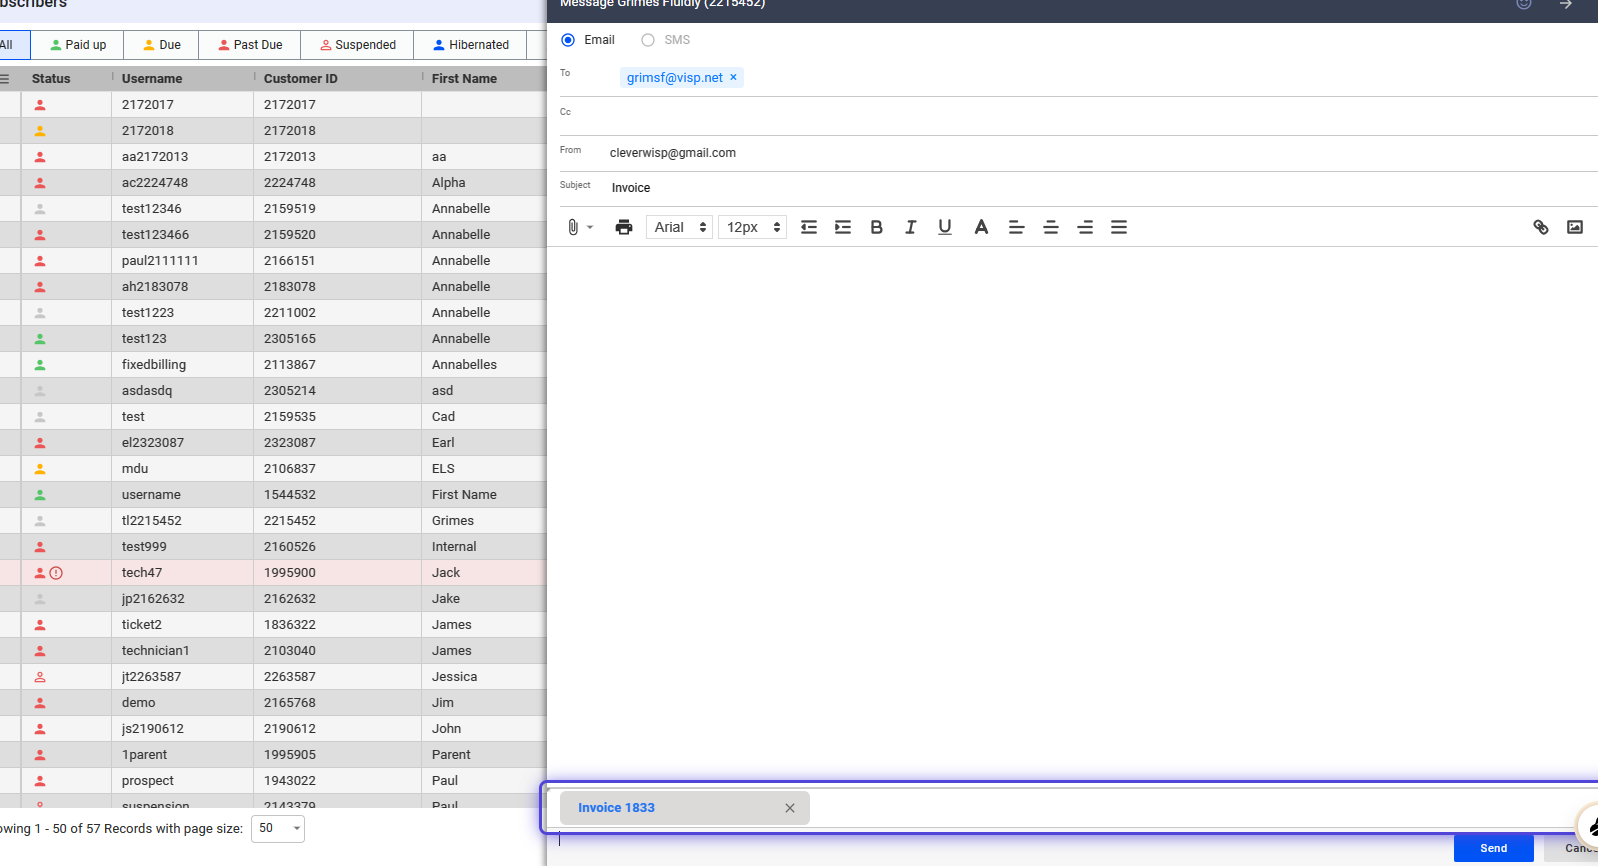
34. Click on Send, to email.
💡 Enhance Email Delivery
To enhance email delivery from the Visp.net mail server to your customer’s mail server, add or make an SPF record for your domain.– Add a TXT record in your domain’s DNS editor containing the information below:
v=spf1 include: spf.visp.net ~all .
– If your domain has an existing SPF record, you need to append “ include: spf.visp.net ” to it. Here’s an example of multiple domains added to an SPF record:
v=spf1 include: _ spf.hostedemail.com include: spf.visp.net ~all
35. Click on the X icon to close the panel.
💡 For more information about this and all other features in Visp, reach out to your Visp Client Success Team today.
Phone: 541-955-6900
Email: success@visp.net
Open a ticket via www.visp.net/ticket