

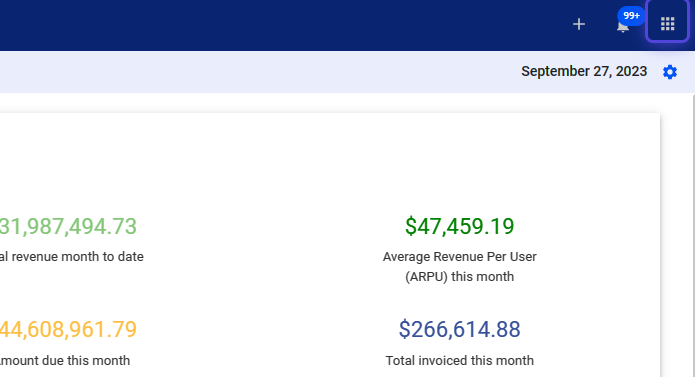
1. Click the nine-dot menu in the upper right corner to open the VISP Admin Page.
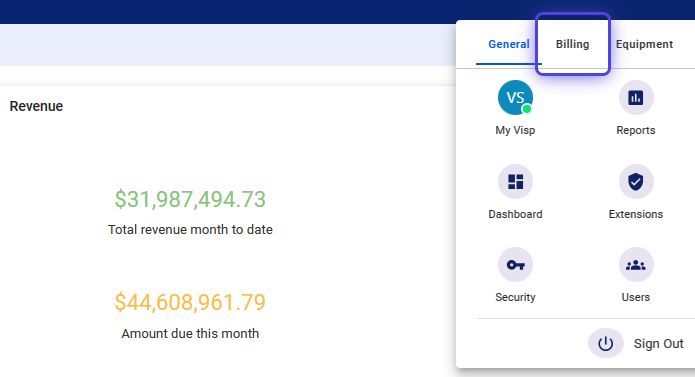
2. Click on Billing
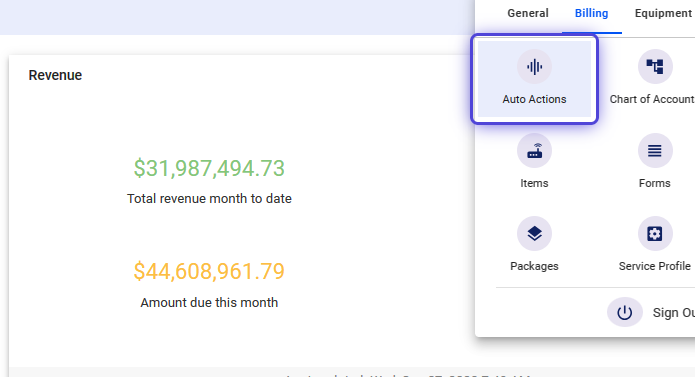
3. Select Auto Actions
4. Scroll to the Write-Off Settings
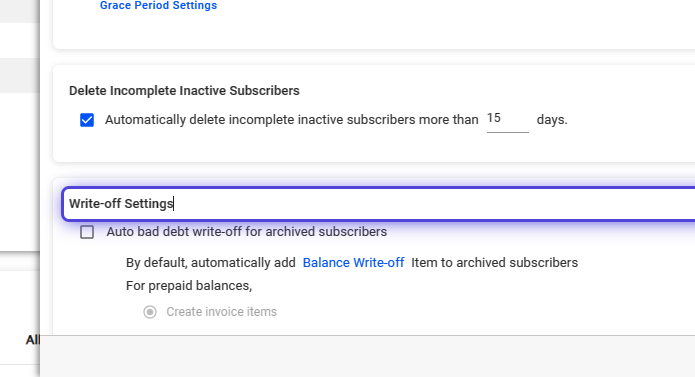
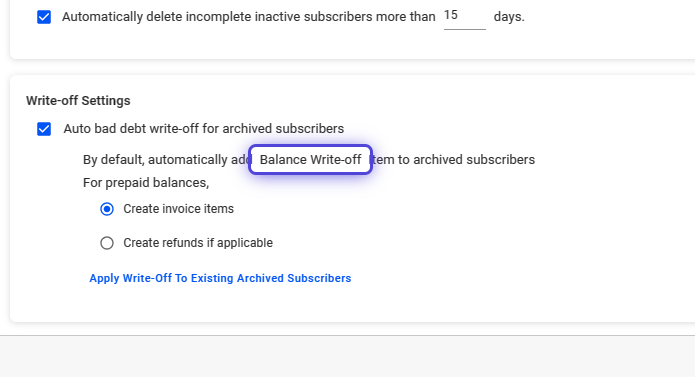
5. Toggle to enable the, “Auto bad debt write-off for archived subscribers.”
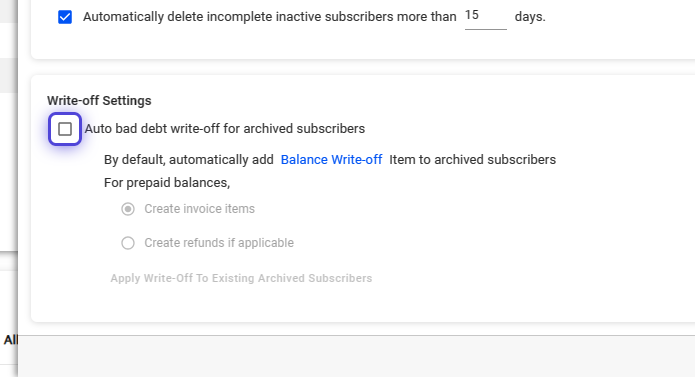
6. Click on “Balance Write-off,” to configure the Item that will be added to Archived Subscribers
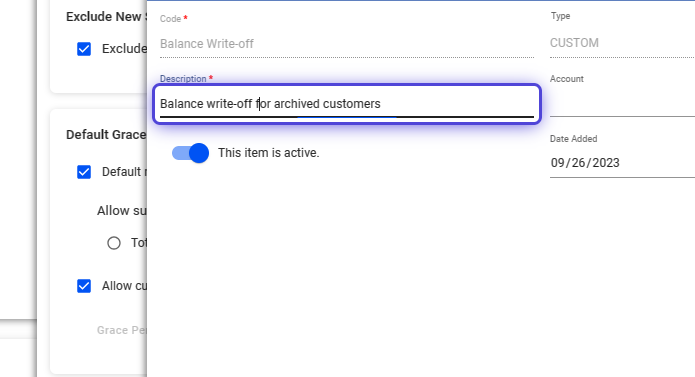
This is a note or memo for when a customer’s account has a reversal or change.
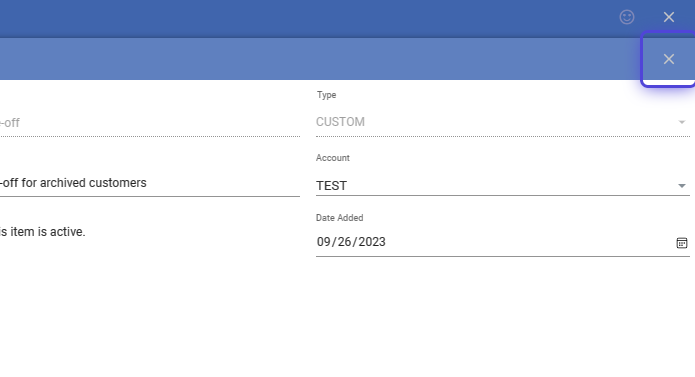
7. Input the item description.
8. Choose a Chart of Account entry for this item using the Account dropdown.
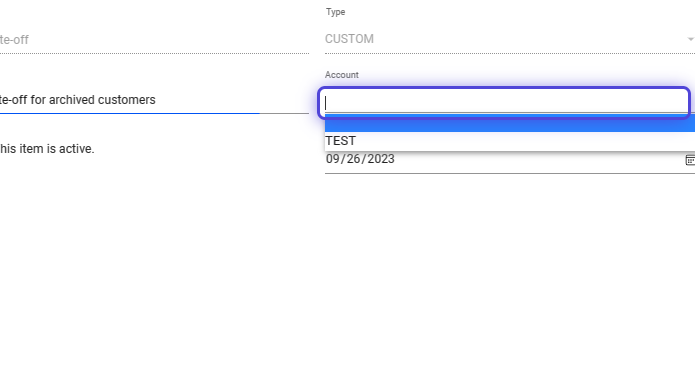
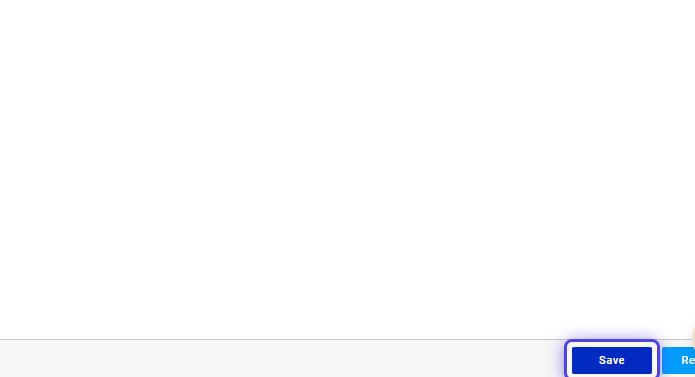
9. Click on Save
10. Click on the small X icon, to close the panel.
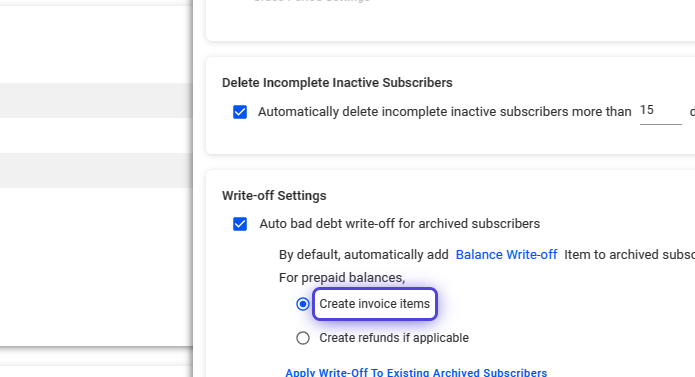
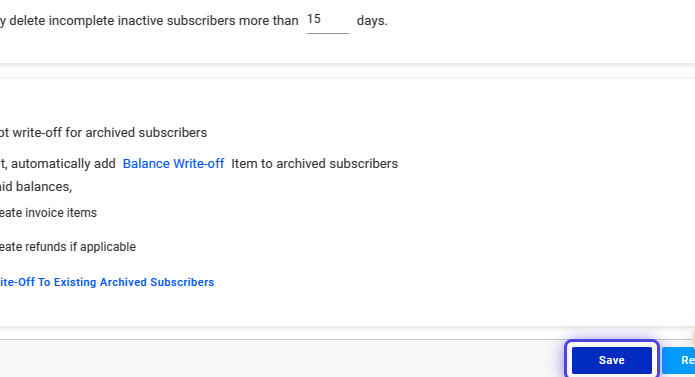
11. Toggle, “Create Invoice Items.”
Choose this option to add invoice items or transactions without the ability to issue refunds.
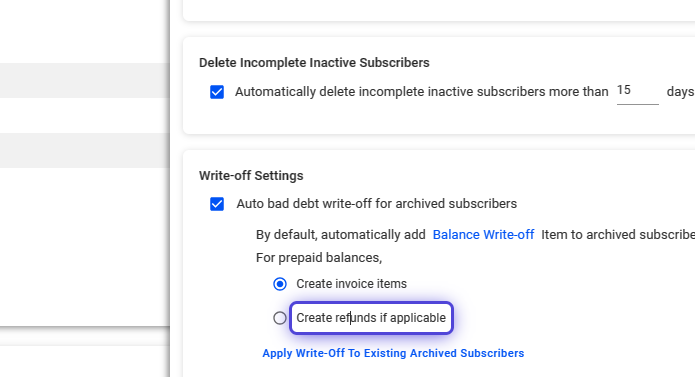
12. Select “Create refunds if applicable.”
Select this option for automatic refunds if a subscriber has a prepaid balance.
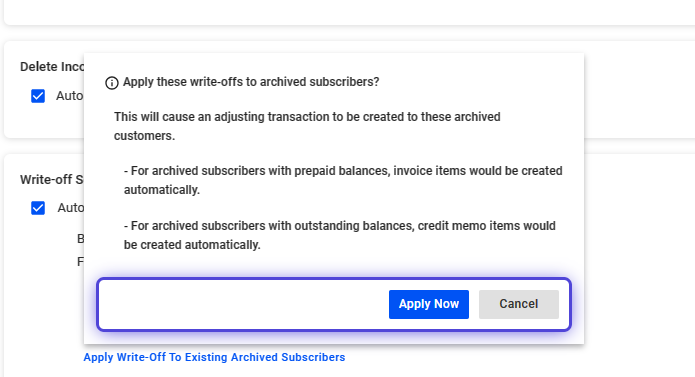
13. Click on “Apply Write-Off to Existing Archived Subscribers.”
This process handles archived subscribers and automatically writes off their accounts if necessary.

14. Click on “Apply Now”
This will process the write-offs for Archived Subscribers with outstanding balances.
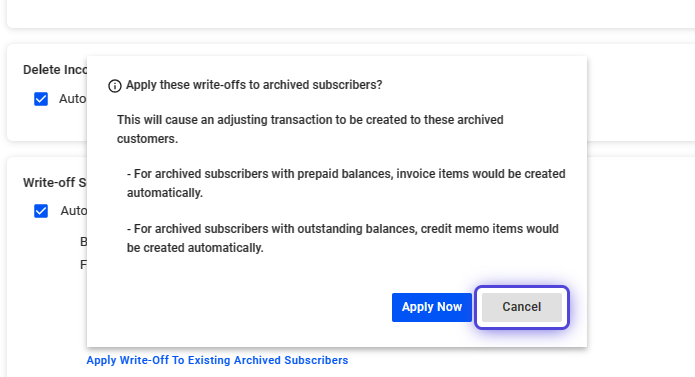
15. Click on “Cancel”
To skip the automated write-offs for existing archived subscribers.
16. Save your work when done.
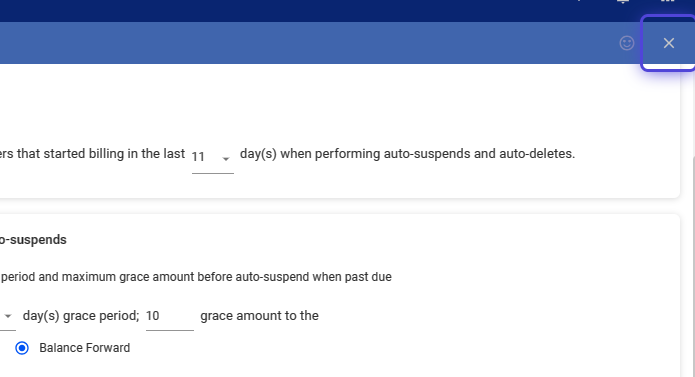
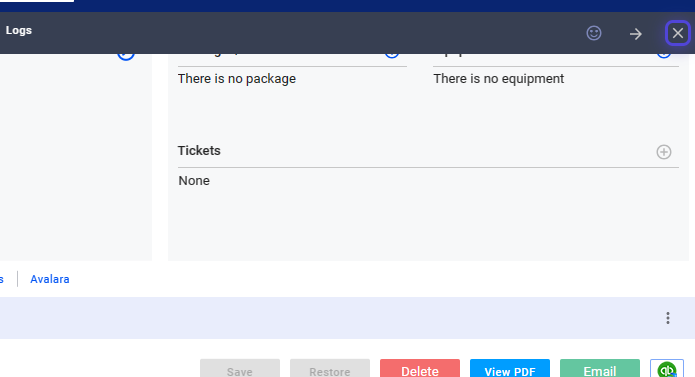
17. Click on the small X icon to close the panel.
Auto Bad Debt Write-Off on a Subscriber Account
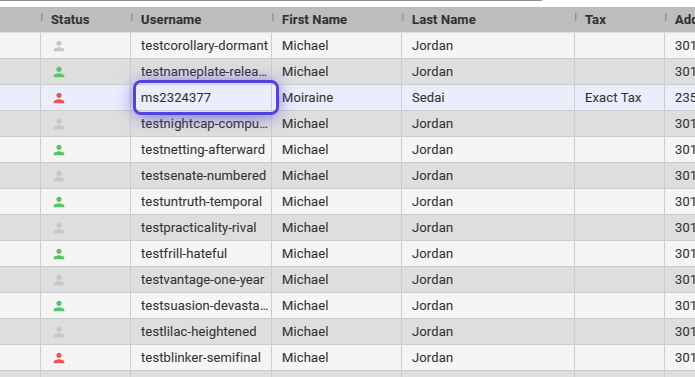
18. Click on Subscribers
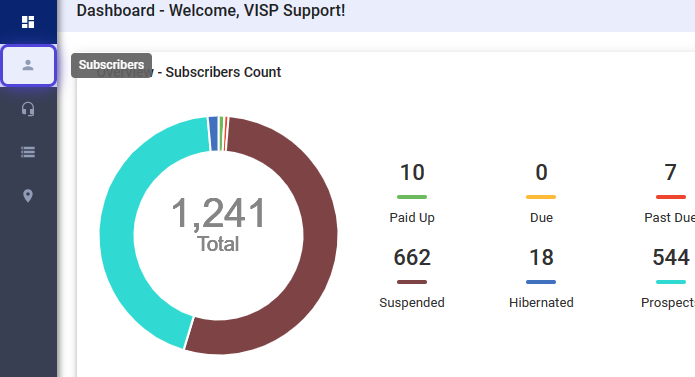
19. Search for the subscriber or select from the list.
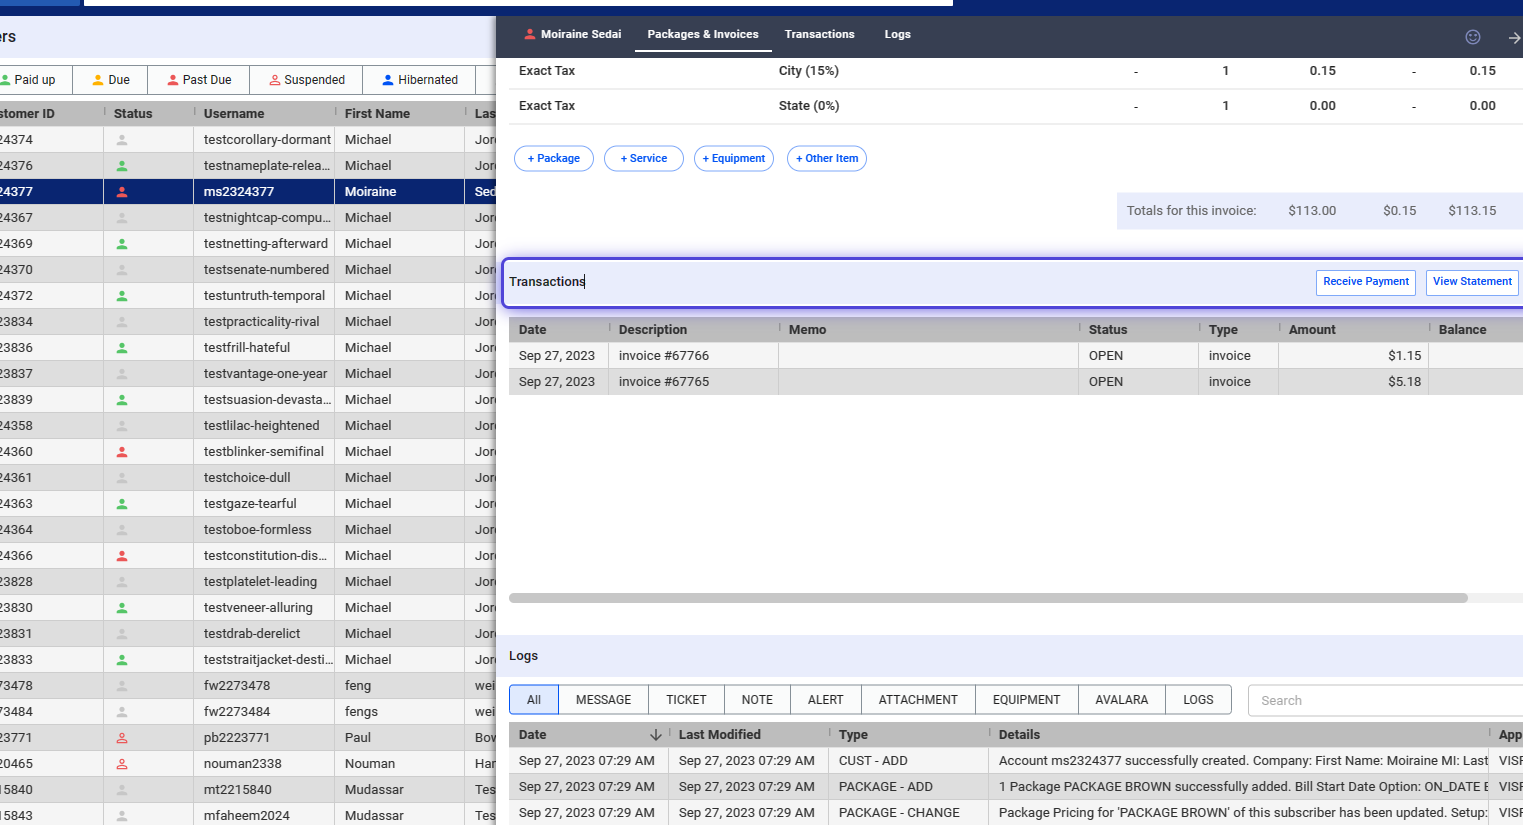
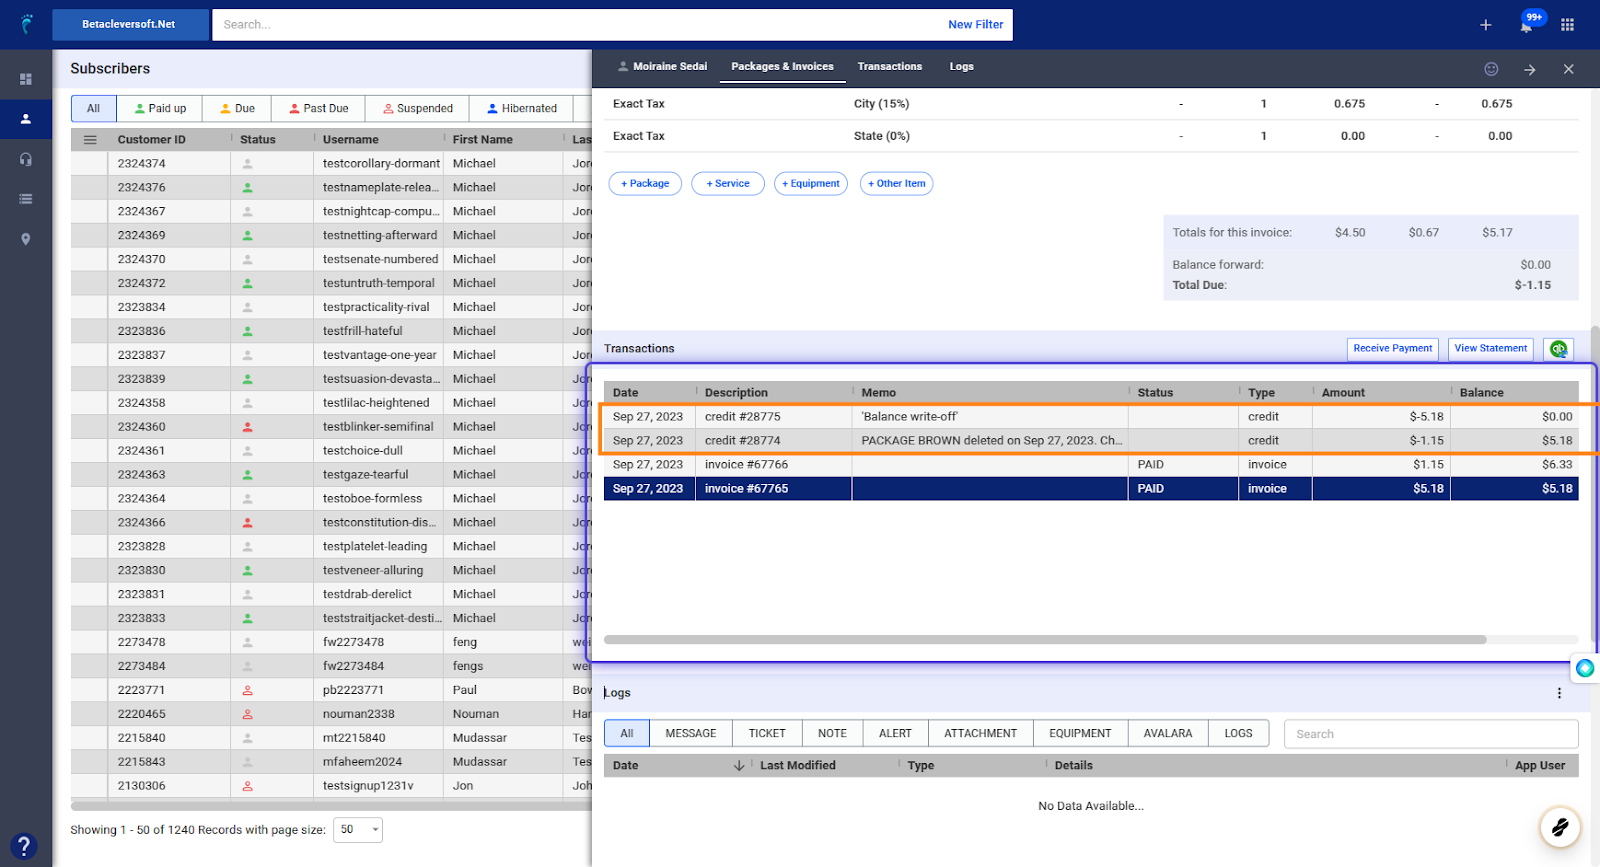
20. Click on Transactions
Review the outstanding balances on the account.
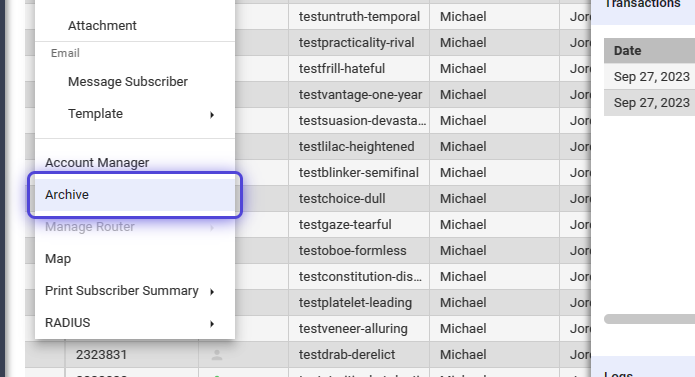
21. Hover on the subscriber account from the list, and click on the three dots (vertical ellipsis).
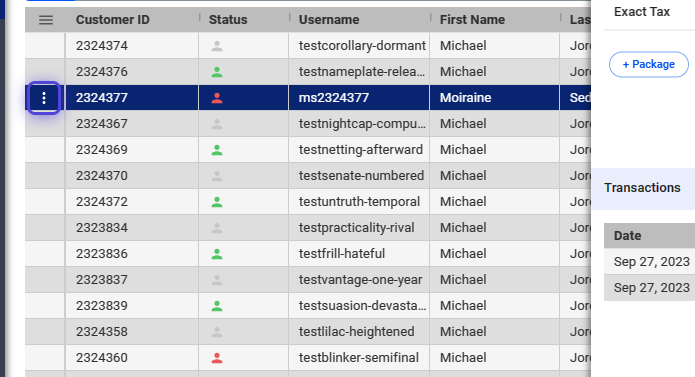
22. Select Archvie
23. Acknowledge the pop-up.
“An adjusting transaction will be generated to reset the balance to zero.”
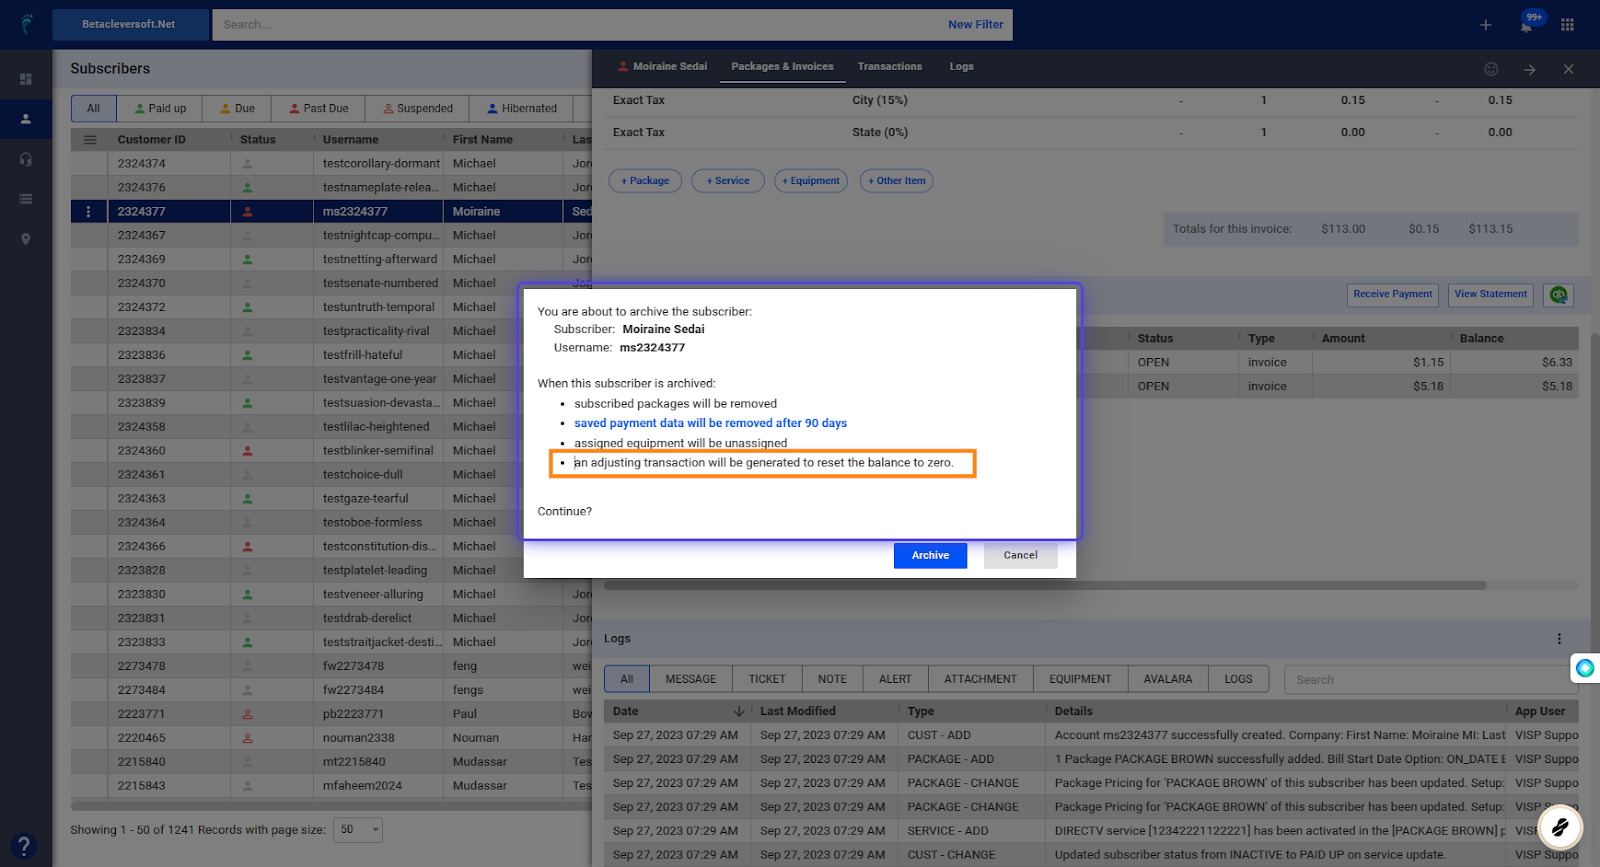
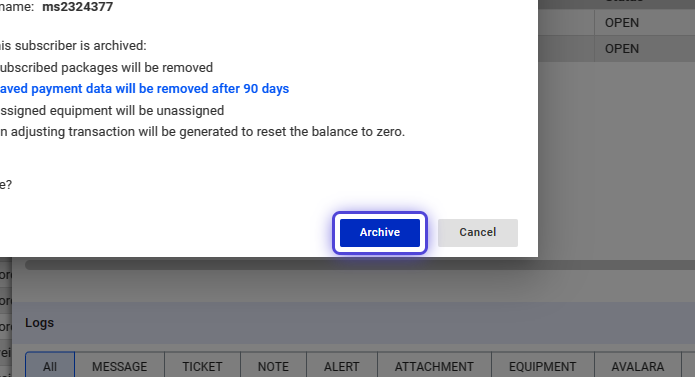
24. Click on Archive
? Adjusting Transactions for Archived or Delete Subscribers
- Invoice items are added to an archived subscriber that has a prepaid balance.
- Credit memos are added to an archived subscriber that has an unpaid balance.
- Refunds can be issued to subscribers with prepaid balances.Verify Write-Off Adjustment on Archived Subscriber
Verify Write-Off Adjustment on Archived Subscriber
25. Click on the small arrow icon, to expand the selection.
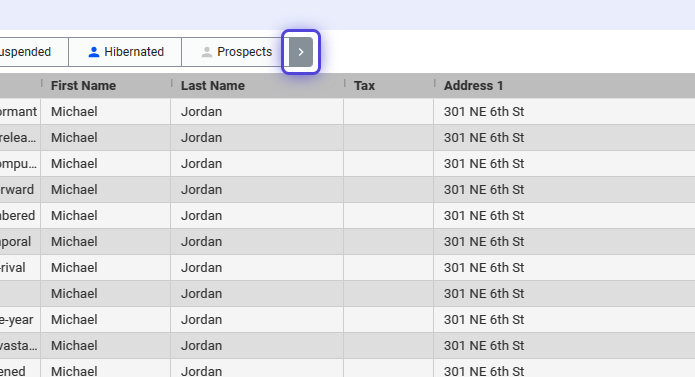
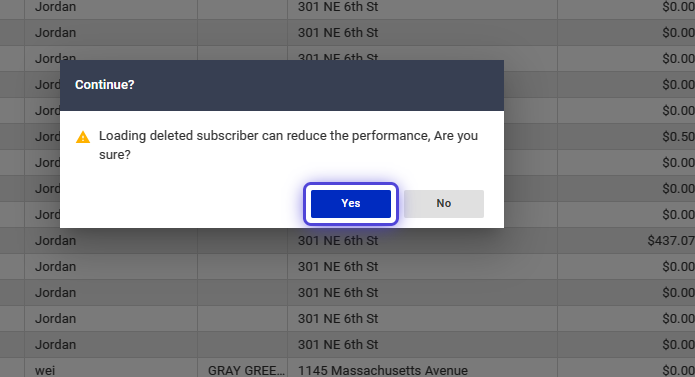
26. Click on Archived
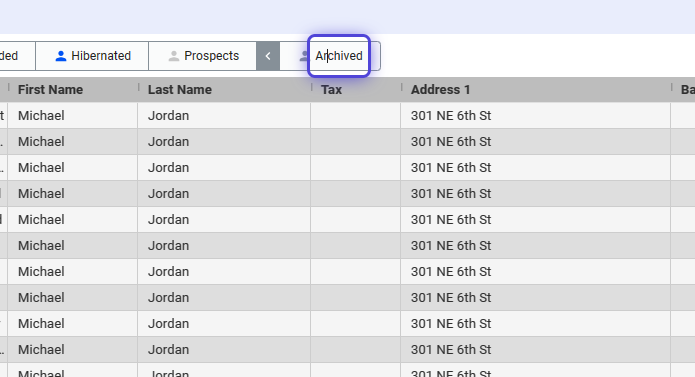
27. Click on Yes
28. Search for the subscriber or select from the list.
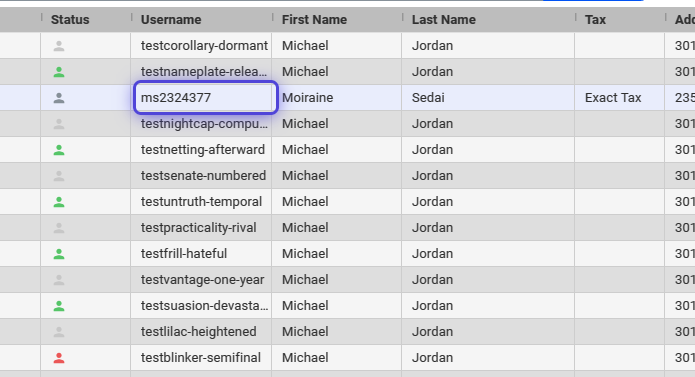
29. Confirm that the account is archived
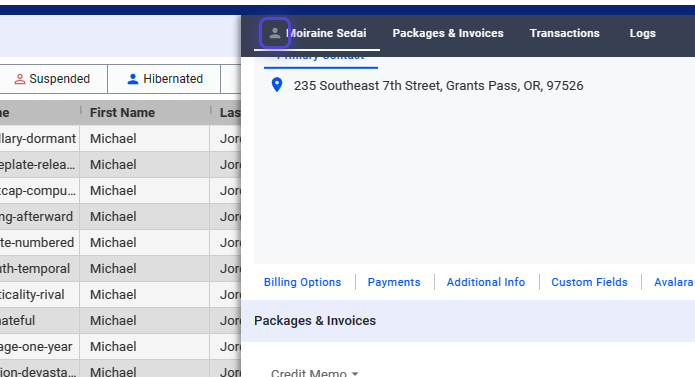
30. The account balance is zero.

31. Credit Memo is added on the subscriber’s account.
“Balance write-off” memo is added.
32. Click on the small X symbol to close the subscriber’s profile.
? For more information about this and all other features in Visp, reach out to your Visp Client Success Team today.
Phone: 541-955-6900
Email: success@visp.net
Open a ticket via www.visp.net/ticket