

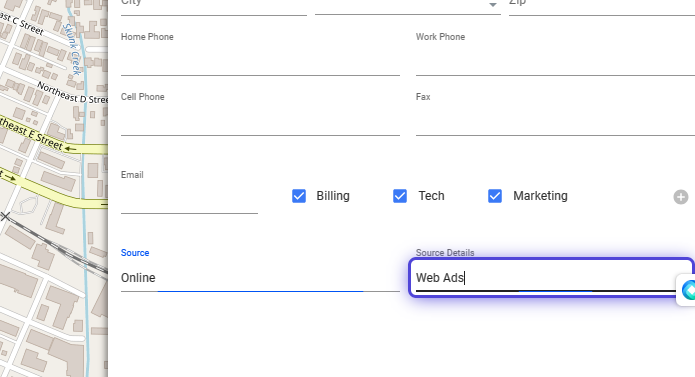
When adding a prospect or subscriber, manually or via an online signup form, you can enter the Source and Source Details . The “Source” field asks customers how they learned about the service, whether through the company’s marketing efforts or a personal recommendation.
How to Enable Source and Source Details Feature?
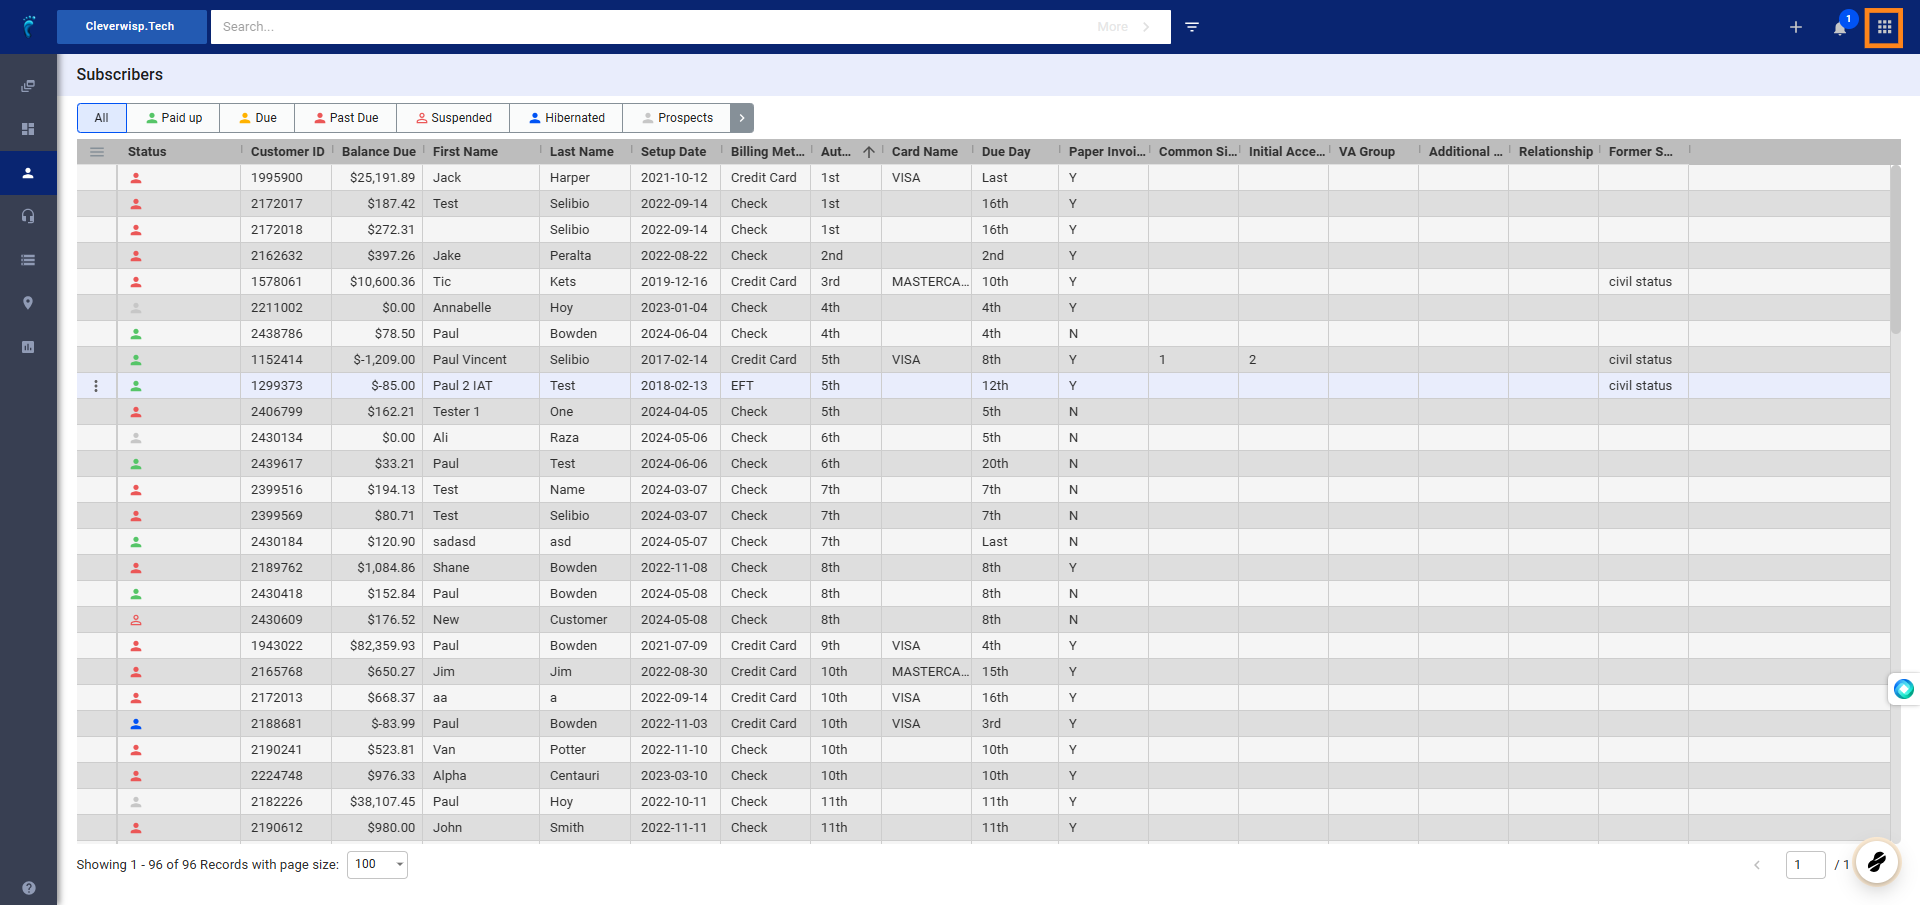
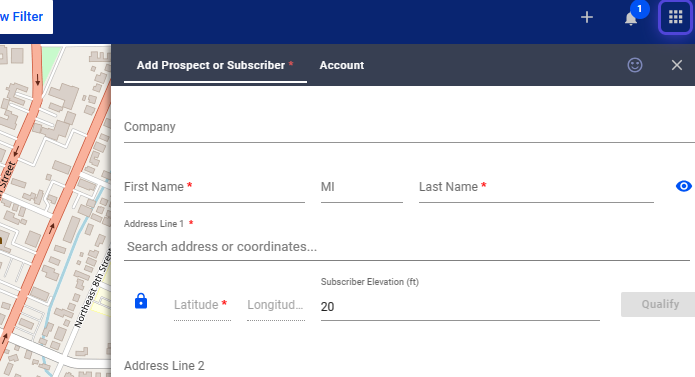
1. Click the nine-dot menu in the upper right corner to open the Visp Admin Page.
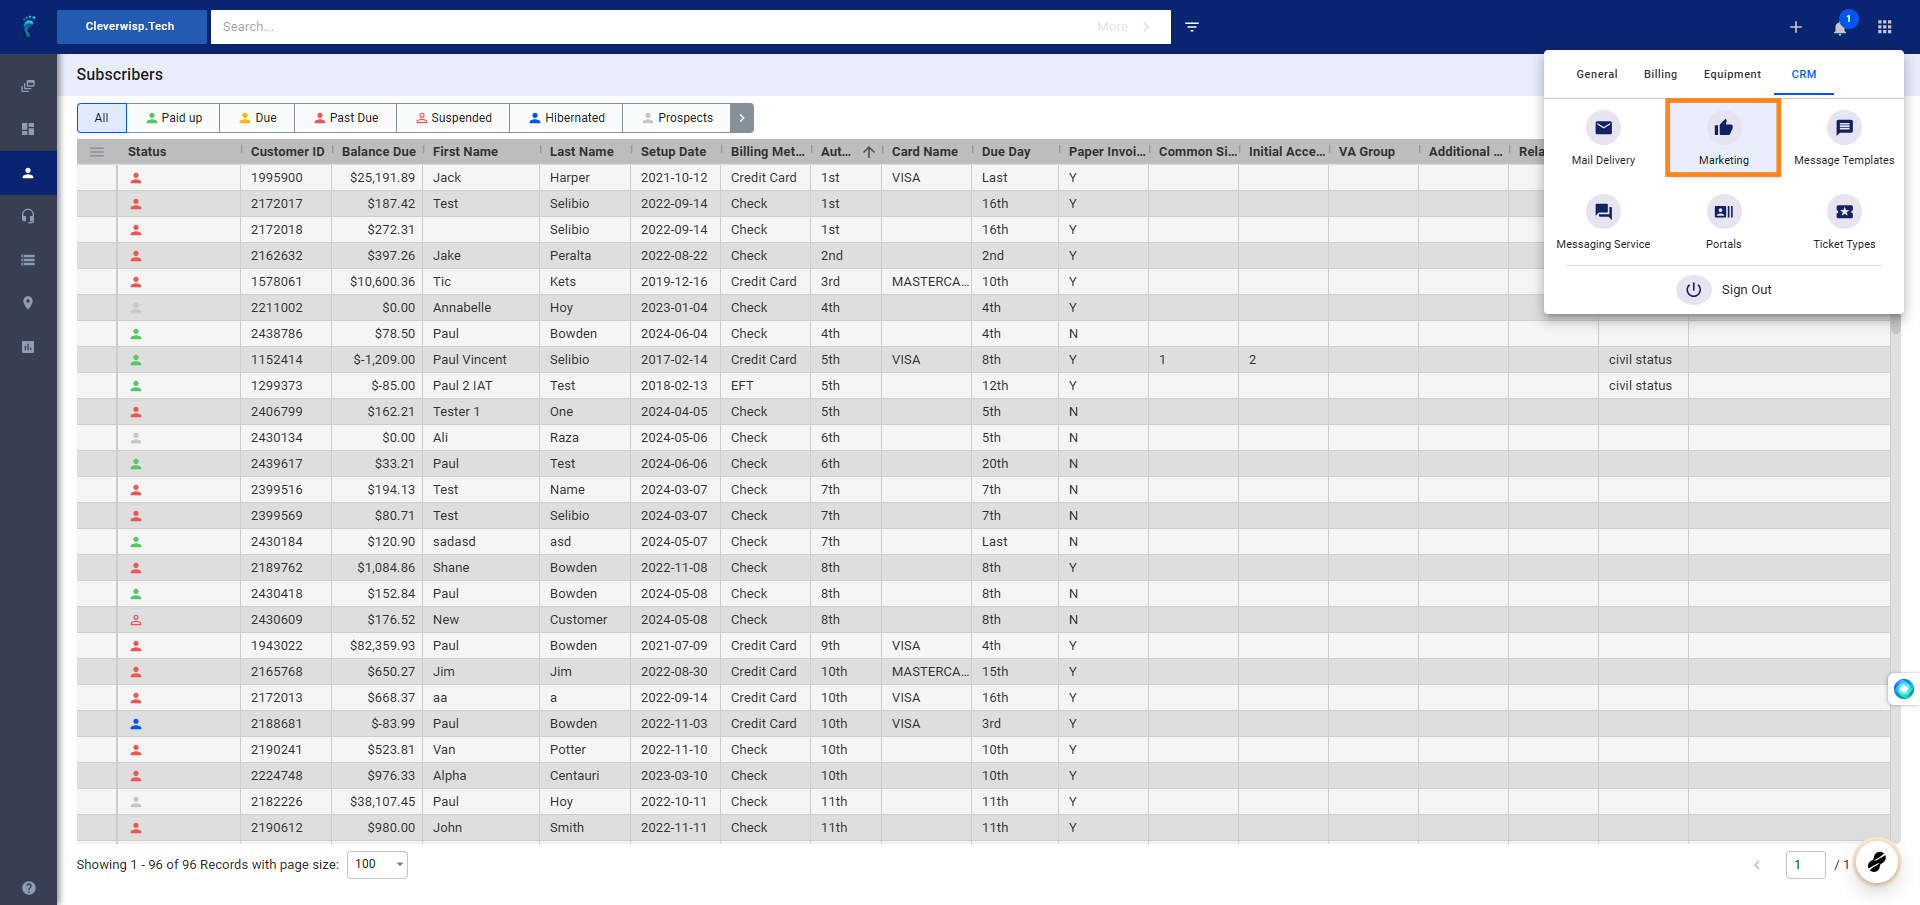
2. Click on CRM

3. Select Marketing
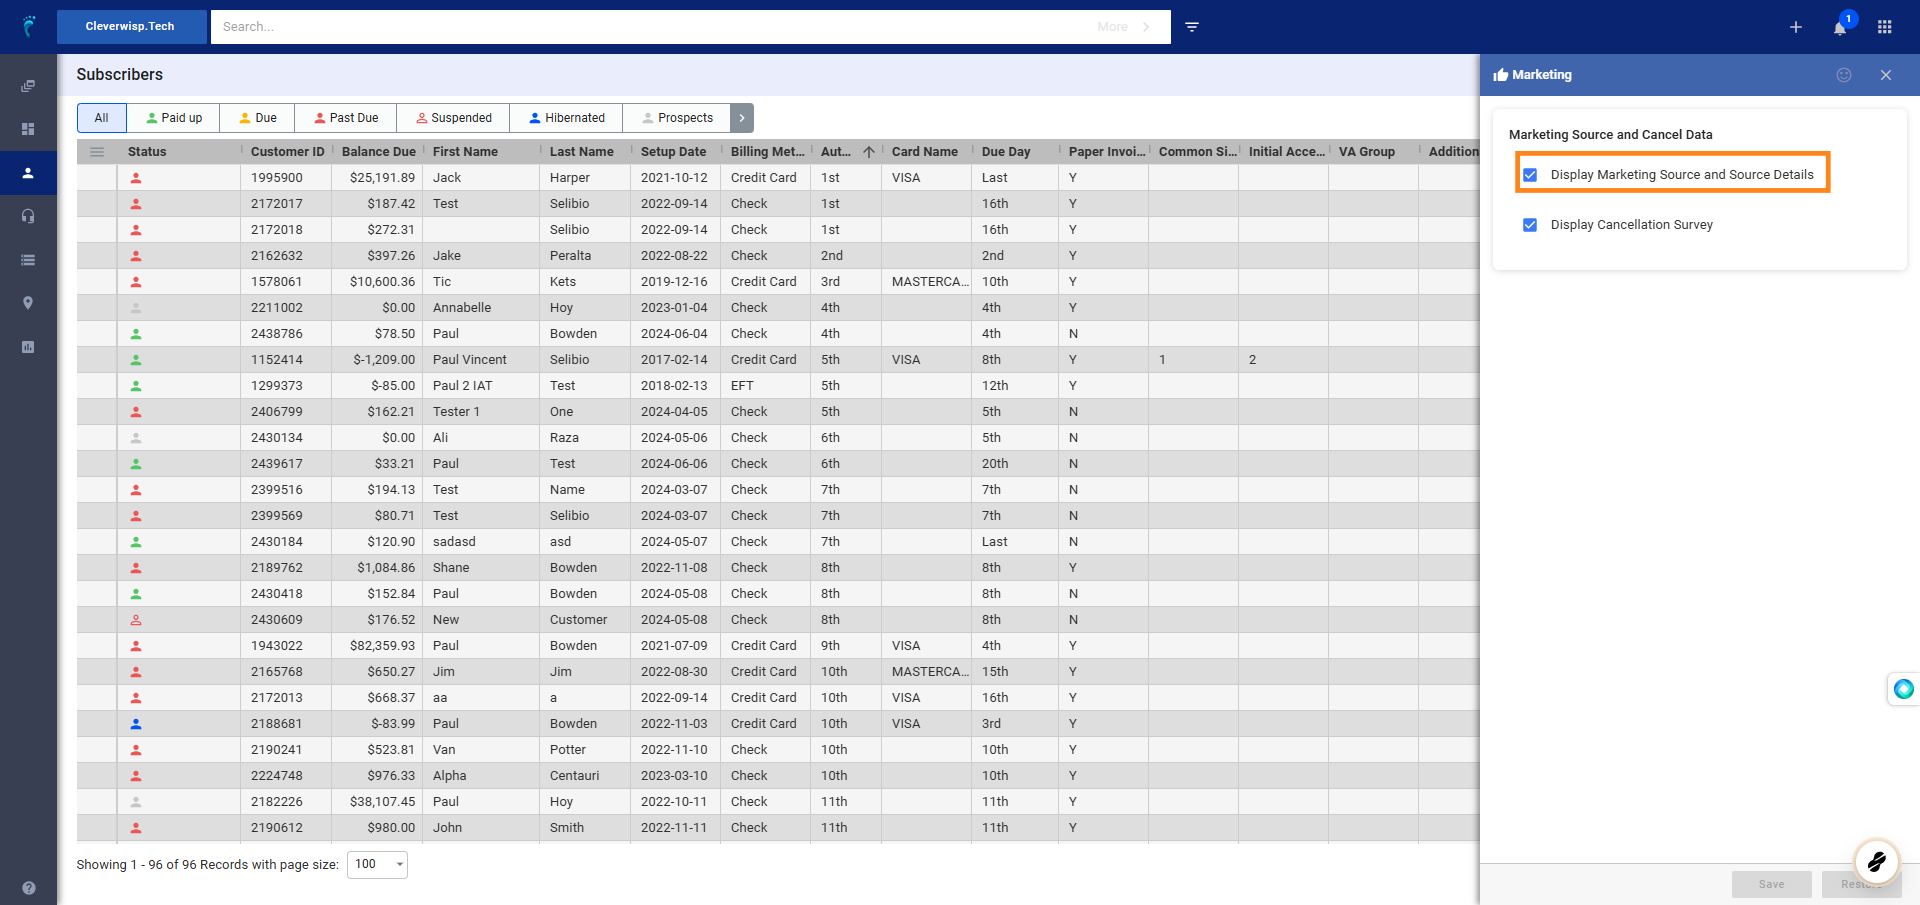
4. Toggle or put a check in the “Display Marketing Source and Source Details” box.
Identify Source and Source Details
5. Verify and Populate the Source and Source Details
Use the Source and Source Details fields to attribute a sale or customer onboarding to a specific salesperson, event, or marketing campaign.

6. Select Source
Click on the Source Field to view available channels or options.
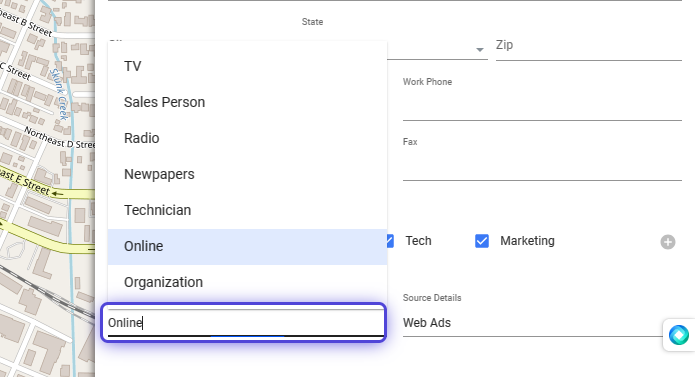
7. Add Source Details
This can include details such as the specific sales person, webpage, or article where the referral was mentioned, the date of the referral, or any additional context that helps identify how the person became aware of the package or service.
Click on the Source Details to input more specific information about how the referral occurred.
How to add channels or options in the list of “Sources”?
8. Click the nine-dot menu in the upper right corner to open the VISP Admin Page.
9. Click on CRM
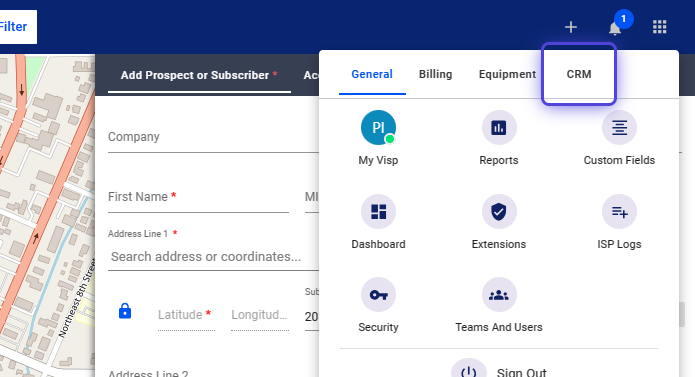
10. Select Portals

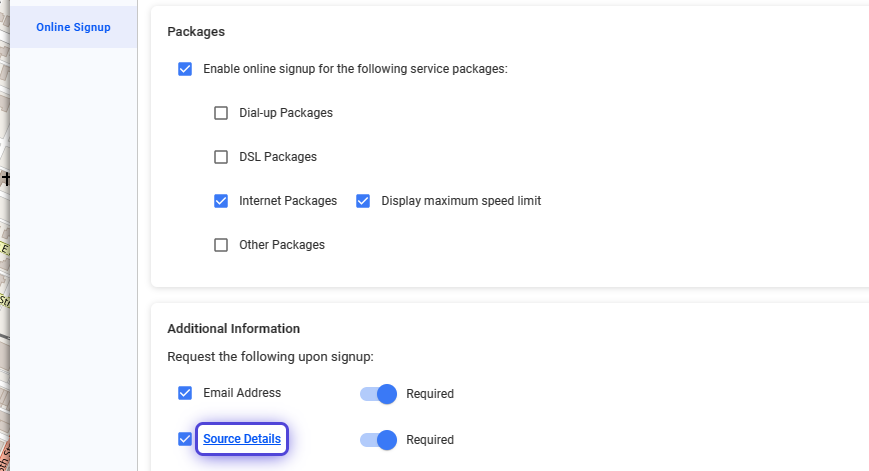
11. Go to Online Signup
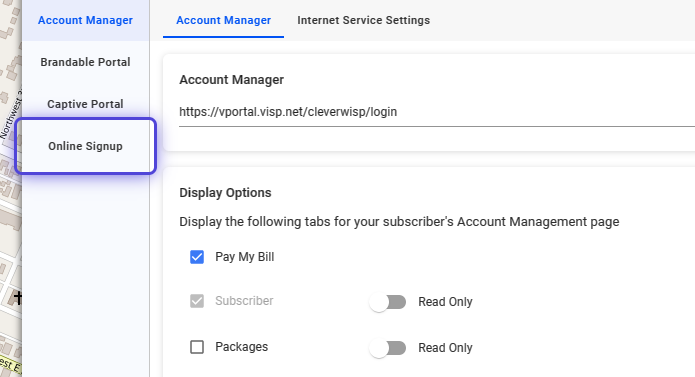
12. Click on Source Details in the Additional Information section.
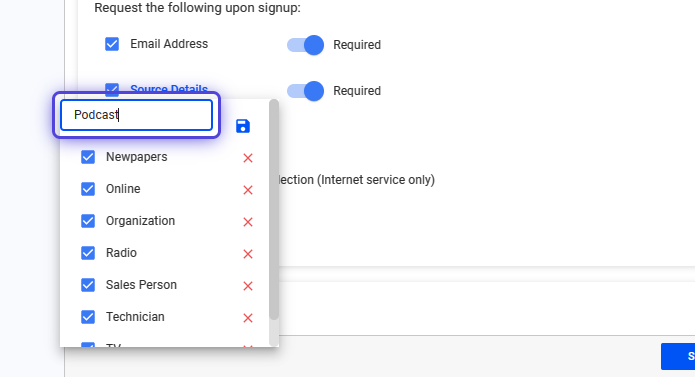
13. Input a New Source
Click on the Save icon, to record the new Source.
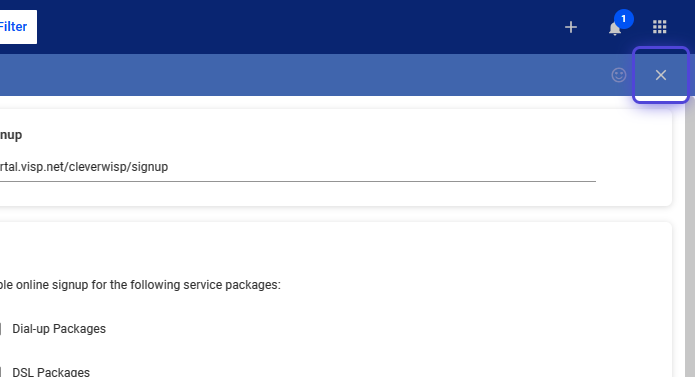
14. Click on the X icon to close the panel.
View Reports on Marketing Source and Source Details
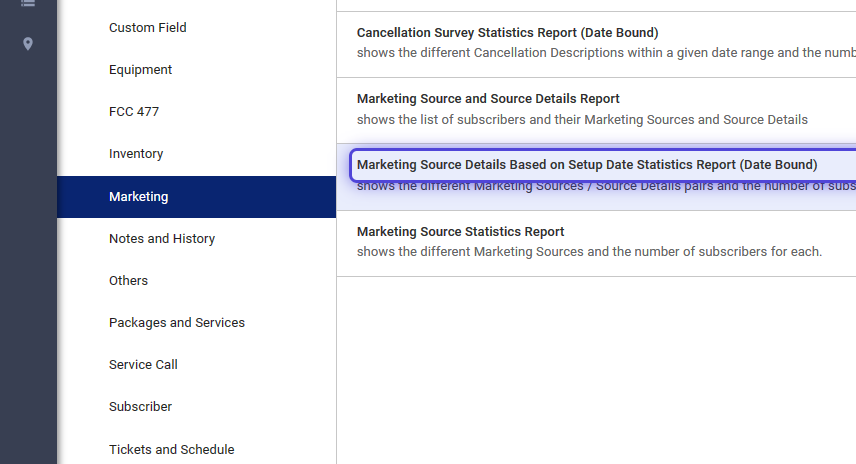
15. Click on Reports from the sidebar, and Select Marketing
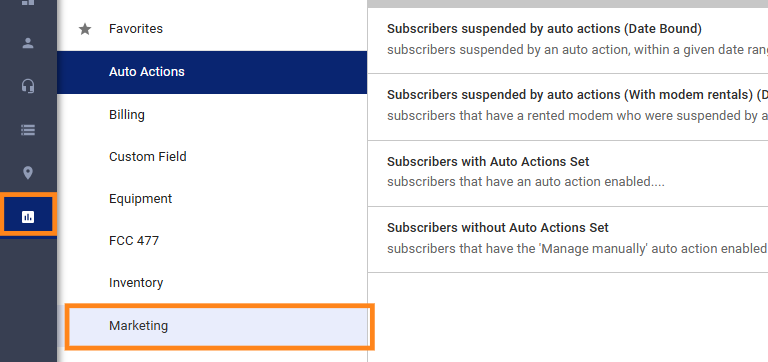
16. Click and open Marketing Source Details Based on Setup Date Statistics Report (Date Bound)
17. If managing multiple-brands, select your ISP or brand from the dropdown.
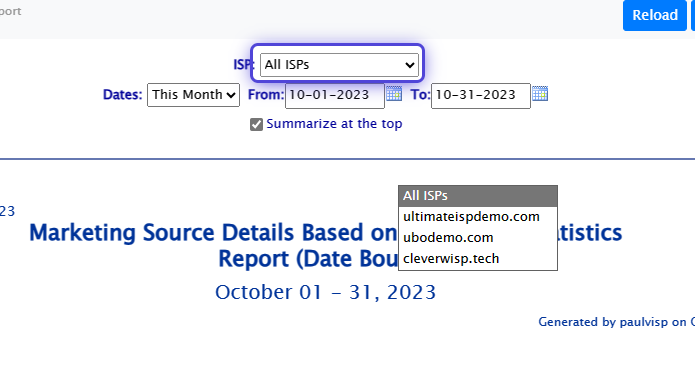
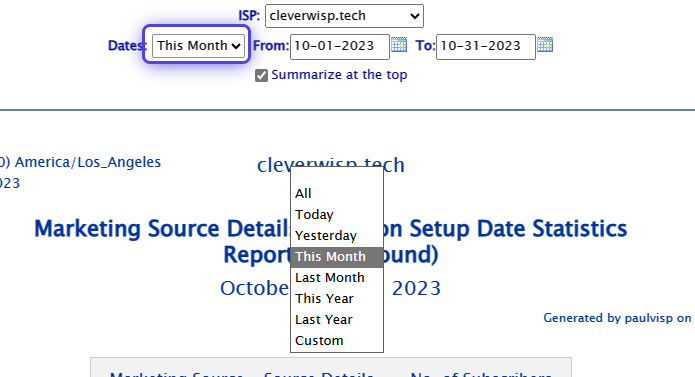
18. Click on the date field, and use the dropdown to select a date or range.
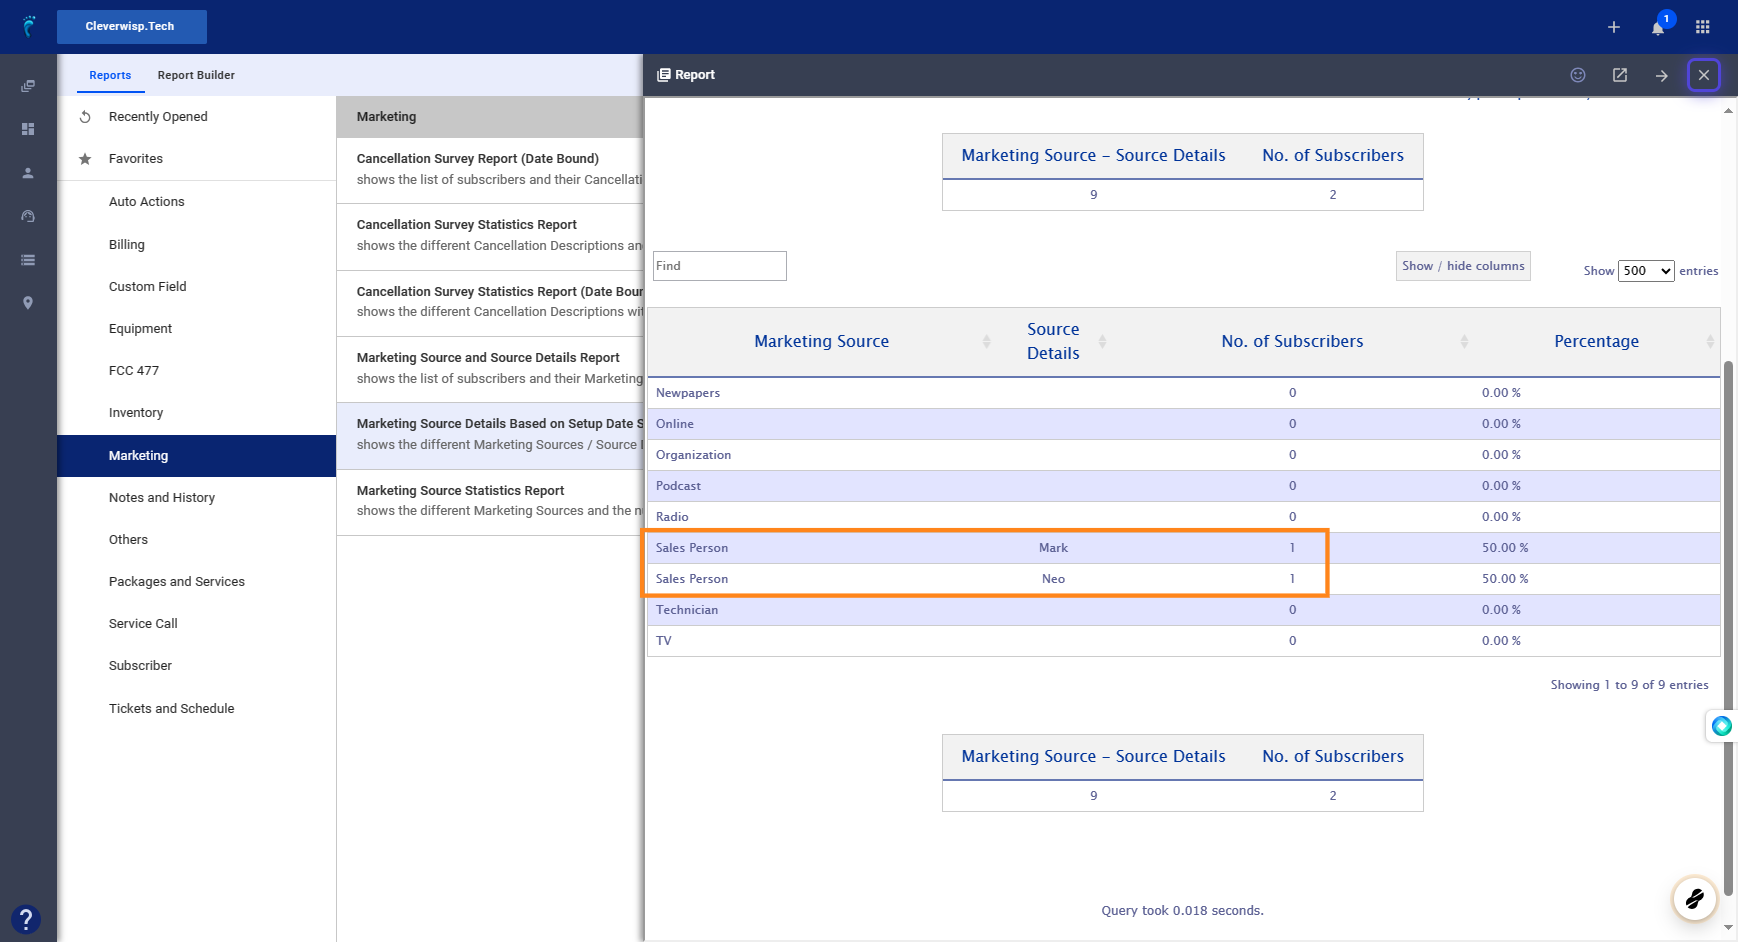
19. Check the number of subscribers added in Visp from these sources.
Calculate the residuals or sale coming from each of the sources manually.
💡 For more information about this and all other features in Visp, reach out to your Visp Client Success Team today.
Phone: 541-955-6900Email: success@visp.net
Open a ticket via www.visp.net/ticket
💡 Tags and Questions / Additional Information
Keywords: source and source details, marketing source, referral source, how to add referral sourcesThis workflow will answer the following questions:
1. How to enable source and source details.
2. How to populate the source and source details.
3. How can the referral or referrer be identified, and how can a referral system be created?
4. Can you use the marketing source as a referral source? Yes.
5. How to view the list of marketing sources and details through your report.