

To archive a customer, there are a few important steps to follow.
1. Confirm the customer has no outstanding balance before proceeding.
- Balances can be cleared and automatically adjusted in Visp as needed.
2. To schedule deactivation, open a support ticket with the following details:
- Planned deactivation date.
- Ensure any rented equipment is returned before closing the support ticket.
3. Deactivate the customer’s package/service, making them inactive.
4. After collecting the equipment and removing the package, change the customer’s state to ‘Archived’ to complete the process.
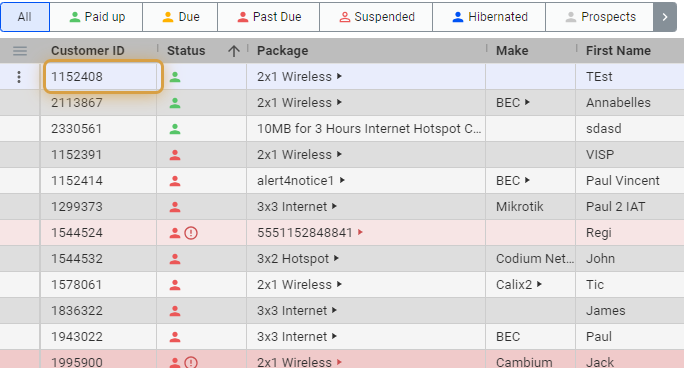
1. Click and open the subscriber’s list.
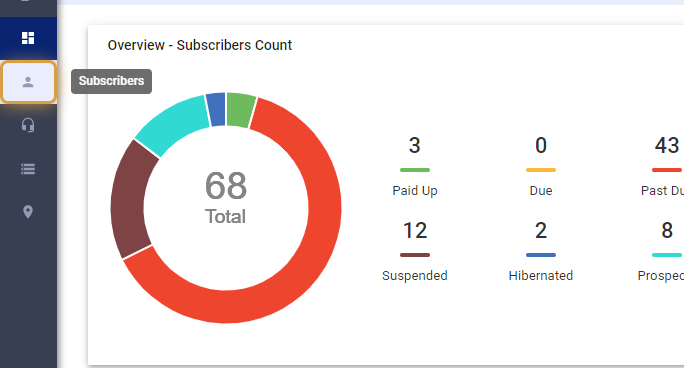
2. Search for the subscriber or select from the list.
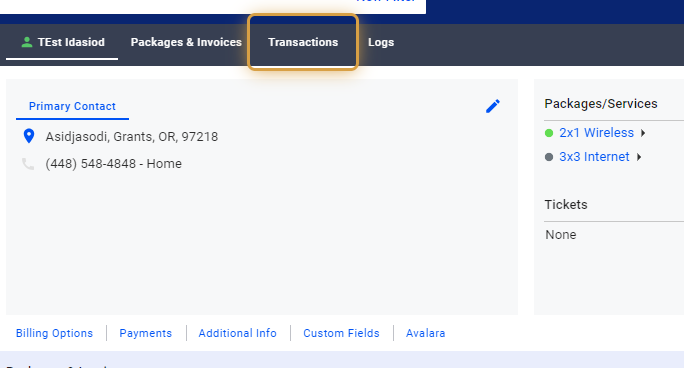
3. Select Transactions
Review any outstanding balances. Refunds should be issued if there are credits on the account. If there are any excess charges, notify the customer and collect the amount owed.
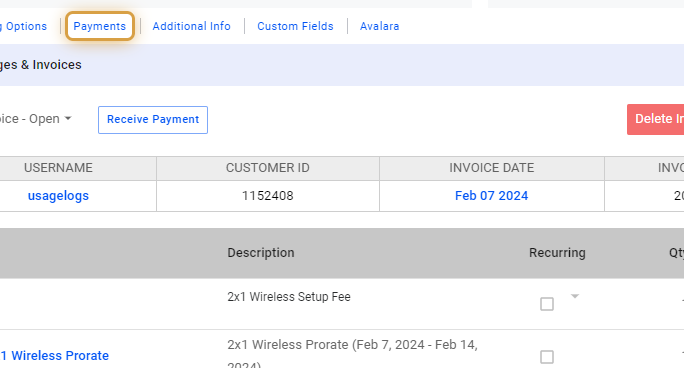
4. Click on Payments
Check for any active cards before archiving the account. Remove these cards and inform the customer. Be aware that expired cards will automatically be deleted. Additionally, any active cards will be removed from the system after 90 days unless they are manually removed.
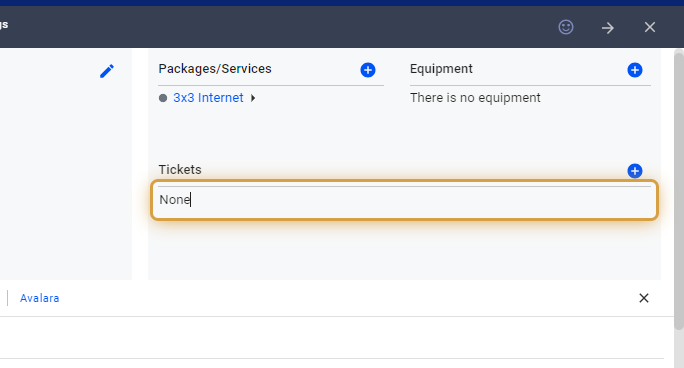
5. Click on the Equipment section.
If the equipment is rented or leased, you can hold-off on archiving the account, until the equipment is collected or paid for by the customer.
Communicate with the customer and create a ticket to notify technicians to collect the equipment before closing or archiving the account.

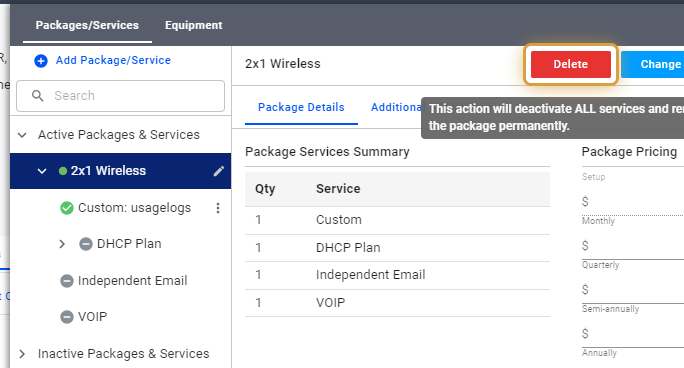
6. Click and open a package and service.
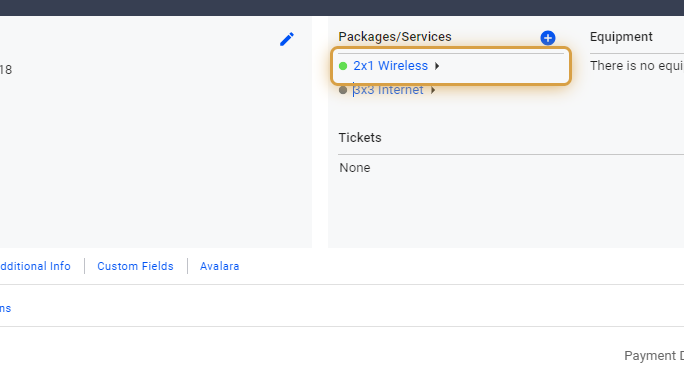
7. Delete the Package
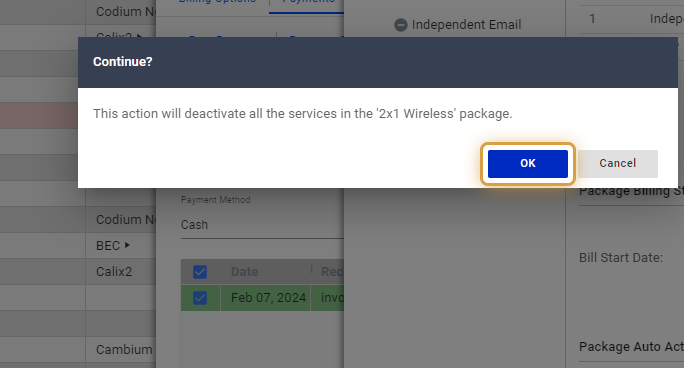
After confirming that the customer has stopped using the service, you can remove their package. Also, if the customer still uses the service but hasn’t paid their bill, and they’ve been properly notified, you can delete the package once the final notice after their suspension has been sent.
8. Click on OK to continue.
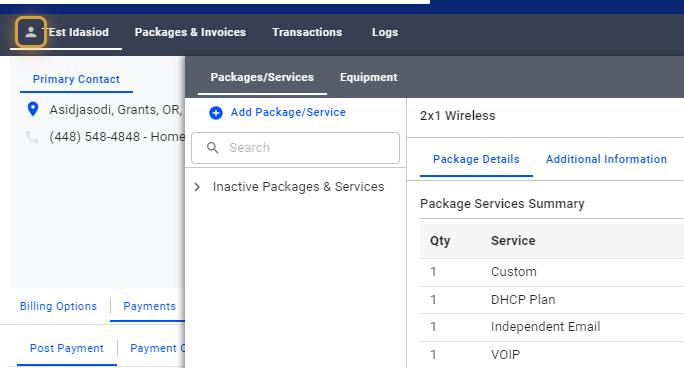
9. Inactive Status
If the account has no active package, the status will appear as light gray, indicating inactivity.
10. Click on the X icon to close the panel.

11. All Tickets are resolved.
To determine if an account should be marked as inactive, check if all service requests are closed, for instance, when equipment has been scheduled for pick-up. If a technician has retrieved the item and no open tickets remain, this indicates that all issues have been addressed. Consequently, the account can be archived.
Archive the Account
12. Search for the subscriber or select from the list.
Click on the vertical ellipsis, or the three vertical dots.

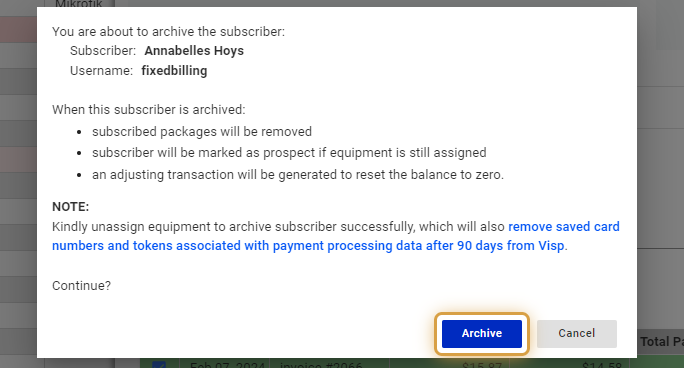
13. Select Archive

14. Acknowledge the pop-up.

15. Confirmation
When you archive a subscriber, there are a few checklist items to consider:
- Firstly, you need to confirm the cancellation of their subscription service / packages.
- Secondly, if the subscriber still has equipment, make sure you’ve collected all rented devices before archiving.
- Thirdly, an adjustment will be made to their account to bring the balance to zero, which helps clear any remaining charges or credits.
- Lastly, note that any stored payment information will be automatically deleted after 90 days for security reasons. This is in line with PCI compliance standards.
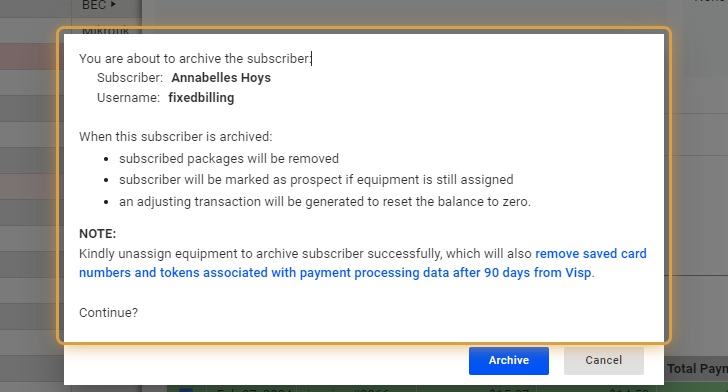
16. Click on Archive to continue.
17. A new pop-up appears
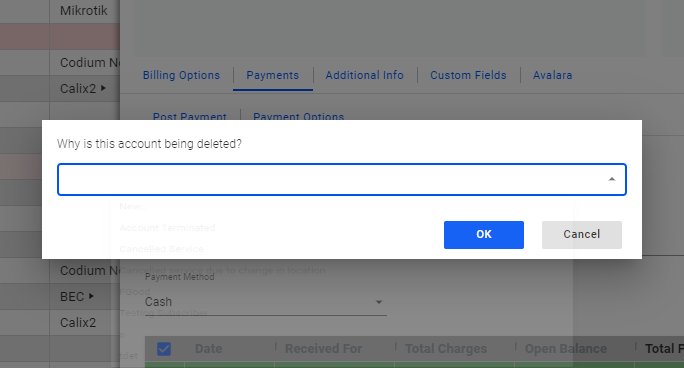
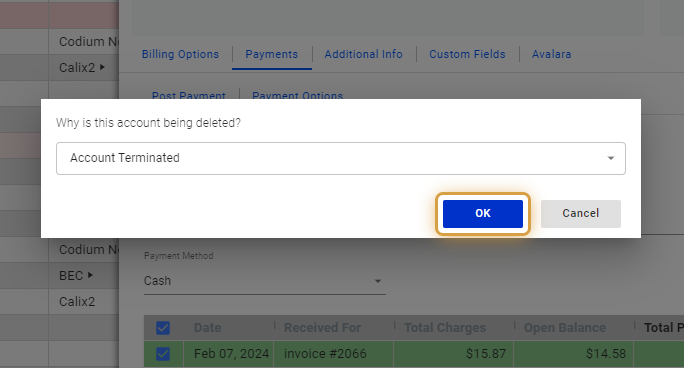
18. Use the dropdown to select the reason for terminating the service.
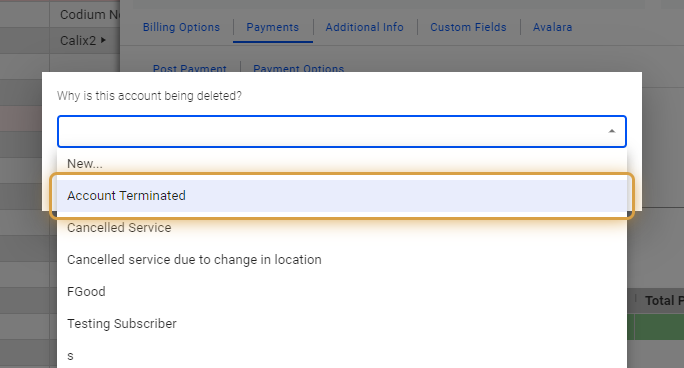
19. Click on OK, to continue.
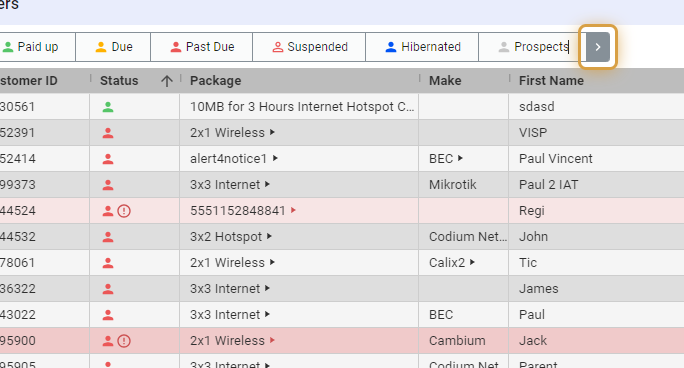
View Archived Accounts
20. Click on the arrow beside Prospects.
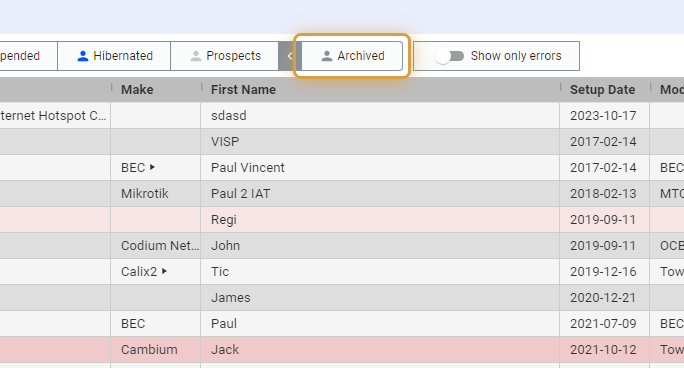
21. Click on Archived
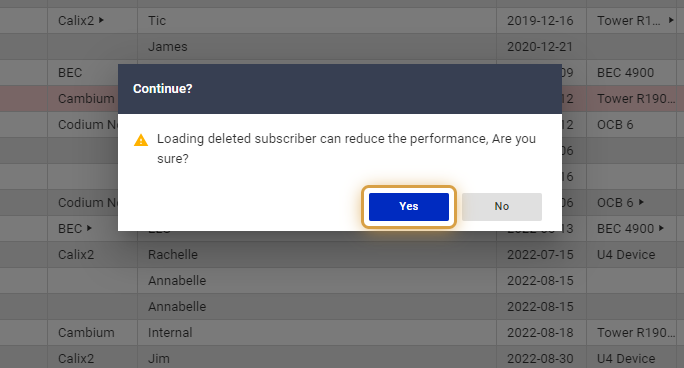
22. Acknowledge the pop-up, and click Yes, to continue.
23. Status Colors for Archived Accounts
Archived customers have a darker gray status color on their account for easy recognition compared to prospects or inactive ones with light gray status color.
How to Restore / Unarchive Accounts
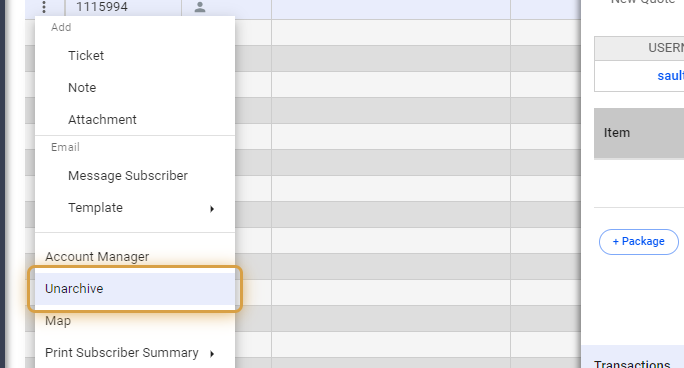
24. Click on the vertical ellipsis or three vertical dots on the account.

25. Select Unarchive
This restores the account to an Inactive state.
💡 For more information about this and all other features in Visp, reach out to your Visp Client Success Team today.
Phone: 541-955-6900
Email: success@visp.net
Open a ticket via www.visp.net/ticket