

How to Open or Create a New Ticket?
1. Click and open the Subscribers list.
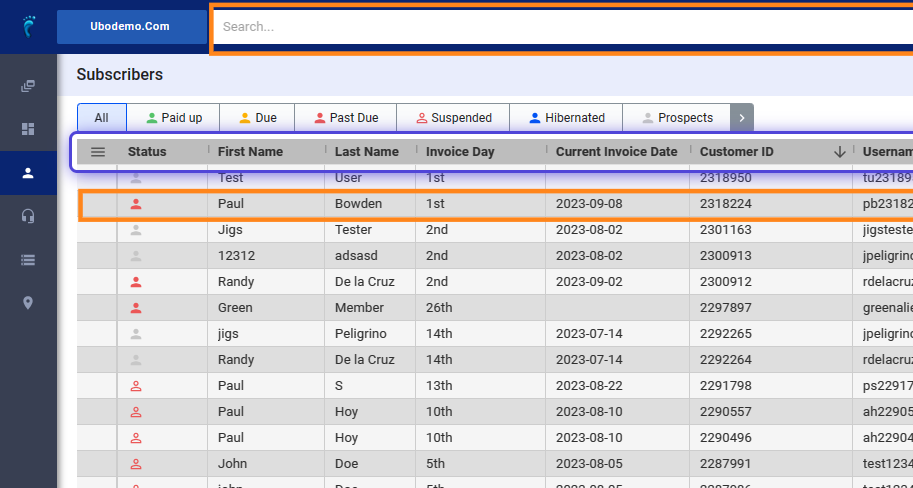
Search for the subscriber or select from the list.
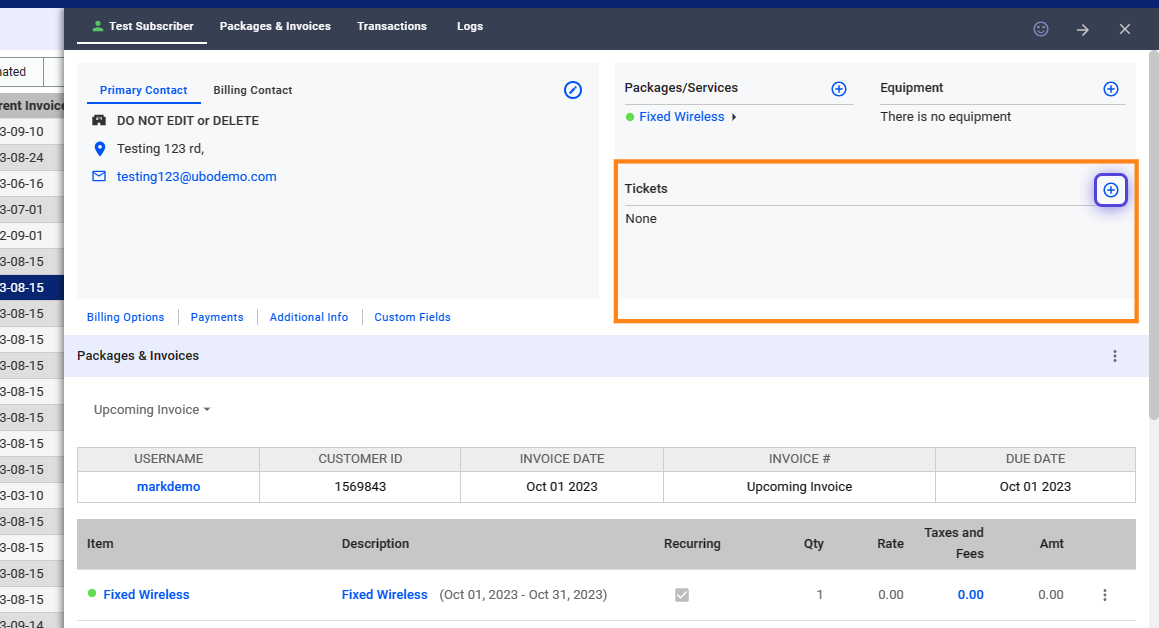
2. In the Tickets section, click on the blue plus icon.
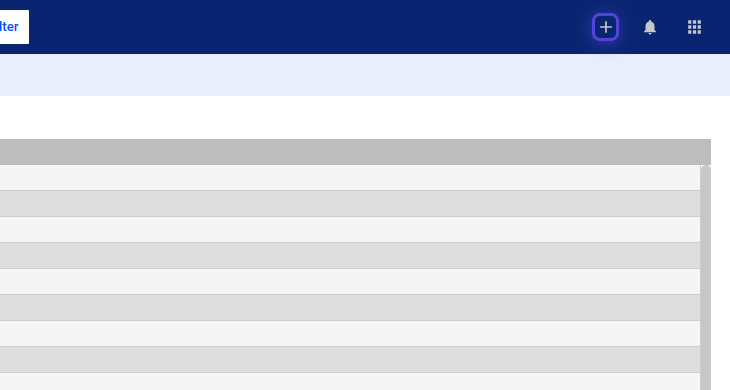
3. Alternatively, in the upper-right corner of the app, click on the plus icon.
This is a shortcut to adding tickets to an account.
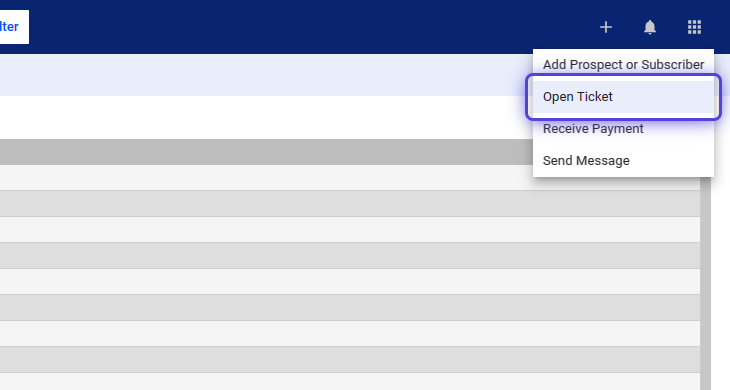
4. Select, “Open Ticket”
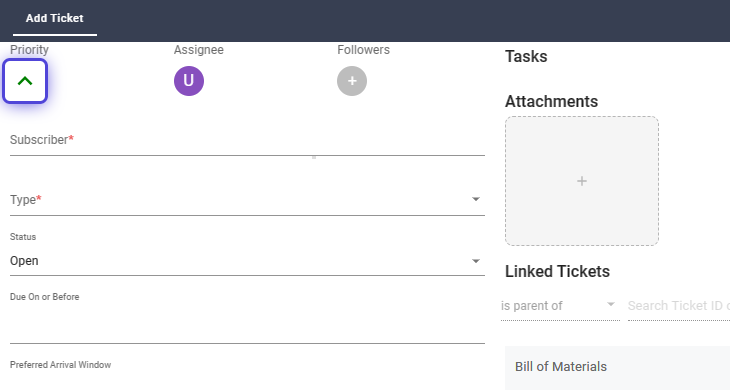
How to Populate the Fields in a Ticket?
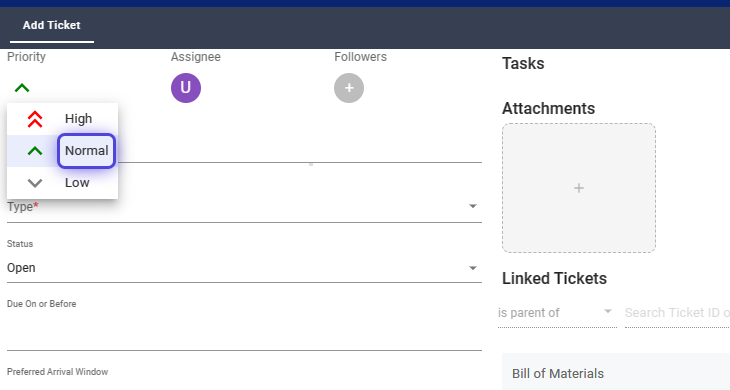
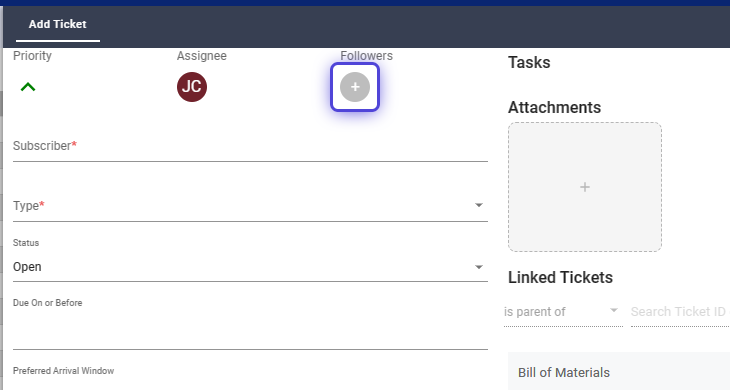
5. Click on the arrow icon, to set “Priority”
6. Select Normal
By default tickets are set to Normal priority. You can change the priority by updating this field.
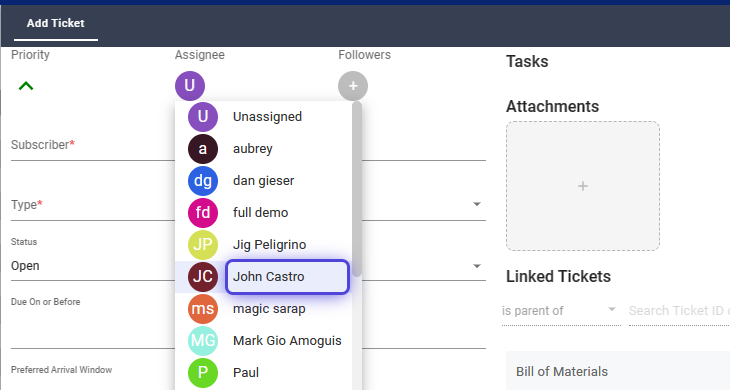
7. Click on the U icon to set an Assignee.
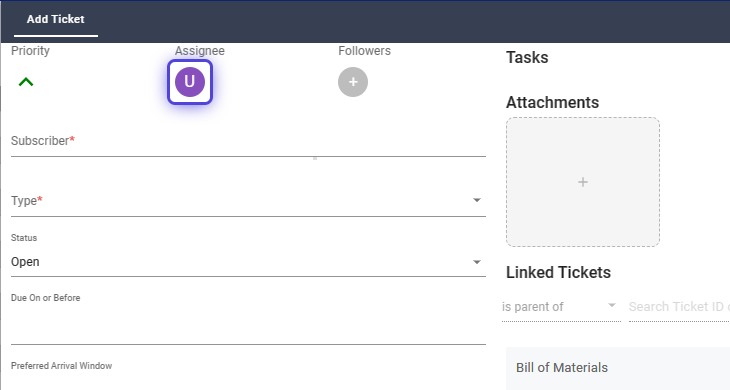
8. Select a technician from the dropdown to assign the ticket.
9. Click on the plus icon, under Follower.
10. Select a Follower from the dropdown.
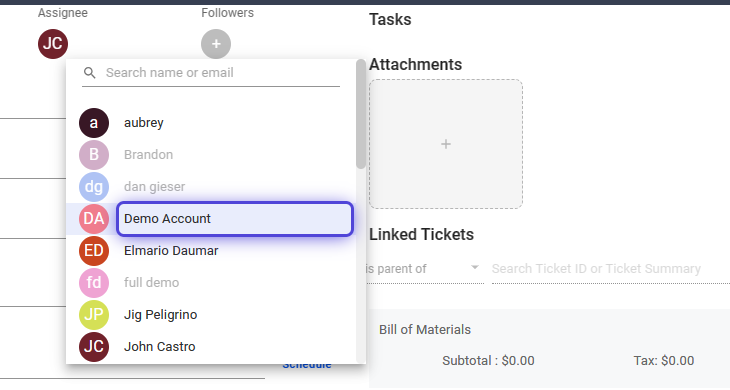
A ticket follower watches a ticket’s progress and might work on it if the assigned person is unavailable.
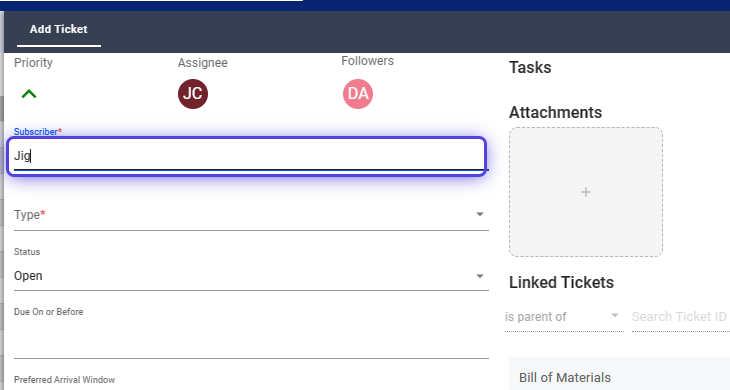
💡 In the subscriber field, input the customer’s name, address, phone, or email manually.
The system suggests matching subscribers based on your input.
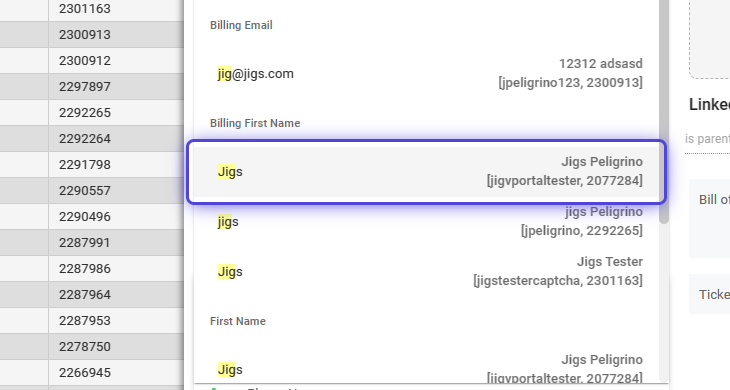
11. Input a name to query or search for the customer from the database.
12. Select the subscriber from the recommended list.
💡 Create a ticket within the subscriber’s account to auto-fill basic details.
Adding a ticket within the customer’s account automatically fills in the subscriber details in the provided fields.
13. Click on the arrow in the Type field.
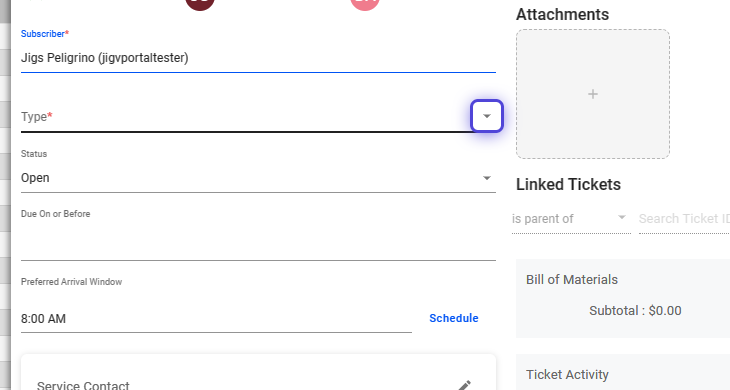
14. Use the dropdown to select the Ticket Type.
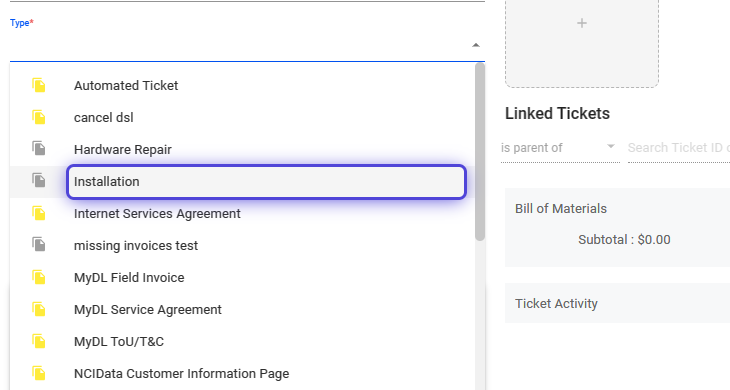
In Visp, ticket types are categories for managing and tracking customer requests, technical issues, and service tasks like installations, billing, and maintenance.
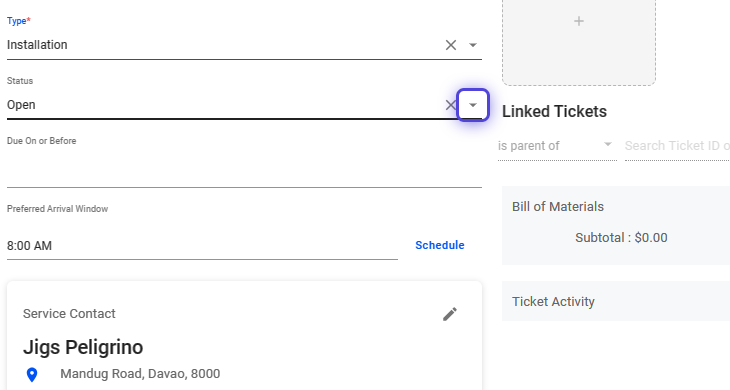
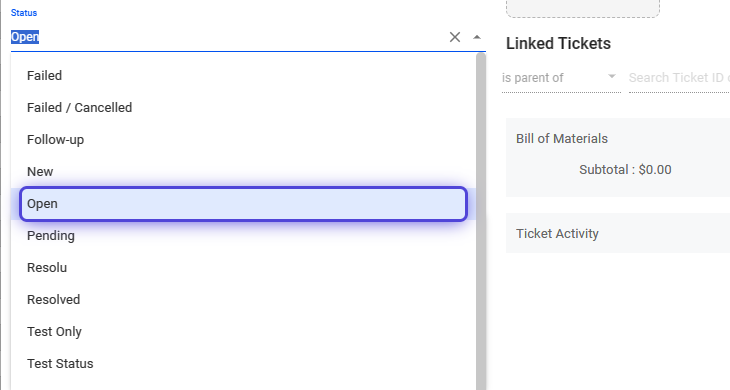
15. Click on the arrow icon under Status.
16. Use the dropdown to select a Status from the list.
17. To set a tentative deadline, click on Due On or Before, and choose a date.
Or to schedule an event or job on the calendar, click “Schedule.”
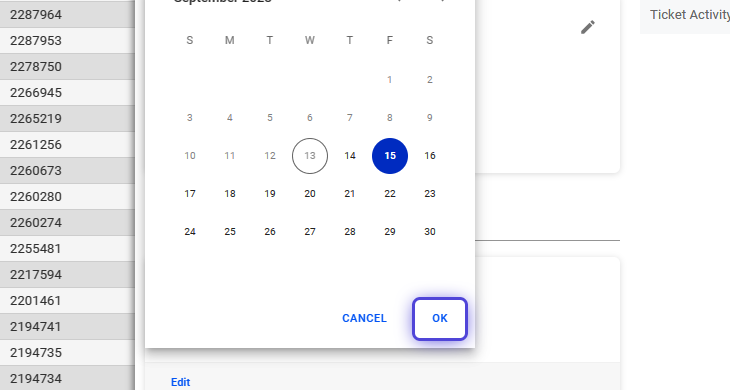
18. Set the Appointment Duration and use the calendar to choose a date.
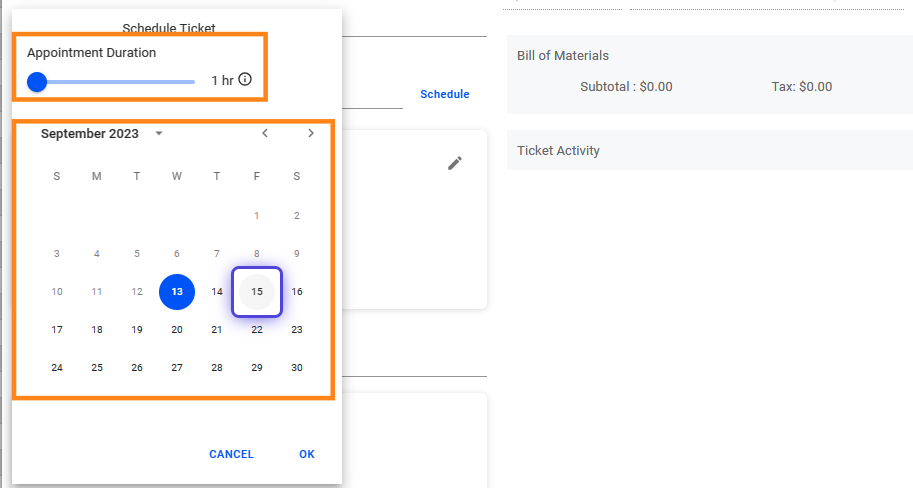
19. Click on OK to save.
20. Input a ticket summary.
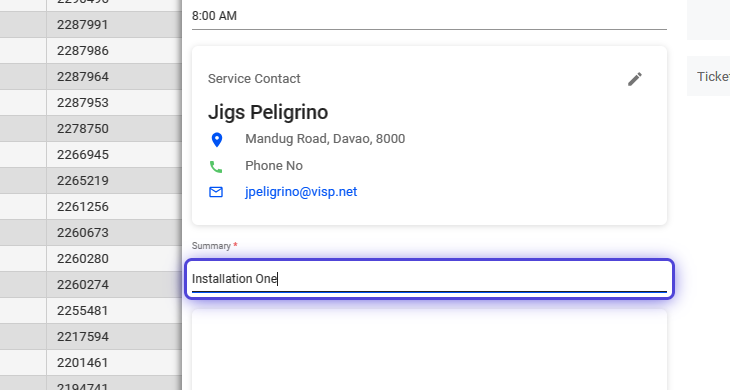
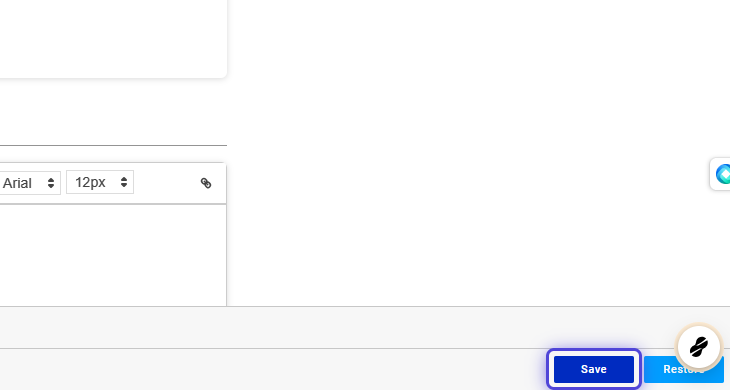
21. Click on Edit, to input the description.
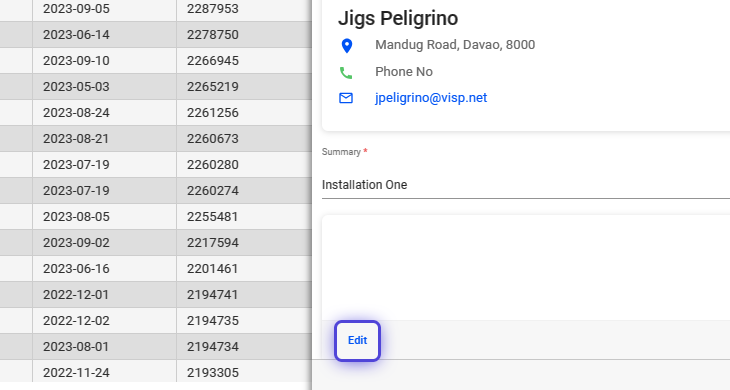
22. Save your work.
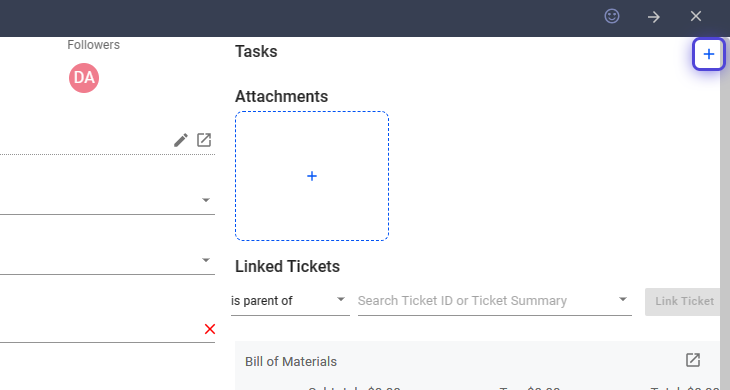
💡 Tasks and Attachments fields activate after saving and adding the ticket.
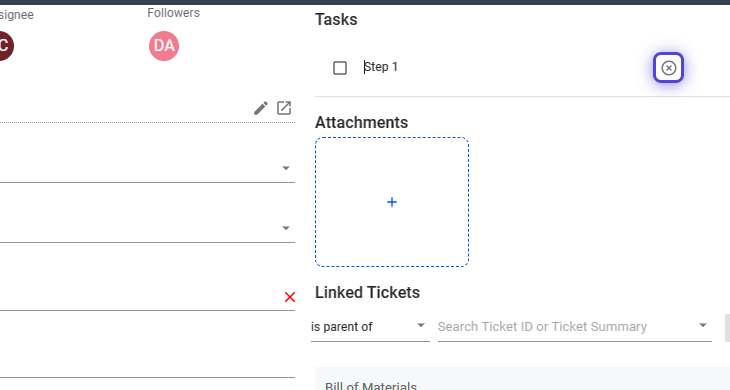
How to Add Tasks and Attachments to Your Ticket?
23. Click on the plus icon to add Tasks.
24. Input a task and click on the blue check icon to save.
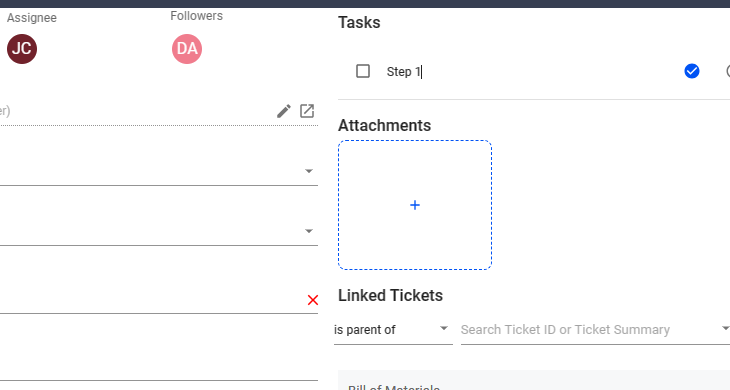
25. Click on the X icon to the right, to remove a task from the list.
26. Click on “Attachments.”
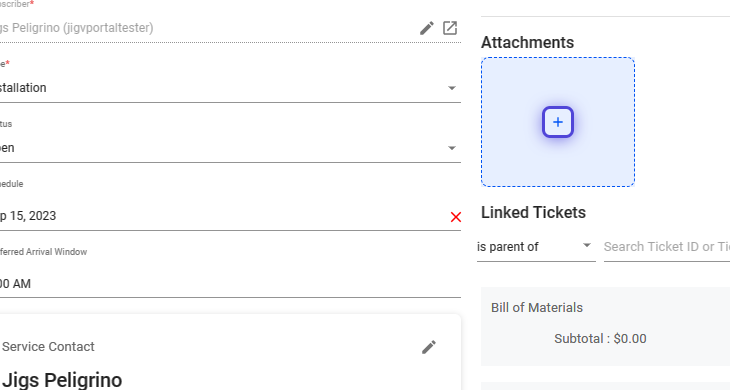
You or your technicians can add images to your tickets as proof of completed jobs or tasks.
💡 Remember to save your work when done.
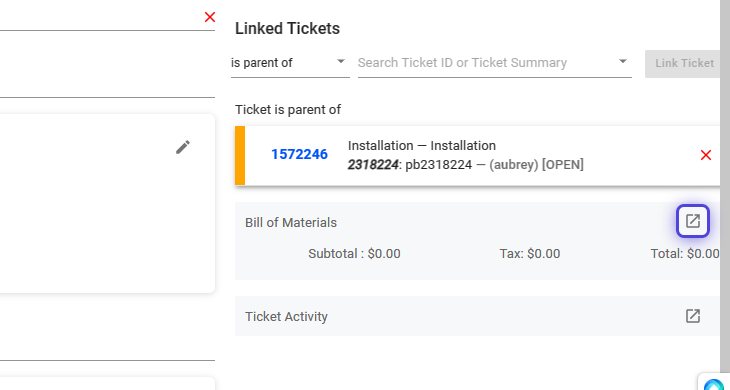
How to Link Two or More Tickets
27. In the Linked Tickets section, use the dropdown to select if the ticket is a parent, child, or merged topic.
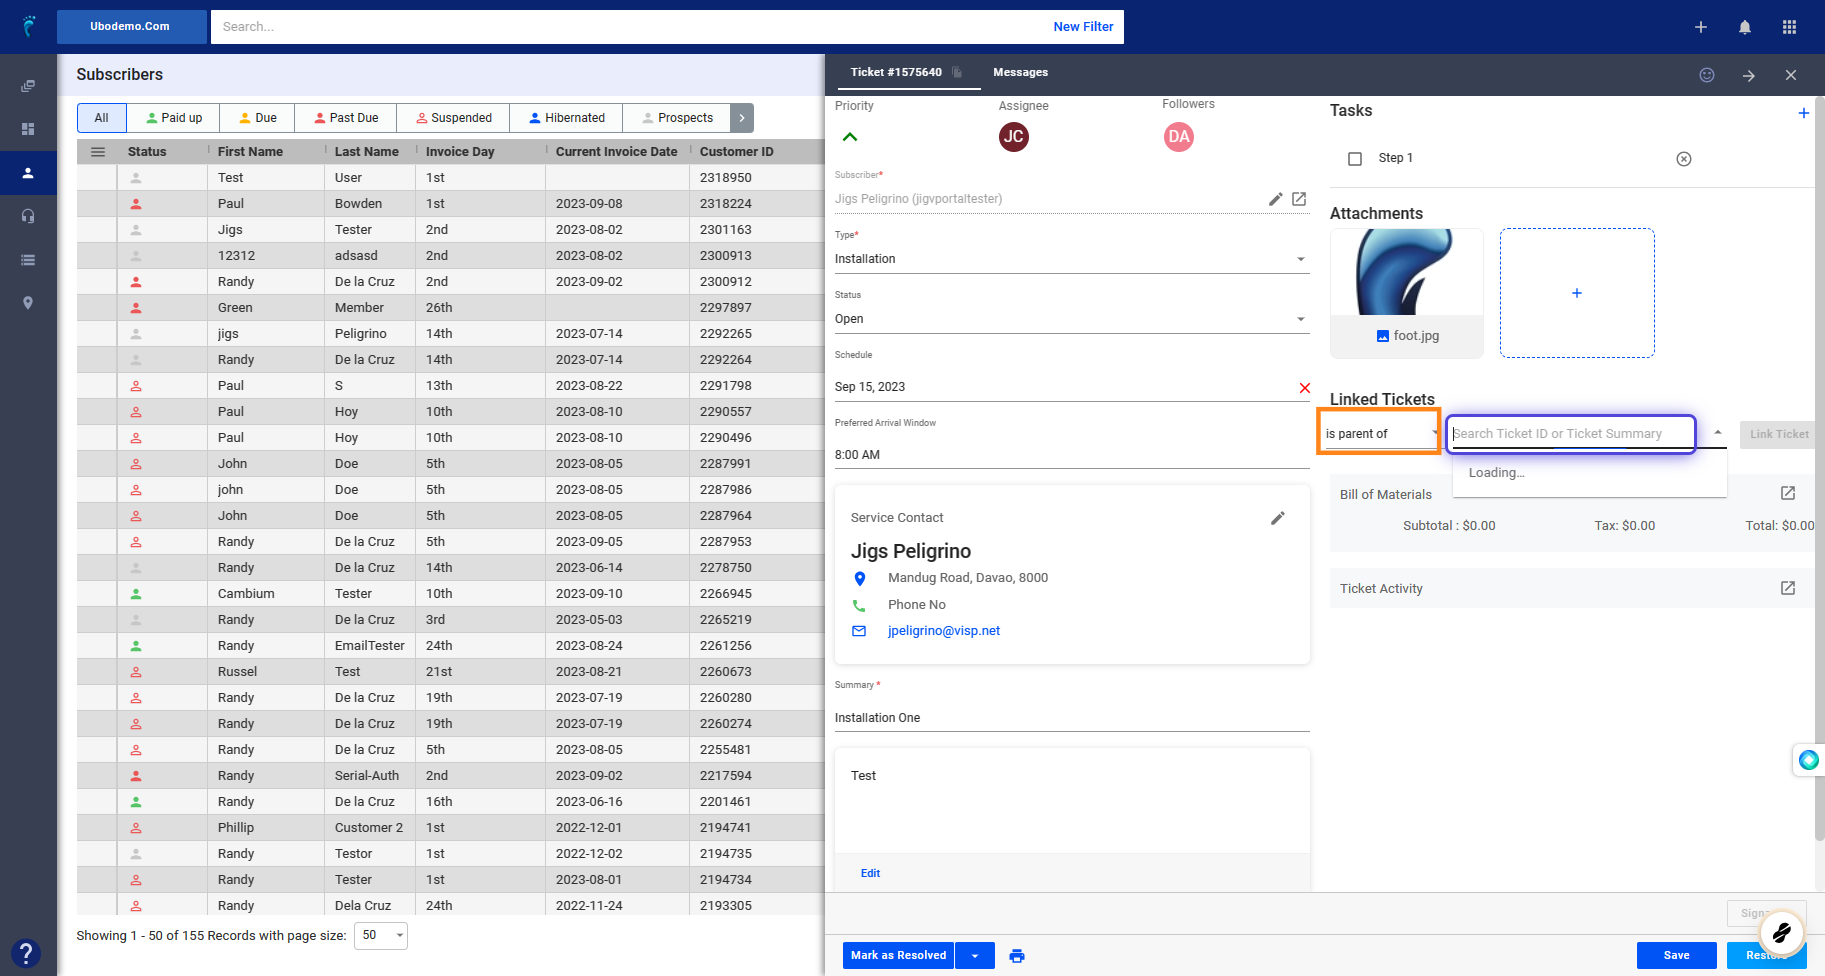
28. Search for the ticket or select from the list.
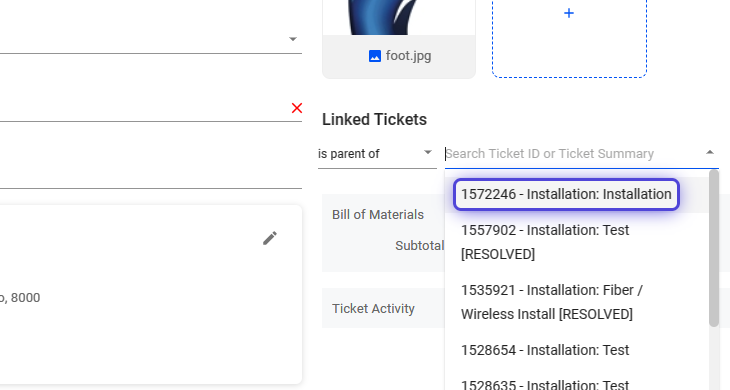
In this example, we’ll make the current ticket a child of another ticket.
29. Click on “Link Ticket.”
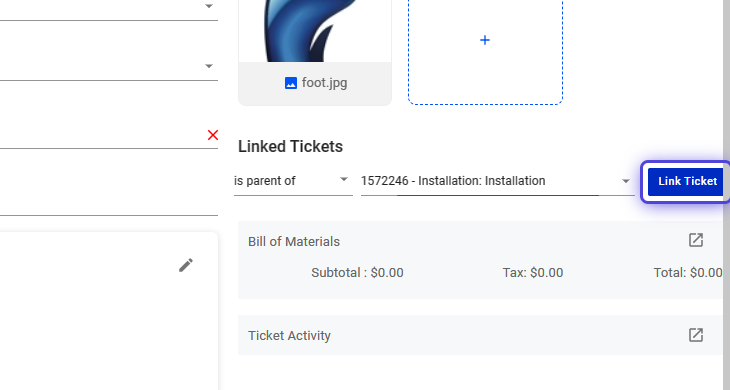
💡 Remember to save your changes.
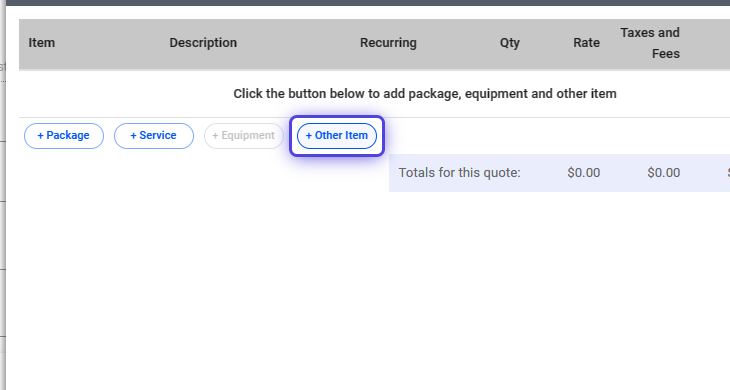
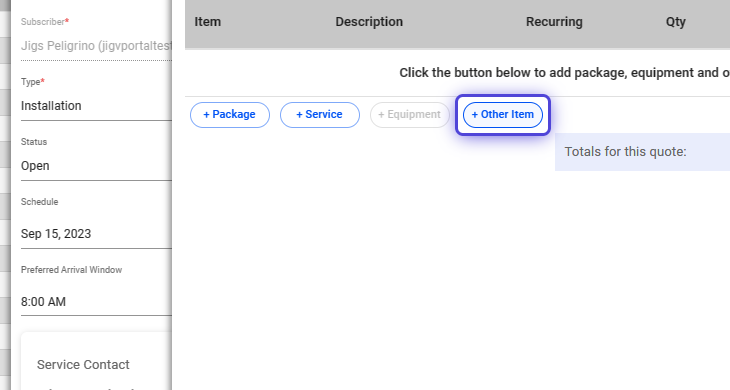
How to Add Fees and Other Charges via the Ticket Bill of Materials (BoM)
30. Click on the external link icon.
31. Click on + Other Item
32. Click on New Item
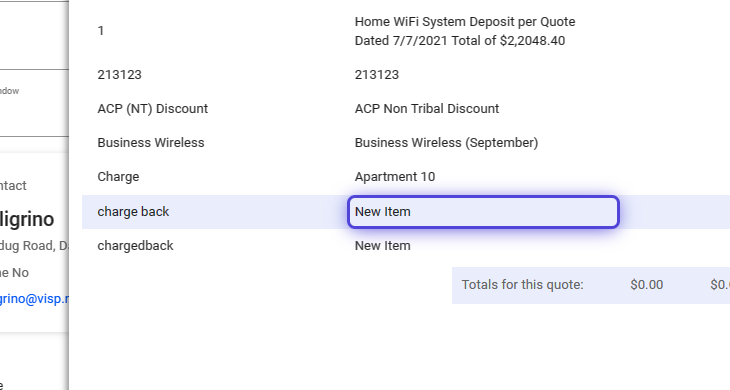
33. Click on Add To BoM
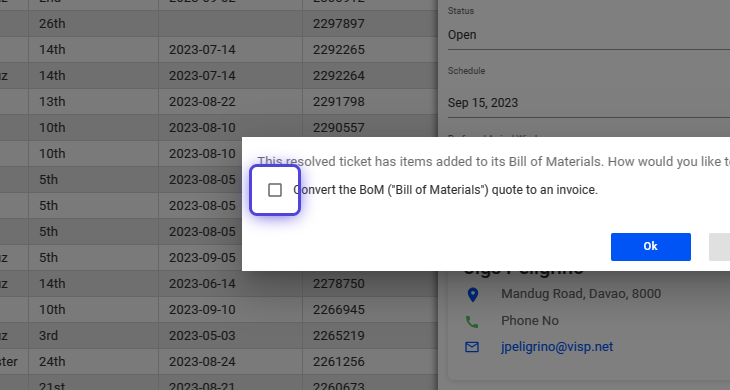
34. Click on Ok
35. Click on Ok
36. Click on Cancel
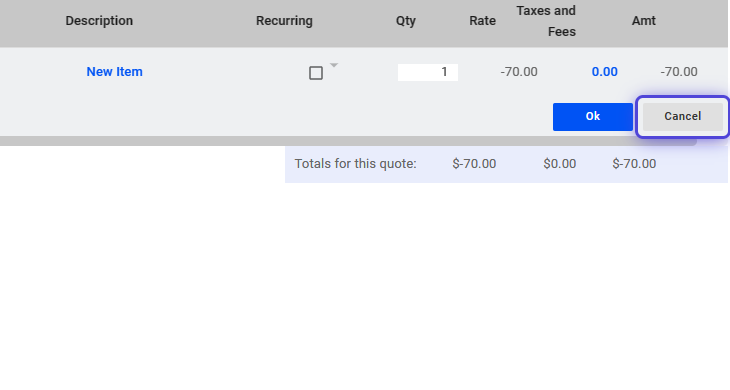
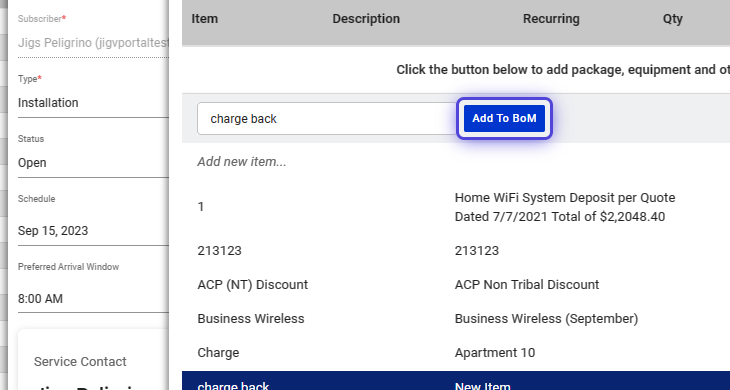
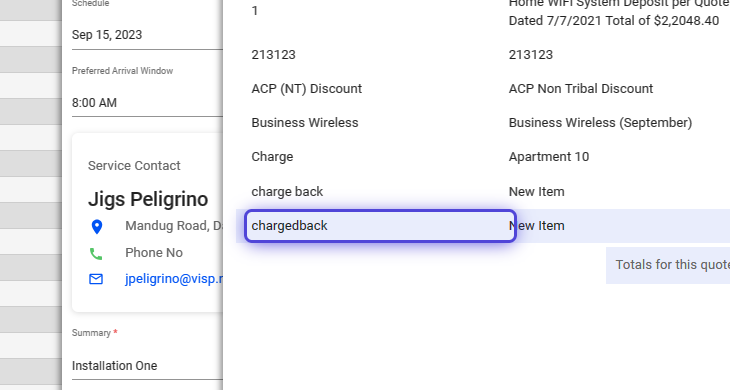
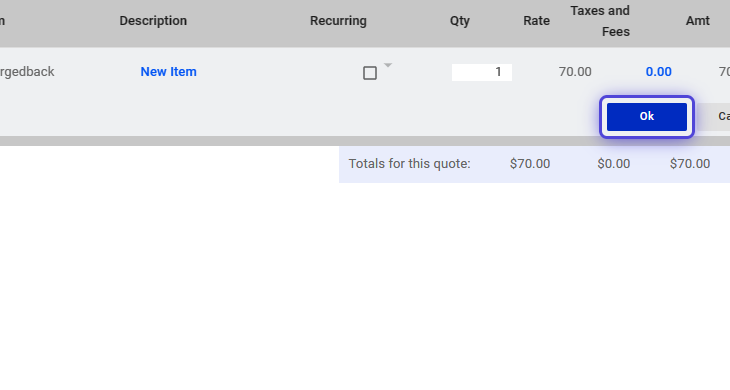
37. Click on + Other Item
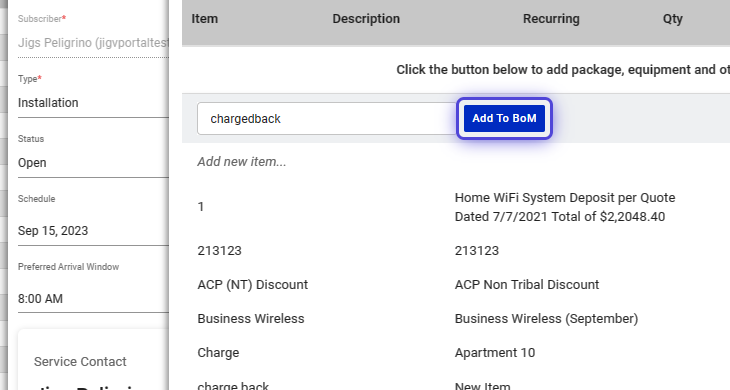
38. Click on chargedback
39. Click on Add To BoM
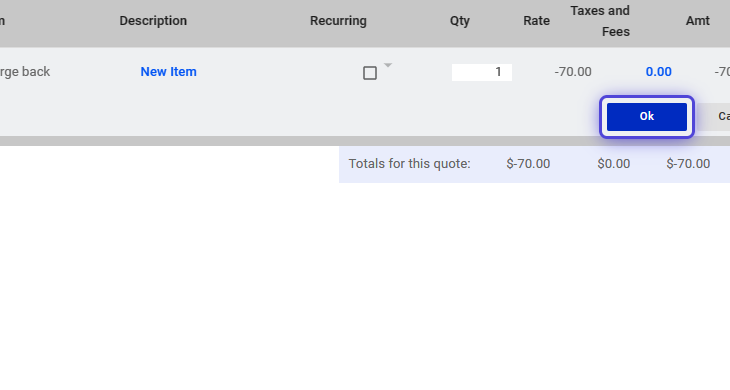
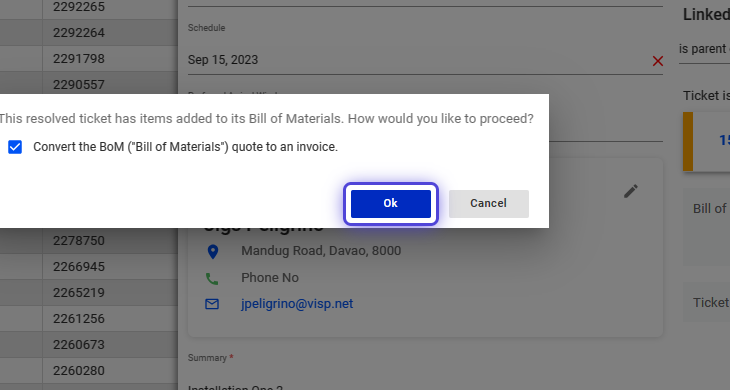
40. Click on Ok
41. Click on highlight
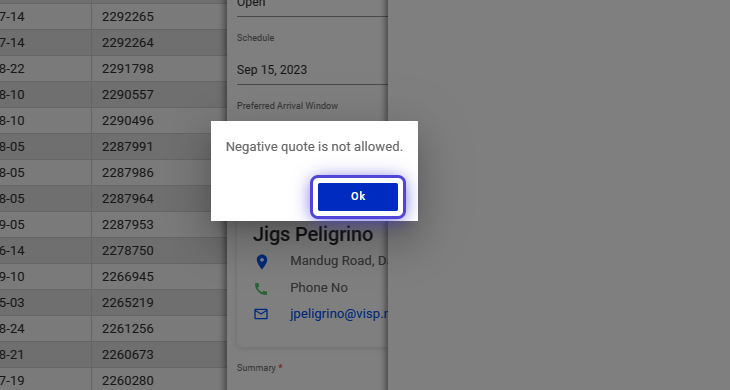
42. Click on Ok
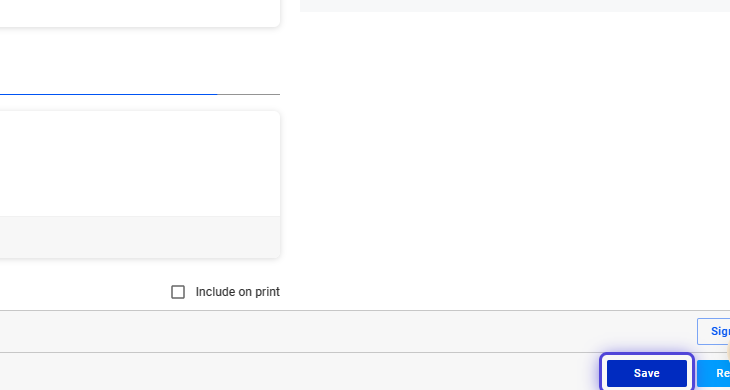
43. Click on Save

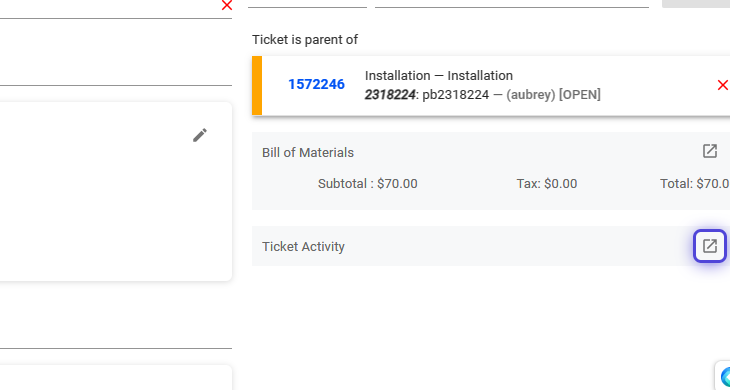
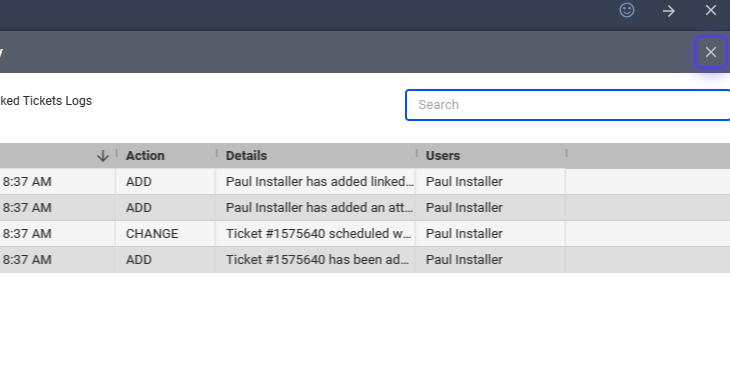
How to View Ticket Activity
44. Click on highlight
45. Click on highlight
46. Click on Save
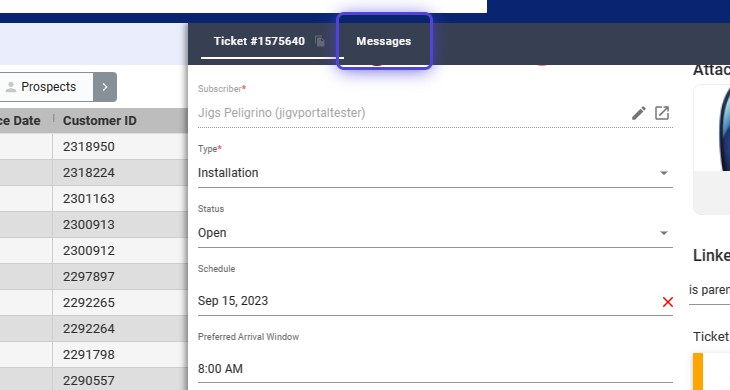
How to View and Post Messages on a Ticket
47. Click on Messages
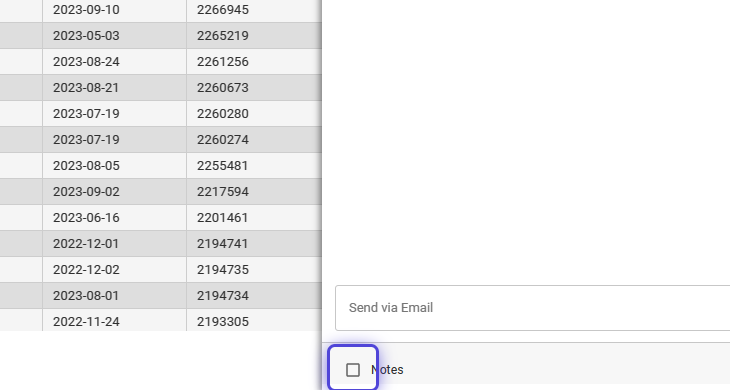
48. Type in highlight
49. Click on Send

50. Click on highlight
51. Type in highlight

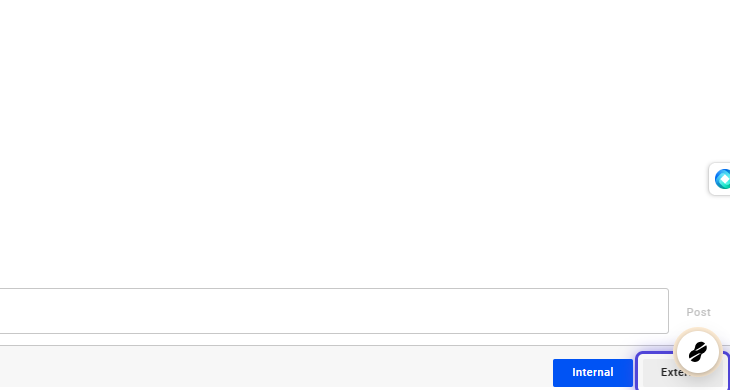
52. Click on Post

How to Send Messages to the Customer
53. Click on External
54. Type in highlight
55. Click on Post
56. Click on Ticket #1575640

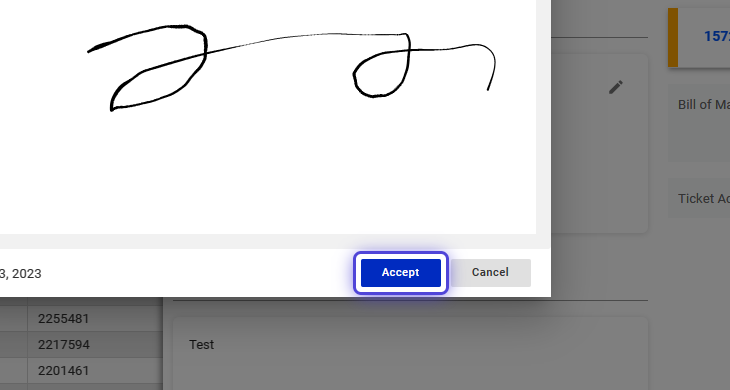
How to Add Signatures on Tickets
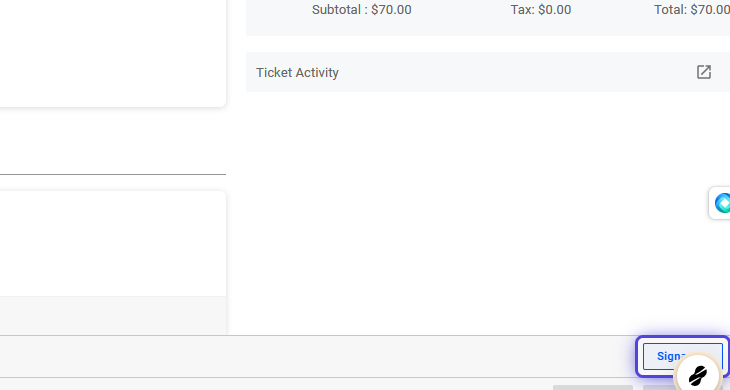
57. Click on Signature
58. Click on highlight
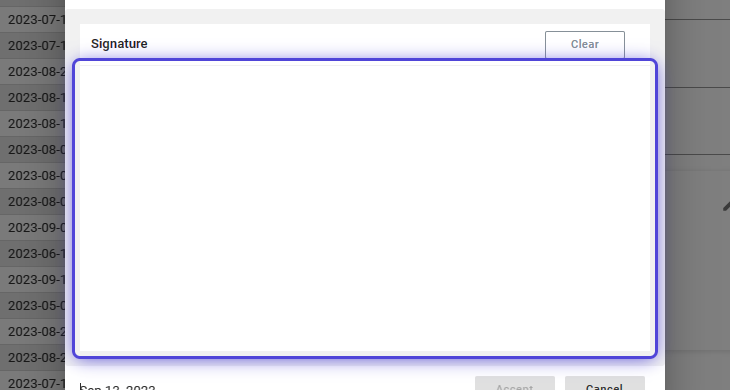
59. Click on Accept
How to Close, Delete, or Resolve a Ticket
60. Click on Mark as Resolved
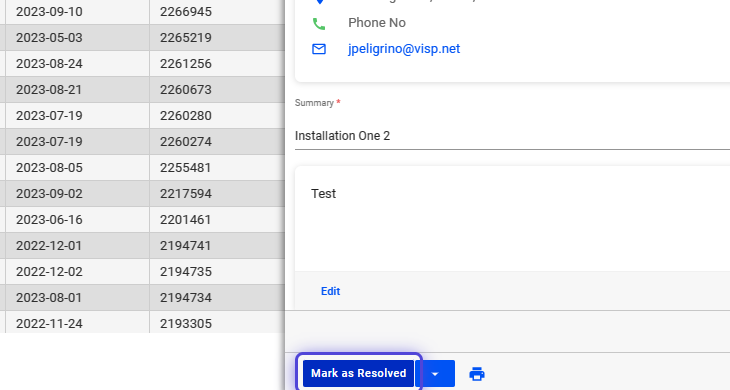
61. Click on Resolve Ticket

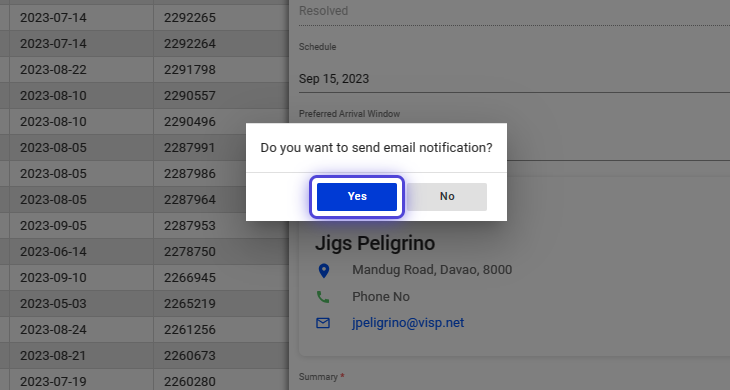
62. Click on Yes
63. Type in highlight
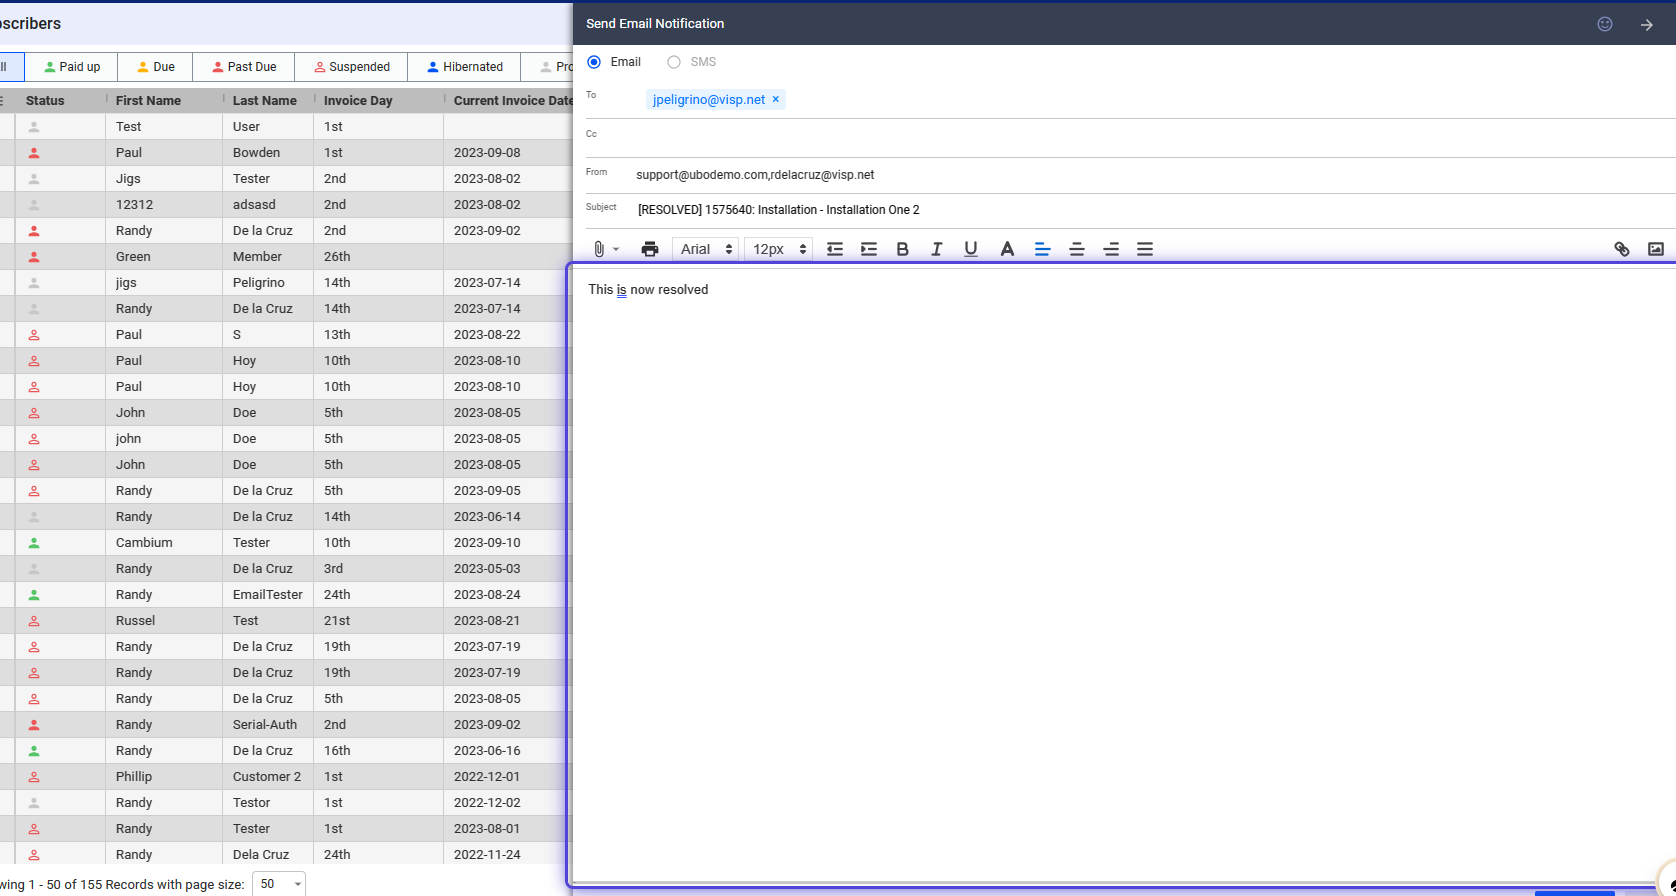
64. Click on Send
💡 For more information about this and all other features in Visp, reach out to your Visp Client Success Team today. Phone: 541-955-6900 Email: success@visp.net Open a ticket via www.visp.net/ticket