1-541-955-6900

success@visp.net

Login

Documentation Series

Learn About VISP App Dashboard

Help Documentations / Display Coverage Maps

Display Coverage Maps

1. Requisites for displaying coverage maps:

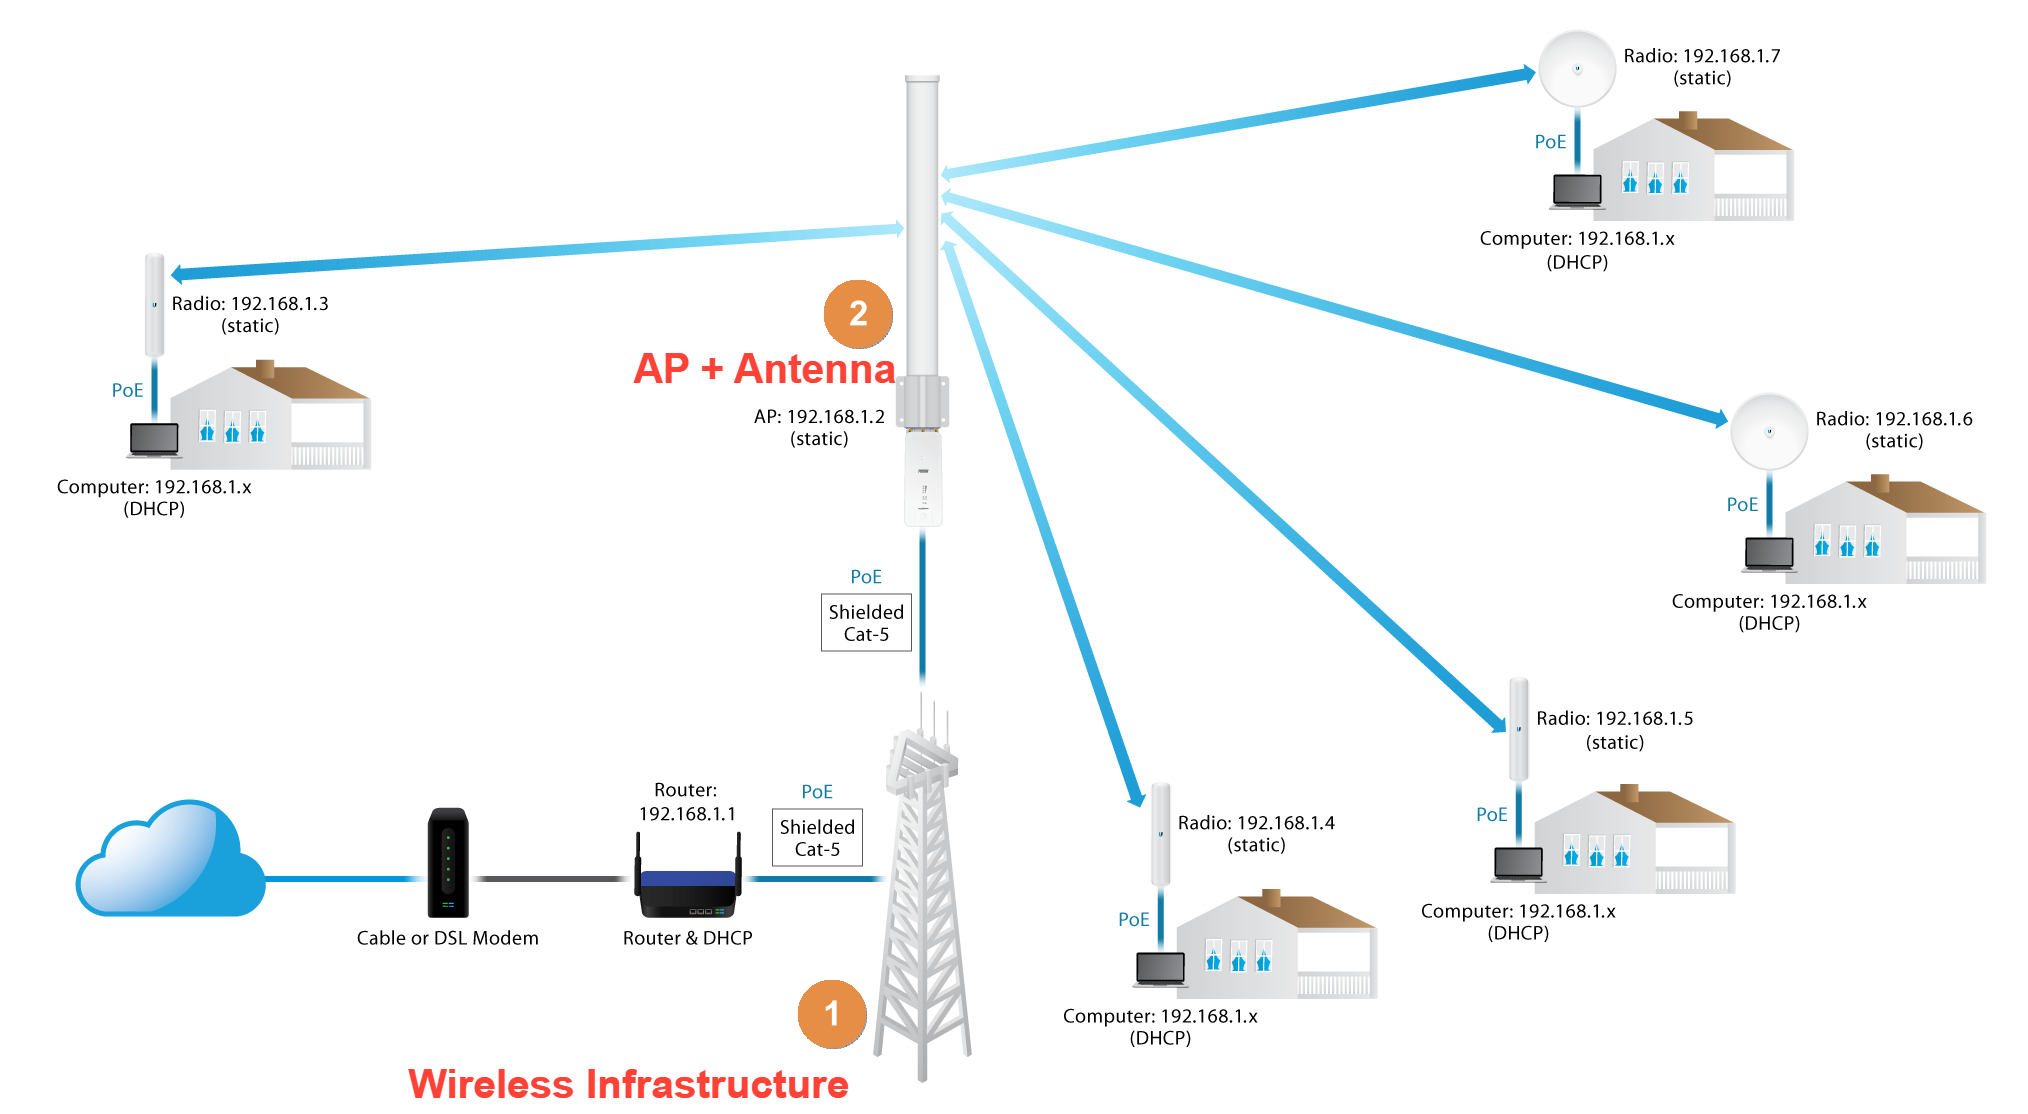
    1. Wireless Infrastructure Location (Sub-Location / Sector)
    2. Create Profile and Add Equipment for AP + Antenna Assembly
    3. Configure Metadata for Azimuth, Beamwidth, and Range in your Antenna

Display Coverage Maps - Visp App

đź’ˇ Below are some of the common Tools and Layer configuration, to enhance coverage display.

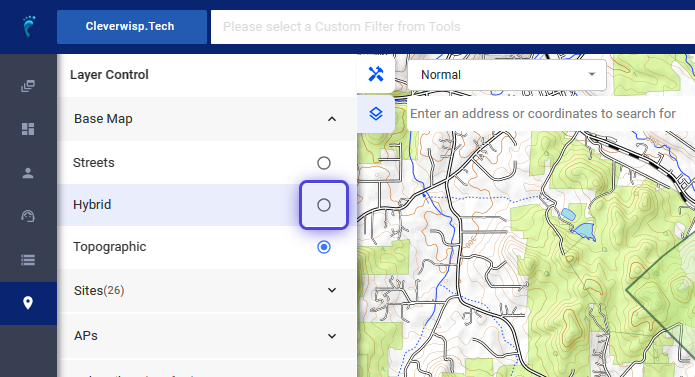
Set Basemap Preferences
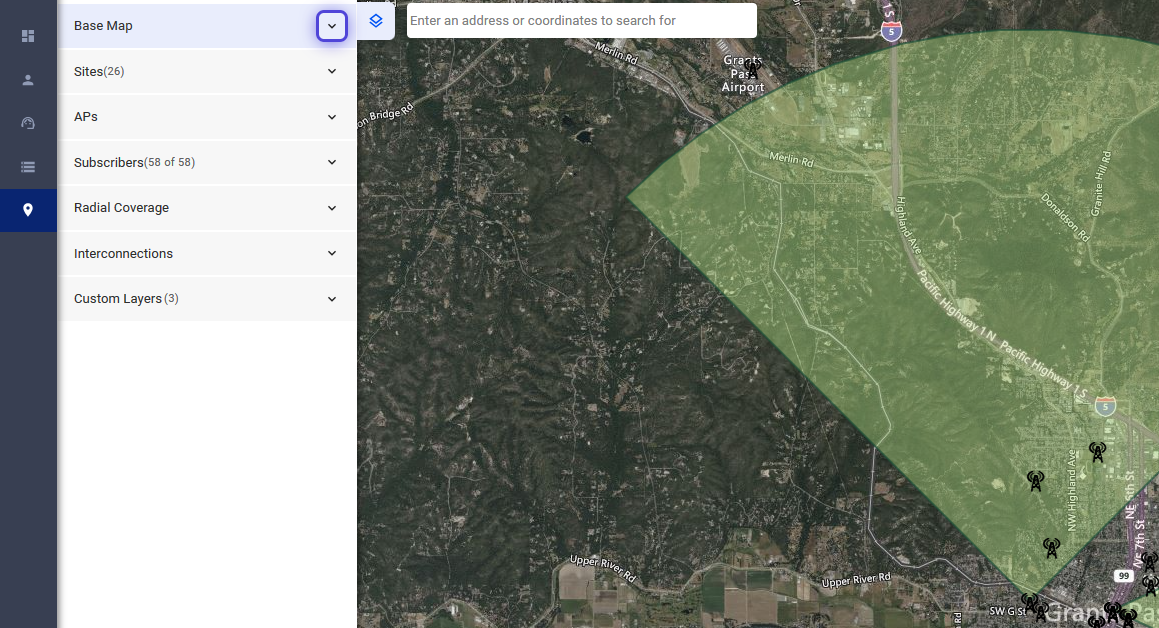
2. Click on Maps

Display Coverage Maps - Visp App

3. Click to Expand the Basemap Options
Use the list to select Streets, Hybrid, or Topographic
Display Coverage Maps - Visp App

4. Streets in Maps
Streets in map shows the road network and layout of a particular area.
Display Coverage Maps - Visp App

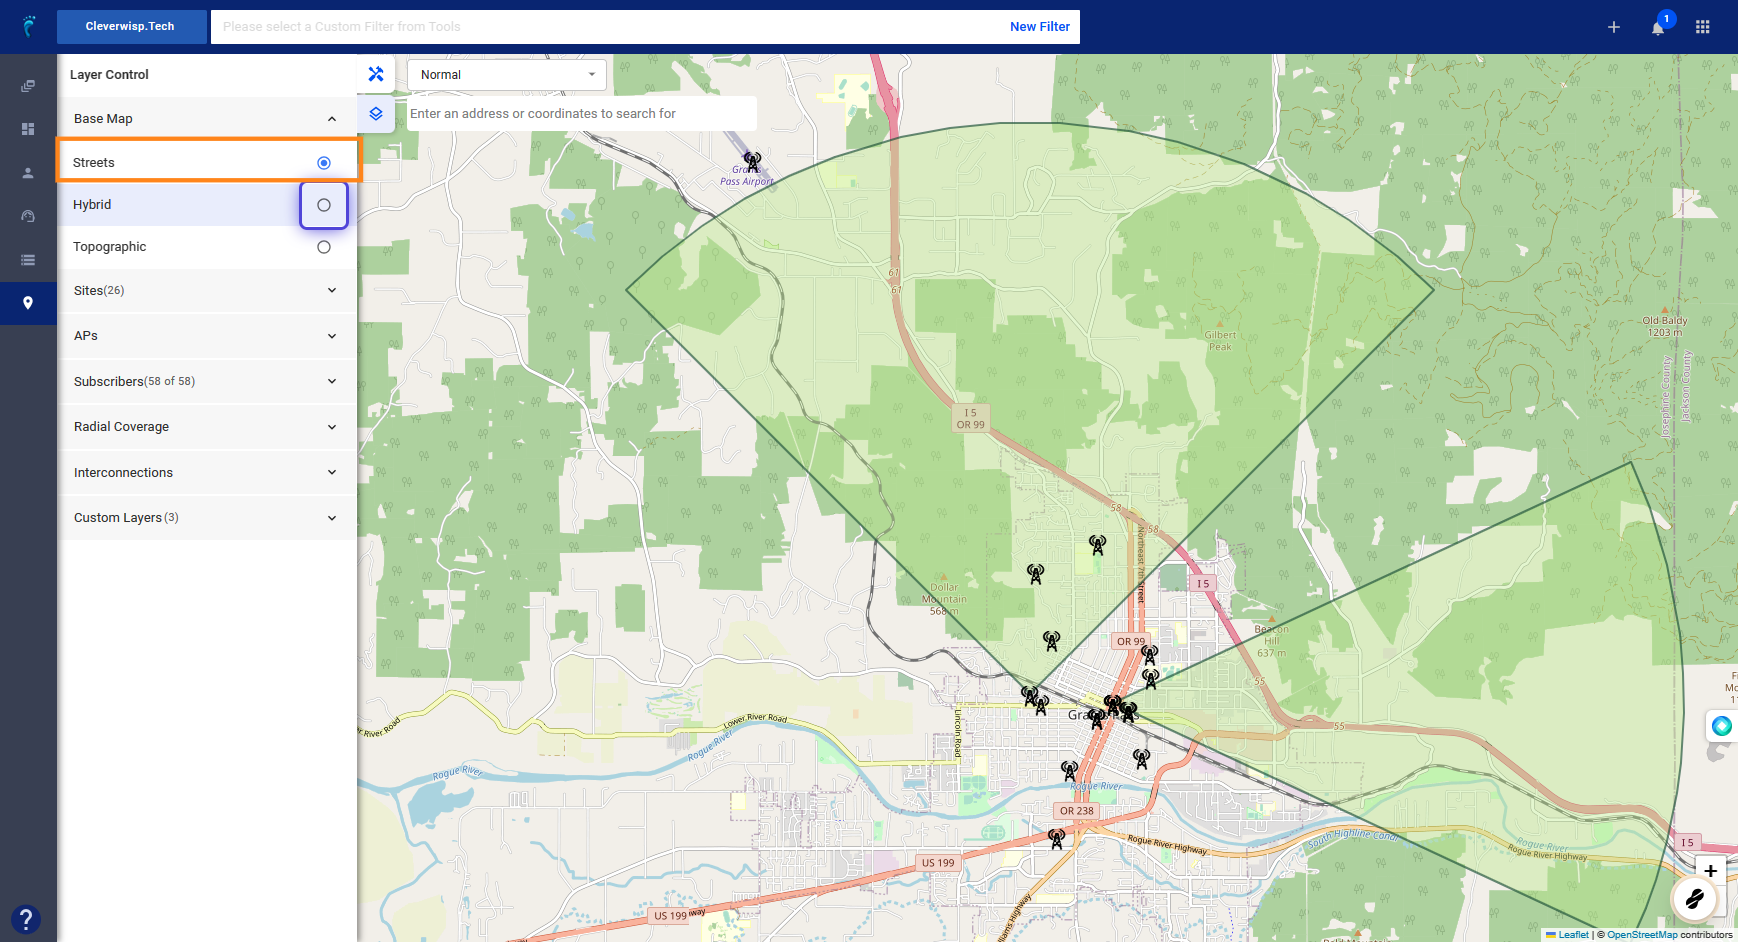
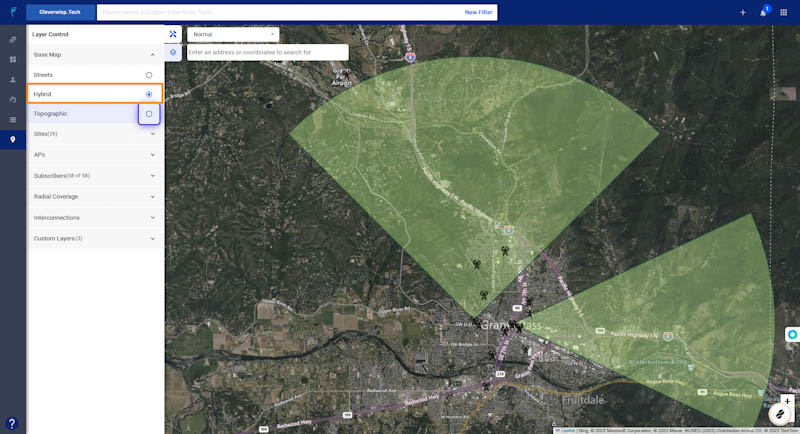
5. Hybrid View in Maps
The Hybrid view in maps combines elements of both satellite imagery and traditional map features. The satellite imagery offers a realistic and detailed aerial perspective, allowing you to see the actual terrain, buildings, and natural features.
Display Coverage Maps - Visp App

6. Topographic View in Maps
The topographic map uses contour lines to indicate changes in elevation, allowing users to understand the steepness and shape of the land. These contour lines are typically labeled with specific elevations to provide a precise understanding of the height variations within the landscape. Additionally, topographic maps may include symbols and colors to represent vegetation, forests, bodies of water, and other relevant features.
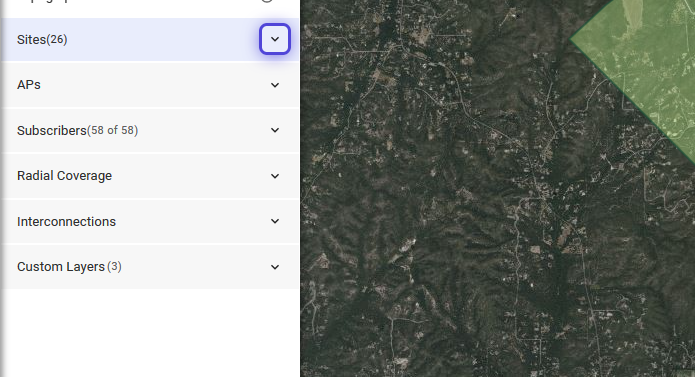
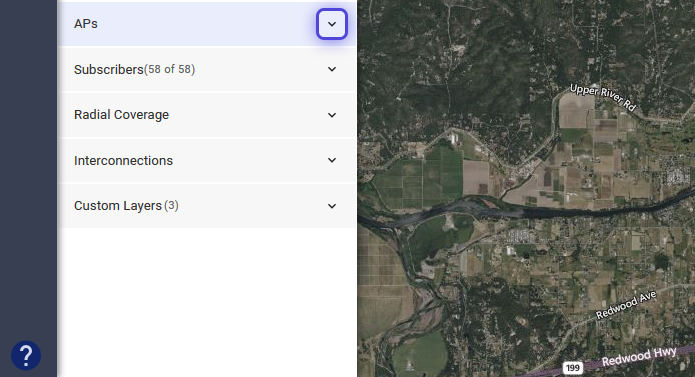
Display Coverage Maps - Visp App

Items to Enable

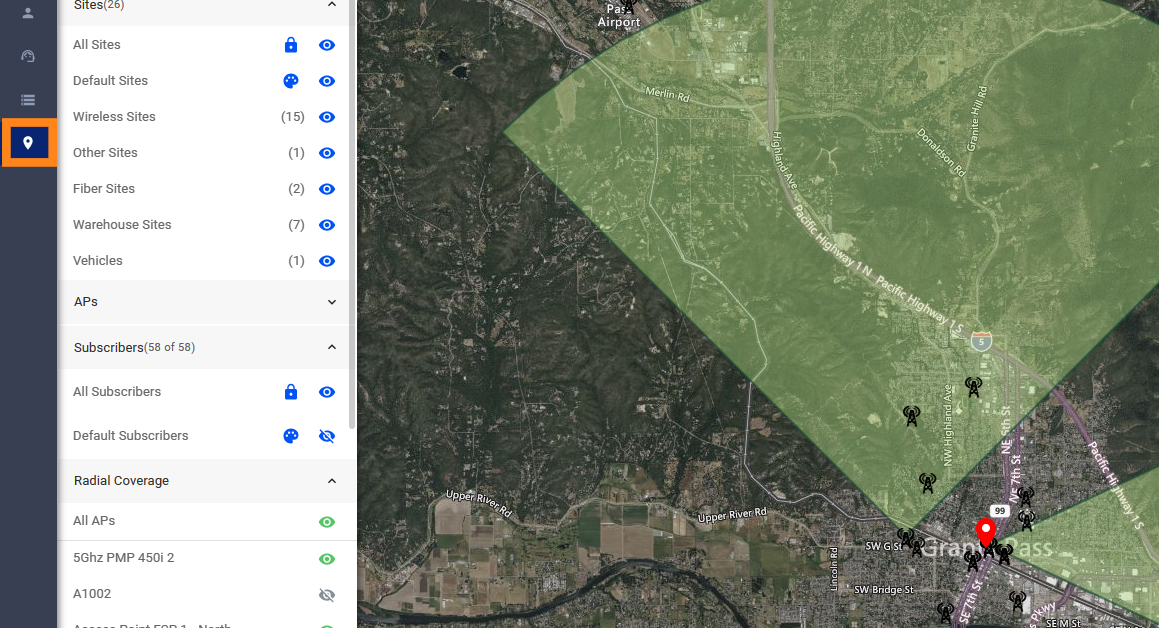
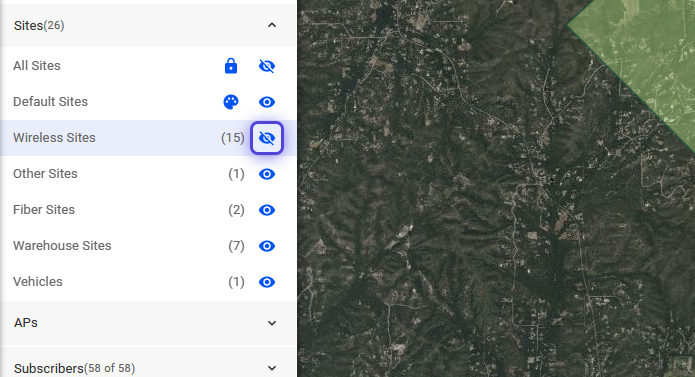
7. Click and expand the list of Sites
Display Coverage Maps - Visp App

8. Click on the Eye icon to display or hide a site on the map.
Display Coverage Maps - Visp App

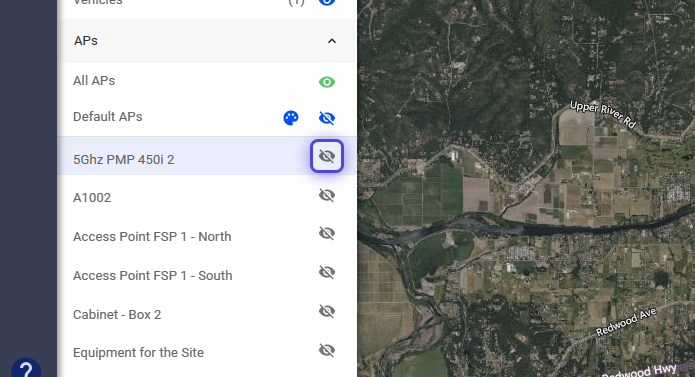
9. Click and expand the list of AP’s
Display Coverage Maps - Visp App

10. Click on the Eye icon to display or hide an AP on the map.
A small red coverage will display when you toggle the eye to display the AP on the map. This is a validation that the AP was created correctly.
Display Coverage Maps - Visp App

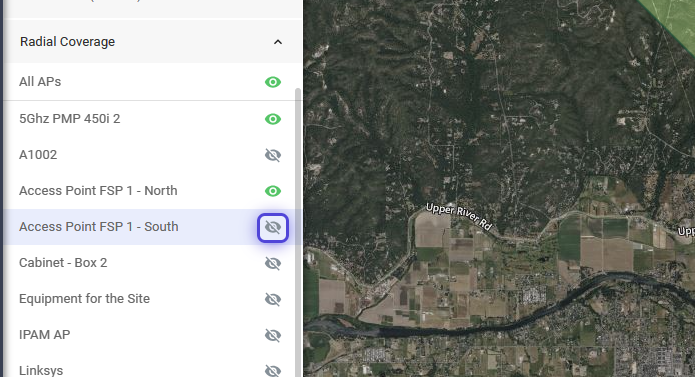
11. Click and expand the list of Radial Coverages
Display Coverage Maps - Visp App

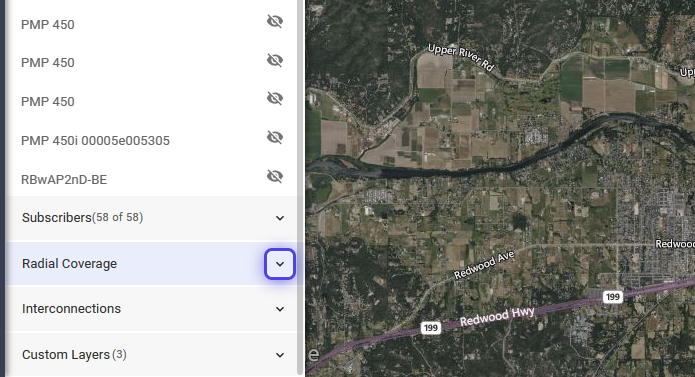
12. Click on the Eye icon to show or hide a coverage outline or display on the map.
Display Coverage Maps - Visp App

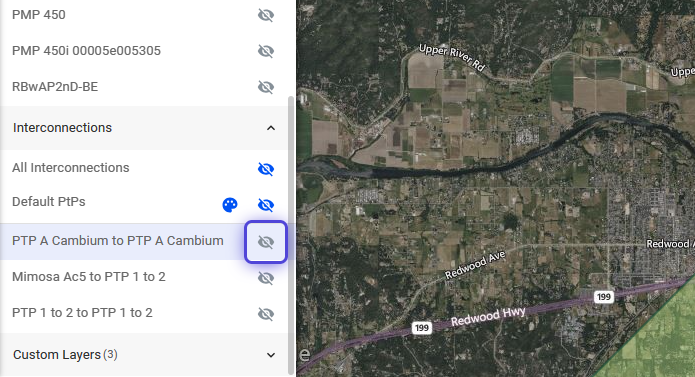
13. Click and expand the list of Interconnections.
Display Coverage Maps - Visp App
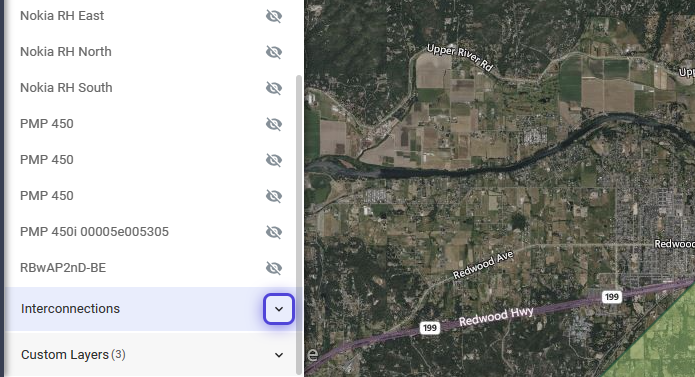
14. Click on the Eye icon to show or hide the point-to-point connection between two devices.

Display Coverage Maps - Visp App

đź’ˇ For more information about this and all other features in Visp, reach out to your Visp Client Success Team today.

Phone: 541-955-6900

Email: success@visp.net

Open a ticket via www.visp.net/ticket

1. Assigning and Unassigning Equipment

Assigning Equipment 1. Using the Equipment Manager Open the Equipment Manager and go to the Inventory tab. Select the equipment profile you’d like to assign. On the equipment profile, search and select the equipment, then click on the “Assign to Subscriber” button….

2. Receive Inventory

Receiving inventory or a new device in VISPrequires an equipment profile. If Equipment profile is already configured, follow the steps below to receive or add new equipment into VISP: Navigate to the Equipment > Hamburger menu > Click Add Inventory In the Add…

3. Add ISP Tower or Site Location

The ISP Tower or Site Location gives you an overview of the Towers/Site that you installed with their corresponding address. Additional features include automatic calculation of revenue per site and accounting for expenses that were set. To add a Site Location or ISP…

4. IRM: Profiles and Metadata

To add a brand new site, tower, or equipment in the Infrastructure Resource Management or the IRM, you must first add a profile or template. These profiles simplify the process of adding new infrastructures and equipment, as well as collecting the metadata that…

5. Equipment Accounting Controls

Manage and control how your equipment is being handled by the software with accounting controls. To enable this feature, go to the Main Menu > Equipment > Equipment Accounting Controls and check the “Enable Equipment Management Features” checkbox. This will…

6. Inventory Locations

The Inventory Location determines where devices are stored or the type of storage that houses your equipment. This can include the warehouse or the storage unit of your suppliers. To add an inventory location, for your equipment inventory, click on the menu. Go to…

7. IRM: Add Infrastructure and Equipment

To add an infrastructure, like a site or tower, a warehouse, or even your technician’s vehicle, go to the infrastructure locations panel and click on the plus sign. Add a name to this infrastructure. Select an Infrastructure profile from the dropdown. Input the…

8. Add a Purchase Order

Before you begin, ensure that the Vendor’s information is added to the profile of the equipment you’re planning to purchase. You can verify by going to the Inventory profile of that equipment. To get there, go to the menu, click on Equipment, and select Inventory…

9. Add a Purchase Order

Before you begin, ensure that the Vendor’s information is added to the profile of the equipment you’re planning to purchase. You can verify by going to the Inventory profile of that equipment. To get there, go to the menu, click on Equipment, and select Inventory…

10. IP Management (IPAM)

To setup IPAM: First, click on the menu Go to your Equipment tab Click on the IP Management panel. In the Subnets tab: Click on Add New Subnet Fill out the Network field, which contains your IP and slash notation. The Gateway field automatically populates after you…

11. IP Management (Subscriber Settings)

After adding your IP addresses via the IP Address Management (IPAM) tool, it’s time to populate them to your customers’ devices. Open your customer’s account and go to Packages Click on the service and open Devices Click on the vertical ellipsis for a specific device…

12. Avalara

Before you begin, ensure that the Vendor’s information is added to the profile of the equipment you’re planning to purchase. You can verify by going to the Inventory profile of that equipment. To get there, go to the menu, click on Equipment, and select Inventory…
?