

A package typically comprises one or more services, such as internet, hotspot, email, fiber connections, and website hosting, among other services.
How to Create a Package?
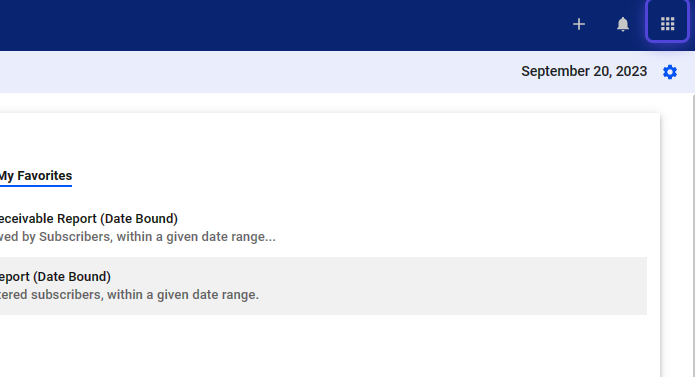
1. Click the nine-dot menu in the upper right corner to open the VISP Admin Page.
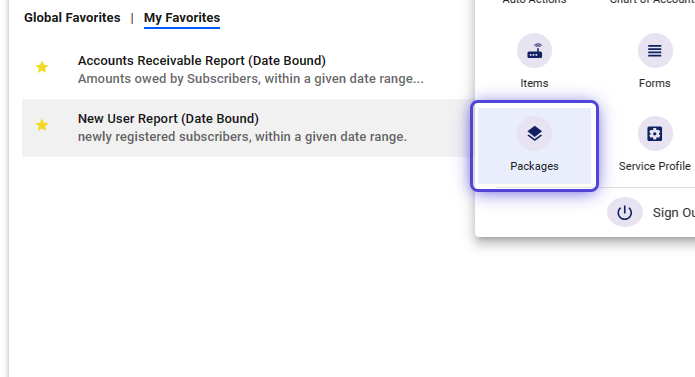
2. Click on Billing
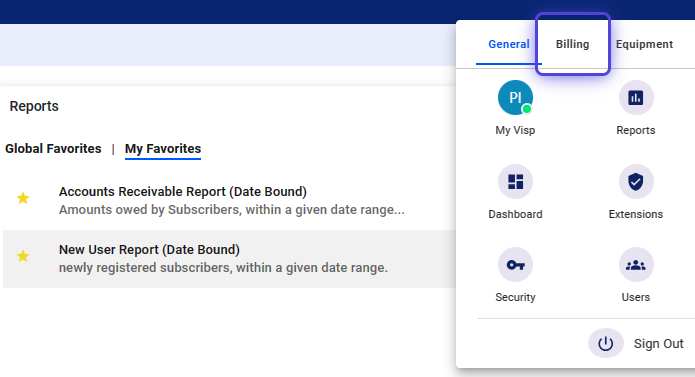
3. Select Packages
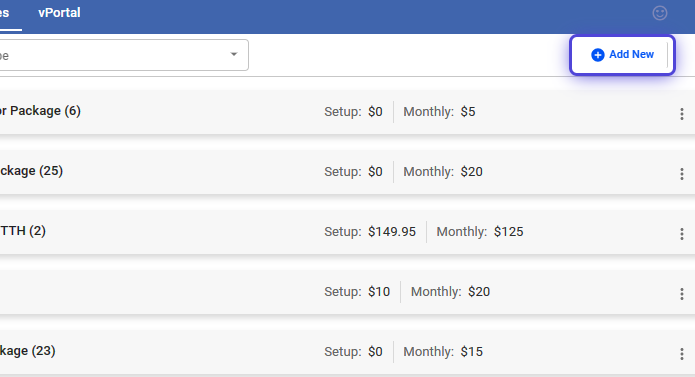
4. Click on “Add New.”
How to Configure a Package?
Basic Package Details
5. Input the Package Name

6. Add a Package Description
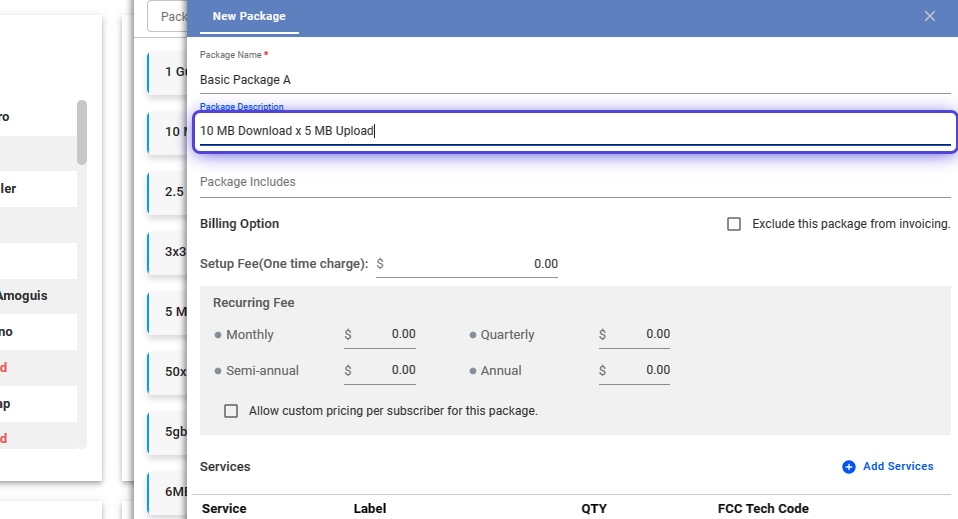
You may include a summary of your upload and download speeds.
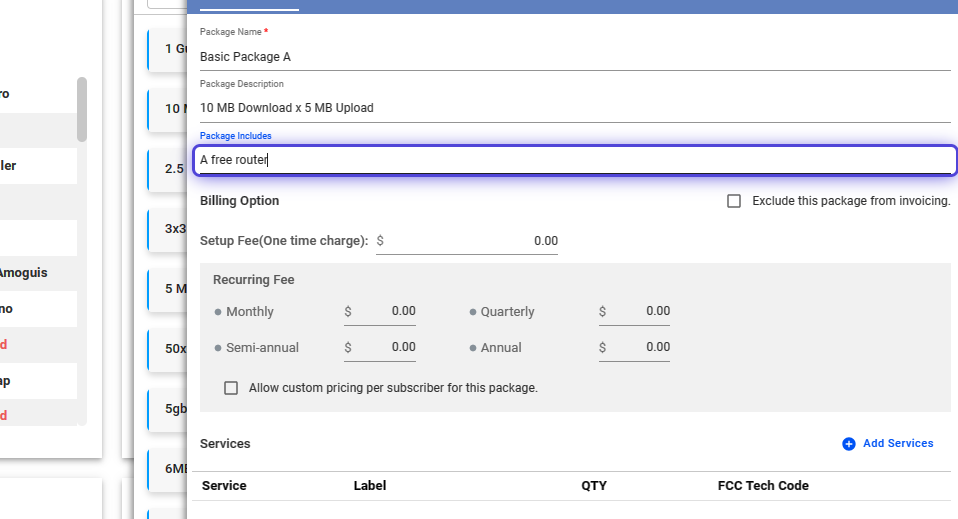
7. The Package Includes section alllows you to add quick details on routers or devices included with your service.
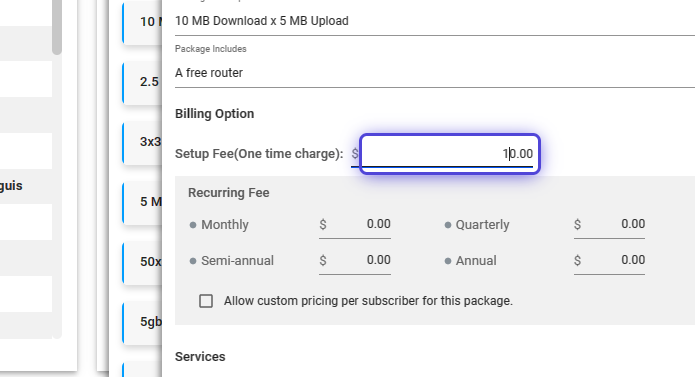
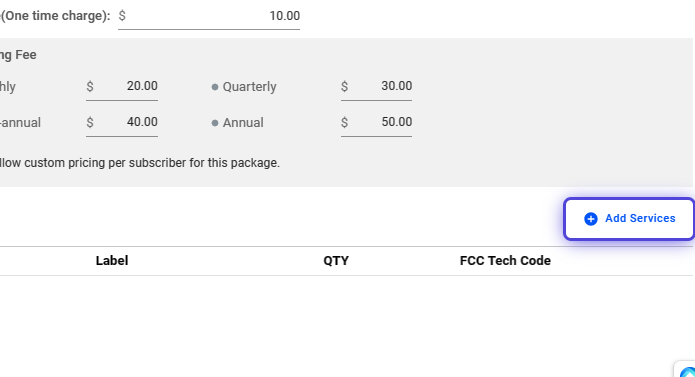
8. Add a one-time Setup or Install Fee.
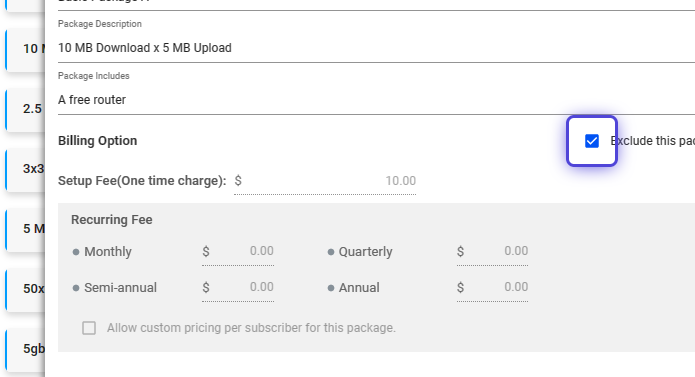
9. Toggle, “Exclude this package from invoicing,” if you do not want to invoice any customer on this package.
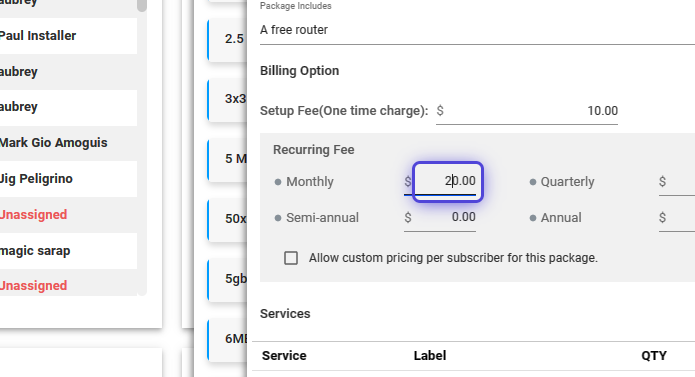
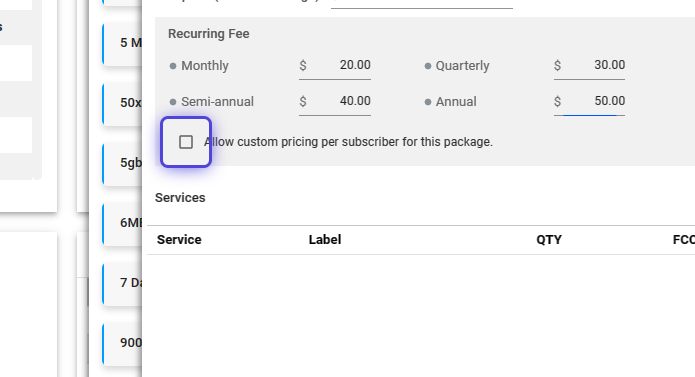
10. Set the monthly-recurring rate for the package.
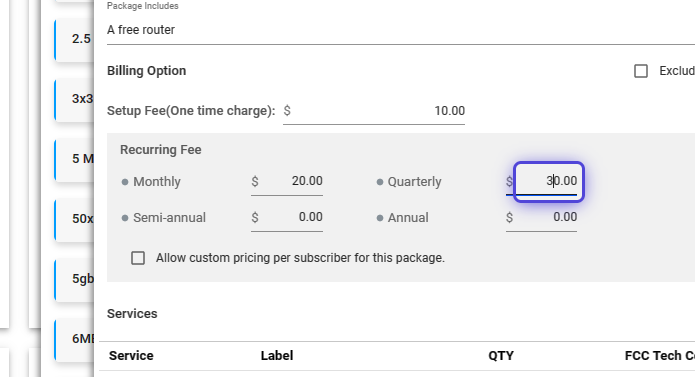
11. Set the quarterly-recurring rate for the package (optional).
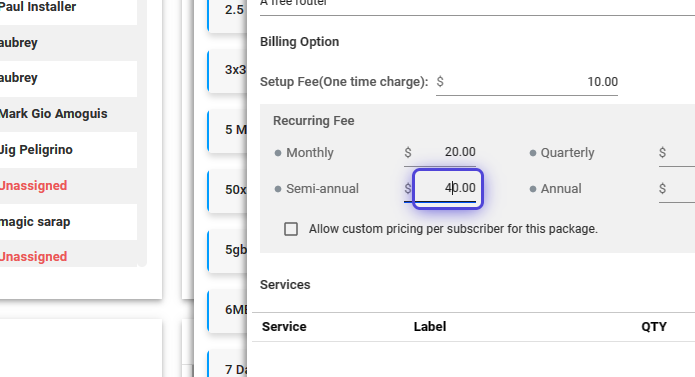
12. Set the semi-annual-recurring rate for the package (optional).
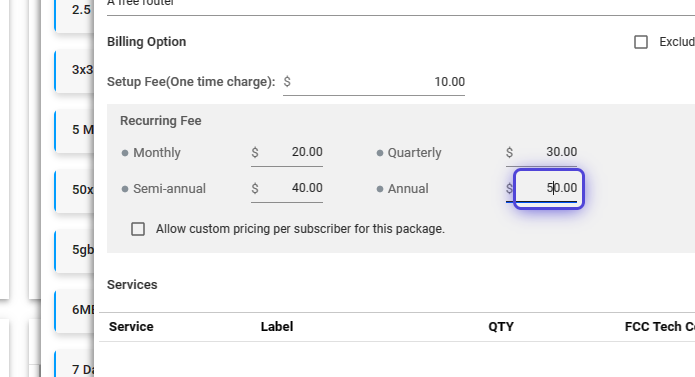
13. Set the annually-recurring rate for the package (optional).
14. Toggle this option, to enable custom or unique rates per subscriber.
15. Click on “Add Services” to start adding services to the package.
16. Use the dropdown to select a service,
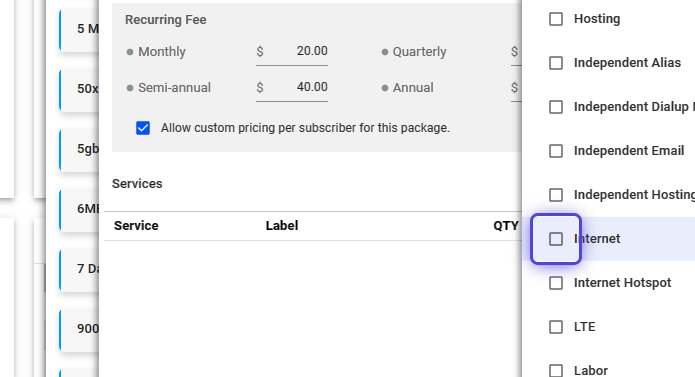
17. Once done, click on the X icon to close the panel.

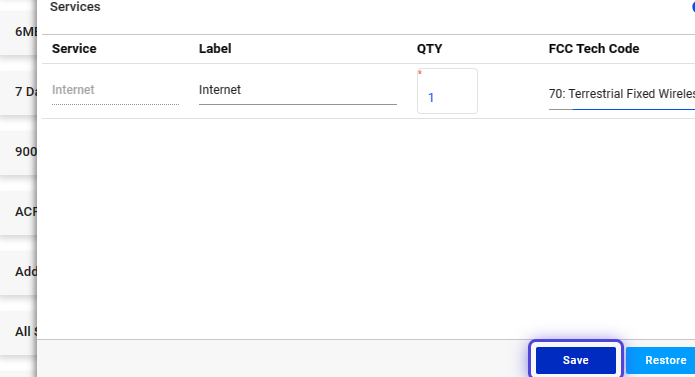
18. You may click and rename the label of the package.
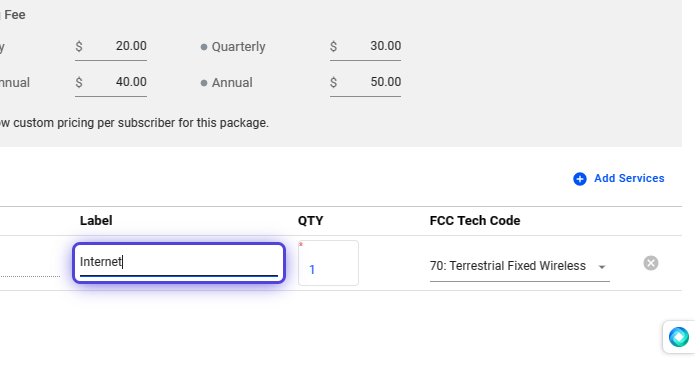
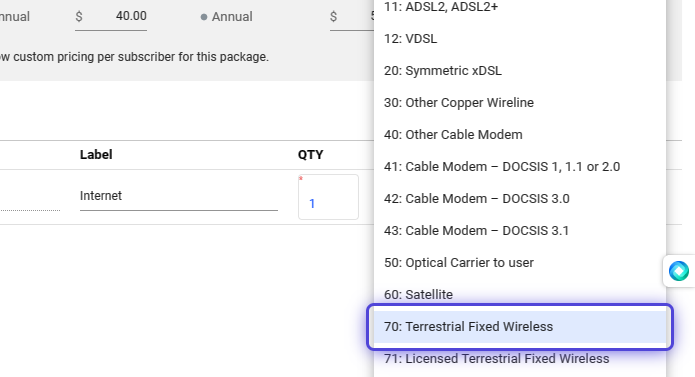
19. Click on the “FCC Tech Code” field and use the dropdown to select the tech code.
20. Save your work.
Apply Taxes to Your Packages or Package Items
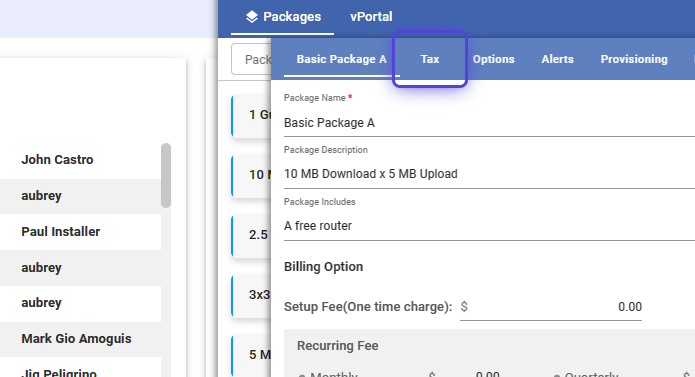
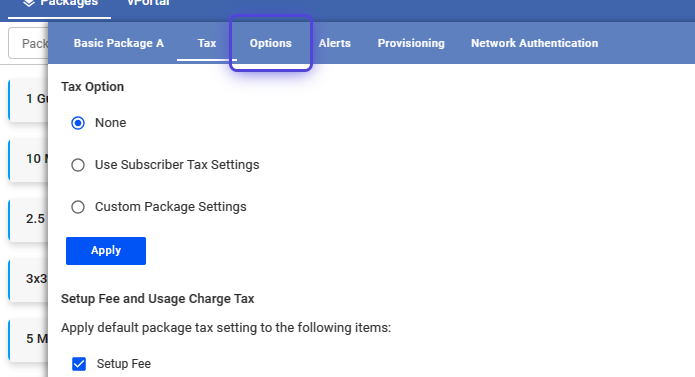
21. Click on Tax
22. Select “None” if no taxes are applied to the package.
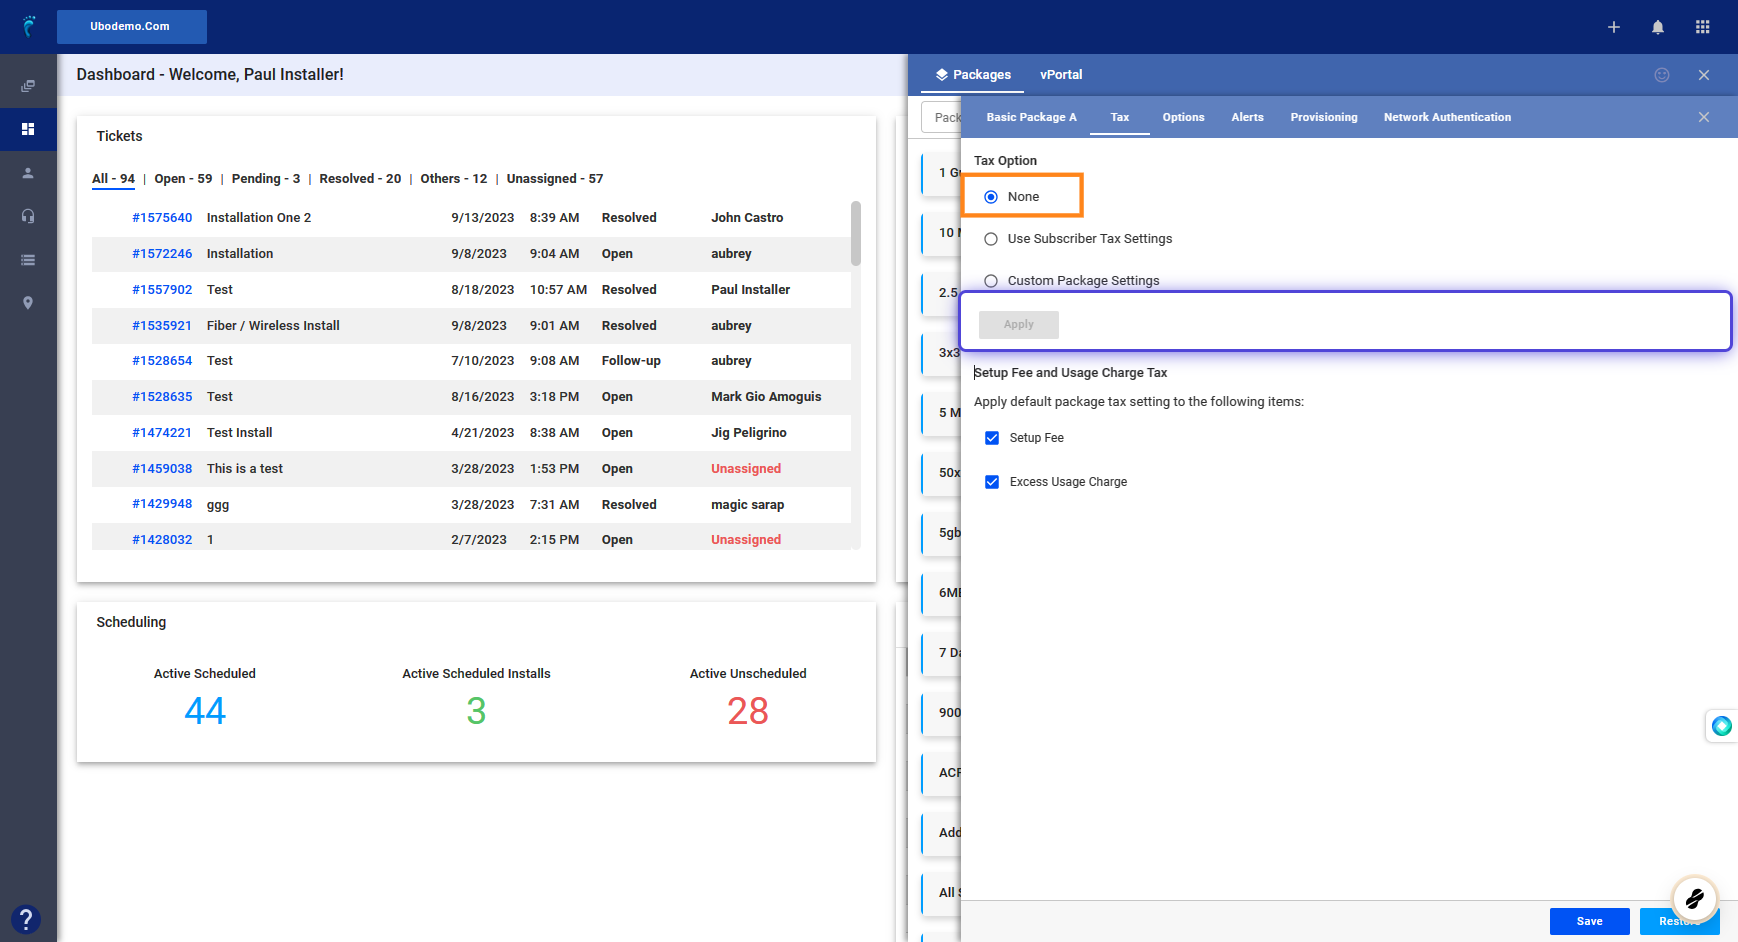
23. Select “Use Subscriber Tax Settings,”
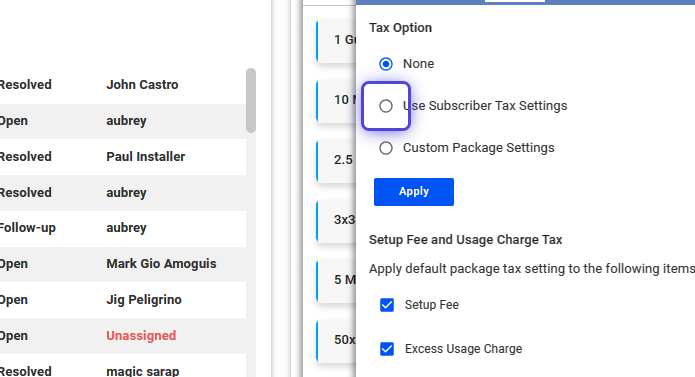 To apply the same tax as the default subscriber’s tax on the Packages as well as the Setup, and the Excess Usage Charges
24. Select “Custom Package Settings,”
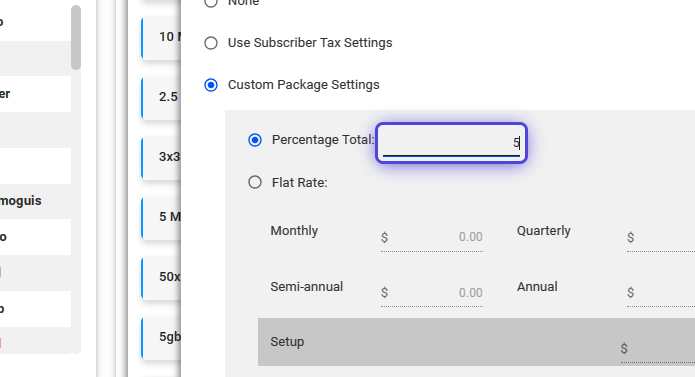
Enter a percentage total if you want a custom tax rate for packages.
25. Toggle “Flat Rate,” in the Custom Package Settings.
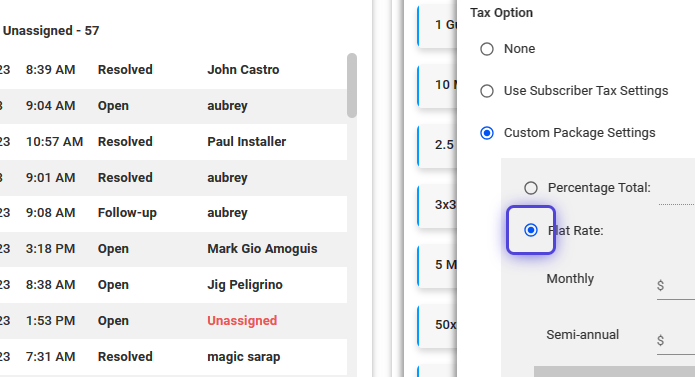
Set a custom flat rate per billing cycle (monthly, quarterly, semi-annual, annual).
💡 Click on Apply to Save Your Work.
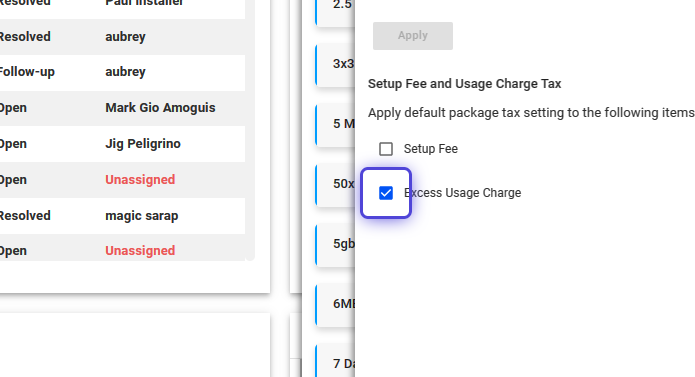
26. Enable the Setup Fee to use the subscriber’s tax setting, unless a custom tax rate is specified.
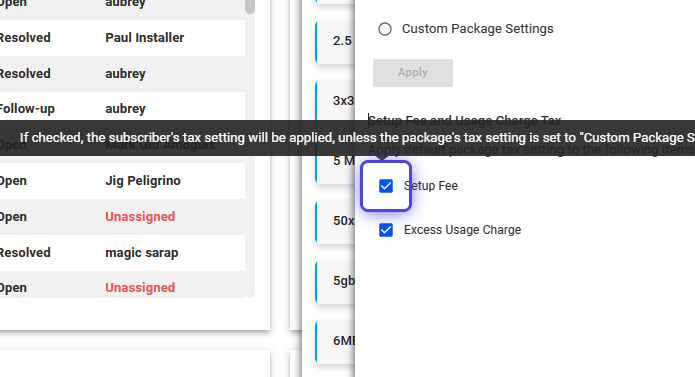
27. Enable the Excess Usage Charge to use the subscriber’s tax setting, unless a custom tax rate is specified.
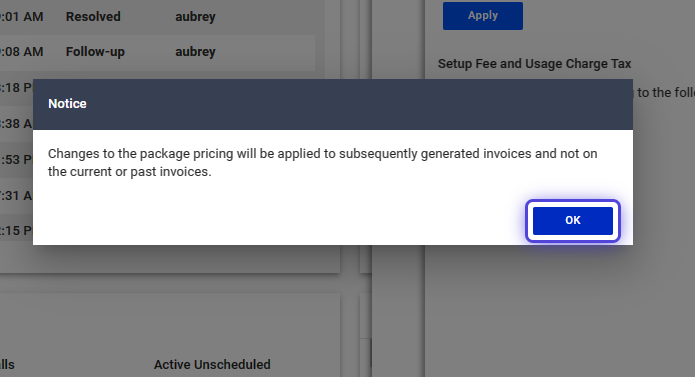
28. Save your work.

29. Click on OK, to continue.
Configure Package Options
30. Click on Options
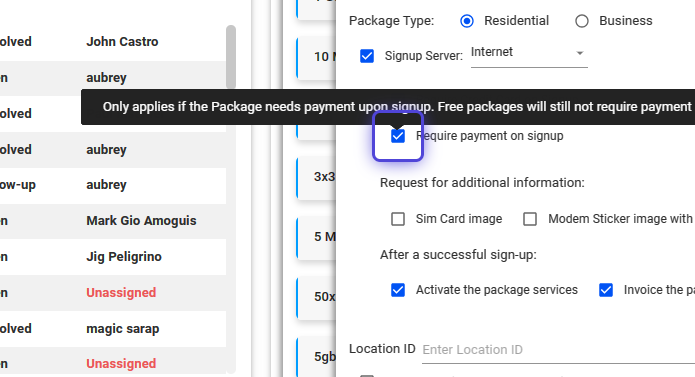
31. Toggle “Package Type”
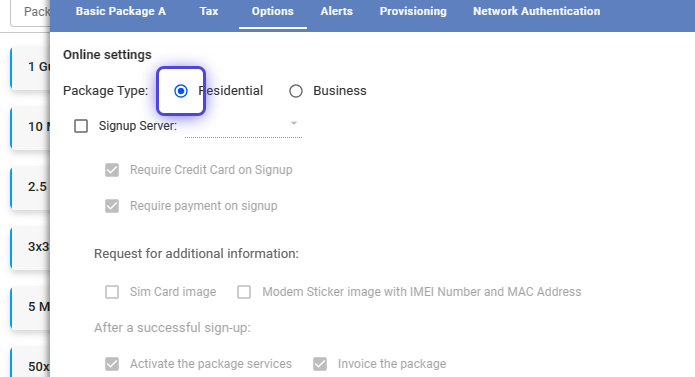
Set whether a package is for Residential or Business use. This is solely for reporting and doesn’t affect package functionality.
How to enable the display of Packages via the Signup Form?
32. Toggle to enable the display of the package on the signup form.
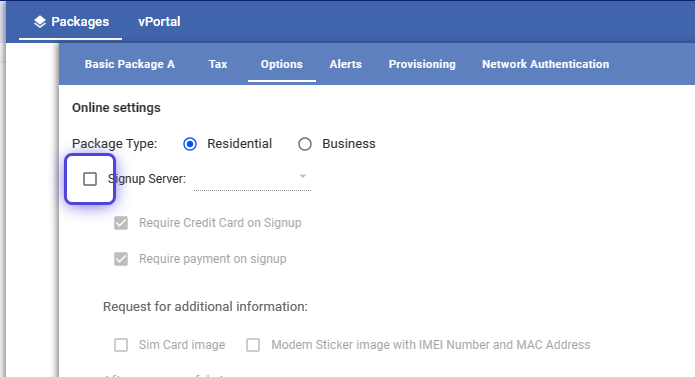
(Note: Review the prior steps to get to this section.)
33. Click on the field to display the available service packages.
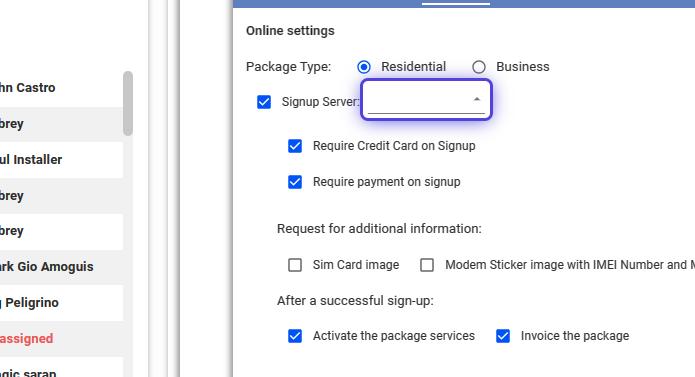
This is a required step to display the package on the online signup form.
34. Use the dropdown and select Internet.
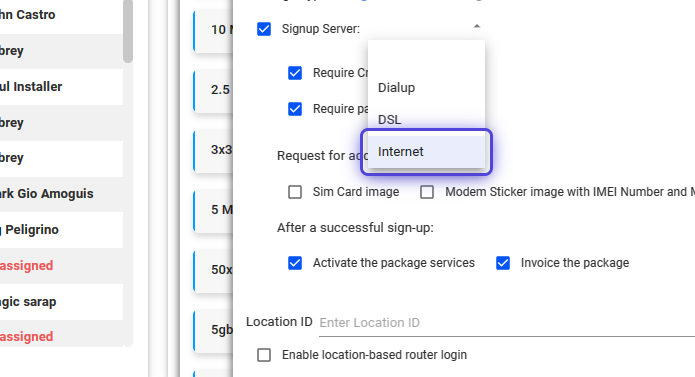
⚠️ Pre-requisite for Displaying Packages on the Signup Portal.
You must have an valid merchant gateway (e.g. PaydUp, IPpay, Authorize, etc.) already activated in Visp, in order to display the package on the signup form.
To show packages with Location IDs, enable it in both Package and Portal settings.
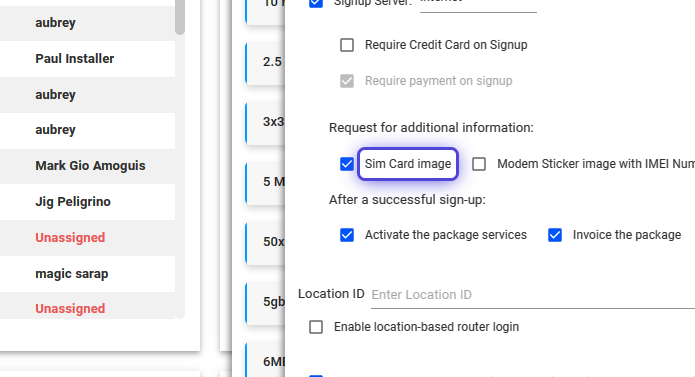
35. Toggle to enable and require the input of credit card information during signup.
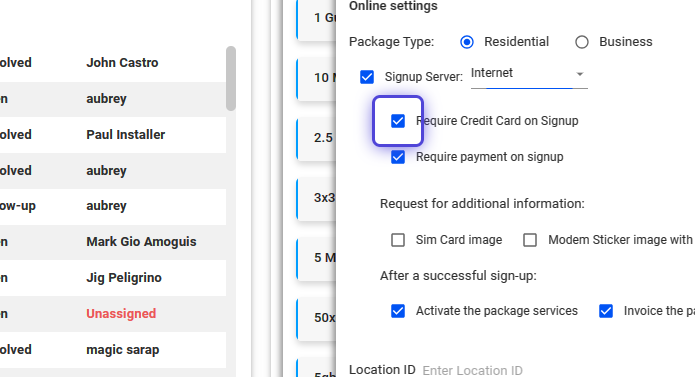
36. Toggle this option to require payments for packages.
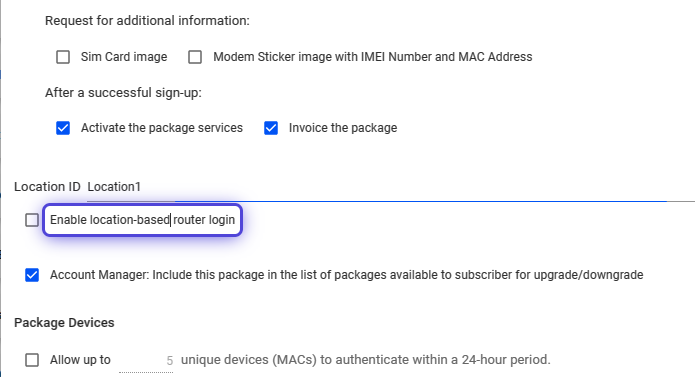
37. Toggle “SIM Card Image,” to add a field to capture the SIM card image during signup.
38. Toggle the option to capture the modem sticker image with IMEI Number and MAC Address.
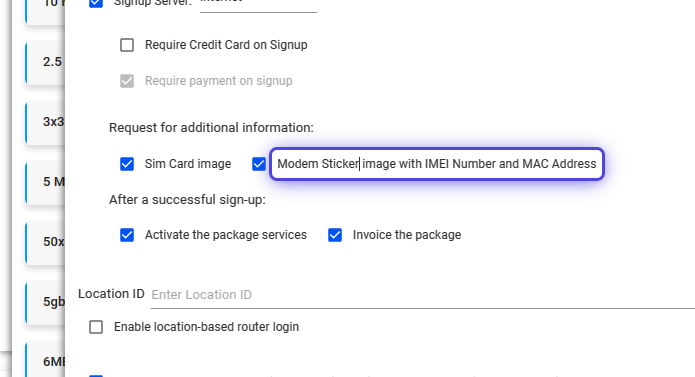
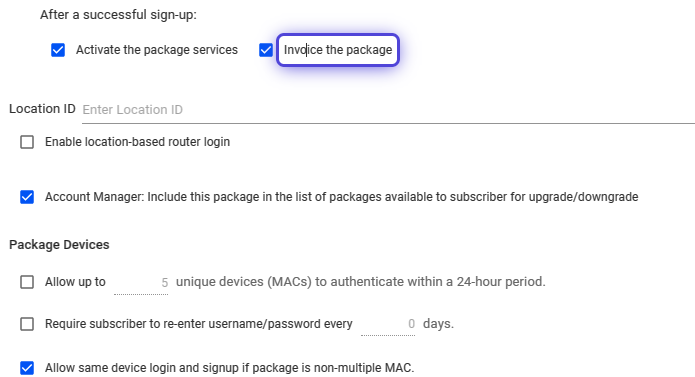
39. Toggle to automatically Activate the package services after successful signup.
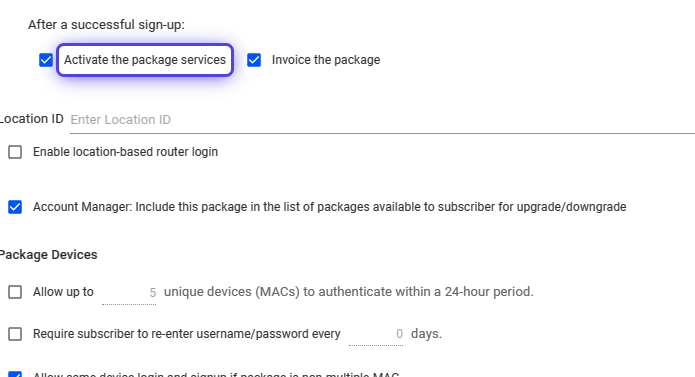
40. Toggle to enable automatic invoice generation for a subscriber after successful signup.
How to group packages or restrict display via the signup form?
41. Input keywords or terms to easily identify the package.
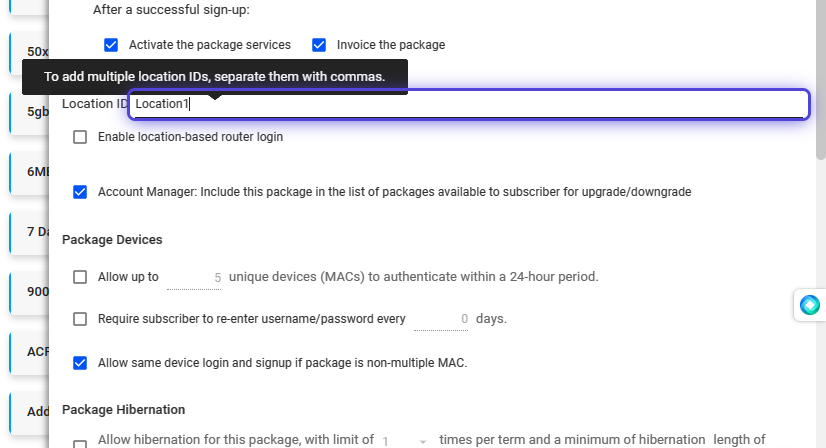
This feature lets you manage the packages to display on the signup form for a tower or location, and/or group packages by using the term or keyword.
42. Toggle to enable and manage the package service based on the specified tower-location.
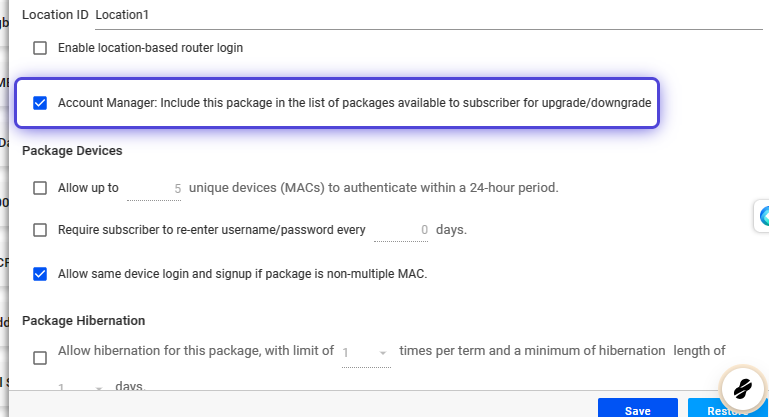
43. Toggle to allow subscribers to view and request this package for upgrade or downgrade via their Account Manager.
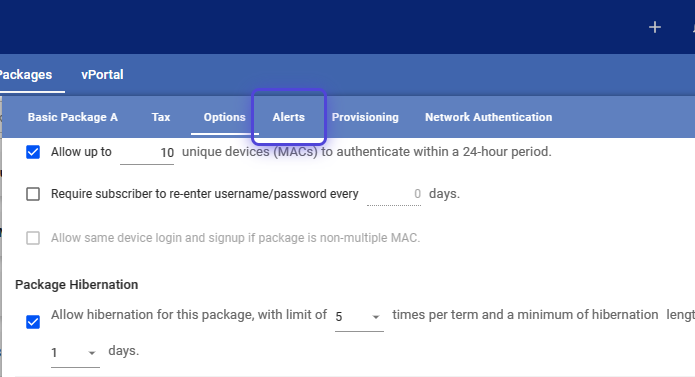
How to Manage Authenticating Devices?
44. Toggle and set the number of unique devices (based on their MAC address) for authentication.
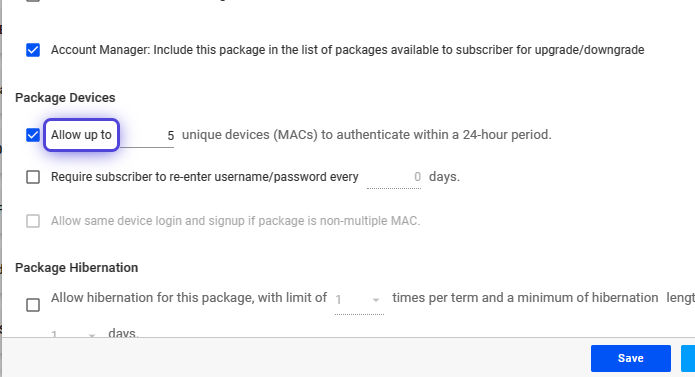
Note: Requires RADIUS.
45. Toggle to require subscribers to re-enter username/password.
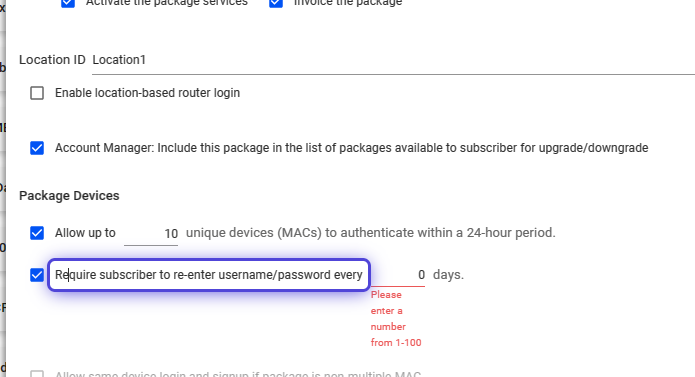
Set the number of days.
46. Toggle to allow the same subscriber device to login and signup for service.
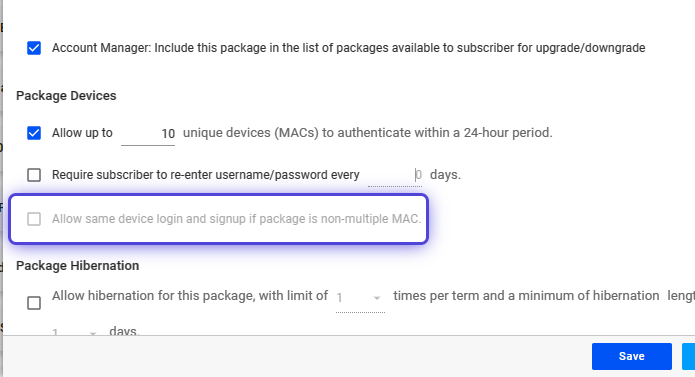
(Note: This is when the current service has expired or is inactive on the account.)
How to Hibernate Packages?
💡 Who uses hibernation?
It’s useful for individuals like snowbirds or seasonal travelers. Hibernation temporarily stops a customer’s service. Hibernation or reactivation fees for this feature may vary.
Turn on auto-pay for Hibernated services in Payment settings to automatically charge for hibernation and include subscribers in autopay collections.
By default, autopay for hibernated services is turned off.
47. Toggle to enable the hibernation option for a package.
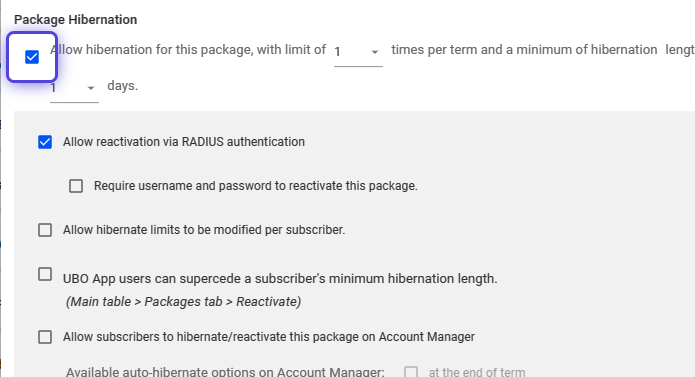
48. Use the dropdown to set the number of times per term (or billing cycle) a package can be hibernated.
Also set the minimum number of days that a package can be hibernated.

49. Toggle this option to automatically reactivate the package from hibernation when subscriber device reconnects or re-authenticates.

You may require subscribers to re-enter their service username and password to reactivate the package.
50. Toggle to set a custom limit to the number of times a package can be hibernated, as well as the minimum number of days for each hibernation.
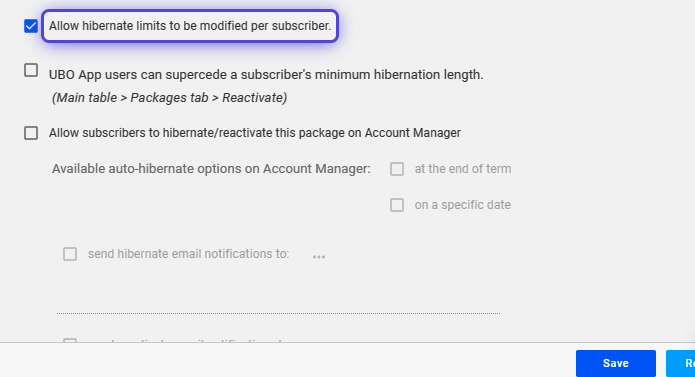
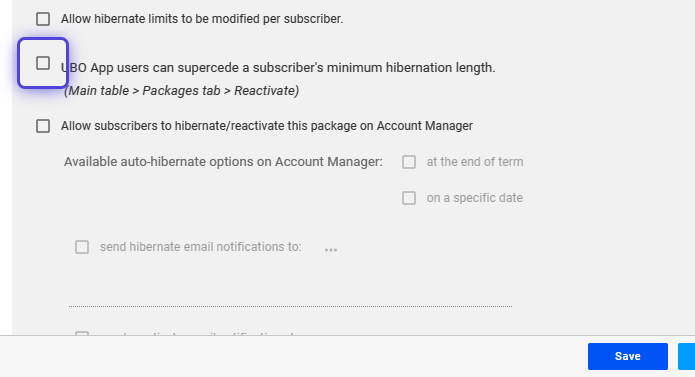
51. Toggle to allow Users to override hibernation limits and reactivate the package immediately.
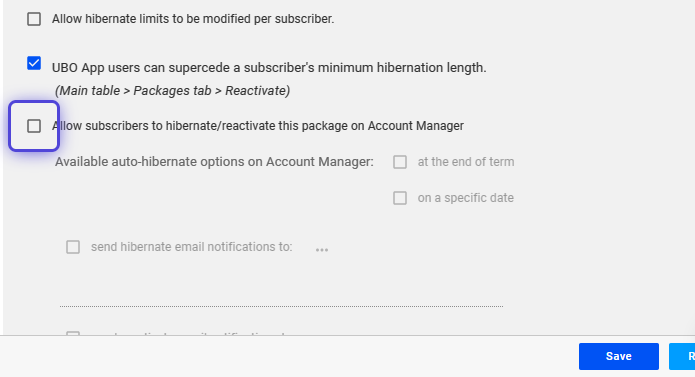
52. Toggle to allow your subscribers to hibernate and reactivate the package via their Account Manager.
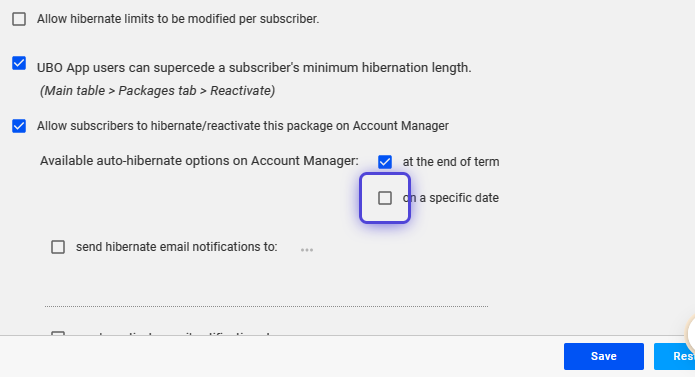
53. Toggle to allow subscribers to set when a package will hibernate.
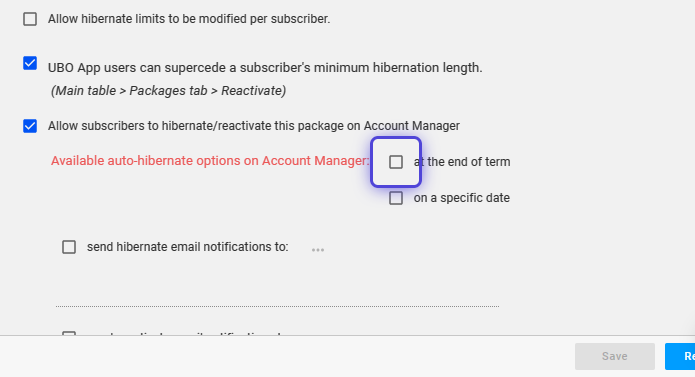
For this option, “at the end of the term,” a day after the term ends for a package, then it will become hibernated.
54. Toggle to set a specific date when the package is hibernated.
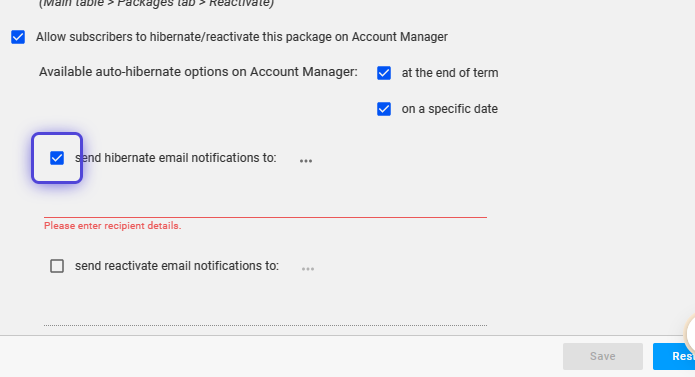
55. Toggle and input email addresses, so Users are notified when a subscriber service is hibernated.
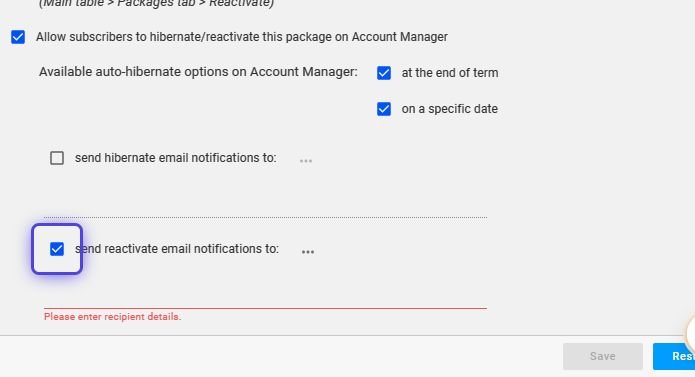
56. Toggle and input email addresses, so Users are notified when a subscriber service is reactivated.
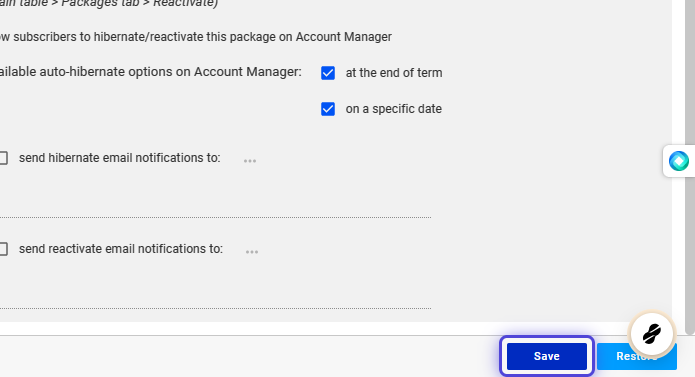
57. Save your changes.
How to Set Up Data Usage Alerts?
58. Click on Alerts
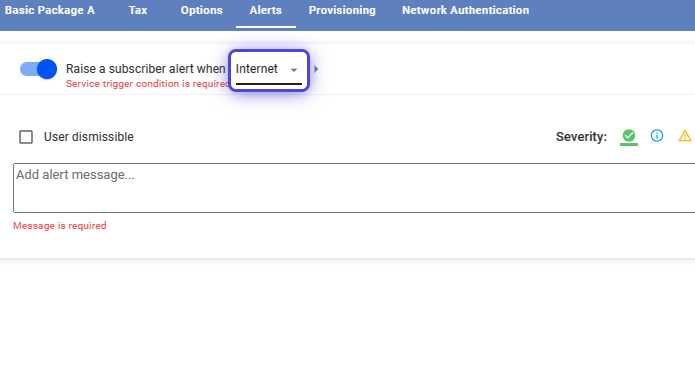
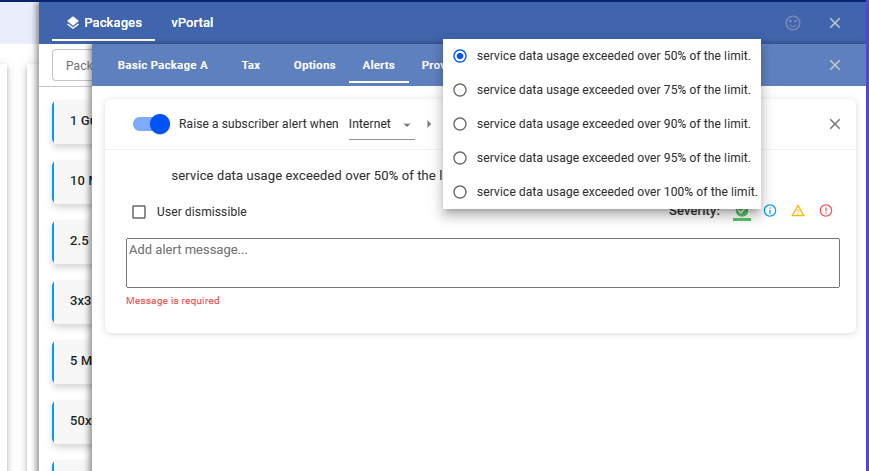
59. Toggle “Raise a subscriber alert when,”
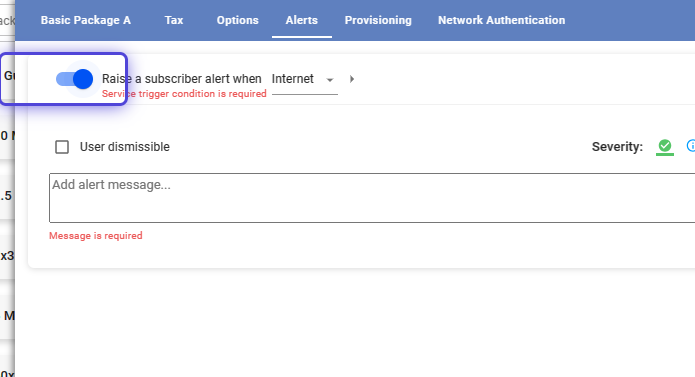
60. Click on the field and use the dropdown to select the service.
61. Click on the arrow.
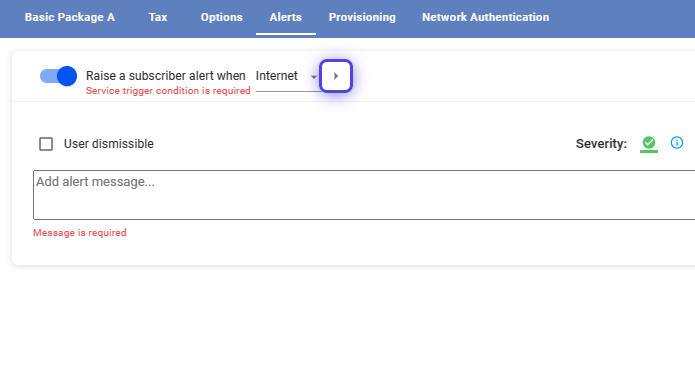
62. Select the option for the data usage limit.
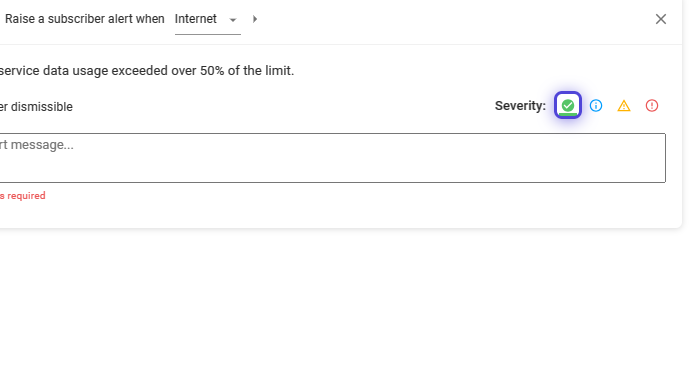
63. Toggle “User dismissible,” to allow users to disable the alert.

64. Select a severity status and icon to display.
65. Input a brief alert message for users.
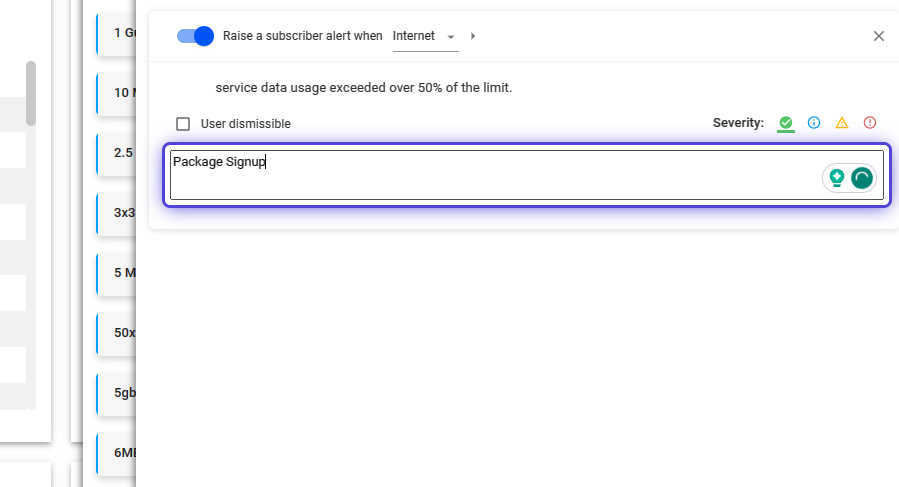
66. Save your changes.

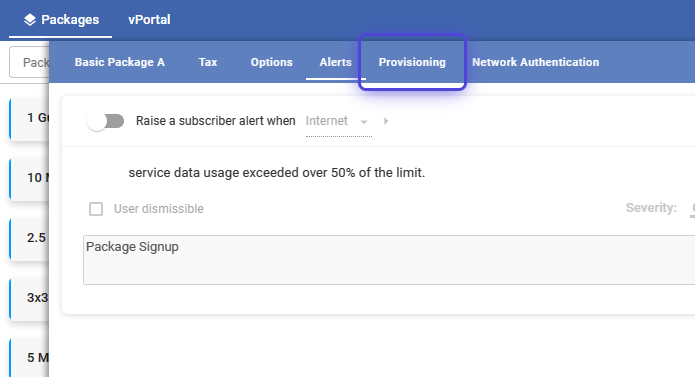
How to Set Package Speeds and Other Provisioning Options?
67. Click on Provisioning
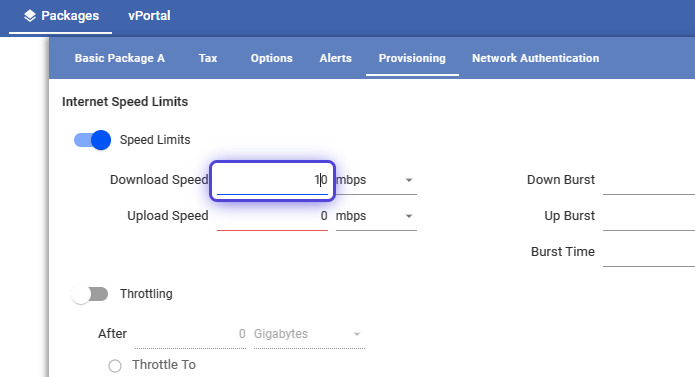
68. Toggle Speed Limits
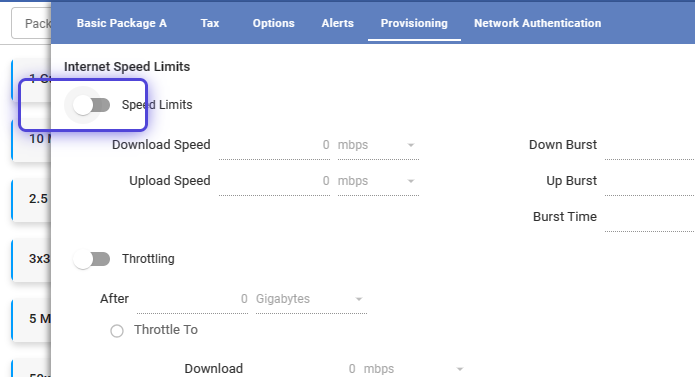
69. Input a value for the Download Speed.
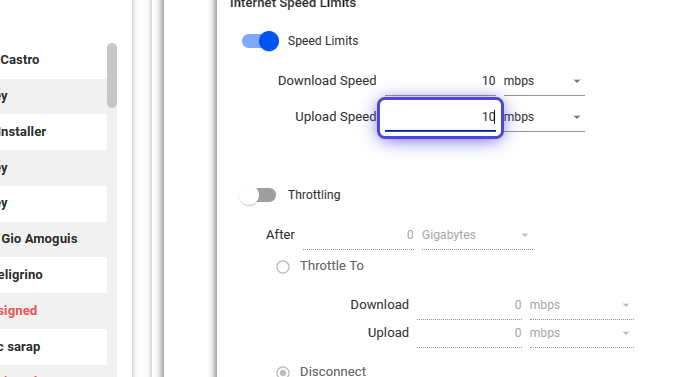
70. Input a value for the Upload Speed.
💡 On Burst Speed Limits
Burst speed limits refer to the maximum speed that the internet service can reach for the set Burst time. These limits are often higher than the average or sustained speed of the connection. Burst speeds are typically advertised as a way to showcase the potential capabilities of the network.
71. Input a value for the Down Burst Speed
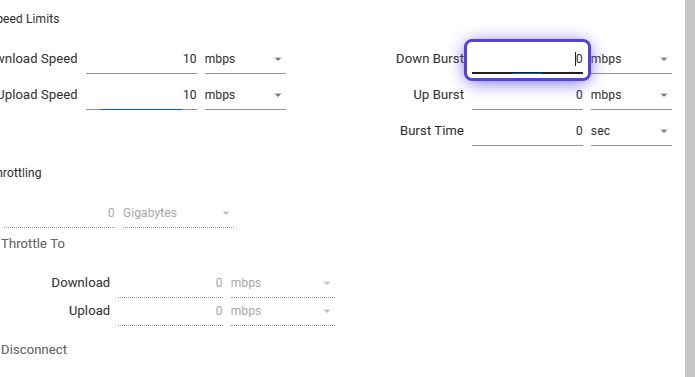
A zero value means unlimited or the maximum allowed speed in the network.
72. Input a value for the Up Burst Speed
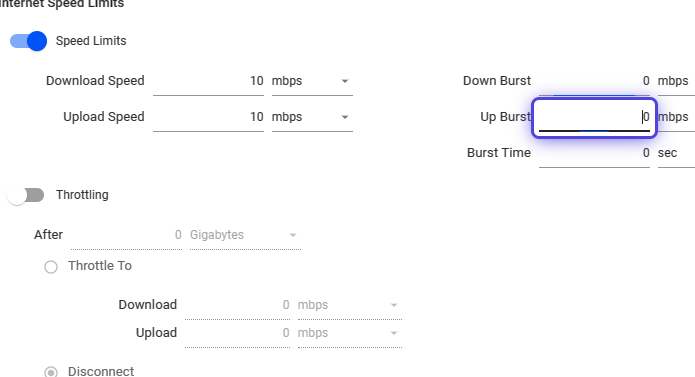
A zero value means unlimited or the maximum allowed speed in the network.
73. Input a value for the Burst time.
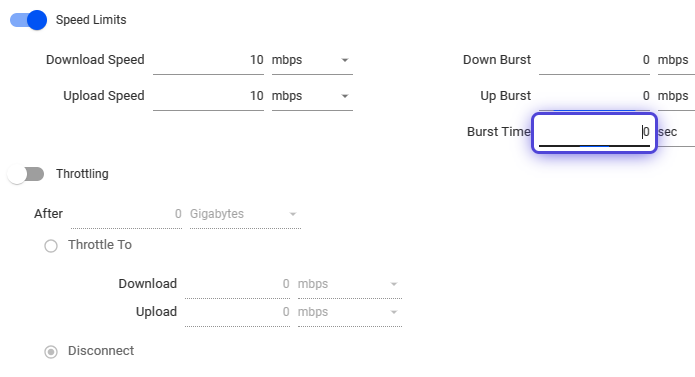
A zero value indicates no limit or the highest allowed speed for the network’s allowed time. Typically around to 2-5 seconds, in certain use cases.
How to Enable Speed Throttling?
74. Toggle this option to enable Throttling.
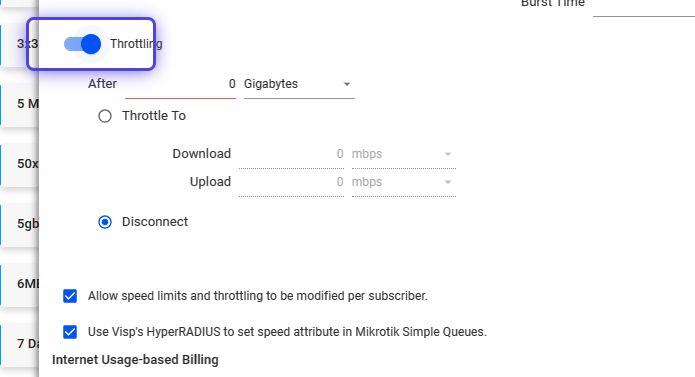
75. Input a value.
76. Use the dropdown to set the data standard.
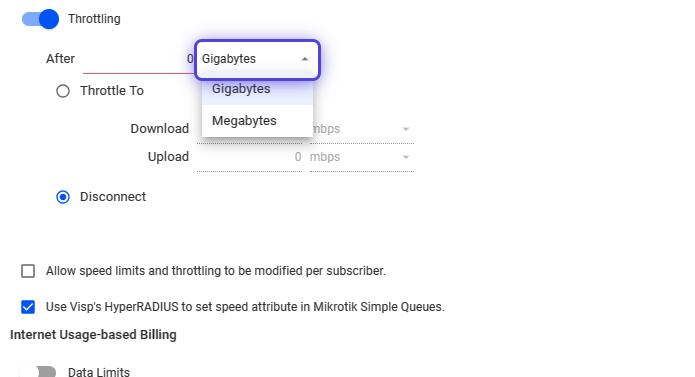
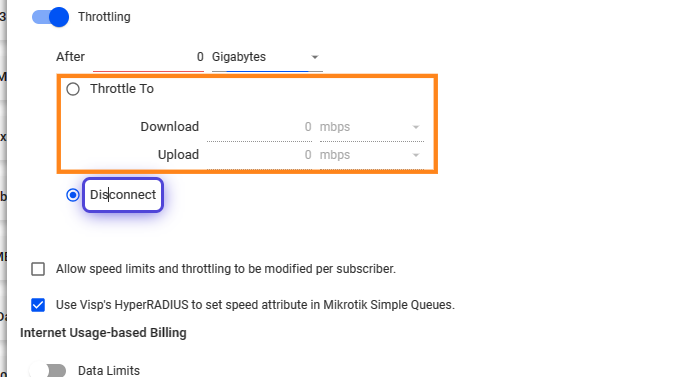
77. When data limit is reached, speed may be throttled or the subscriber can be disconnected.
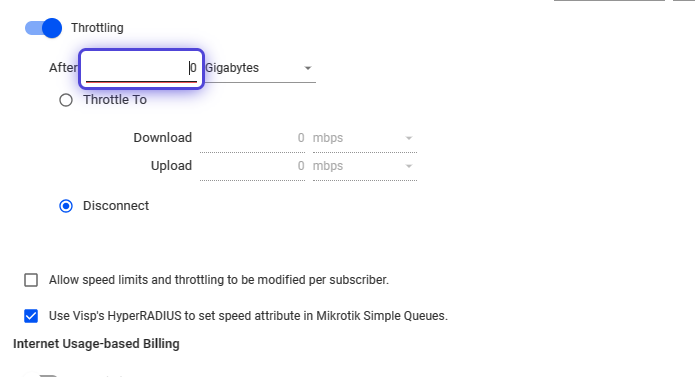
How to Set Custom Speed Limits Per Subscriber and Other Options?
78. Toggle to set custom speed limits and throttling per subscriber.
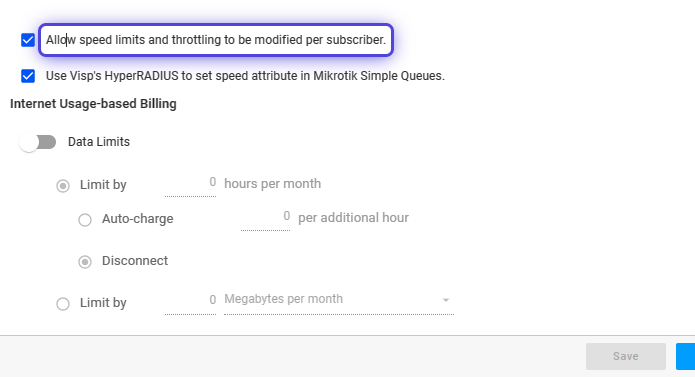
79. Toggle to set, manage, and control the allocation of bandwidth via simple queues.
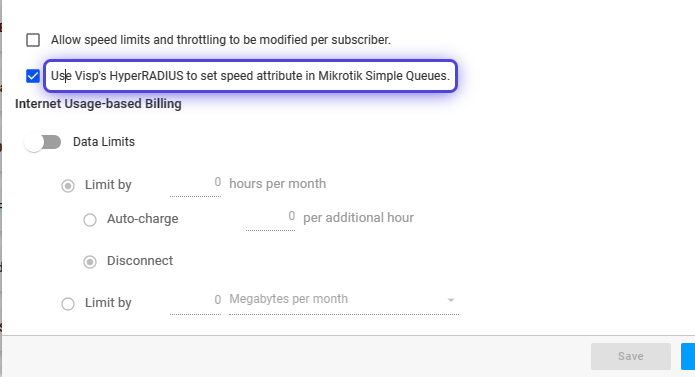
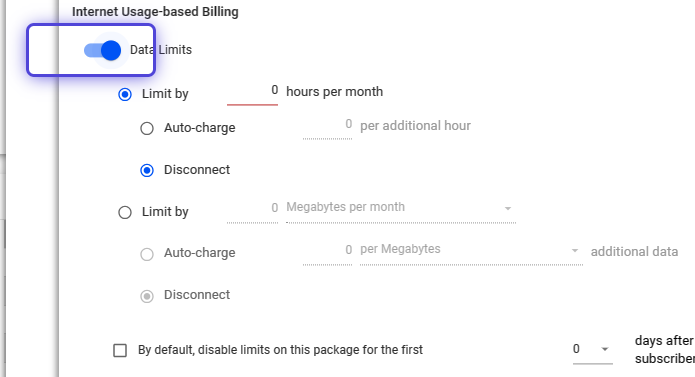
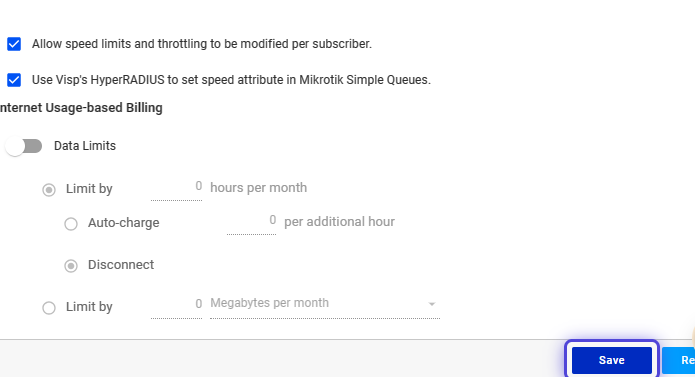
How to Set the Data Limits for Internet Usage-Based Billing?
80. Toggle to set data limits for internet usage-based billing.
81. Select this option to set the limit by time or period.
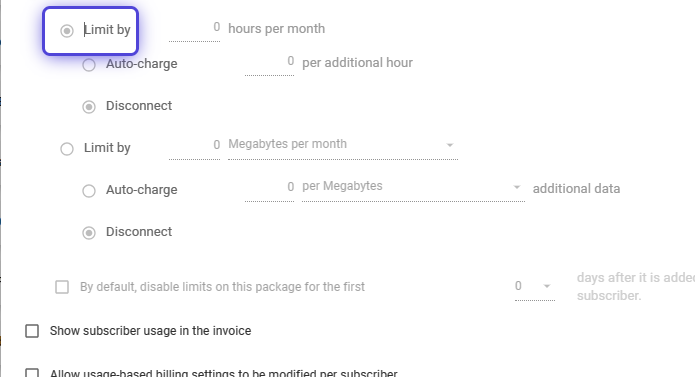
Also, configure whether to automatically charge for excess usage per hour, or to disconnect the customer.
82. Select this option to set the limit by data.
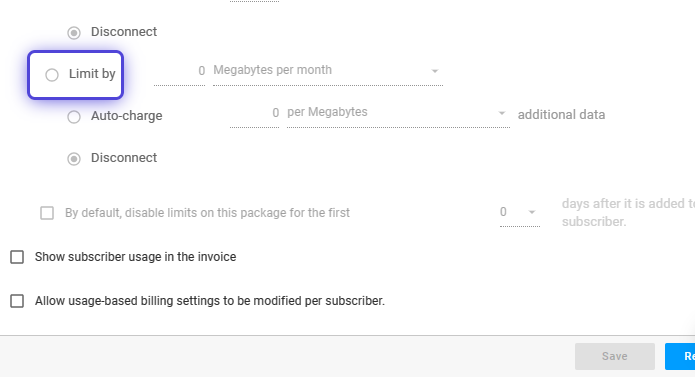
Also, configure whether to automatically charge for excess usage per data, or to disconnect the customer.
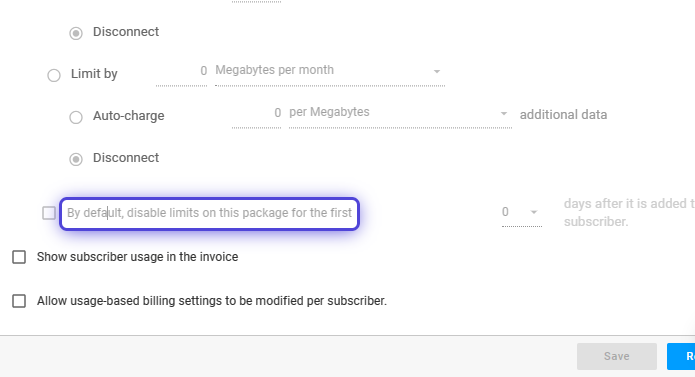
83. Toggle and set the days to remove limits on a subscriber after adding a package to their account.
How to Display Subscriber Usage on the Invoice and Other Options?
84. Toggle to display the subscriber usage in the invoice.
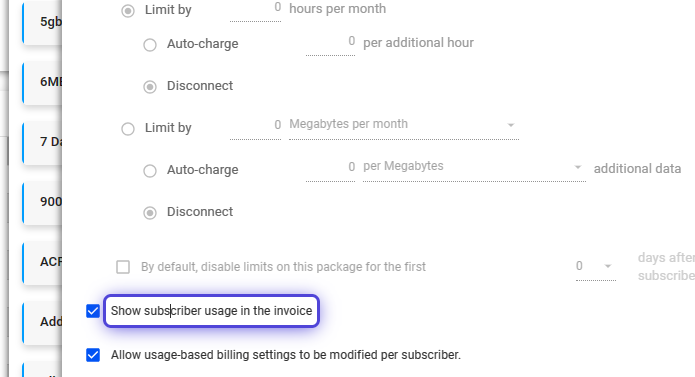
Usually added on the 1st of the month or included in invoices created on the 1st.
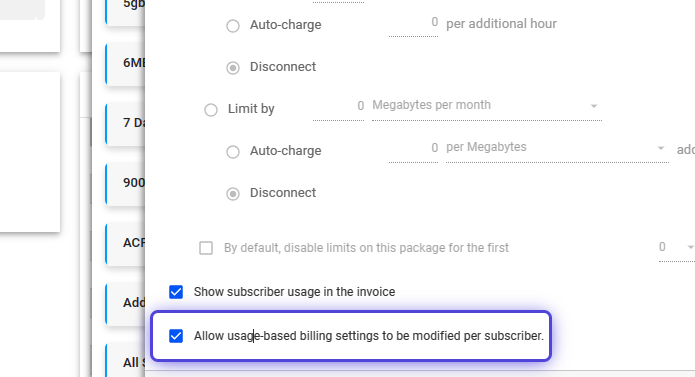
85. Toggle to “Allow usage-based billing settings to be modified per subscriber.”
86. Click on Save
How to Set Parameters for Network Authentication
💡 Discuss with your Visp Network Admin
This part of the configuration can be discussed with the Visp Network Admin, if applicable to your setup.
87. Click on Network Authentication
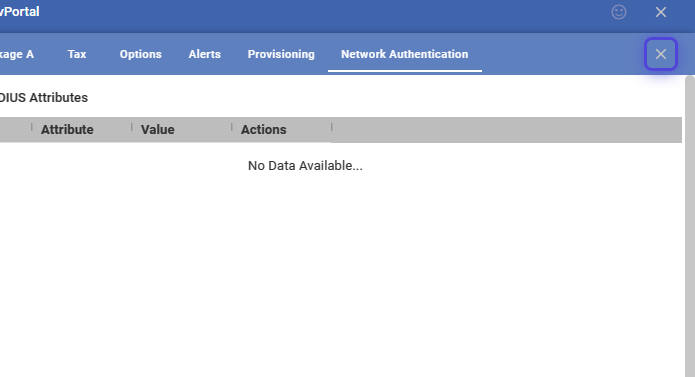
88. Click on Add

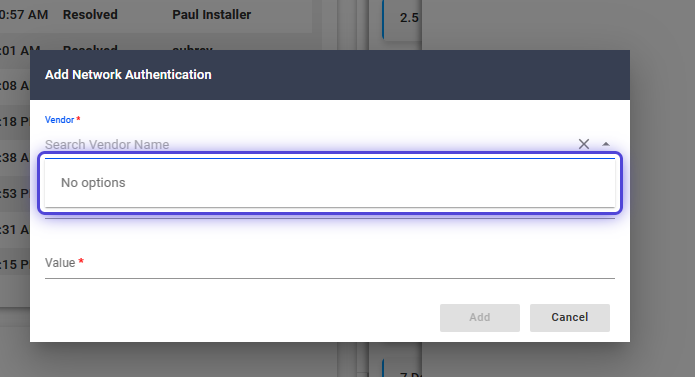
89. Use the dropdown to search and select the Vendor information.
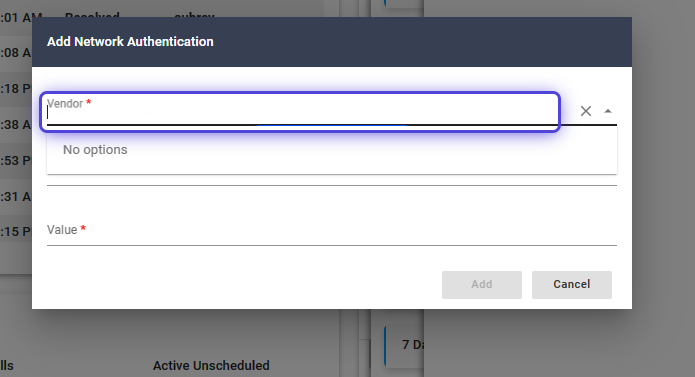
90. Click and use the dropdown on Attributes to select options.
91. Click and use the dropdown to select a Value.
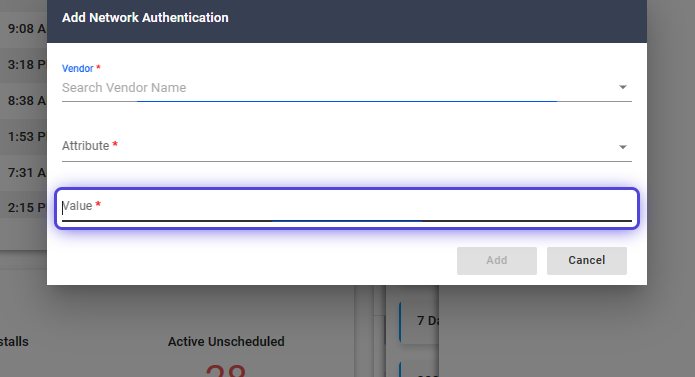
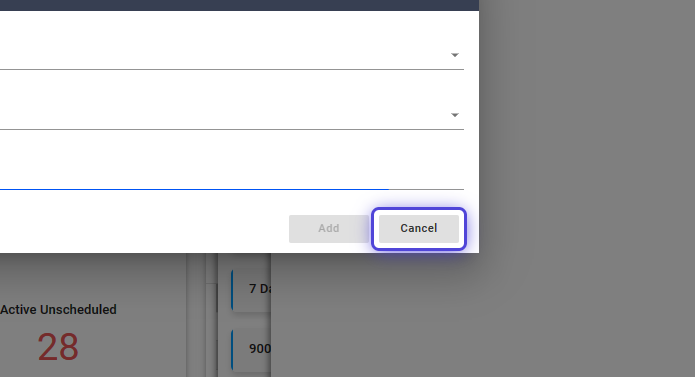
92. Click on Add to save your work or click on Cancel, to discard changes.
💡 For more information about this and all other features in Visp, reach out to your Visp Client Success Team today.
Phone: 541-955-6900
Email: success@visp.net
Open a ticket via www.visp.net/ticket