1. Required Equipment for Displaying Coverage Maps
-
- Wireless Infrastructure Location (Sub-Location / Sector)
- Create Profile and Add Equipment for AP + Antenna Assembly
- Configure Metadata for Azimuth, Beamwidth, and Range in your Antenna Profile
How to Add the AP Profile?
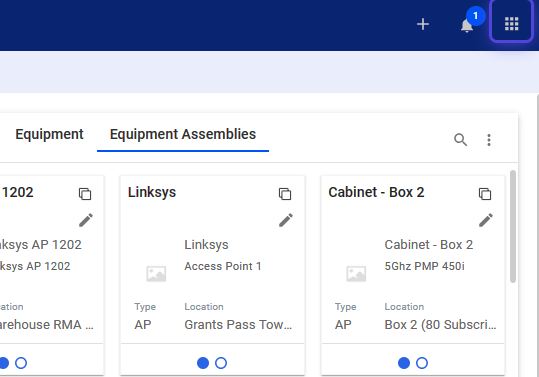
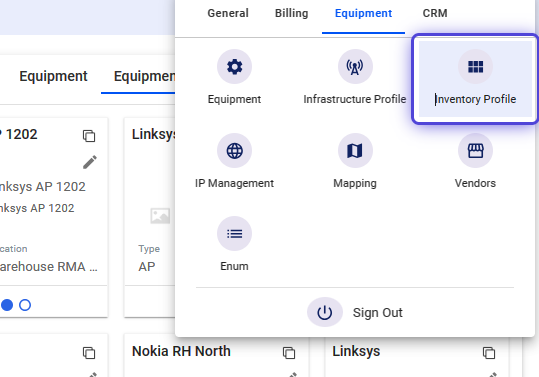
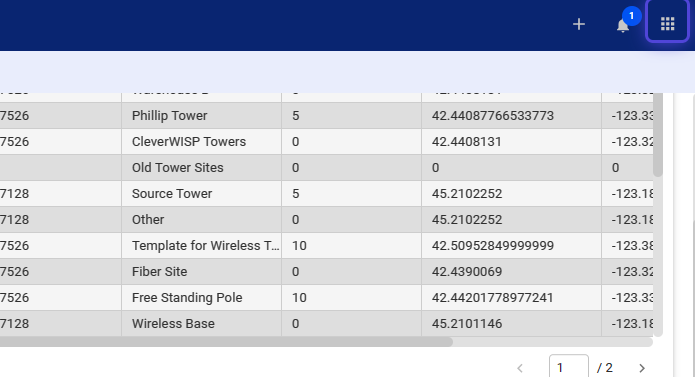
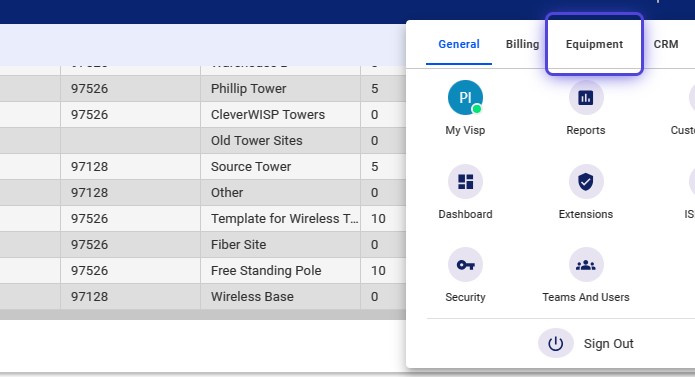
2. Click the nine-dot menu in the upper right corner to open the VISP Admin Page.
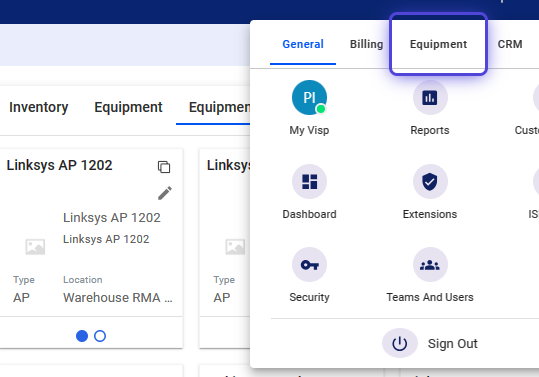
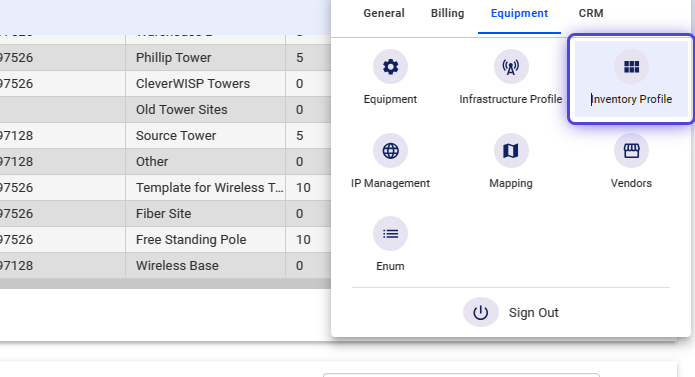
3. Click on Equipment
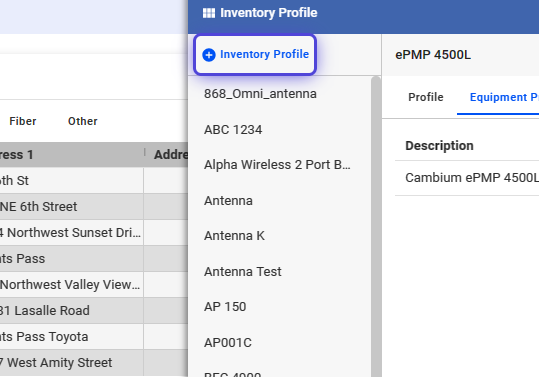
4. Select Inventory Profile
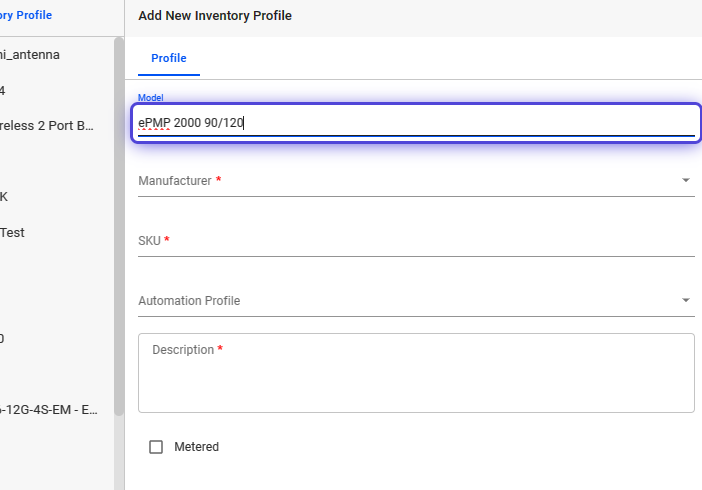
5. Click on +Inventory Profile
An Inventory Profile is only a framework or blueprint with pre-designed metadata fields for filling in custom and relevant information about specific devices.
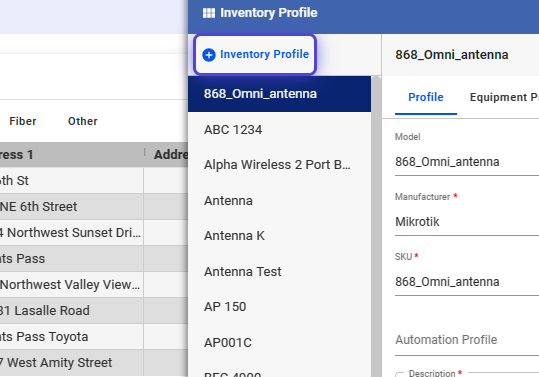
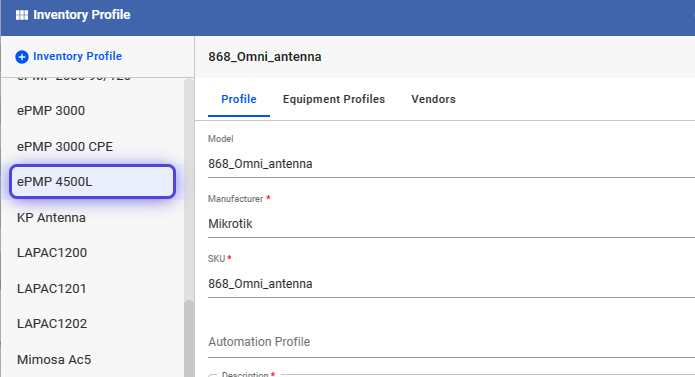
6. Input the Model of the device.
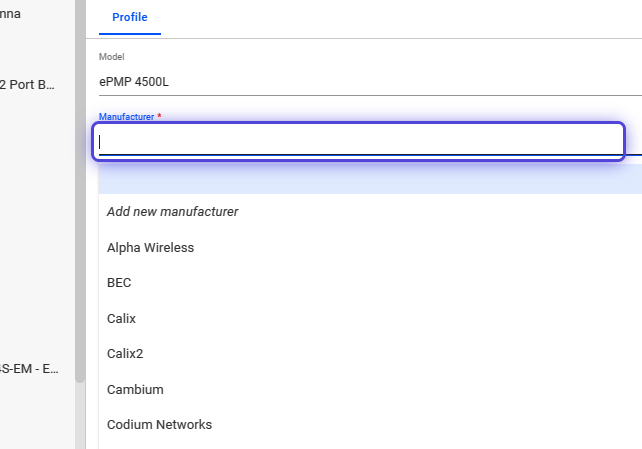
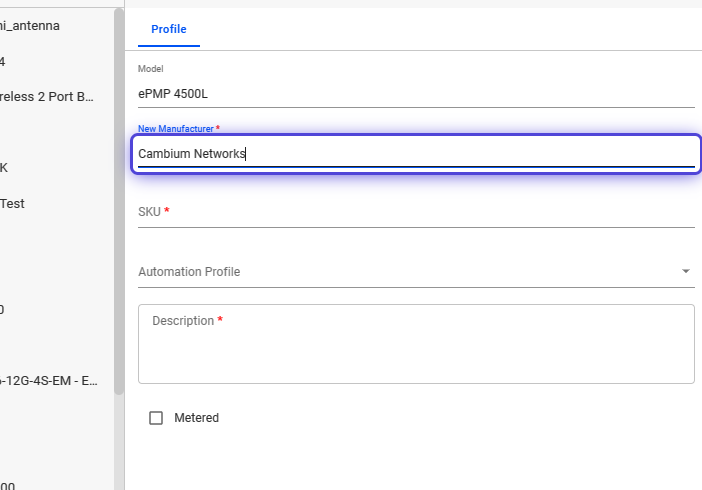
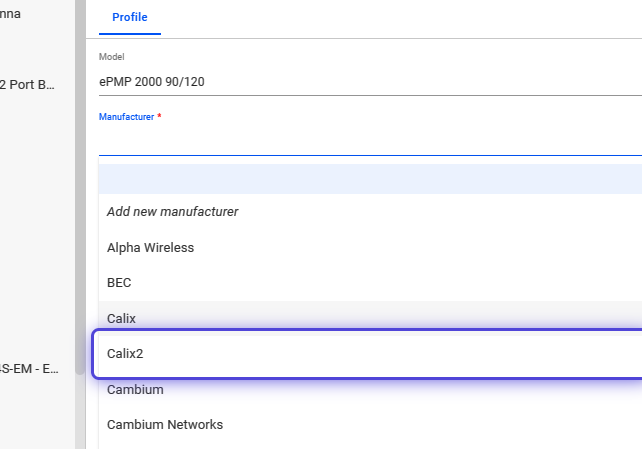
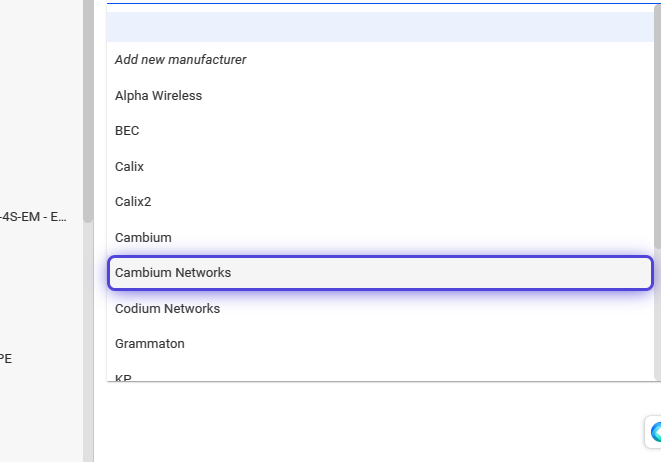
7. Click on the Manufacturer field.

8. Use the dropdown and select Add New Manufacturer
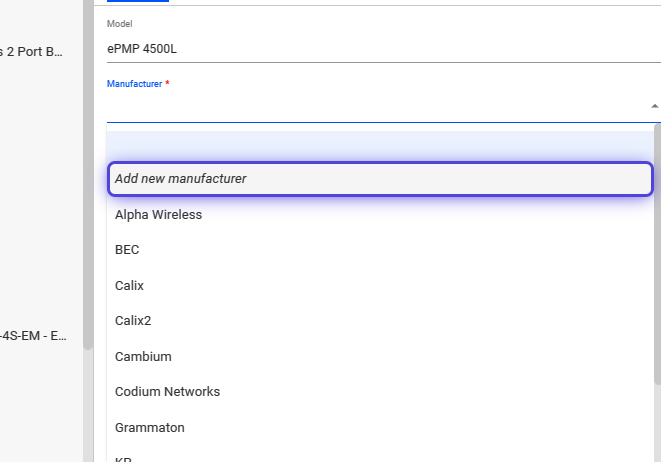
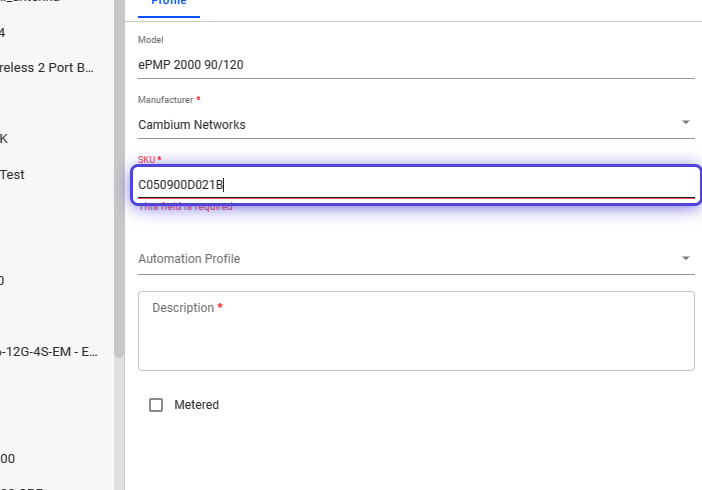
9. Input the Manufacturer
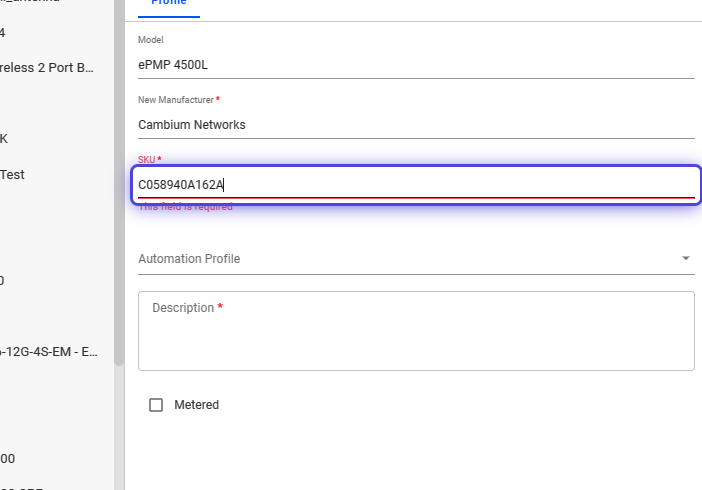
10. Input the SKU
ISPSupplies.com has a database of devices and their SKU’s. You can refer to their website for additional details.
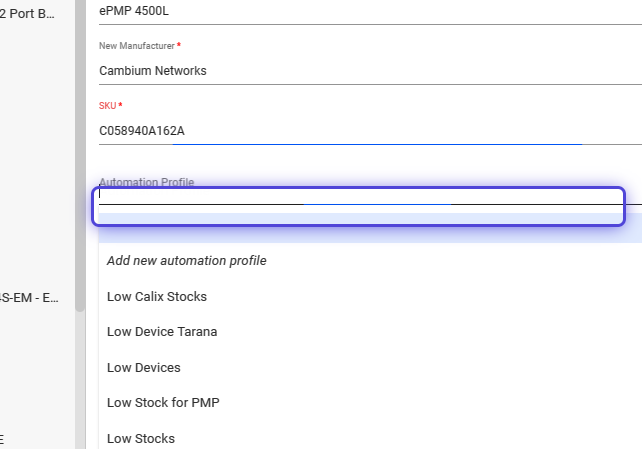
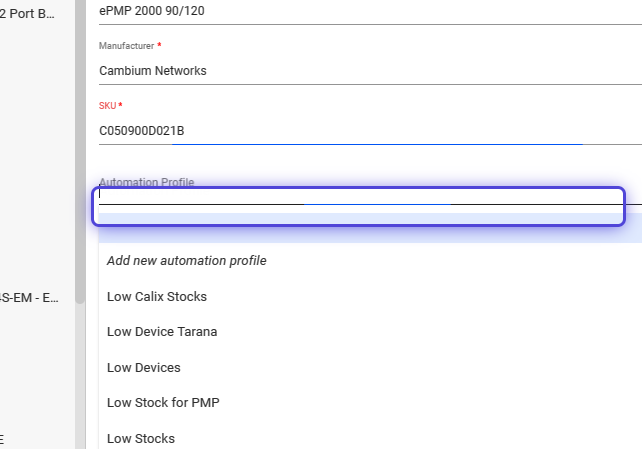
11. Click on Automation Profile
The Automation Profile refers to the automated notifications or alerts. Users get when stock levels reach a predetermined threshold. It helps ISPs streamline their inventory management. In this example, the Low Devices profile is set to the threshold of 5 devices.

12. Select “Add new automation profile”
If the automation profile, you want is not available in the list.
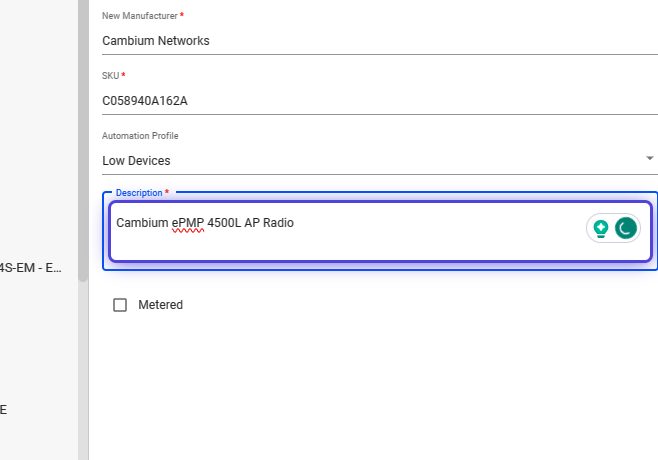
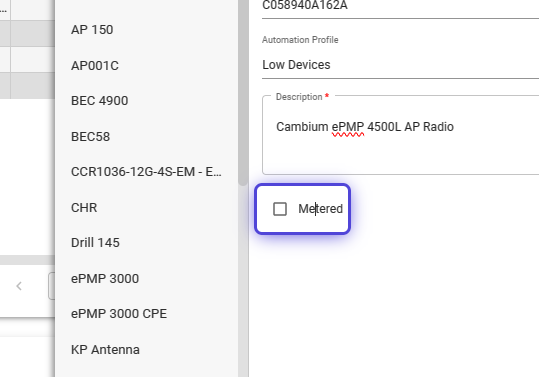
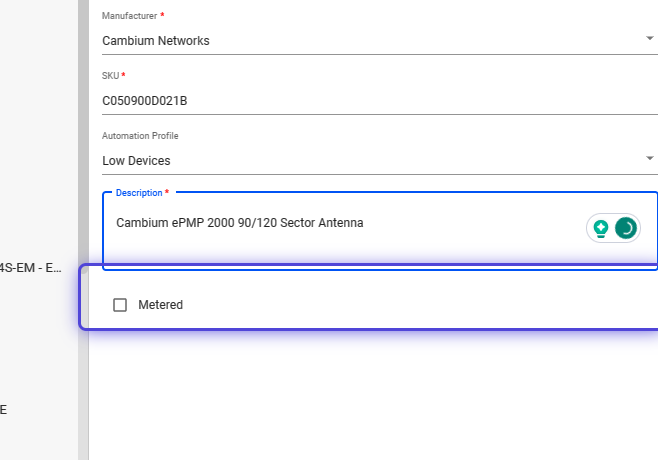
13. Input Description
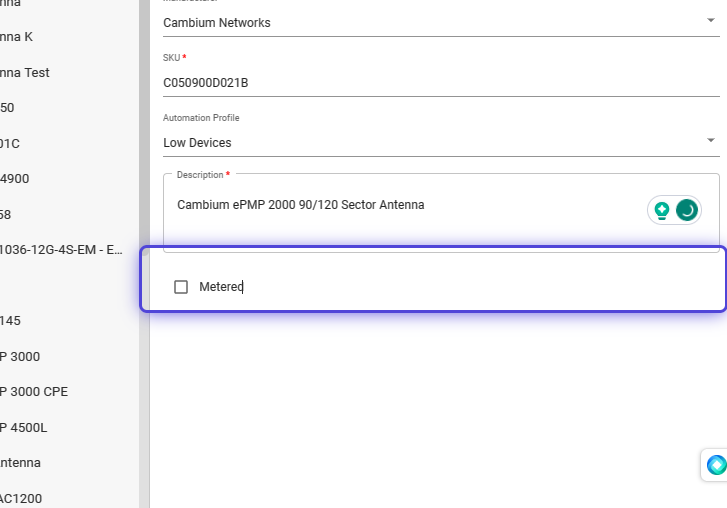
14. Click on Metered
Toggle metered if calculation of items based on Metered measurements is required.
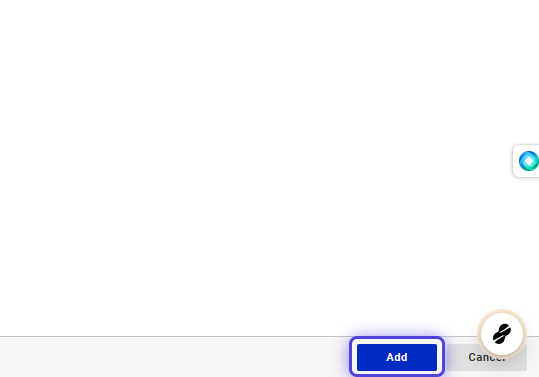
15. Click on Add
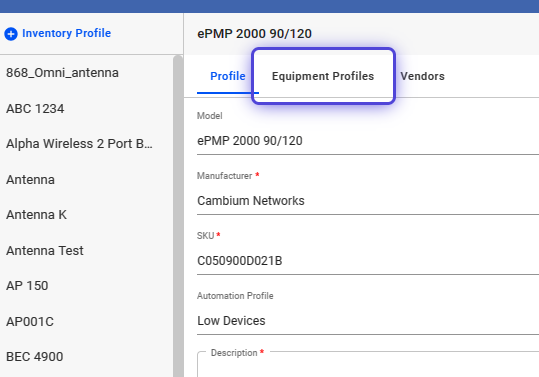
16. Click on Equipment Profiles
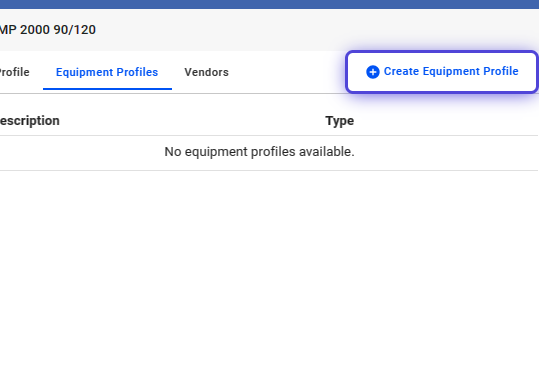
How to Add the AP Equipment Profile?

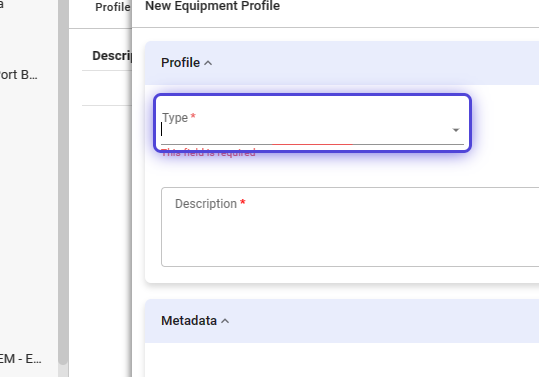
17. Click on Create Equipment Profile

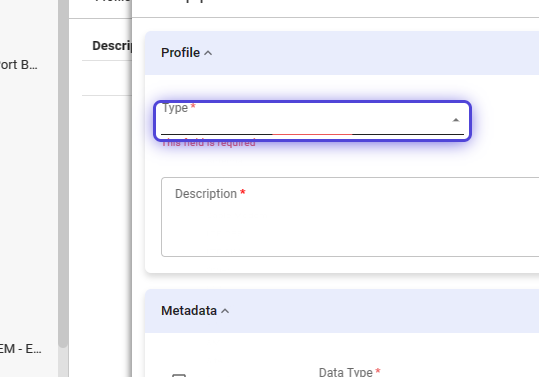
18. Click on Type
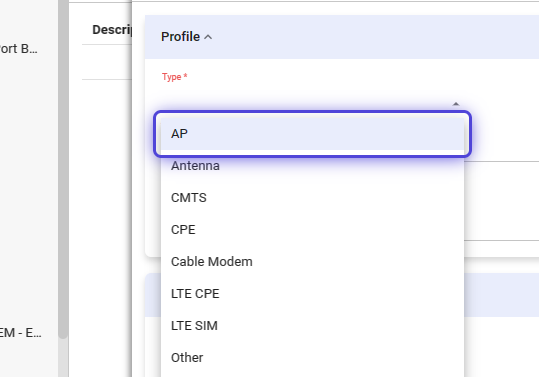
19. Use the dropdown to select an equipment type.
Select AP.
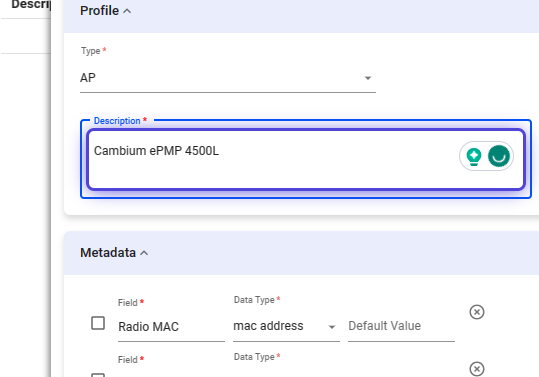
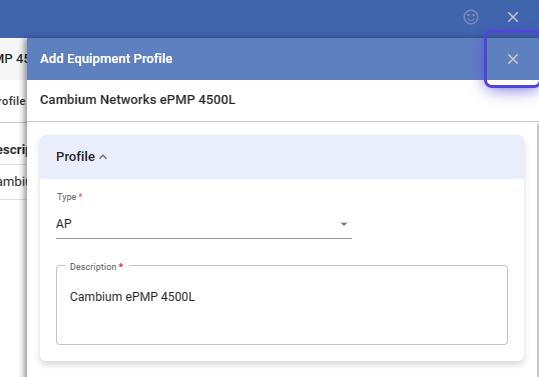
20. Input Description
21. Click on Add
22. Click on the X icon to close the panel.
How to Add AP Vendor Information?
23. Click the nine-dot menu in the upper right corner to open the VISP Admin Page.
24. Click on Equipment
25. Select Inventory Profile
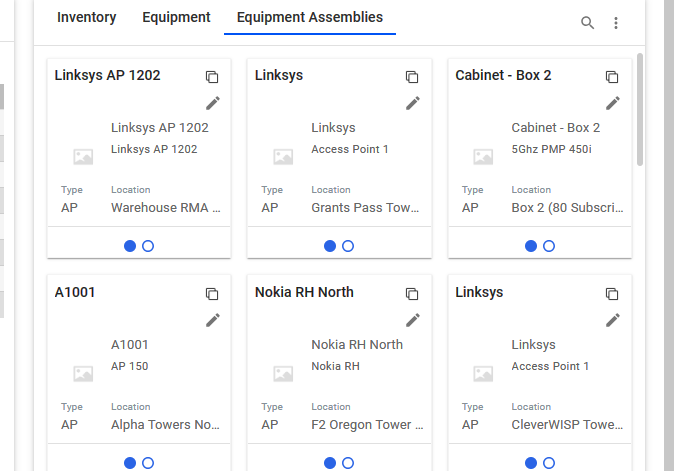
26. Select the device on the list.
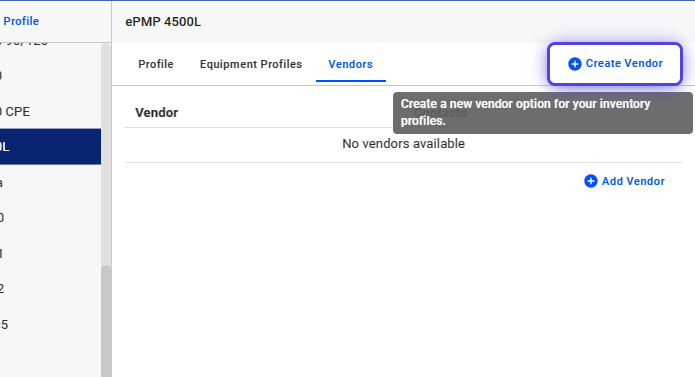
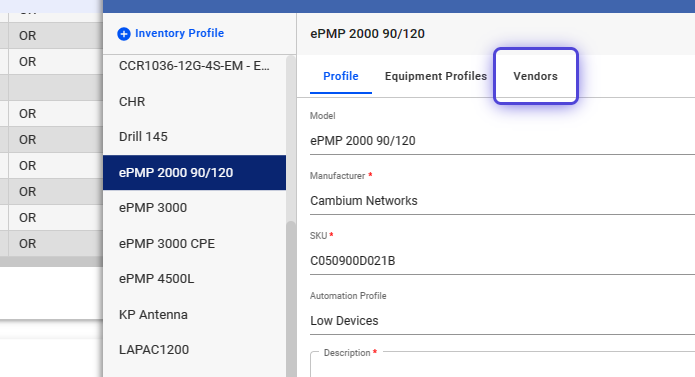
27. Click on Vendors

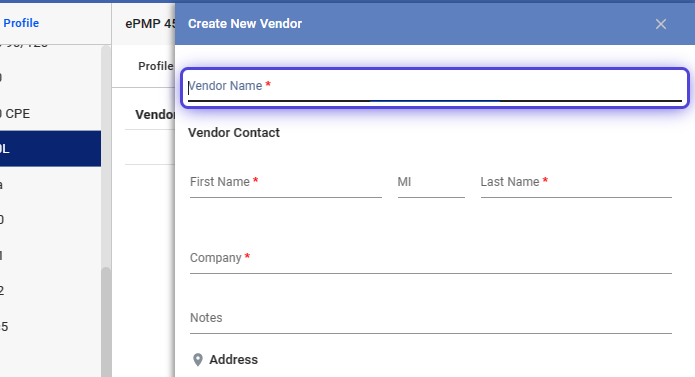
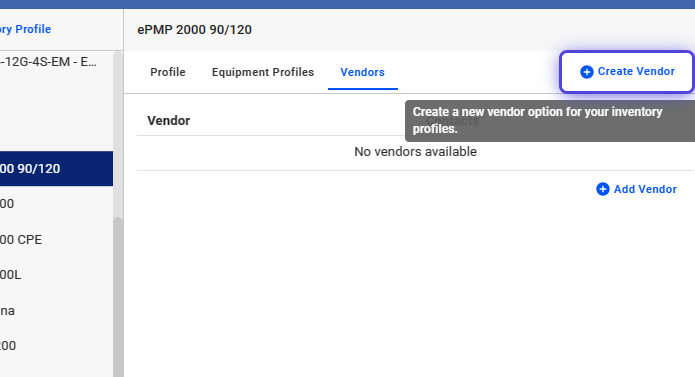
28. To Create a Vendor profile, click on “Create Vendor.”
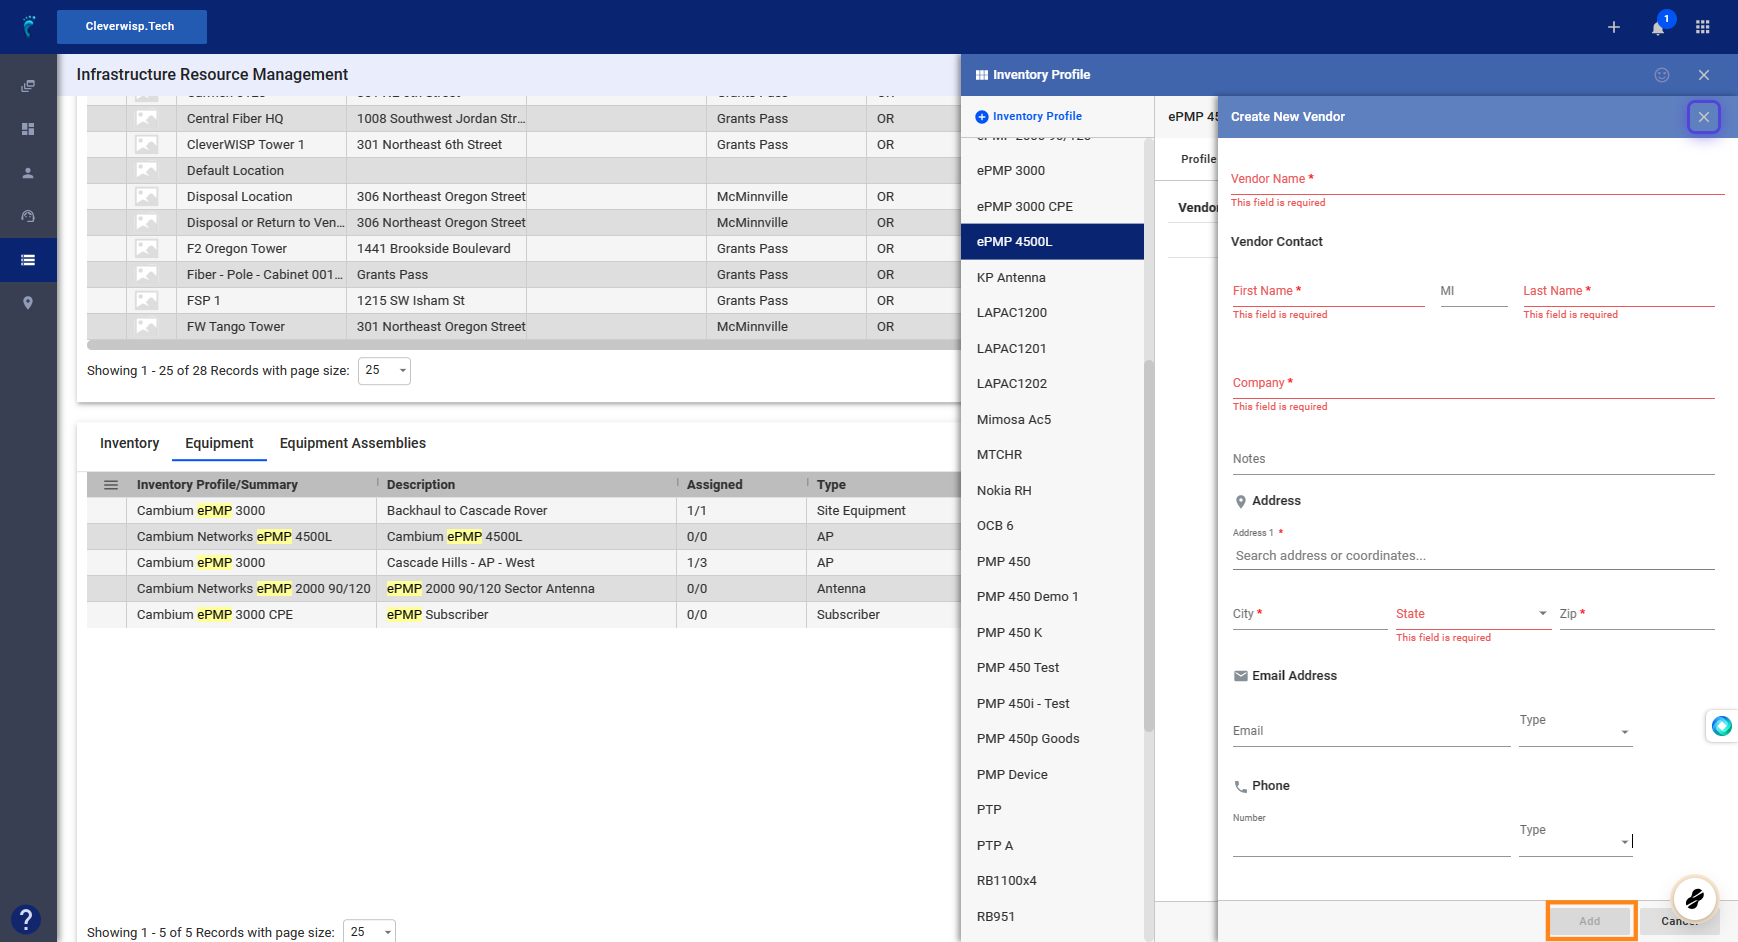
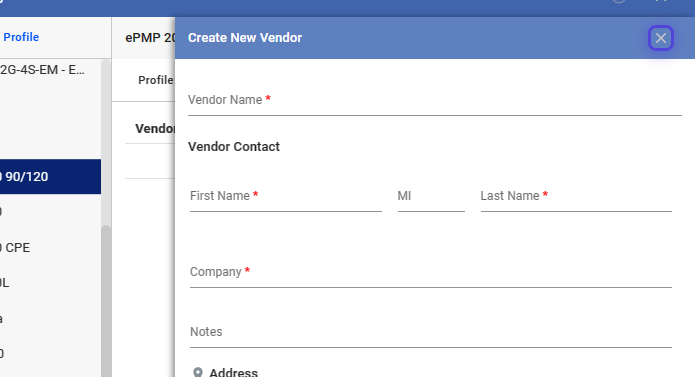
29. Fill out the Vendor Information
30. Click on the Address 1 field, and input the address.
Visp will auto-suggest addresses.
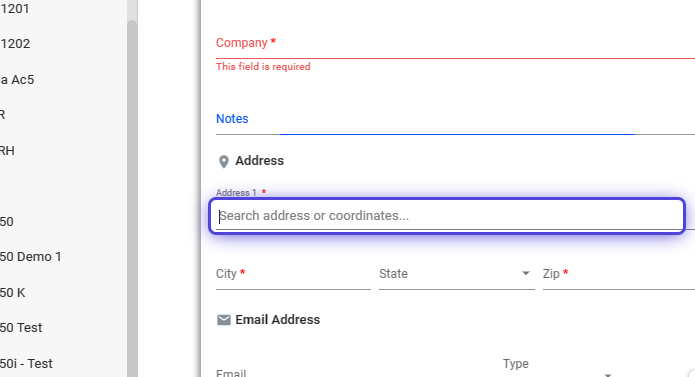
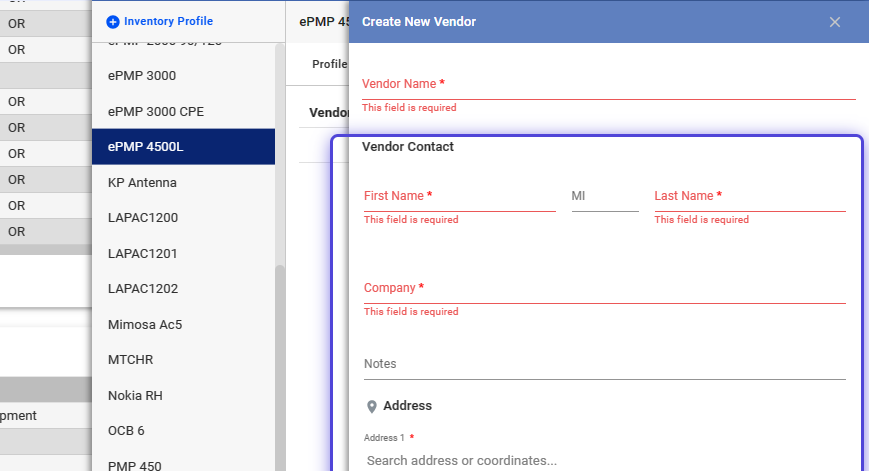
31. Fields with red asterisk are required.
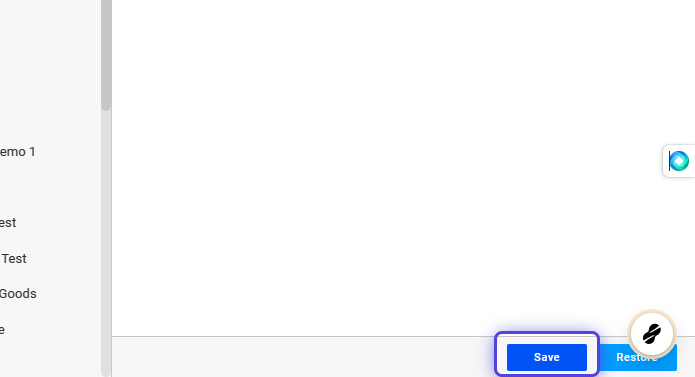
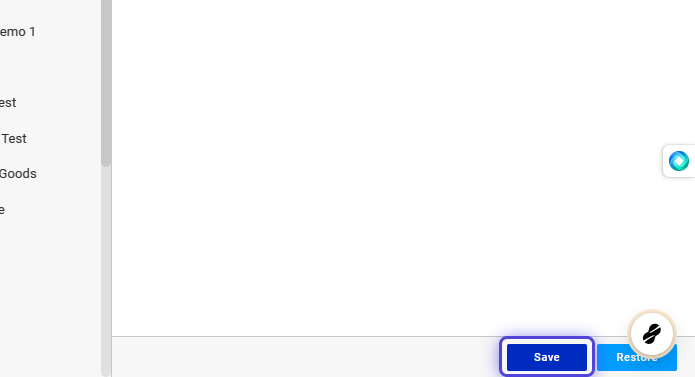
32. Save your work.
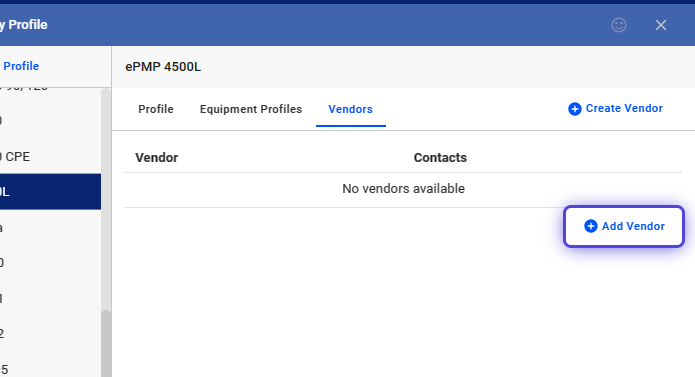
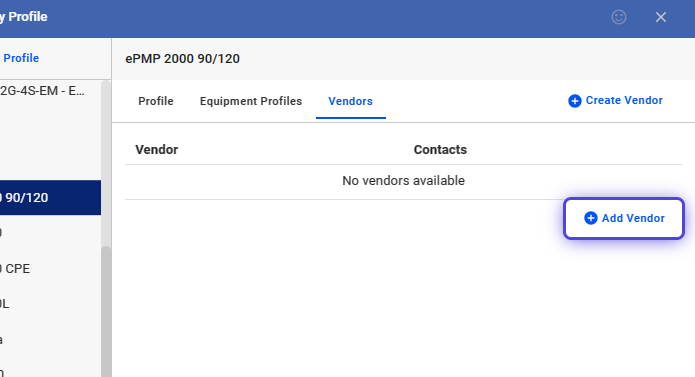
33. Click on Add Vendor to use vendor profile previously created.
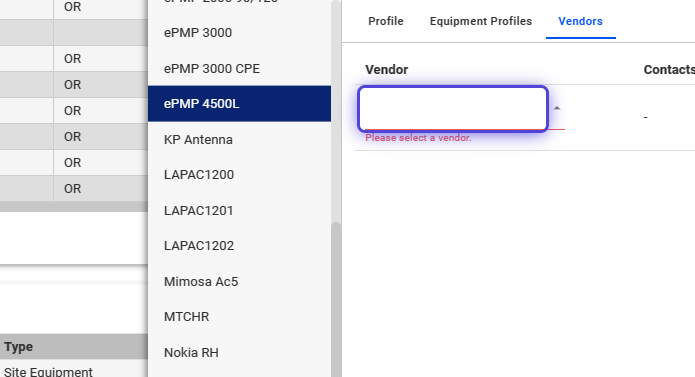
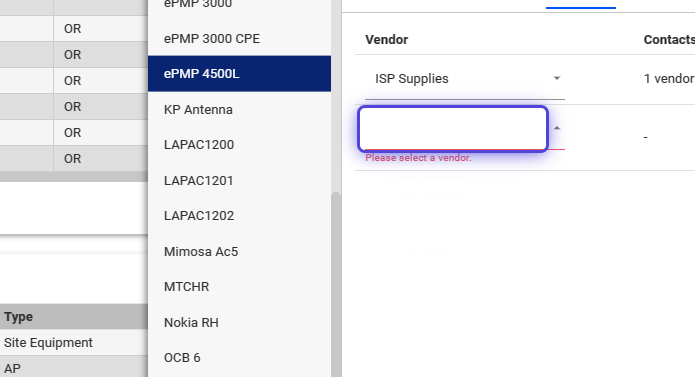
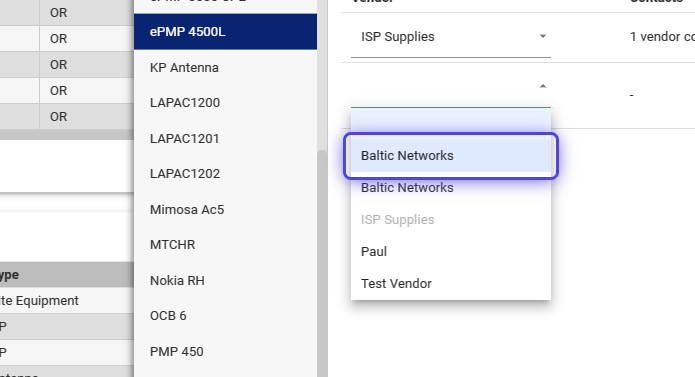
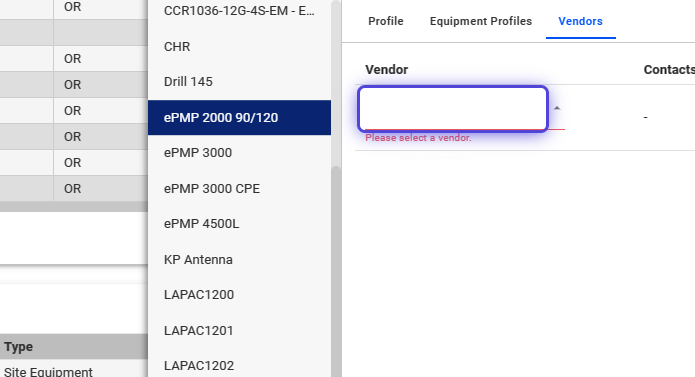
34. Click on the Vendor field.
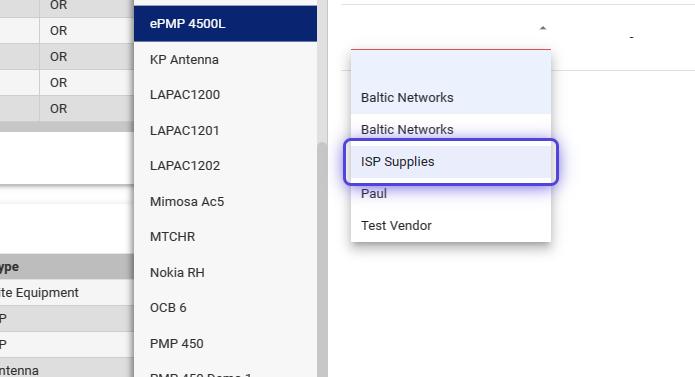
35. Use the dropdown to select a Vendor.
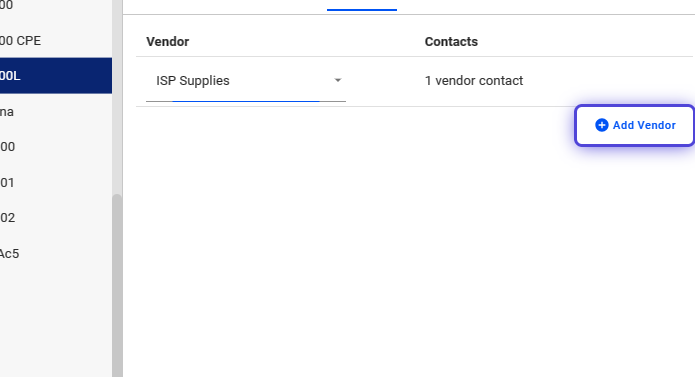
36. Click on Add Vendor again, to assign multiple vendors to a device or product.
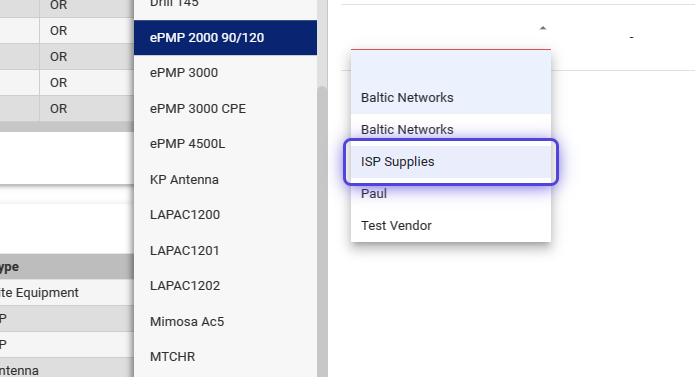
37. Click on the Vendor field.
38. Use the dropdown to select a Vendor from the list.
39. Save your work.
How to Add the Antenna Profile?
40. Click on +Inventory Profile
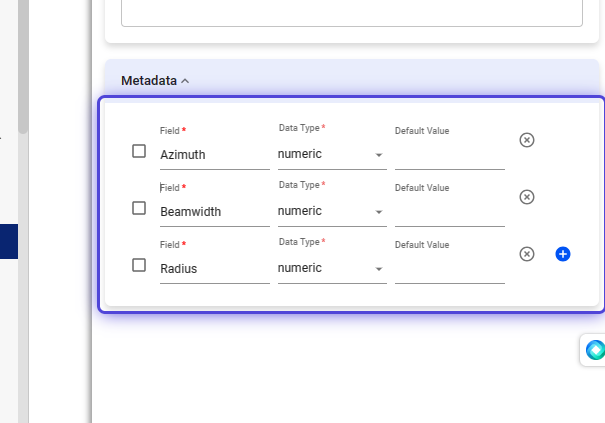
41. Input the Antenna Model
42. Click on the Manufacturer field.
43. Use the dropdown to select the manufacturer.
44. Input the SKU
45. Click on Automation Profile
The Automation Profile refers to the automated notifications or alerts. Users get when stock levels reach a predetermined threshold. It helps ISPs streamline their inventory management. In this example, the Low Devices profile is set to the threshold of 5 devices.
46. Select an automation profile.

47. Input Description.
48. Click on Metered
Toggle metered if calculation of items based on Metered measurements is required.
49. Click on Add
How to Add the Antenna Equipment Profile?

50. Click on Equipment Profiles
51. Click on +Create Equipment Profile
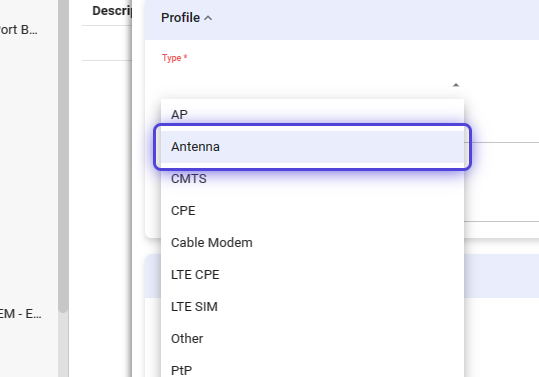
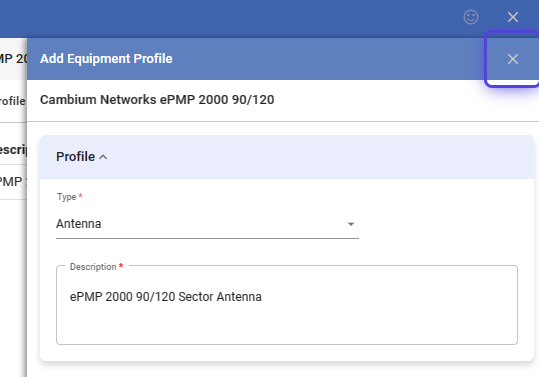
52. Click on Type
53. Use the dropdown and select Antenna.
54. Input Description
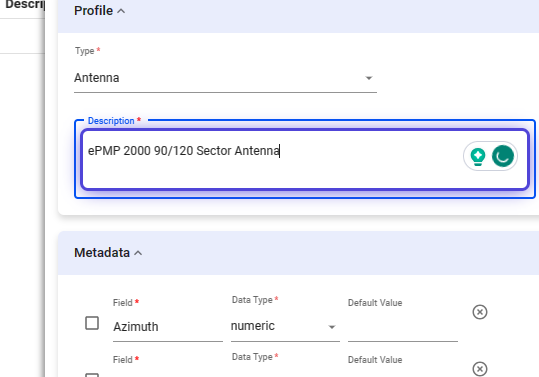
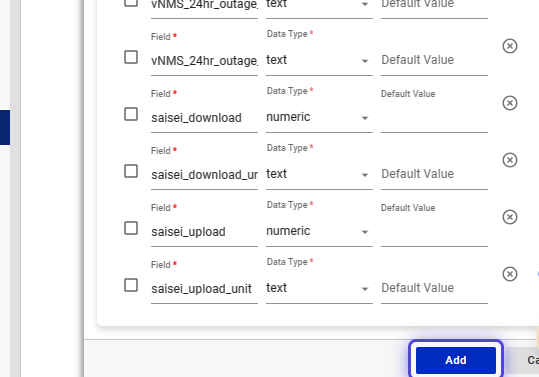
55. These Metadata are required.
You can add additional metadata, but do not remove the ones highlighted below.
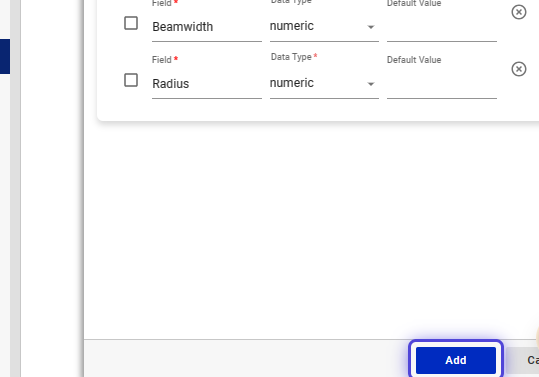
56. Click on Add
57. Click on the X icon to close.
How to Add Antenna Vendor Information?
58. Click on ePMP 2000 90/120
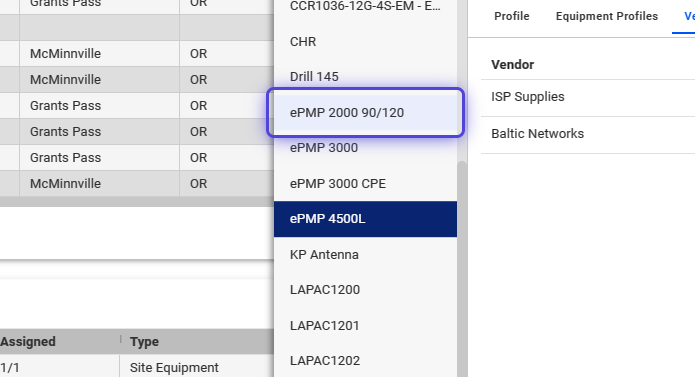
59. Click on Vendors
60. Click on Create Vendor
61. Fill out the Vendor Information.
Save your work when done.
62. Click on the small X icon to close the panel.
63. Click on Add Vendor to use vendor profile previously created.
64. Click on the Vendor field.
65. Use the dropdown to select a Vendor.
66. Save your work.