

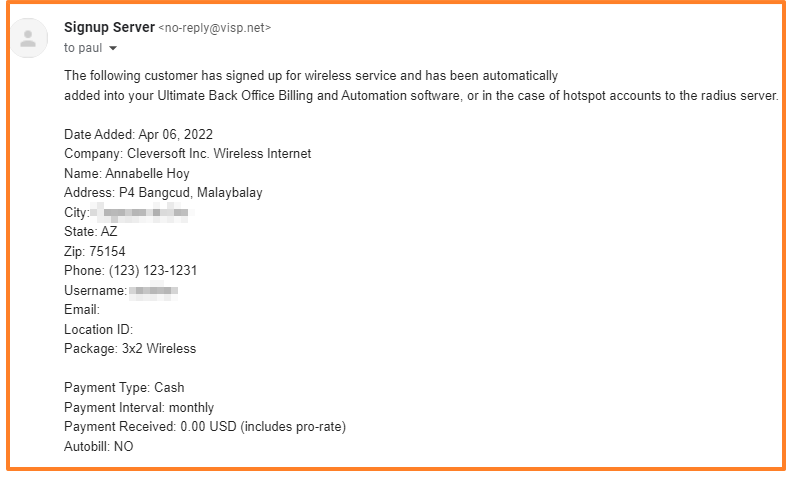
You can get notifications emailed to you or your team when a new subscriber signs up for service. This is an internal message only, and cannot be edited.
To access the feature, Main Menu > My Visp.
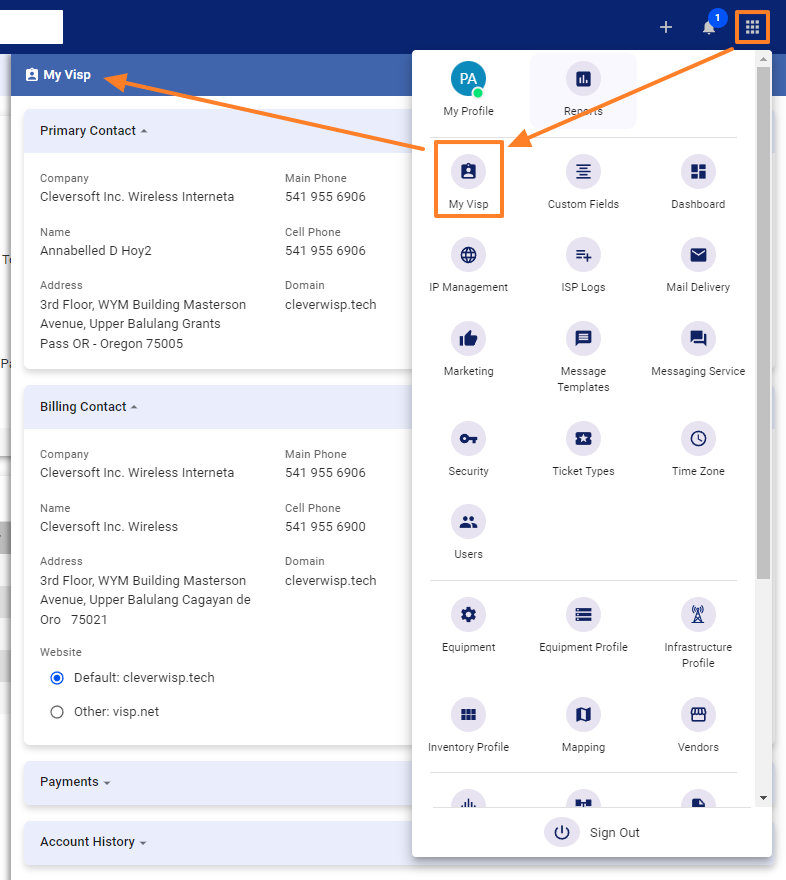
In the My Visp panel, click on the pencil icon in the Primary Contact panel and update the Email. This is where the notificationds are going. You may also update the Billing Contact if you want to get billing notifications or reports.

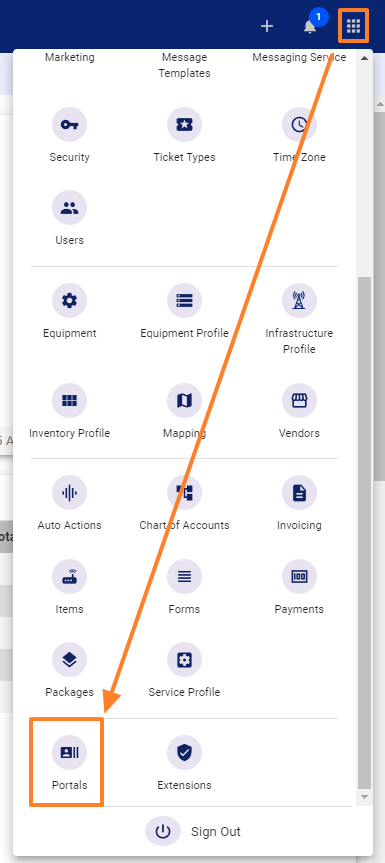
Next, go to the Portal section by clicking on the menu and selecting Portals.
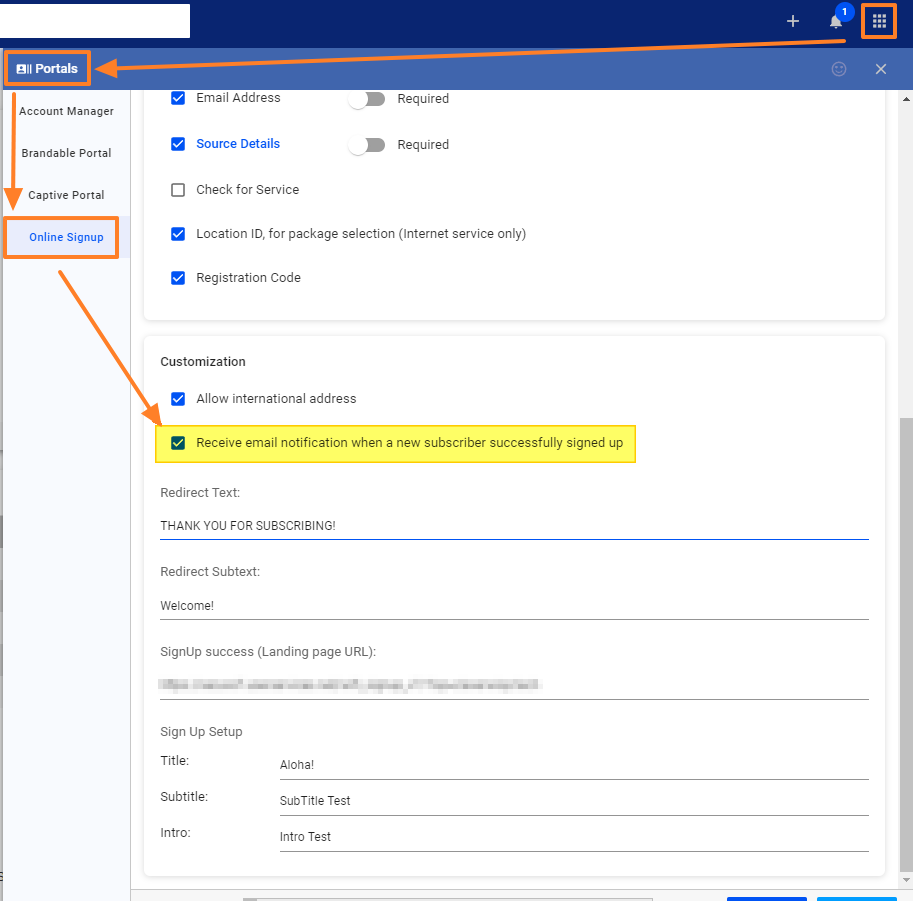
Go to the Online Signup section and put a check on the “Receive email notification when a new subscriber successfully signed-up box.”
When new signups happen, you should get a notification.