This guide provides step-by-step instructions on how to queue and print invoices within the Visp Web app. It covers printing single invoices, batch printing, configuring paper invoice settings, and automating the process of sending invoices to a print house. Whether you need to print a single invoice or manage paper invoicing for multiple subscribers, this guide will help you navigate the process efficiently.
1. Printing a Single Invoice
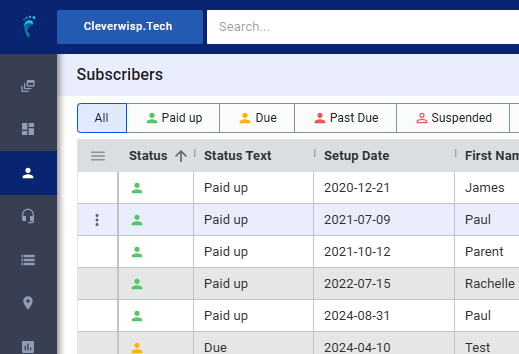
- Go to the Subscribers List: Navigate to your list of subscribers within Visp.
- Select a Subscriber: Choose the specific subscriber whose invoice you want to print.
- Print: Click on the print icon within the preview page to print the invoice directly.
2. Select an Invoice: From the subscriber’s account, find and select the specific invoice you need.
3. View the Invoice: On the invoice page, click on the “View PDF” button to preview the invoice.
Queueing Invoices as Part of a Batch
5. Open Subscriber Account / Profile
- Go to the Subscribers List: Navigate to your list of subscribers.
- Select a Subscriber: Choose the subscriber you want to enable paper invoicing for.
6. View Billing Options
- Go to Billing Options: In the subscriber’s profile, find the “Billing Options” section.
- Enable Paper Invoice: Toggle the switch under “Paper Invoice” to enable it (it will highlight in blue).
7. Setting Paper Invoice Fees
- Set the Fee: If desired, adjust the fee for the paper invoice (either a default amount or a custom amount per subscriber).
- Save Changes: Click the green checkmark to save your changes.
8. Notification Bell
- Check Notifications: Click on the notification bell in the upper right corner of the app.
- View Scheduled Invoices: On the scheduled date, you’ll see a notification indicating the number of invoices ready to be printed.
- Choose an Action:
- Send to Visp Print House: If you use Visp Print House for printing, click “Send Now” to send the invoices.
- Download PDFs: Click “Download PDF” to download all the queued invoices and print them yourself.


