If your ISP is located outside the United States, let the Visp Client Success team know to update your account with supported currency and language options. Developers can then modify the Account Manager and sign-up page to display languages like Spanish and French. Email success@visp.net with your ISP details and requirements to begin localization or internationalization support.
-
- The following instructions will help you confirm the internationalization settings in Visp, such as language, currency, and time zone updates. This is useful for ISPs outside the United States that require internationalization support.
Check Default Timezone
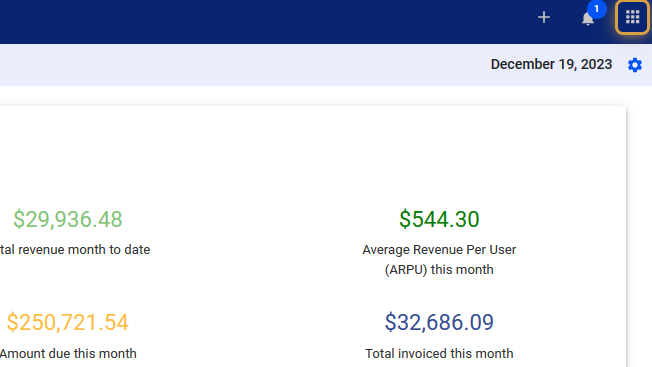
1. Click the nine-dot menu in the upper right corner to open the VISP Admin Page.
2. Click on General
3. Select My Visp
4. Click on Time Zone
5. Verify if the Country item has changed from the default: United States to your location.
6. Click on the dropdown and select your Time Zone.
7. Select whether to use a 24-hour clock, or the default 12-hour setting.
Save your changes when done.
Verify Supported Currency
8. Click the nine-dot menu in the upper right corner to open the VISP Admin Page.
9. Click on Billing
10. Select Packages
11. Click on the three dots to the right of the package.
12. Click on Edit.
13. Check the currency beside the Setup and Recurring billing fees on your packages.
14. Click on the X icon to close the panel.
💡 For more information about this and all other features in Visp, reach out to your Visp Client Success Team today.
Phone: 541-955-6900Email: success@visp.net
Open a ticket via www.visp.net/ticket


