How to Create a Warehouse Profile?
1. Open the Visp Web App
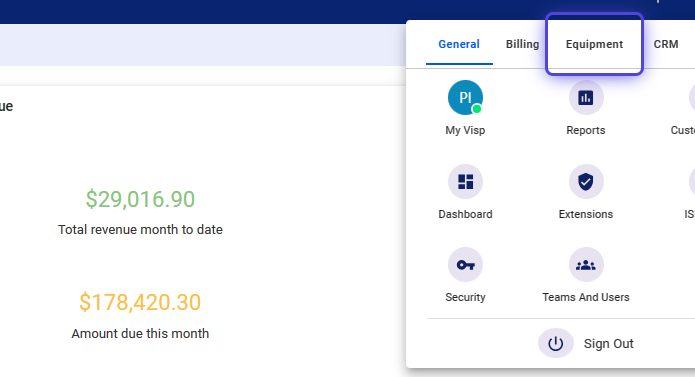
2. Click the nine-dot menu in the upper right corner to open the VISP Admin Page.
3. Click on Equipment
4. Select Infrastructure Profile
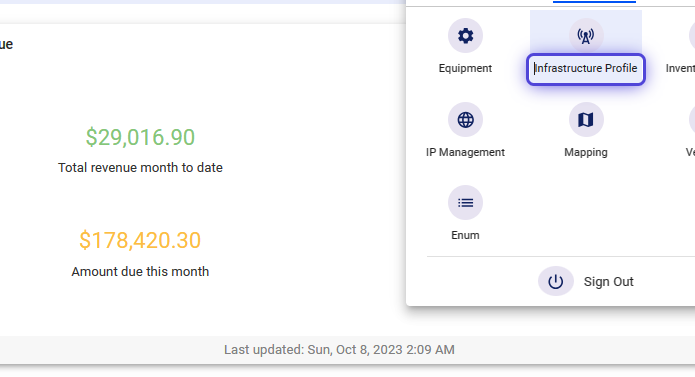
5. Click on Infrastructure Profile
An Infrastructure Profile is only a framework or blueprint with pre-designed metadata fields for filling in custom and relevant information about specific warehouses.
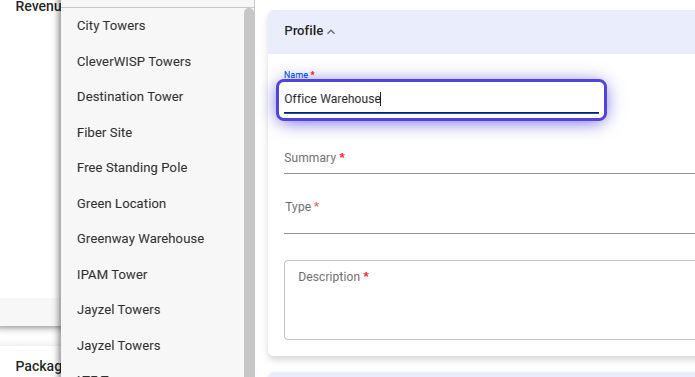
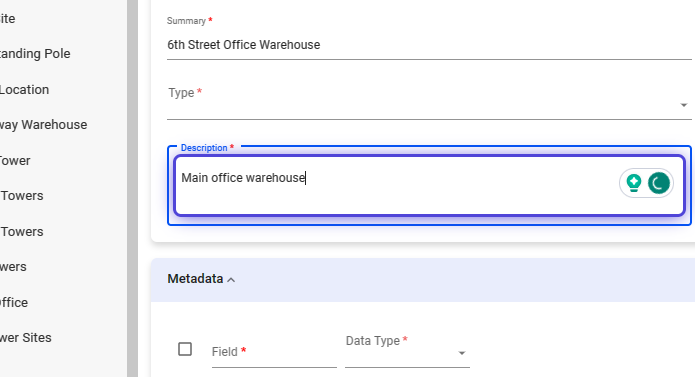
6. Input the Warehouse Infrastructure Name

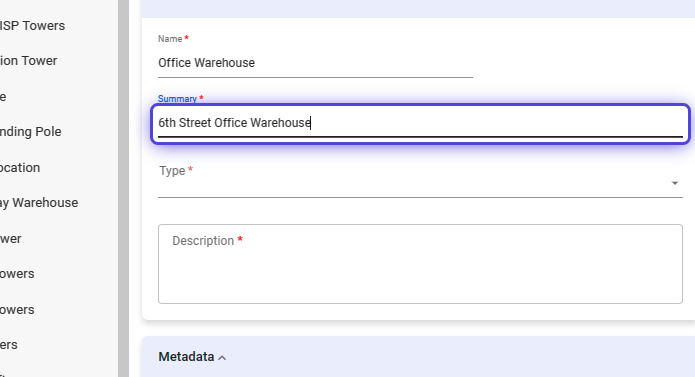
7. Input a Brief Summary
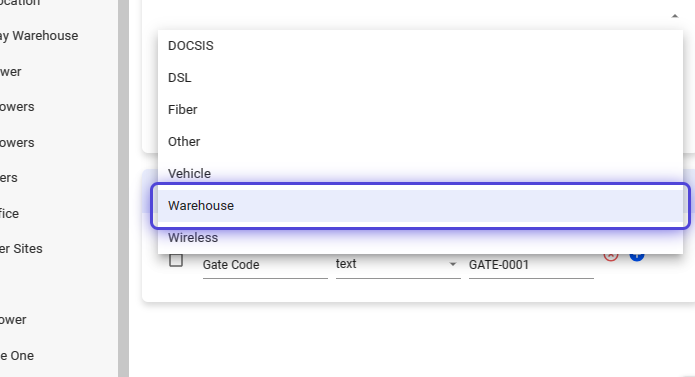
8. Click on Type
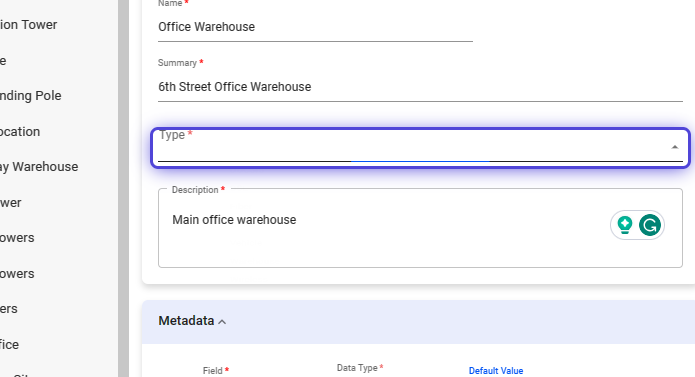
9. Use the dropdown and select Warehouse.
10. Input a Description for the profile.
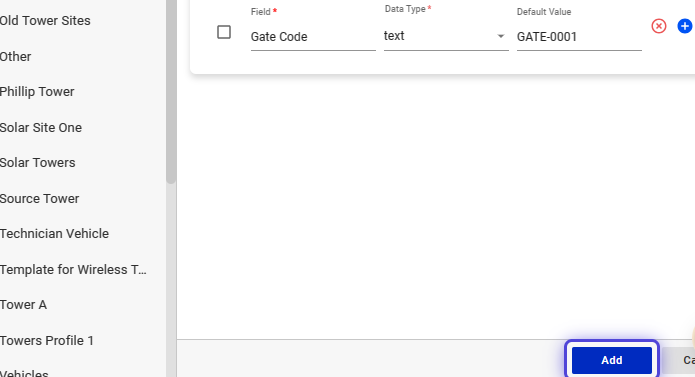
11. Input the Metadata field/s relevant your ISP’s warehouses.
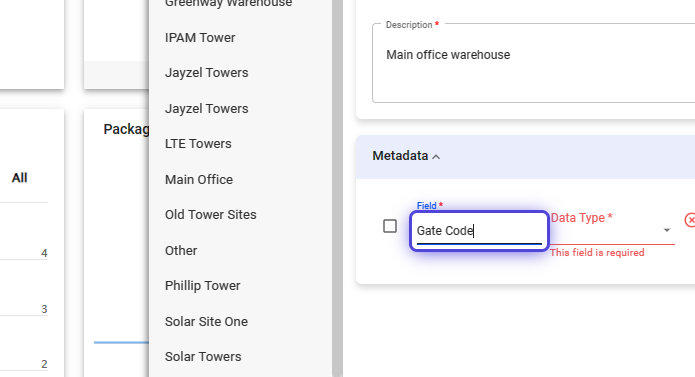
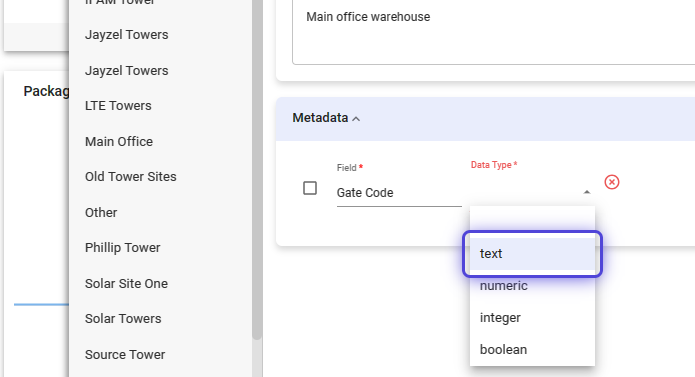
12. Click on the Data Type field.

13. Use the dropdown to select a data type.
A data type is a classification or a category that determines the type of data that a value (that the field) can hold.
14. Input a Default Value, that the field displays.
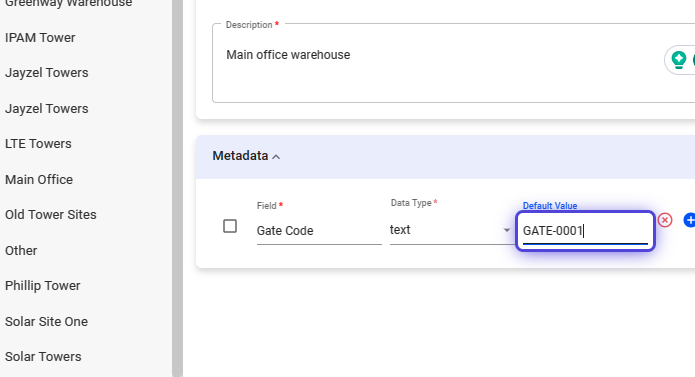
15. Click on Add to save the changes.
How to Add a Warehouse in Infrastructure Locations?
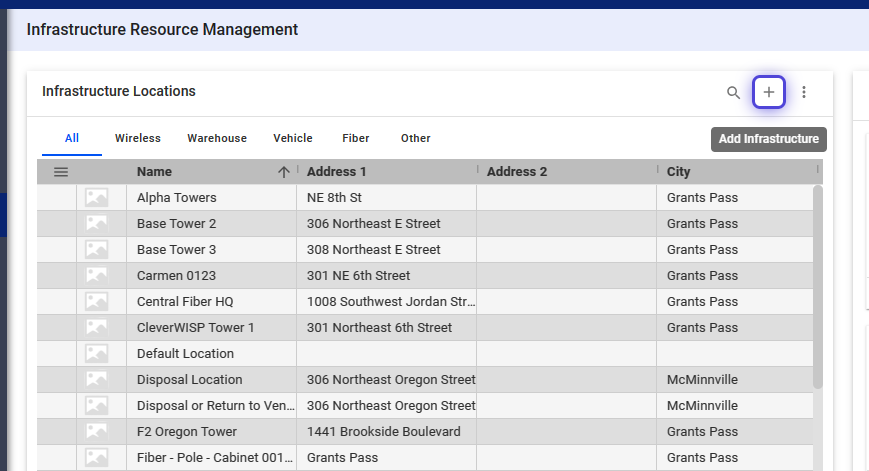
16. Click on IRM
17. Click on the plus icon.
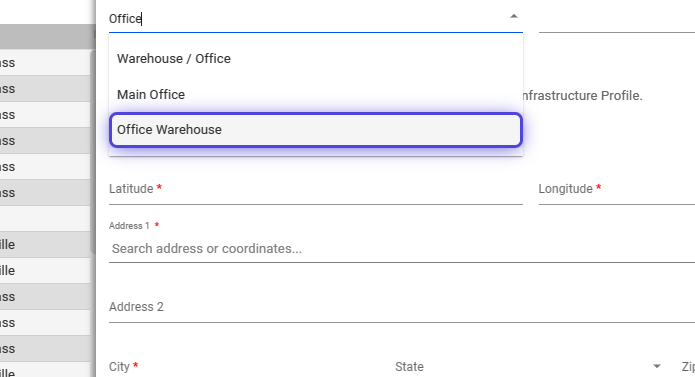
18. Input the Warehouse Name

19. Click on the “Infrastructure Profile” field and use the dropdown to select the Office Warehouse profile you created.
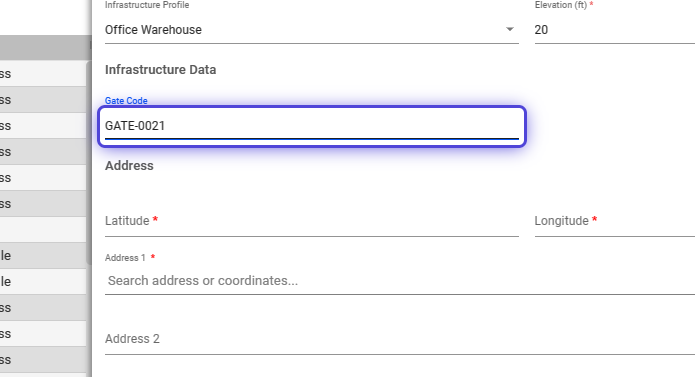
20. Input the Elevation

21. Input the value for the metadata field.
22. Click on the Address 1 field.
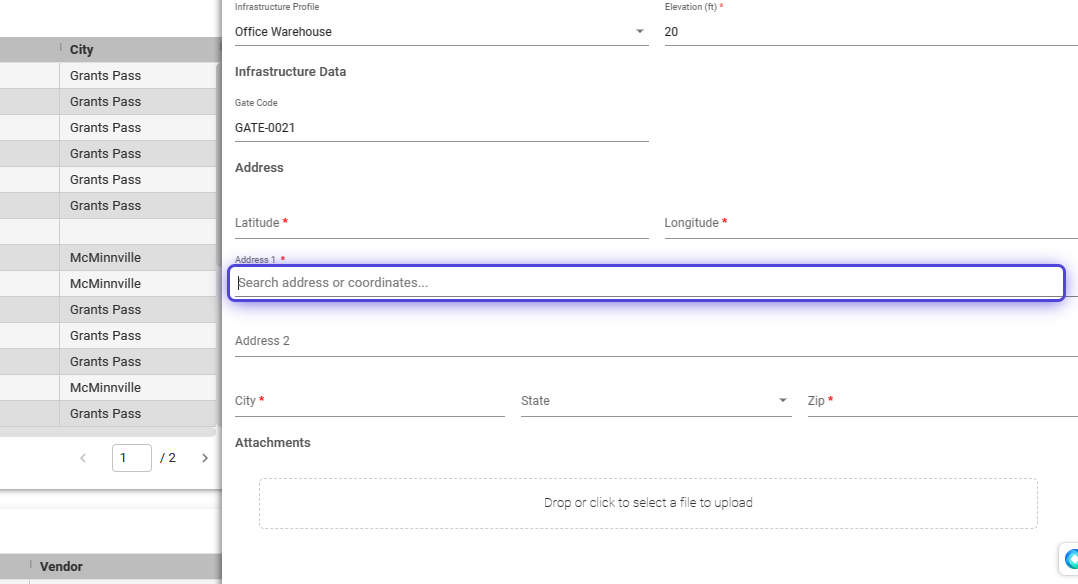
23. Input the address of the Warehouse.
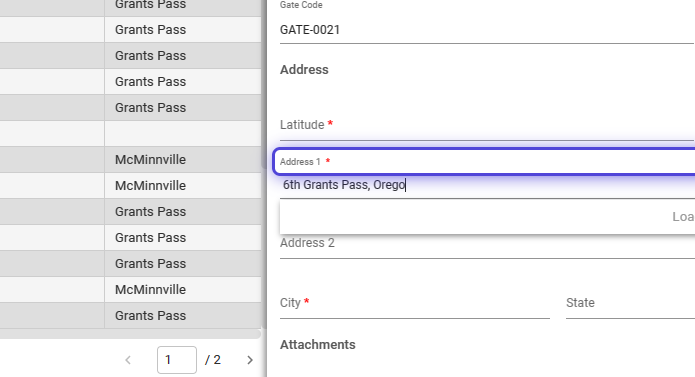
24. Use the auto-suggest, and select the closest Address to the Warehouse from the list.
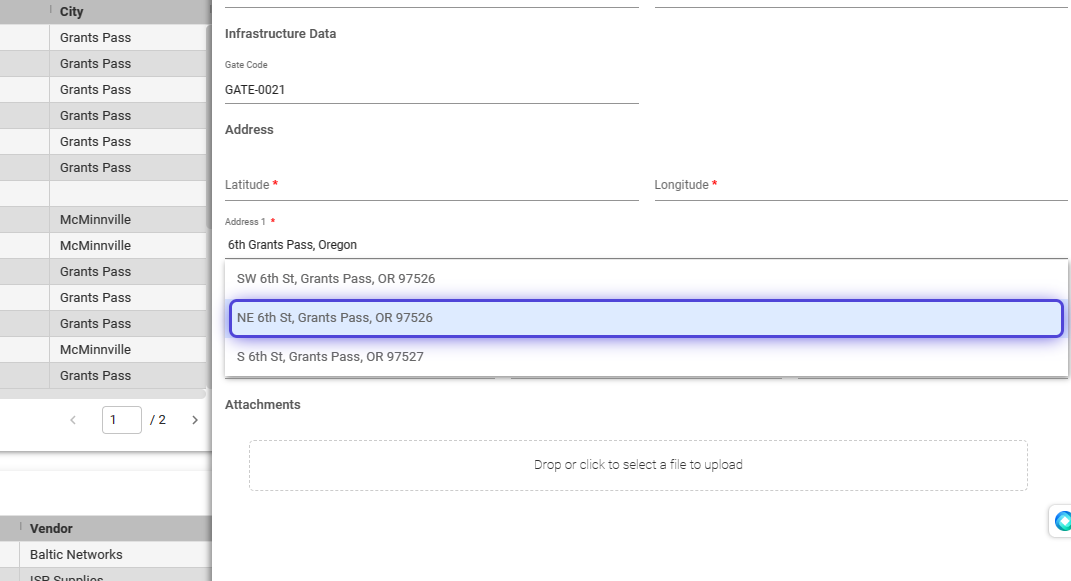
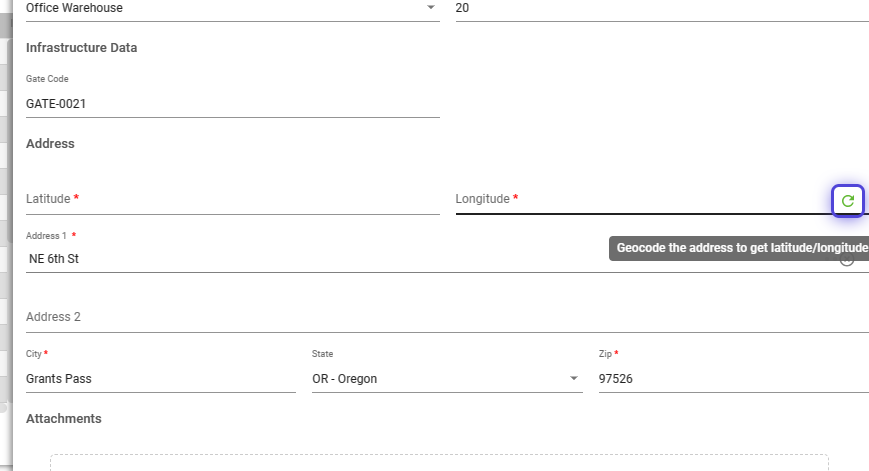
25. Click on the refresh icon beside the Longitude to auto-populate the coordinates.
If the Address 1 field does not provide a valid location, you can use the coordinates of the Warehouse as an alternative
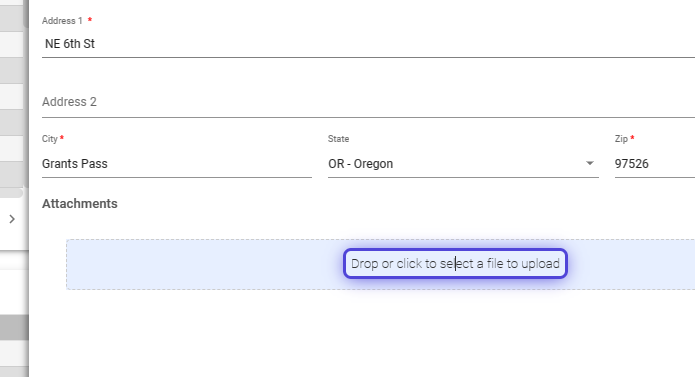
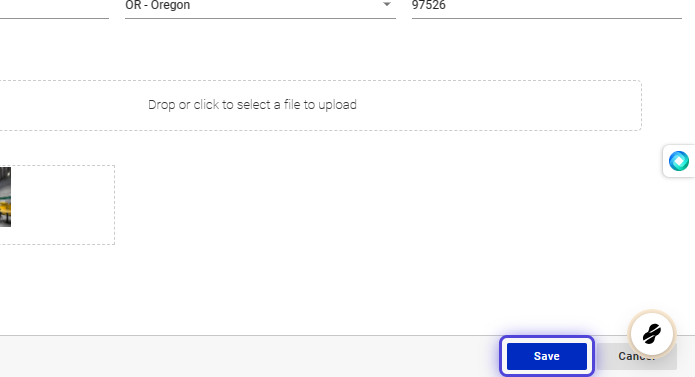
26. (Optional) Upload a picture of the warehouse, for reference.
27. Click on Save
How to Add Sub-Locations or Rooms in Your Warehouse?
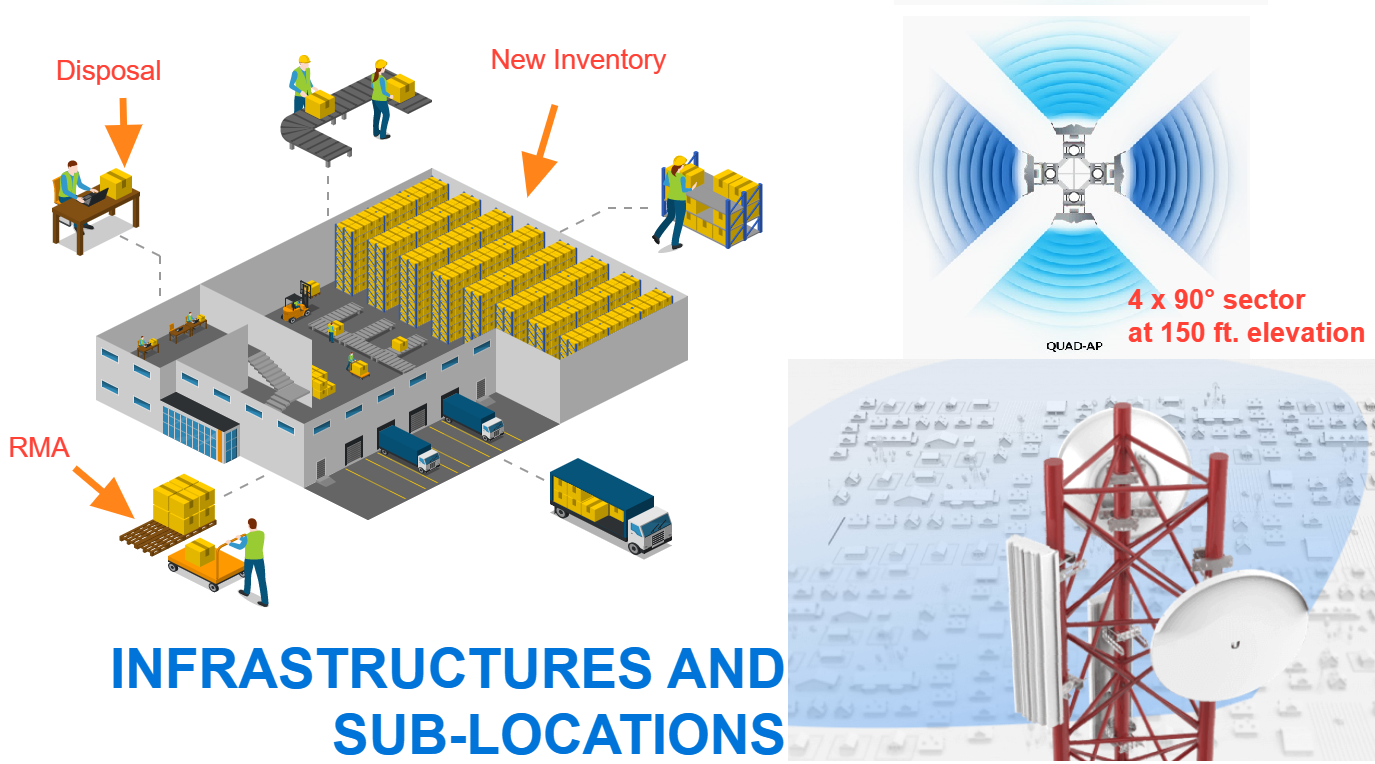
28. What are sub-locations?
In the context of infrastructure, sub-locations refer to the smaller, more specific components, rooms, or areas within a larger infrastructure system.
Within communication networks like Internet Service Providers (ISPs), sub-locations can include data exchange points (DEPs), network operation centers (NOCs), fiber optic distribution points, and equipment rooms .
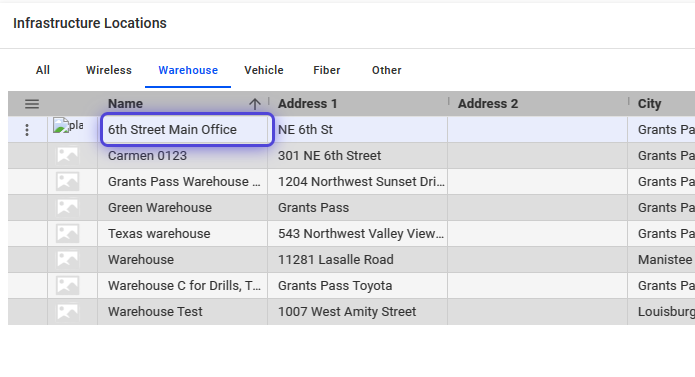
29. Click on Warehouse
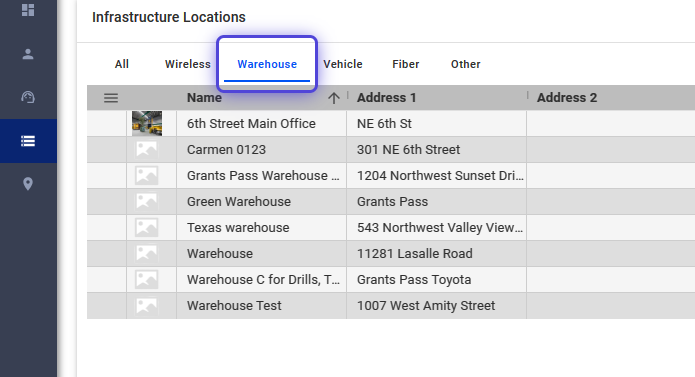
30. Use the list and select the Warehouse
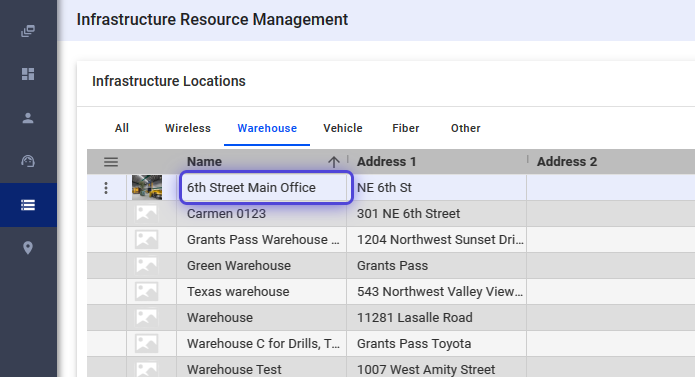
31. Click on the pencil icon.
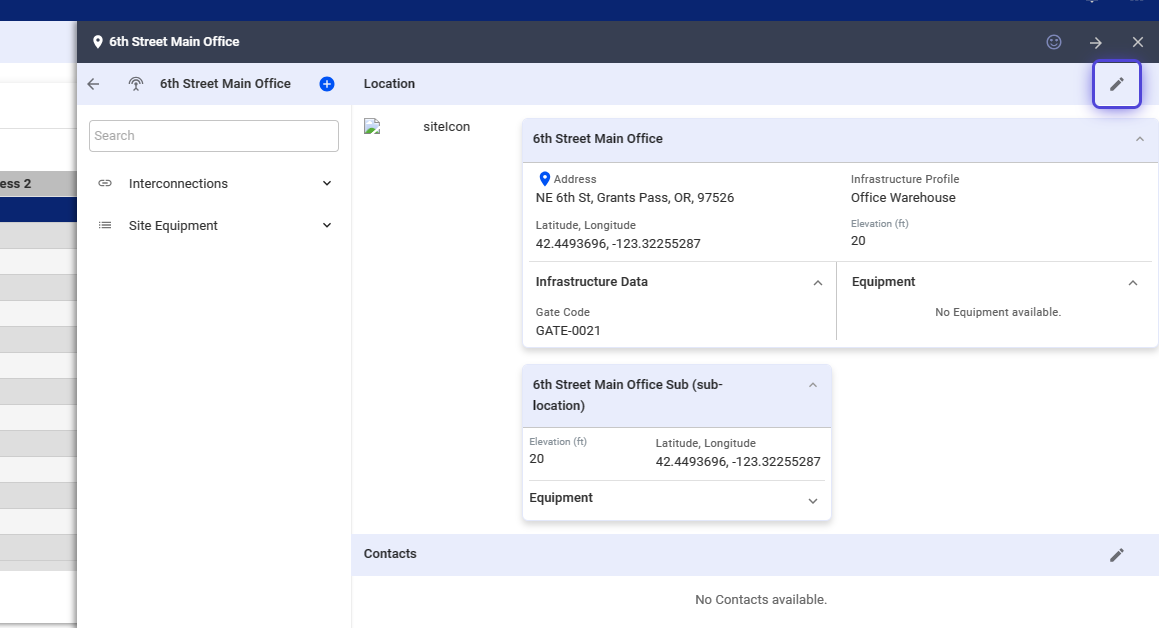
32. Click on the Sub-Location

33. Click on the Name field and modify the name.
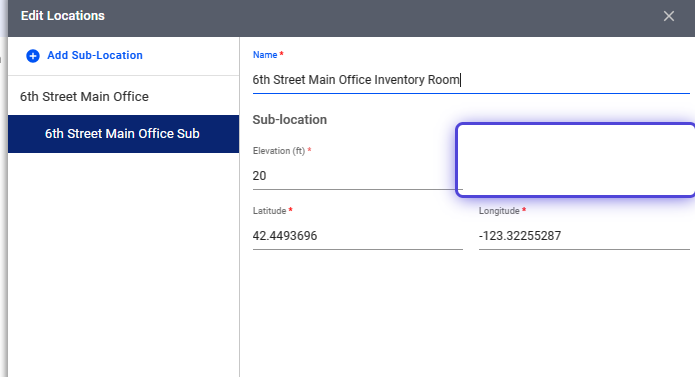
34. Click on Save
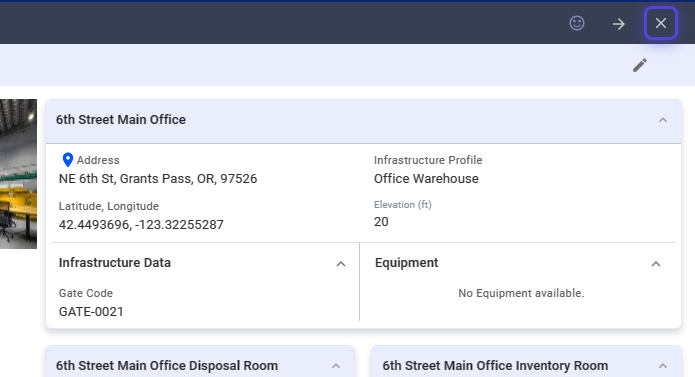
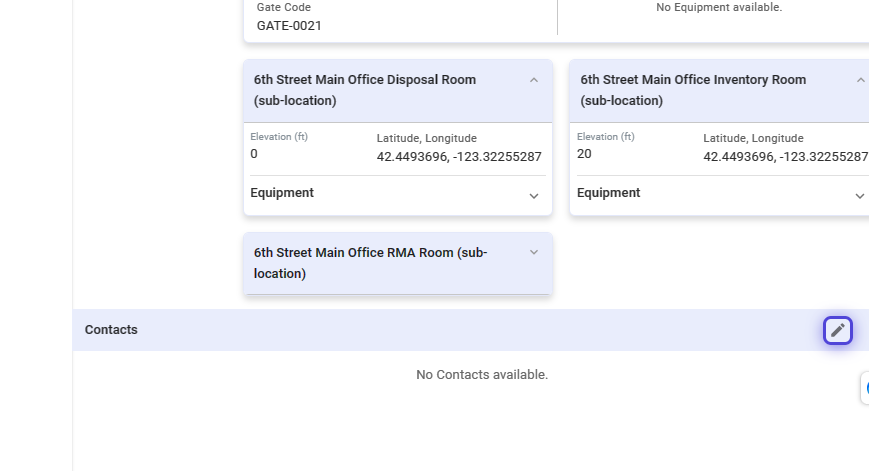
In this example, an Inventory Room is added in the Warehouse infrastructure.
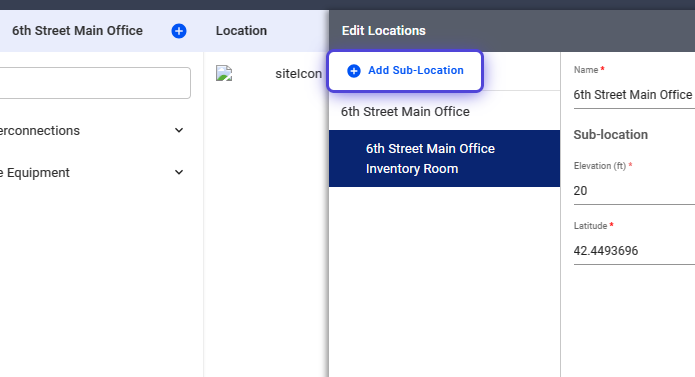
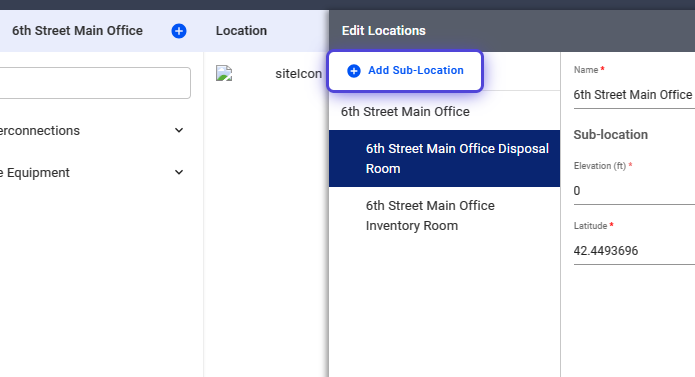
35. Click on Add Sub-Location
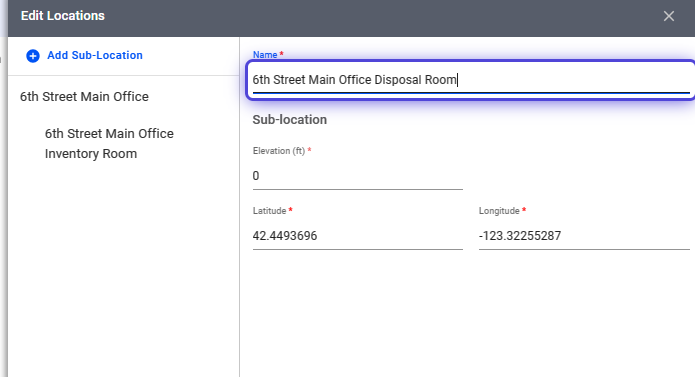
36. Input the Name.
In this example, a Disposal Room is added.
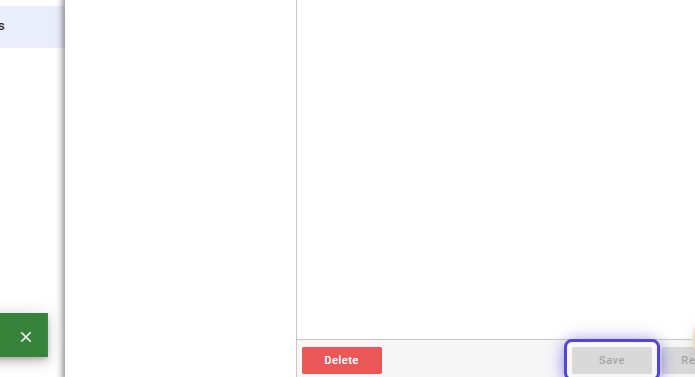
37. Save your work when done.
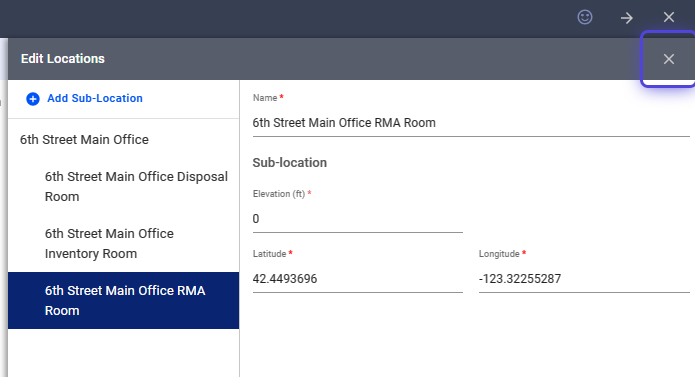
38. Click on Add Sub-Location

39. Input the Name
In this example, an RMA Room is added.
40. Click on Save
41. Click on the X icon to close the panel.
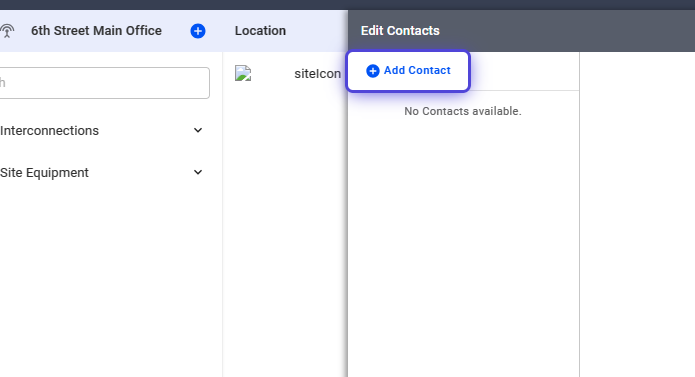
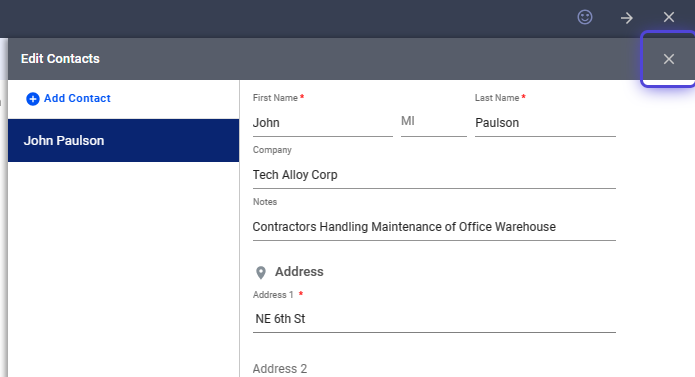
42. Click the pencil icon in the Contacts field.

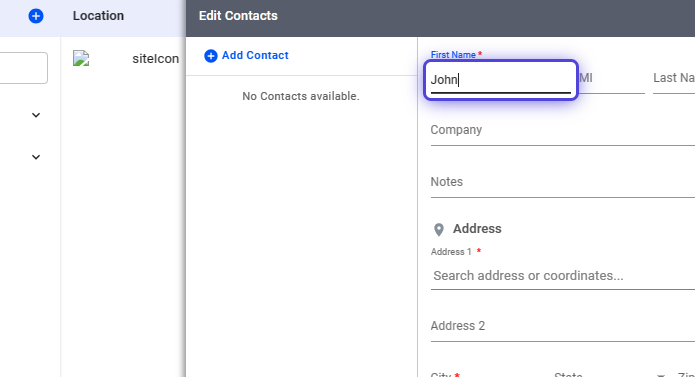
43. Click on Add Contact
44. Input the First Name
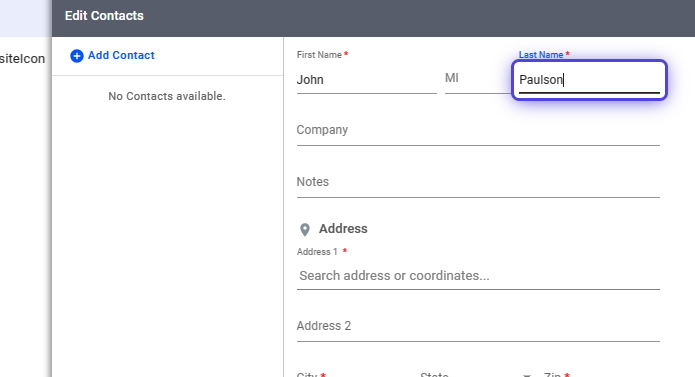
45. Input the Last Name
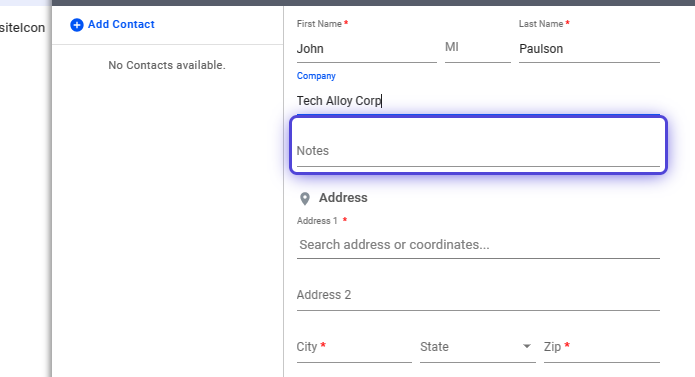
46. Input the Company and Notes
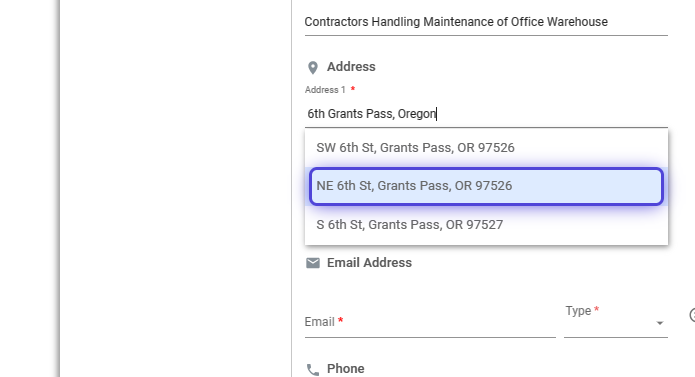
47. Click on the Address 1 field.
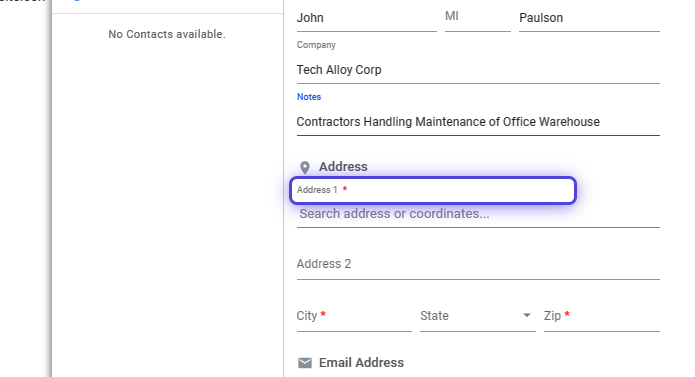
48. Use the auto-suggest to select a valid location.
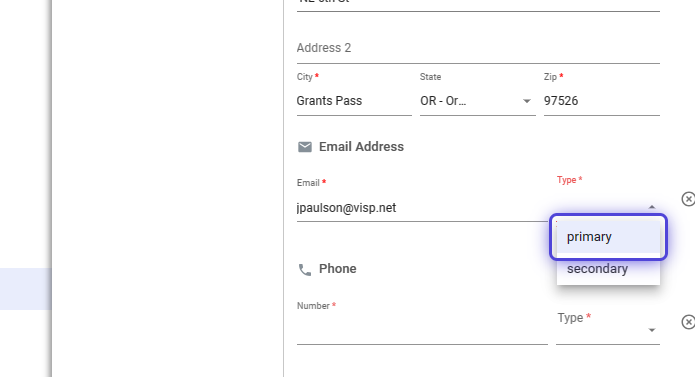
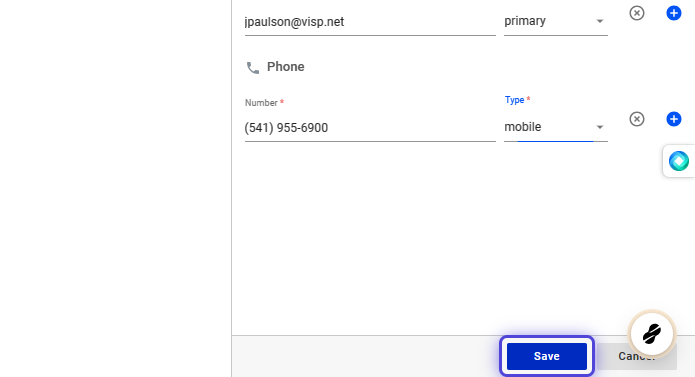
49. Input the Email address.
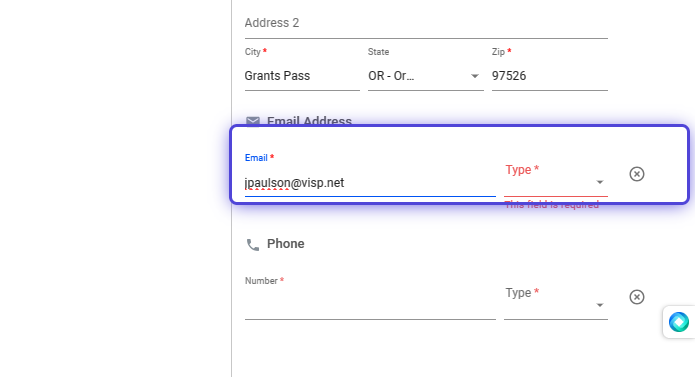
50. Click on the Type
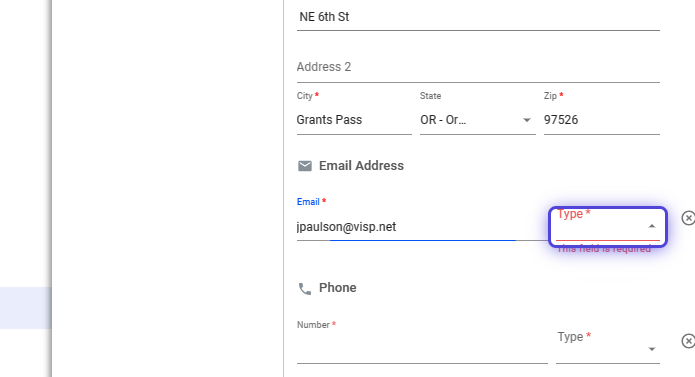
51. Use the dropdown to select Primary.
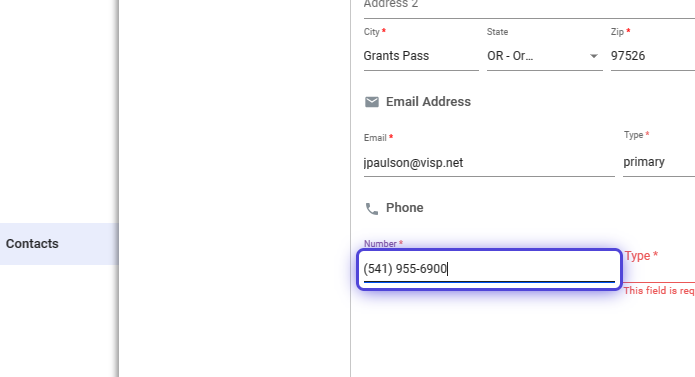
52. Input the Phone Number
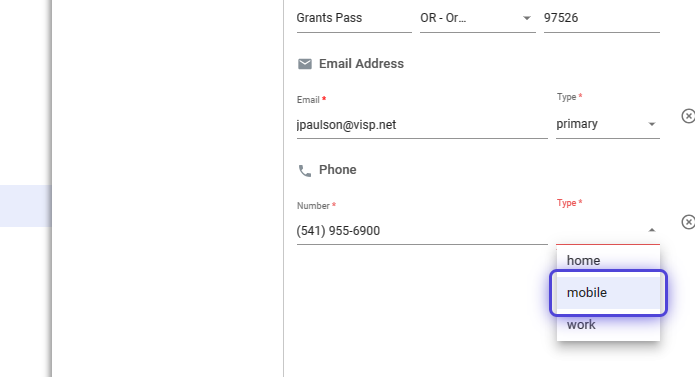
53. Click on the Type field.
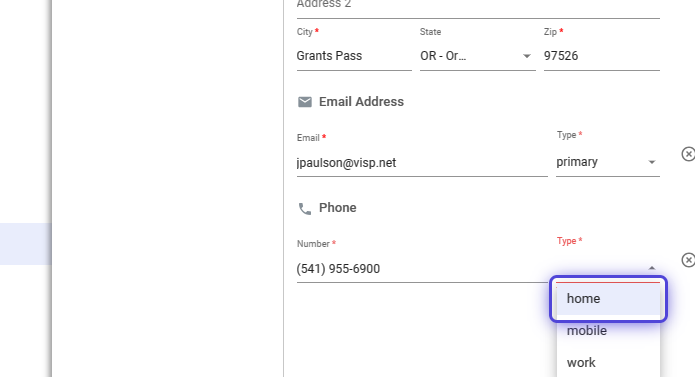
54. Use the Type dropdown to select mobile.
Note, that the customer can use either of the phone types listed.
55. Click on Save
56. Click on the X icon to close the panel.
57. Click on highlight
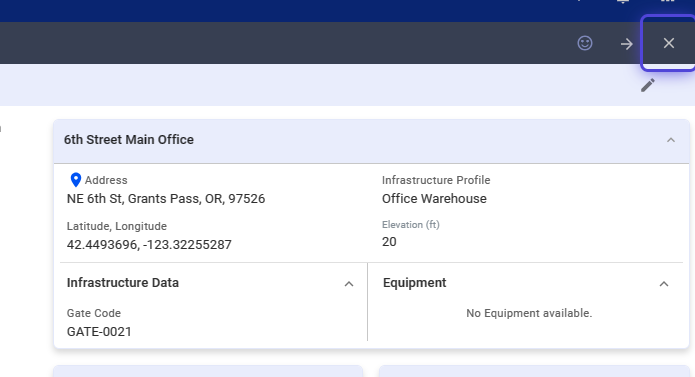
58. Click on Warehouse, in the Infrastructure Locations panel

59. Click and verify that the Warehouse is successfully added.
60. Click on the X icon to close the Warehouse panel.