

Steps to Enter your FCC Registration Number and Toggle the ACP Option
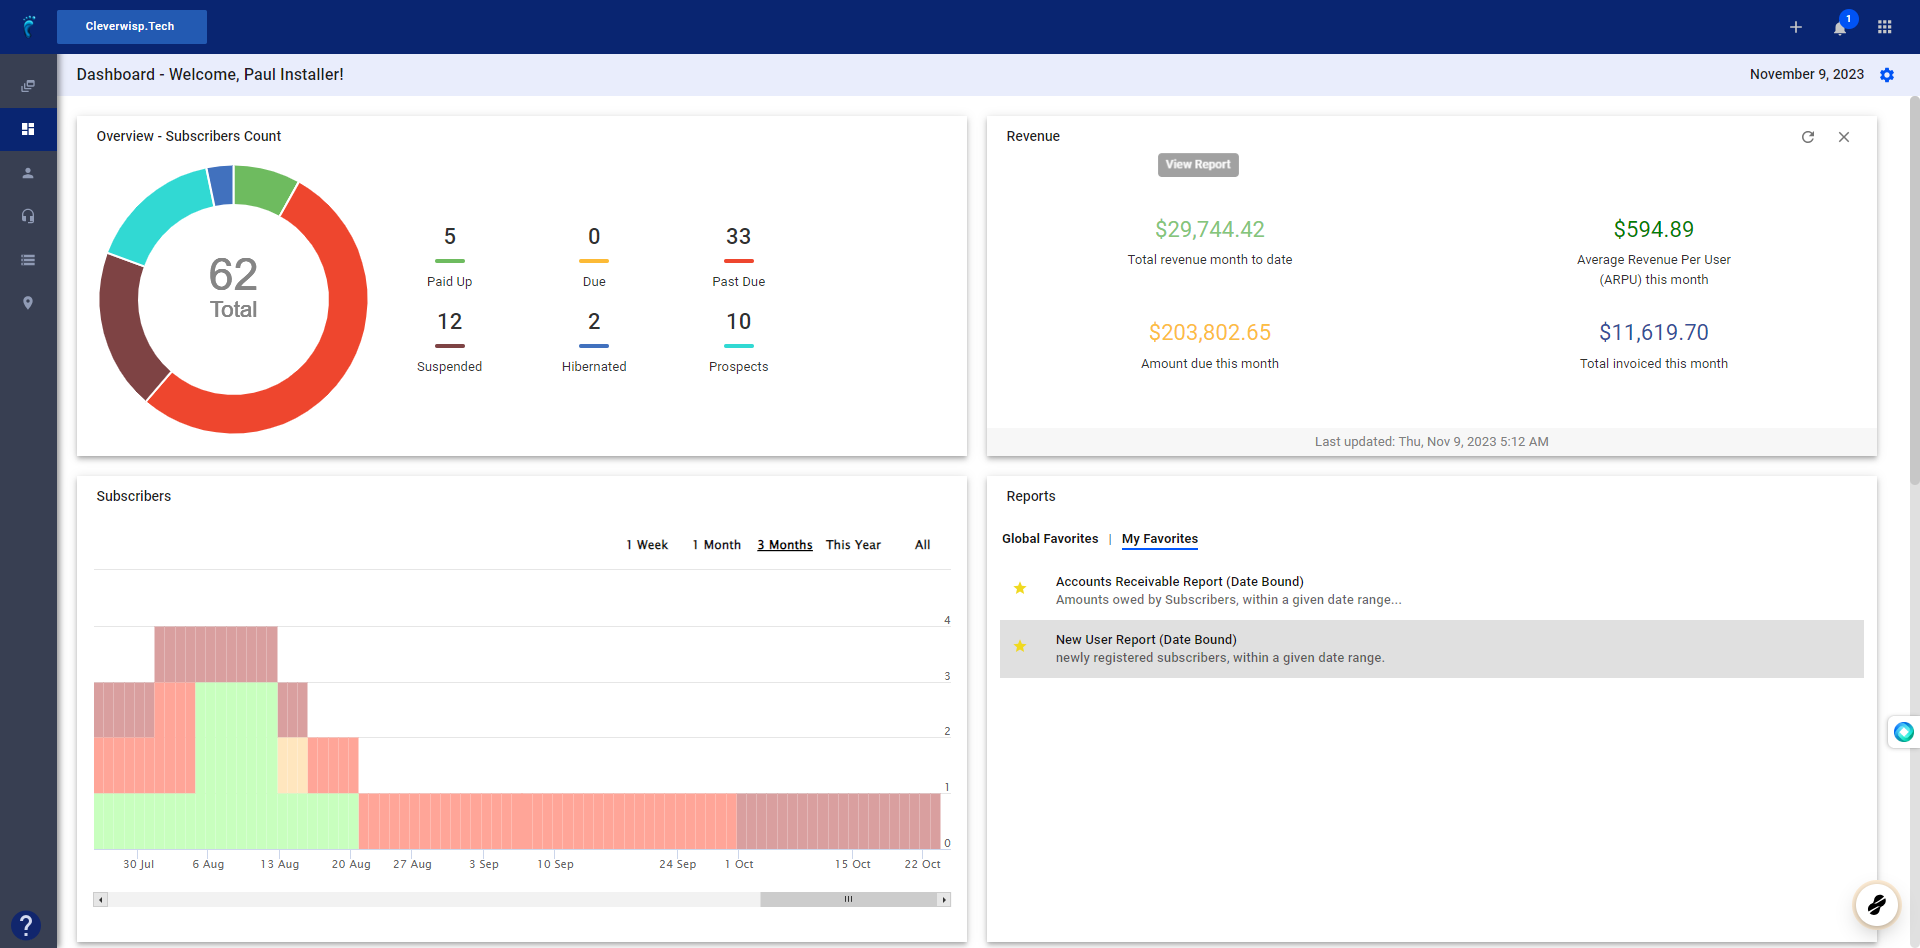
1. Open the Visp Web App
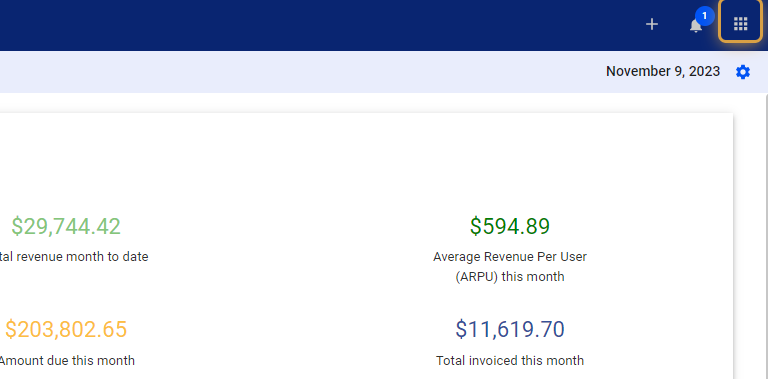
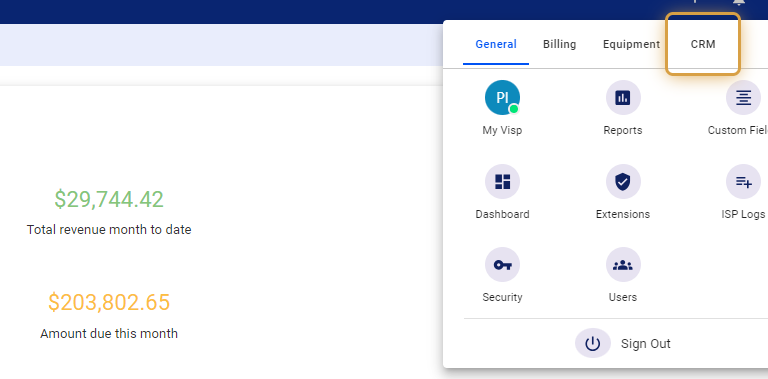
2. Click the nine-dot menu in the upper right corner to open the VISP Admin Page.
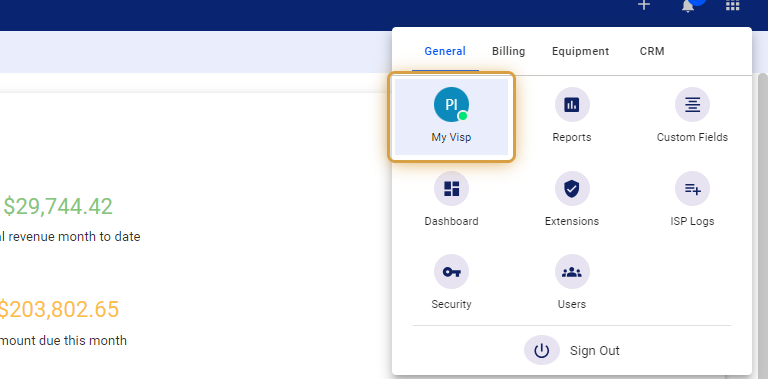
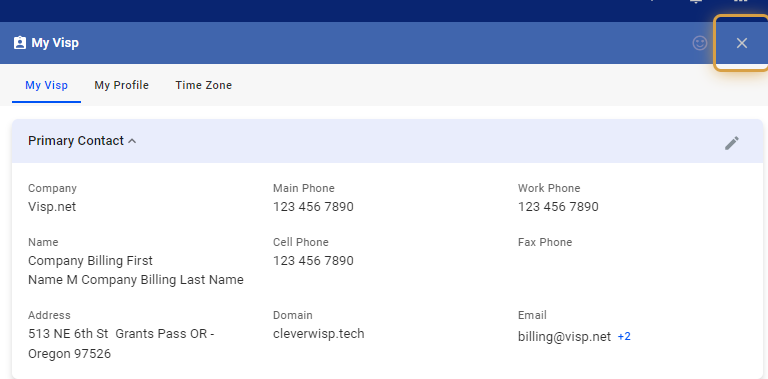
3. On the General tab, select “My Visp”
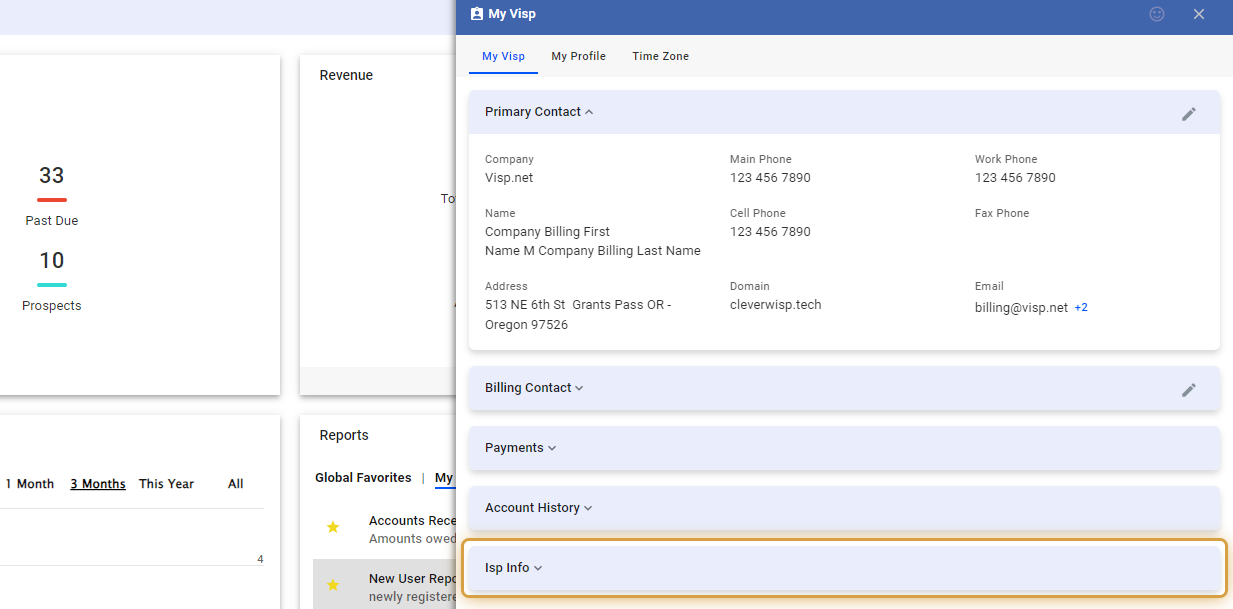
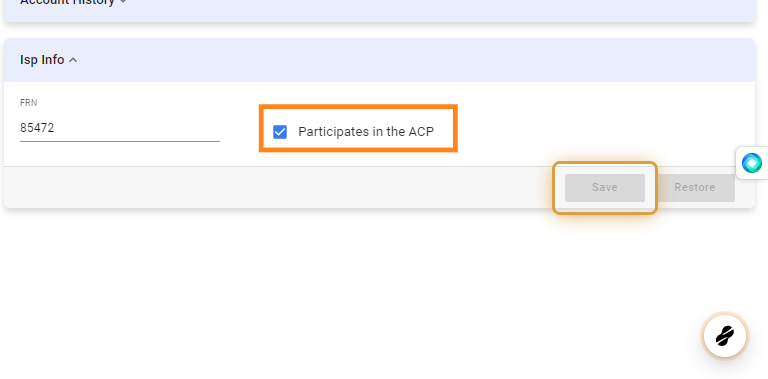
5. Input your FCC Registration Number

6. Enable the option, “Participate in the ACP,” if you are a participant of the program.

7. Save your work when done.
8. Click on the X icon to close the panel.
Enable the Nutrition Labels
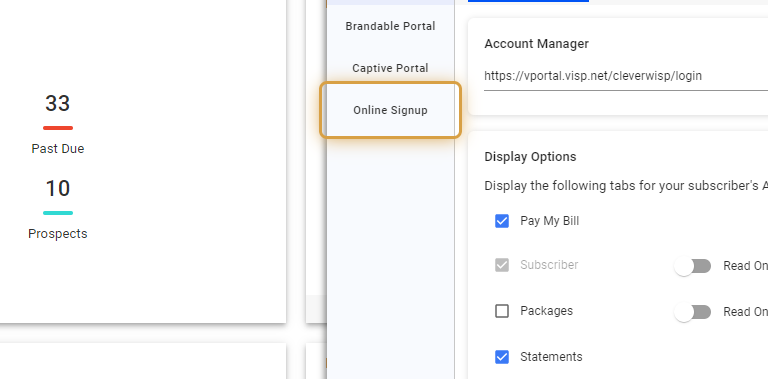
9. Click the nine-dot menu in the upper right corner to open the VISP Admin Page.

10. Click on CRM
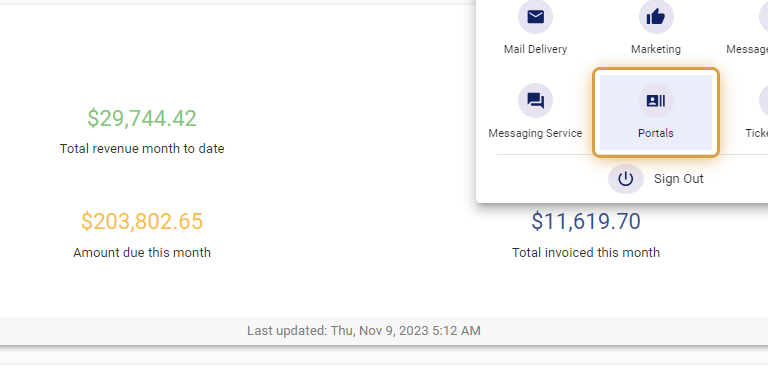
11. Select Portals
12. Click on Online Signup
13. Toggle or Enable the “Show FCC Nutrition labels.” option.
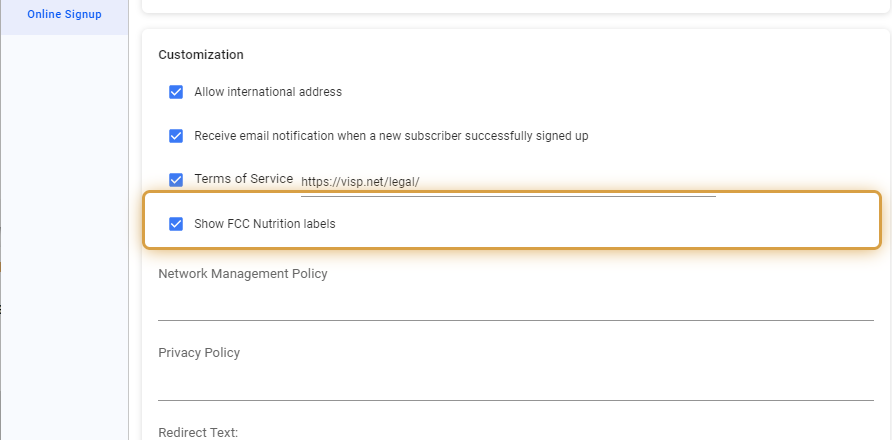
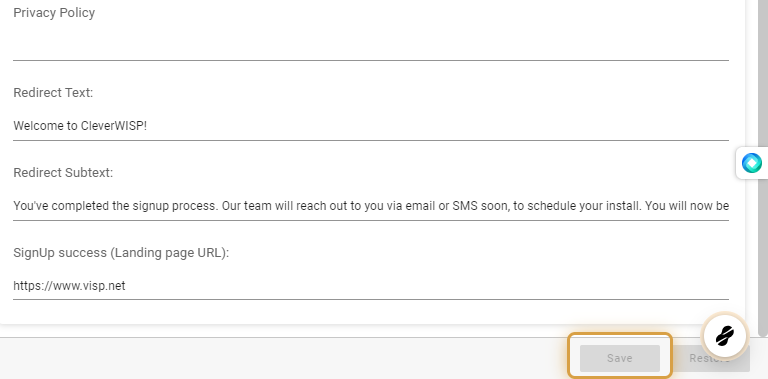
14. Save your changes.
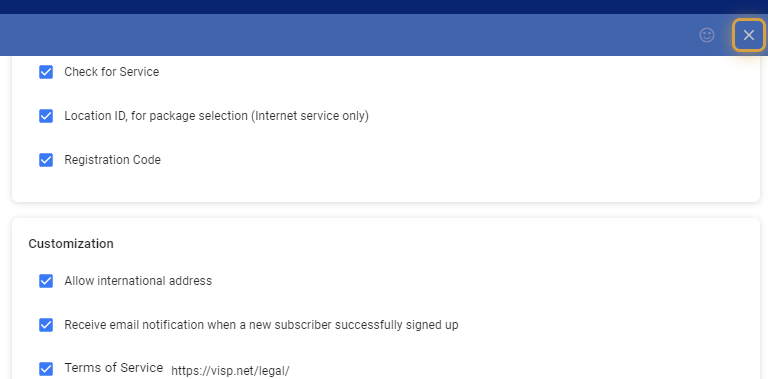
15. Click on the X icon to close the panel.
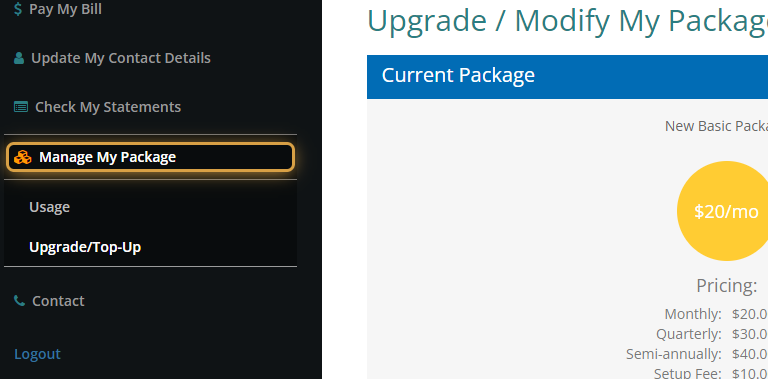
Verify Nutrition Labels and Unique Identifier for Packages via the Account Manager
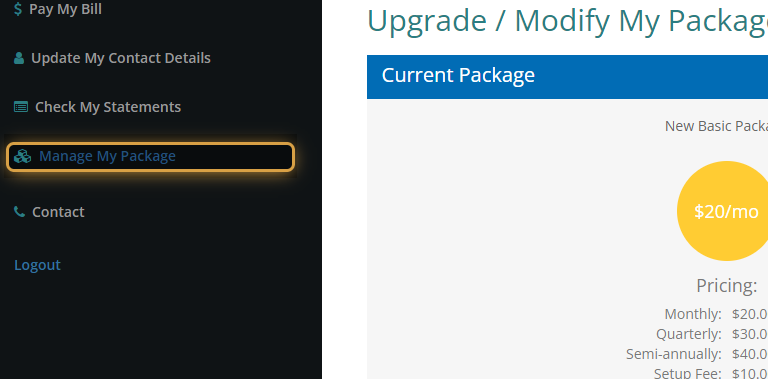
16. Login to the Account Manager as a Customer
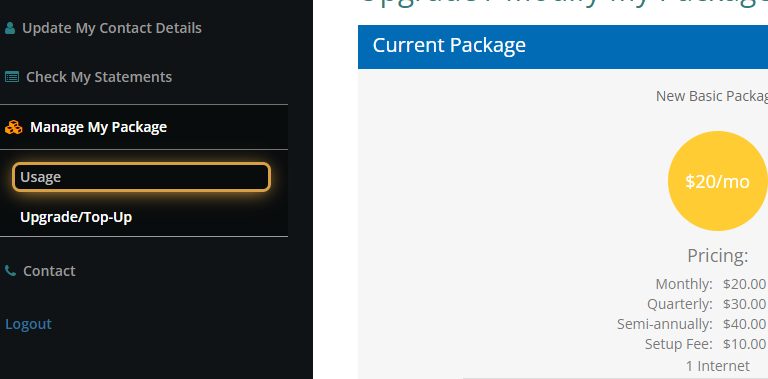
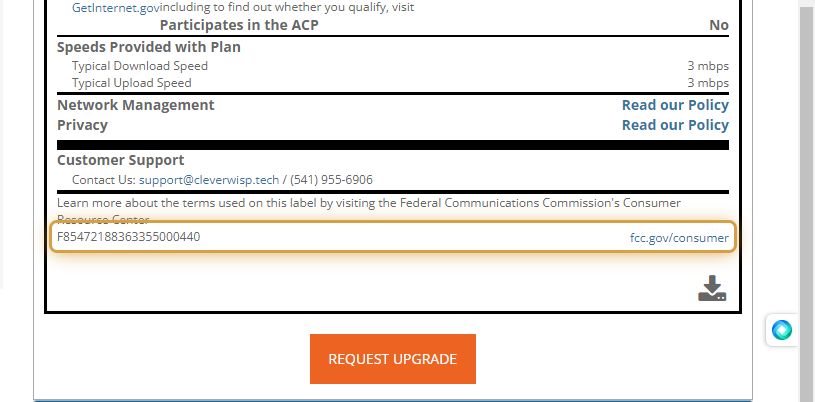
18. Click on “Usage,” to view Nutrition Labels for the Current Package
19. Click on Upgrade/Top-Up
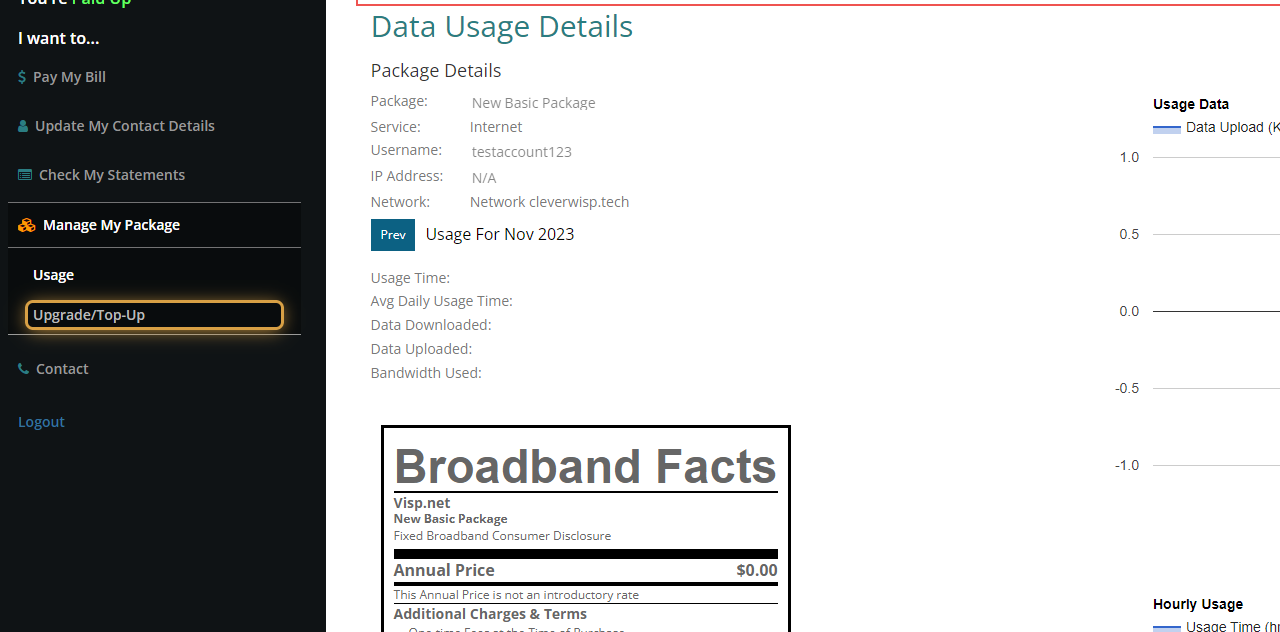
20. See the FCC Unique Identifier for the Packages / Plans
Verify the Nutrition Labels and Unique Identifier
21. Go to the Portal Signup Page
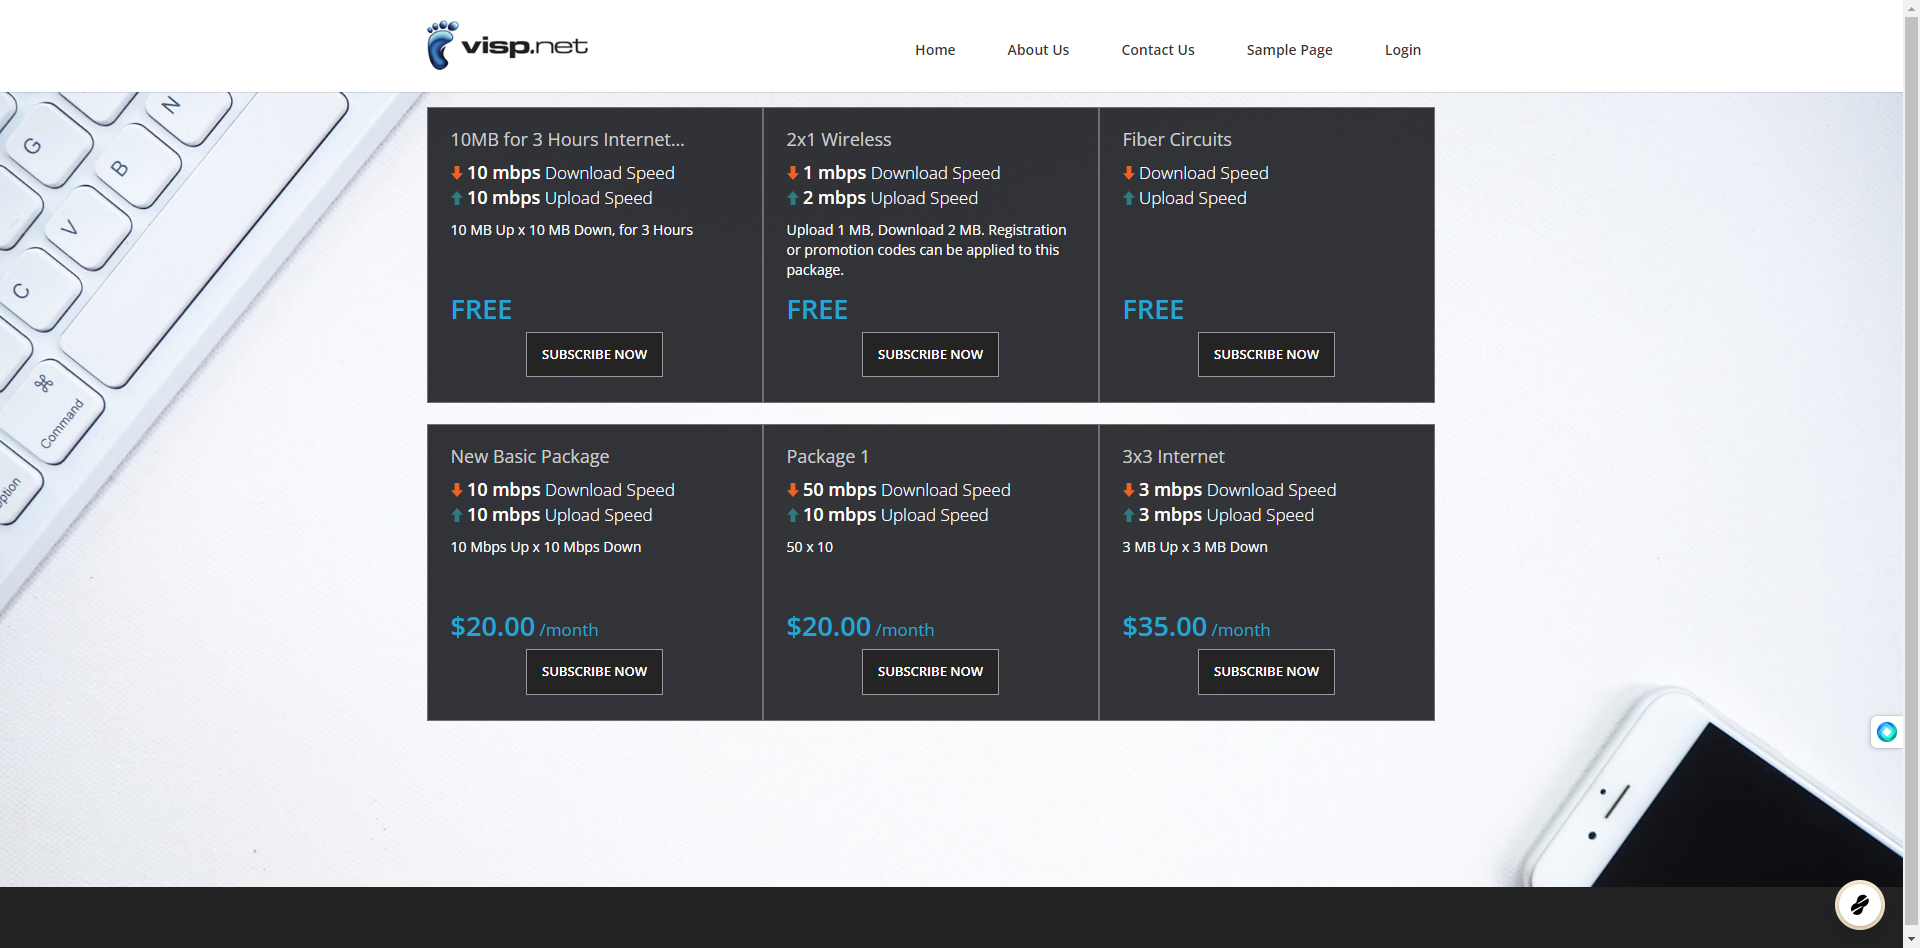
22. Click on “Subscribe Now” to open the Package

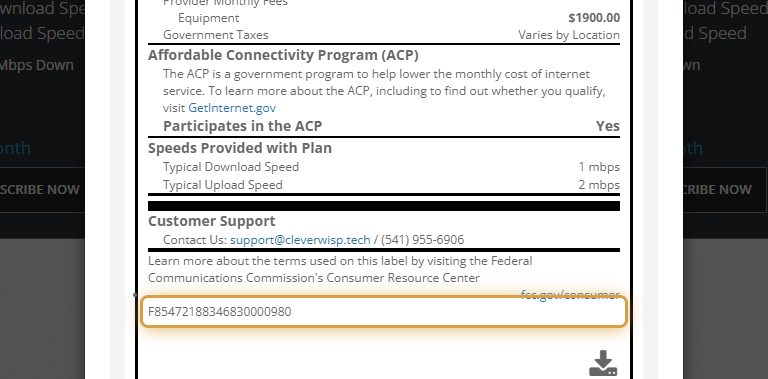
23. View the Nutrition Labels
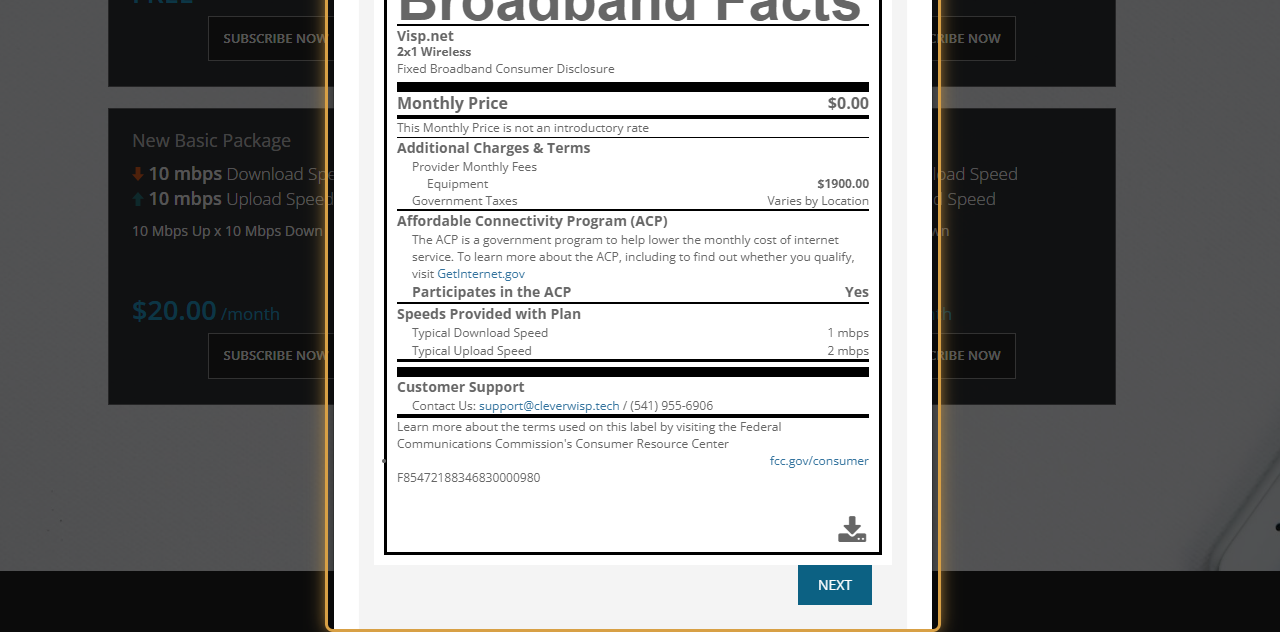
24. See the Unique ID for the Package.
💡 For more information about this and all other features in Visp, reach out to your Visp Client Success Team today.
Phone: 541-955-6900Email: success@visp.net
Open a ticket via www.visp.net/ticket