

Adding infrastructure locations to Visp provides a comprehensive view of your network, from the physical locations of your towers and warehouses to the deployment of equipment at customer sites. This information is essential for effective network planning, equipment management, customer service, billing, and overall business operations.
💡 What is an Infrastructure Profile and Why They Are Essential?
Infrastructure profiles act as blueprints or templates that define the features and capabilities of different infrastructure types. They are essential for Visp to understand and interact with each location. Here’s why they’re needed:
1. Classification and Organization:
-
- Standardization: Profiles ensure consistency in categorizing various types of infrastructure (towers, sites, warehouses, etc.), making it easier to manage and search for specific locations within the software.
- Data Integrity: Defining the expected metadata fields for each profile ensures that the information for each location is relevant and complete. This improves data accuracy and makes it more reliable for decision-making.
2. Functionality and Features:
-
- Tailored User Experience: Profiles enable unique features and functions for different types of infrastructure. For instance, a tower profile might include signal analysis and coverage mapping, while a warehouse profile might focus on inventory management.
- Customizable Metadata: You can customize the metadata fields in each profile to capture the most relevant information for that type of infrastructure. This lets you track the details most important to your business.
- Streamlined Workflows: By creating a profile with the required information, adding new locations becomes simpler. Users will know exactly what information to provide, reducing errors and saving time.
3. Compatibility and Integration:
-
- Integrations: Profiles ensure that the data you enter is compatible with Visp’s different extensions and functions. For instance, if you’re using a network monitoring tool, the tower profile ensures the software can correctly interpret the tower’s location and specifications.
Third-Party Integration: If you integrate your billing software with other systems (like Preseem or Cambium QoE), profiles help ensure smooth data exchange and compatibility.
- Integrations: Profiles ensure that the data you enter is compatible with Visp’s different extensions and functions. For instance, if you’re using a network monitoring tool, the tower profile ensures the software can correctly interpret the tower’s location and specifications.
4. Reporting and Analysis:
-
- Granular Insights: Profiles enable you to generate reports and analysis specific to each type of infrastructure. This allows you to track key metrics, identify trends, and make data-driven decisions to optimize your network and operations.
How to Create an Infrastructure Profile?
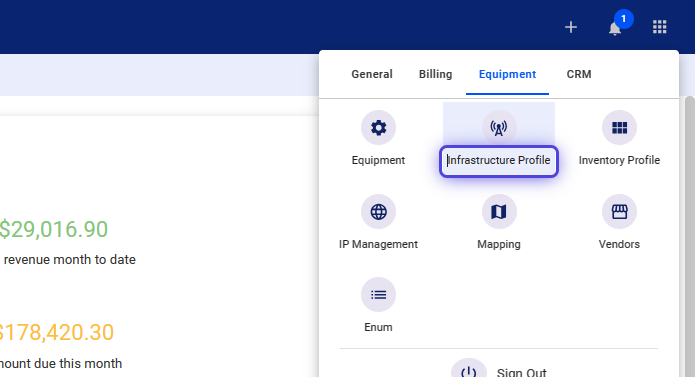
1. Click the nine-dot menu in the upper right corner to open the Visp Admin Page.
Go to the Equipment tab, and select Infrastructure Profile .
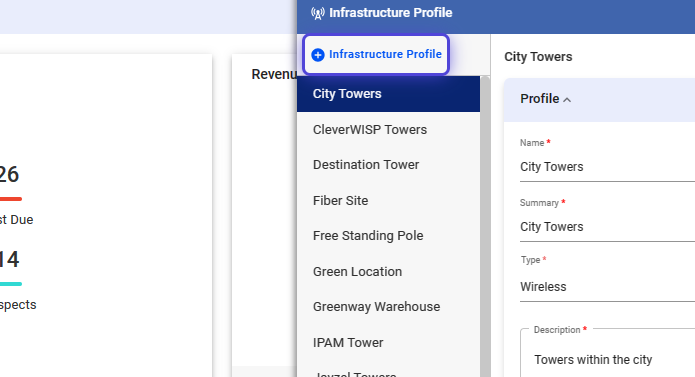
2. Click on Infrastructure Profile
An Infrastructure Profile is only a framework or blueprint with pre-designed metadata fields for filling in custom and relevant information about specific sites, towers, or warehouses.
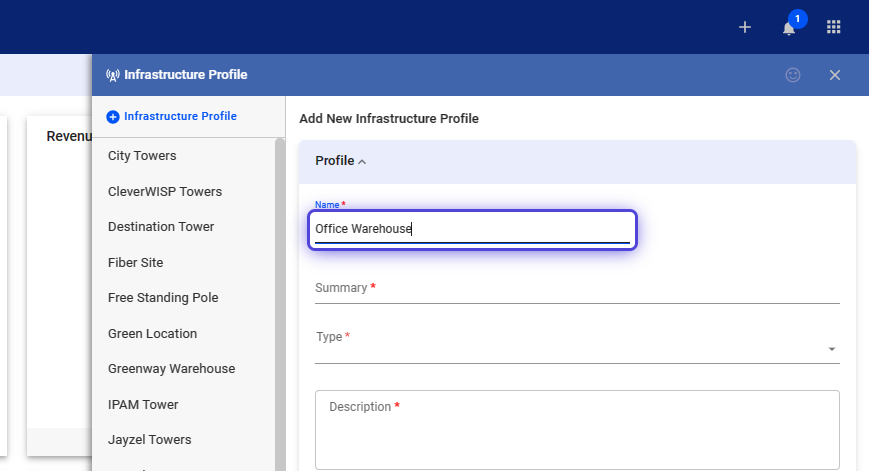
3. Next, add required Profile information.
Add the Name and a Summary of the Infrastructure.
Use the dropdown and select the Type .
The options available are DOCSIS, DSL, Fiber, Other, Vehicle, Warehouses, and Wireless (Sites/Towers).
It is recommended that a wireless type be added for tower sites and a warehouse type for storage locations for subscriber-type devices.
Add a brief Description.
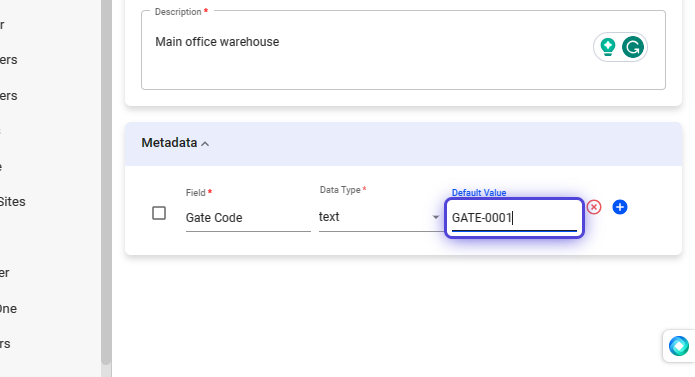
4. Add Metadata
What is metadata?
The metadata section allows you to input additional information to the equipment’s profile. This metadata provides details and context about the equipment itself, making it easier to manage, track, and understand within the system.
Field: The “field” is the label or name you give to a specific piece of metadata. It describes what the data represents. For example, fields might include:
- Frequency
- Antenna Gain
- Location
Data Type: The “data type” defines the information that can be entered into that field. Here’s how the data types you mentioned relate to equipment metadata:
Example:
- Text
- Any combination of letters, numbers, symbols, spaces
- Example: Model, Serial Number, Firmware Version, Notes, Description, MAC Address
- Numeric
- Numbers with decimal points or fractional values
- Frequency (e.g., 2.4 GHz or 5 GHz), Transmit Power (dBm), Receive Sensitivity (dBm), Latitude, Longitude
- Integer
- Whole numbers (no decimals)
- Number of Ethernet ports, Number of Antennas, VLAN ID, Channel Number
- Boolean
- A logical value that is either true or false
- GPS Enabled (Yes/No), PoE Supported (Yes/No), Outdoor Rated (Yes/No), 24V Enabled (Yes/No)
How this Works in Practice (Equipment Profile Example)
Let’s say you’re creating a profile for a Ubiquiti Rocket M5 access point:
- Field: Number of Ethernet Ports
- Data Type: Integer
- Example Value: 2
Save your changes.
How to Add a Warehouse in Infrastructure Locations?
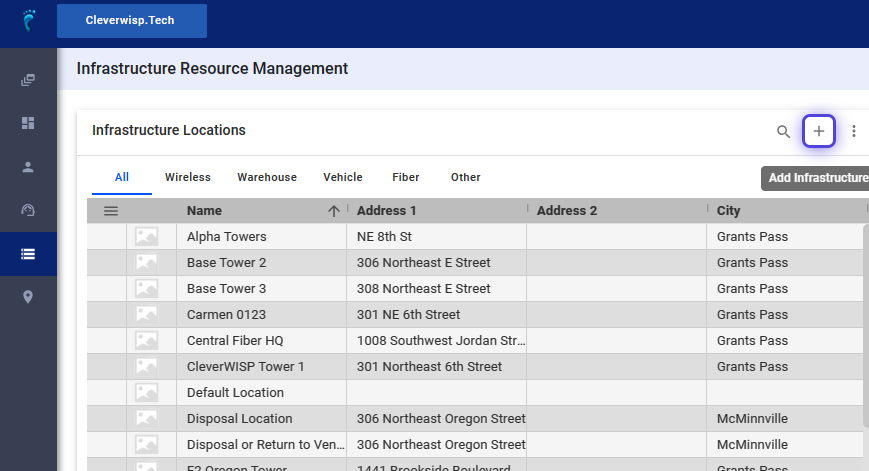
5. Open the IRM
Click on the plus sign on the upper-right corner, to Add an Infrastructure Location.
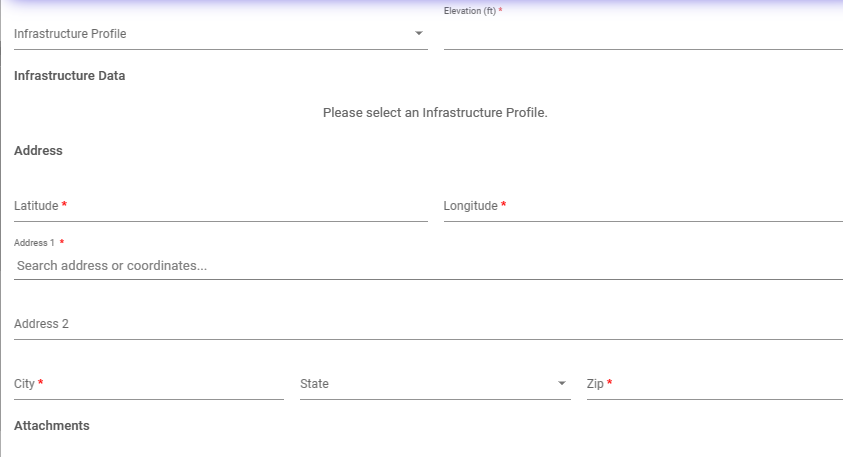
6. Fill out the necessary fields.
- Name: Provide a clear and descriptive name for the location (e.g., “Tower A,” “Main Office,” “Warehouse 1”).
- Infrastructure Profile: Select the appropriate profile that you previously created. This defines the type of infrastructure (tower, warehouse, etc.) and its associated metadata fields.
- Elevation (ft): Enter the elevation of the location in feet. This information can be important for signal propagation calculations.
- Infrastructure Data: Fill in the metadata fields that appear based on the selected profile. These fields may vary depending on the type of infrastructure.
- Address:
- Address 1: Enter the address of the infrastructure location.
- Address 2 (optional): Enter additional address details (e.g., suite number).
- City: Enter the city name.
- State: Select the state or province.
- Zip Code: Enter the postal code.
- Note: If the Address 1 field does not provide a valid location, you can use the infrastructure’s coordinates as an alternative. If the address is valid, click the icon next to Latitude/Longitude to automatically populate these fields based on the address or vice versa.
- Attachments: Click the Add Attachment button and select the file(s) you want to upload.
- Save your changes when done.
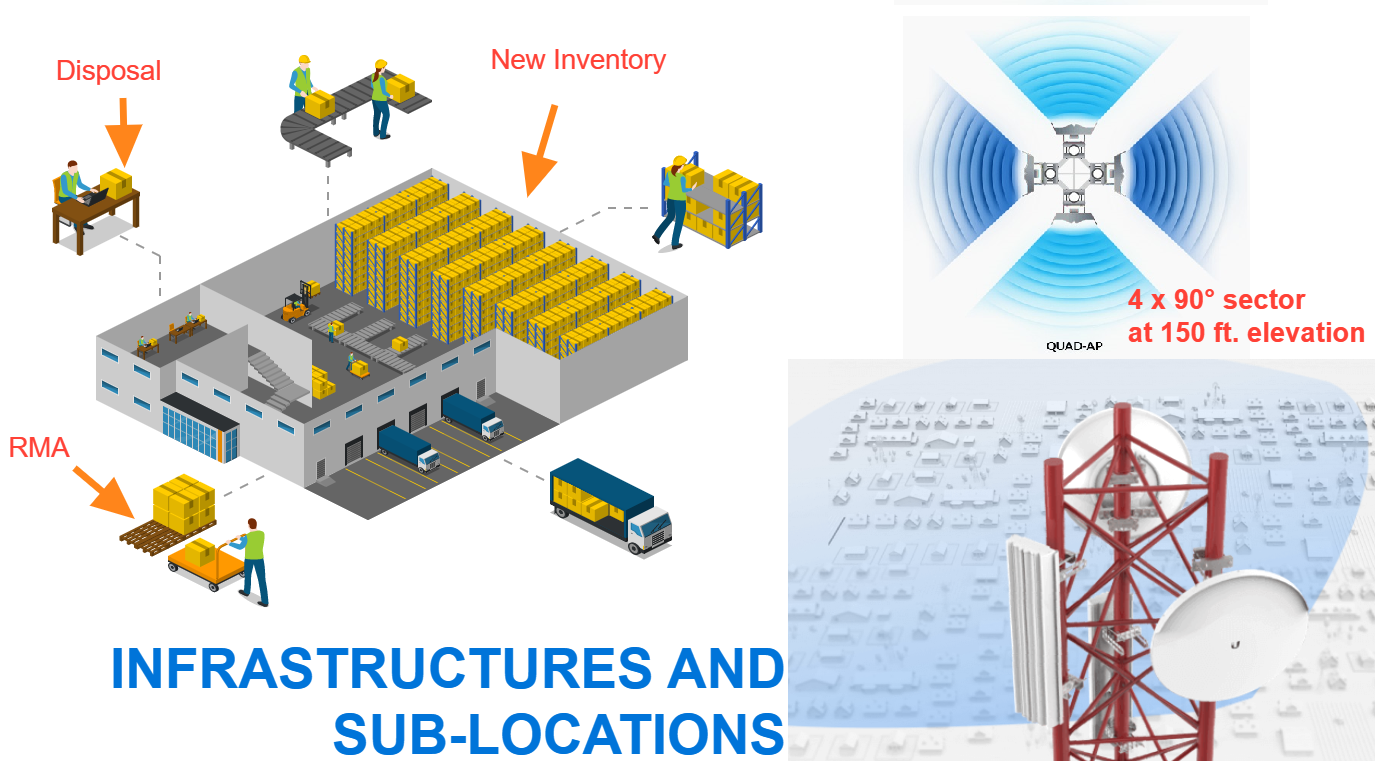
How to Add Sub-Locations or Rooms in Your Warehouse?
7. What are sub-locations?
Sub-locations provide a way to organize and track specific areas or rooms within a larger infrastructure location. This is especially useful for detailed inventory management and troubleshooting.
Within an Internet Service Provider (ISP), sub-locations can include network operation centers (NOCs), data exchange points, fiber optic distribution points, and equipment rooms.
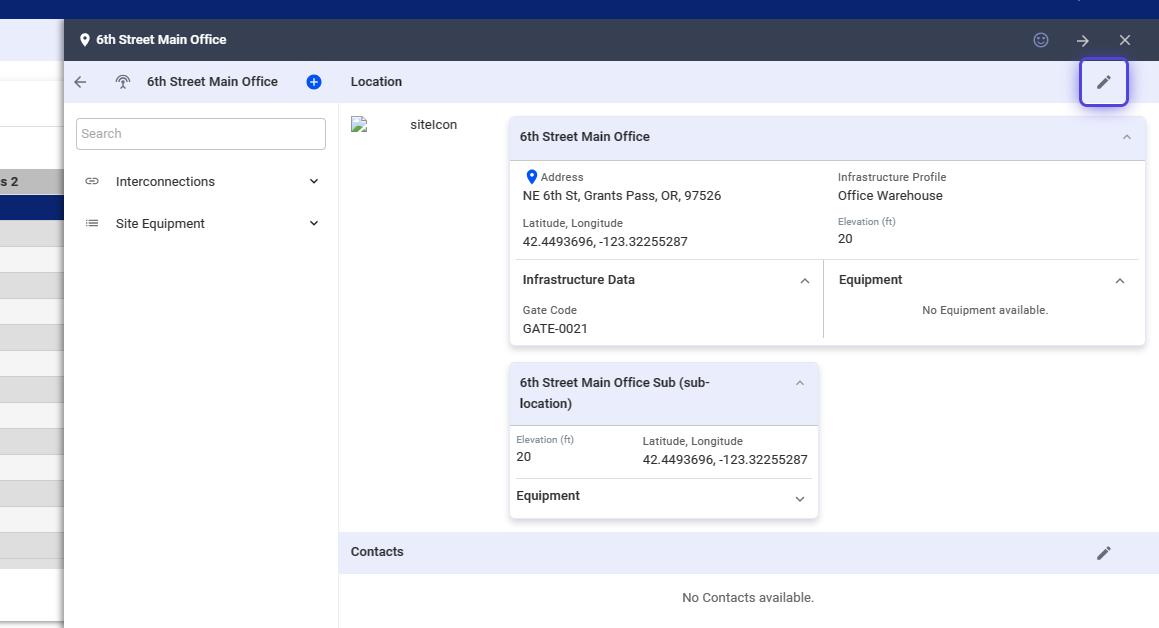
8. Select a specific Infrastructure-type/category.
Click on the Infrastructure you want to open or edit, from the list.
9. Click on the pencil icon from the upper-right corner, to edit.
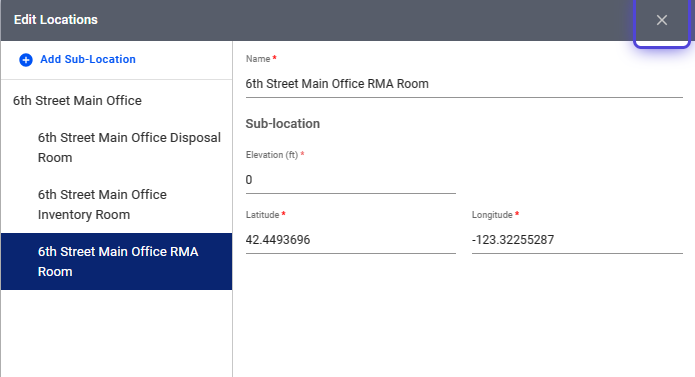
10. Add a new sub-location, or select one from the list.
- In the “Name” field, enter a descriptive name for the sub-location.
- IMPORTANT: To avoid confusion and ensure clarity, include the name of the main location in the sub-location name.
- For example, if your main location is “Tower A” and the sub-location is a storage room, you could name it “Tower A – Storage Room.”
- Elevation: Enter the elevation of the sub-location in feet. This might be the same as the main location’s elevation, or it could differ if the sub-location is on a different level or sector of the tower.
- Latitude and Longitude: If you know these coordinates, you can enter them manually or use the Mapping tool to determine them accurately.
Save your changes when done.
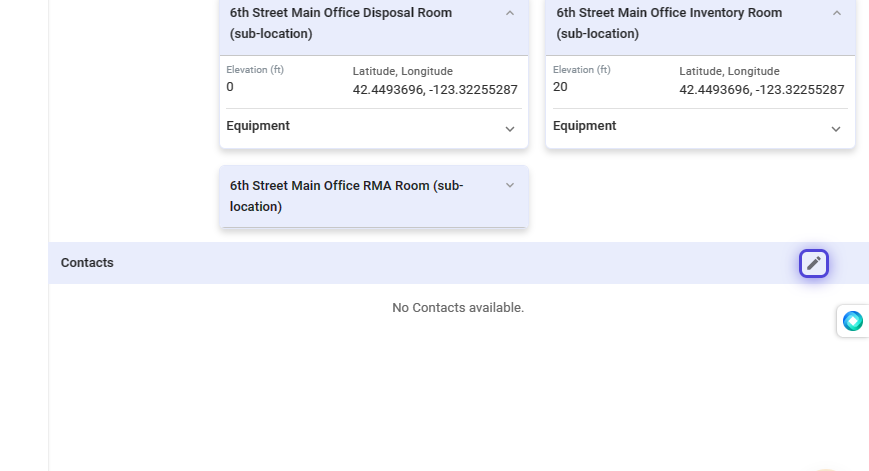
Add Contacts Information to Your Infrastructure
11. In your Infrastructure page, you’ll find a section for Contacts.
Why Contact Information Matters for Infrastructure Locations?
Maintaining accurate and up-to-date contact information for each infrastructure location is crucial for several reasons:
1. Emergency Response:
- In case of a network outage or equipment failure at a particular location, having the right contact information ensures you can quickly reach the responsible person for troubleshooting or repairs.
- This minimizes downtime and ensures your customers experience minimal disruption to their internet service.
2. Lease Management and Payments:
- If you’re leasing a tower or other infrastructure, having the landlord or property manager’s contact details allows you to easily communicate regarding lease renewals, payments, or any maintenance issues.
- This helps maintain a good relationship with the property owner and avoids potential disputes or delays.
3. Maintenance and Coordination:
- If you have technicians assigned to specific locations, storing their contact information allows you to quickly assign tasks, schedule maintenance visits, or request updates on ongoing work.
- This streamlines communication and ensures everyone is on the same page regarding the status of your infrastructure.
4. Security and Access:
- Having the appropriate contact information enables you to reach the right person to grant access or address any issues in case of security concerns or the need for physical access to the location.
Who to Include as Contacts:
- Landlords/Property Owners: If the location is leased.
- Site Managers: If the location has a designated manager responsible for day-to-day operations.
- Technicians: If specific technicians are assigned to the location for maintenance or repairs.
- Emergency Contacts: Include after-hours contact information for critical situations.
Scroll to the bottom of the Infrastructure page and click on the “pencil icon” in the upper-right corner of the section.
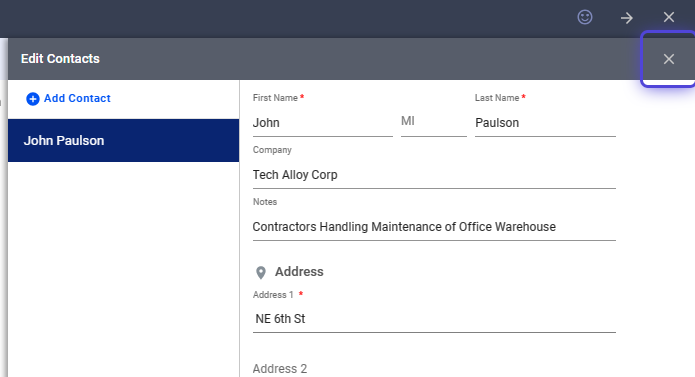
12. Add Contact Information
Note on Required Fields: Fields marked with a red asterisk (*) are mandatory and must be filled out before saving.
- Locate the “Add Contact” Button from the sidebar from the Contact page. It’s the blue “+” button with the label “Add Contact” beside it. Click on it to begin.
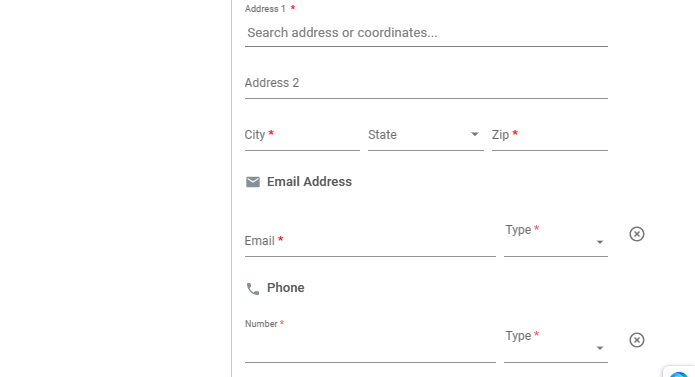
- Populate Required Fields:
- First Name: Enter the contact person’s first name.
- Middle Initial is optional.
- Last Name: Enter the contact person’s last name.
- Address 1: Start typing the address of the contact person. The software will auto-suggest addresses to help ensure accuracy. Select the correct address from the suggestions if it appears.
- City, State, Zip Code: These fields will automatically populate if you select an address from the auto-suggest. Otherwise, enter them manually.
- Additional Contact Details:
- Email: Enter the contact person’s email address. Select the type of email (Primary or Secondary) from the dropdown menu.
- Phone Number: Enter the contact person’s phone number. From the dropdown menu, choose the type of phone (Mobile, Work, Home).
- Saving the Contact Information:
- Review the information for accuracy once you’ve entered all the necessary details.
- Click the “Save” button to add the contact to the infrastructure location.
13. Click on the X icon to close the panel.
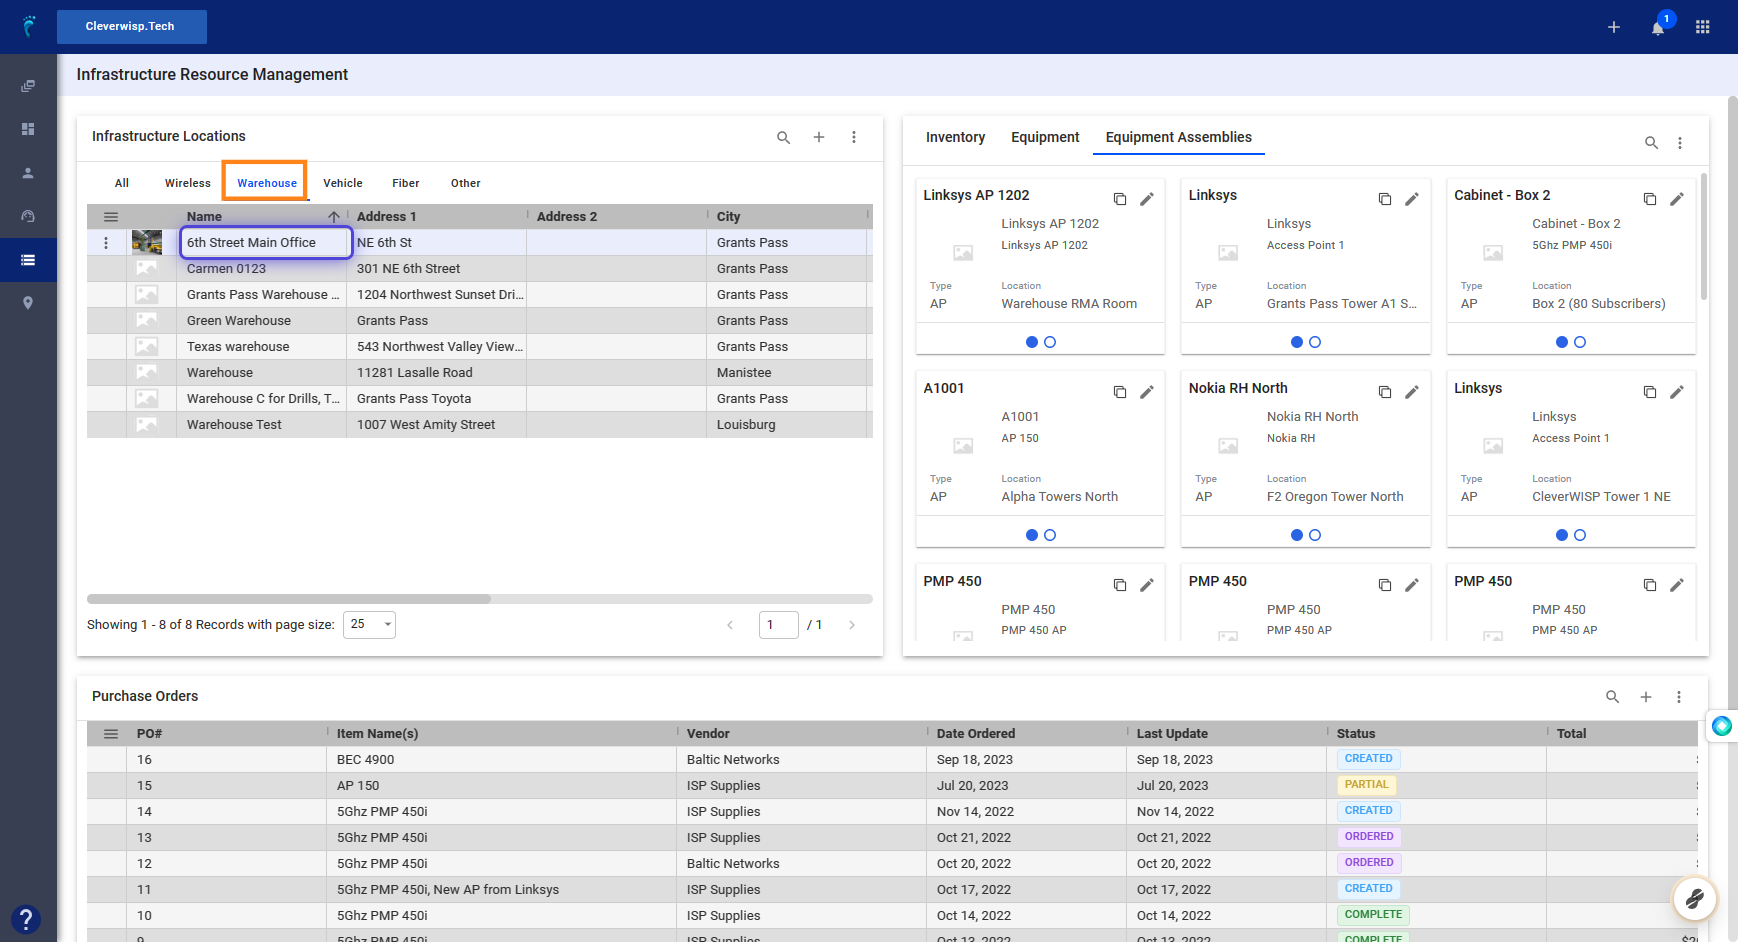
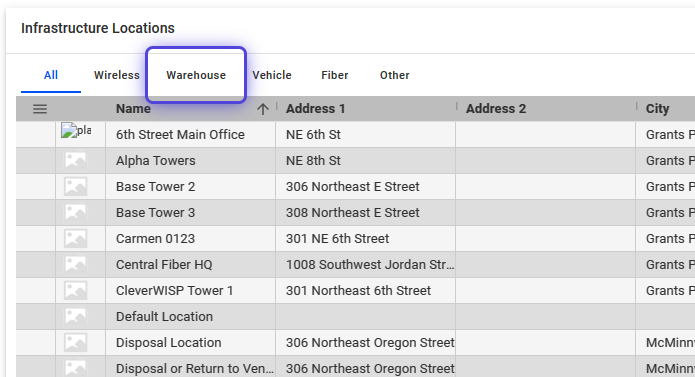
14. Click on Warehouse, in the Infrastructure Locations panel
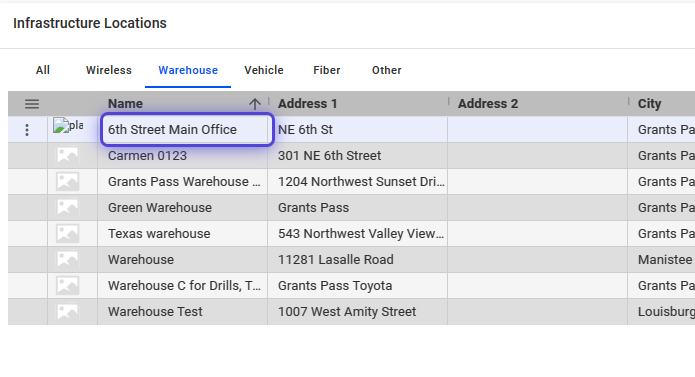
15. Click and verify that the Warehouse is successfully added.
💡 For more information about this and all other features in Visp, reach out to your Visp Client Success Team today.
Phone: 541-955-6900Email: success@visp.net
Open a ticket via www.visp.net/ticket