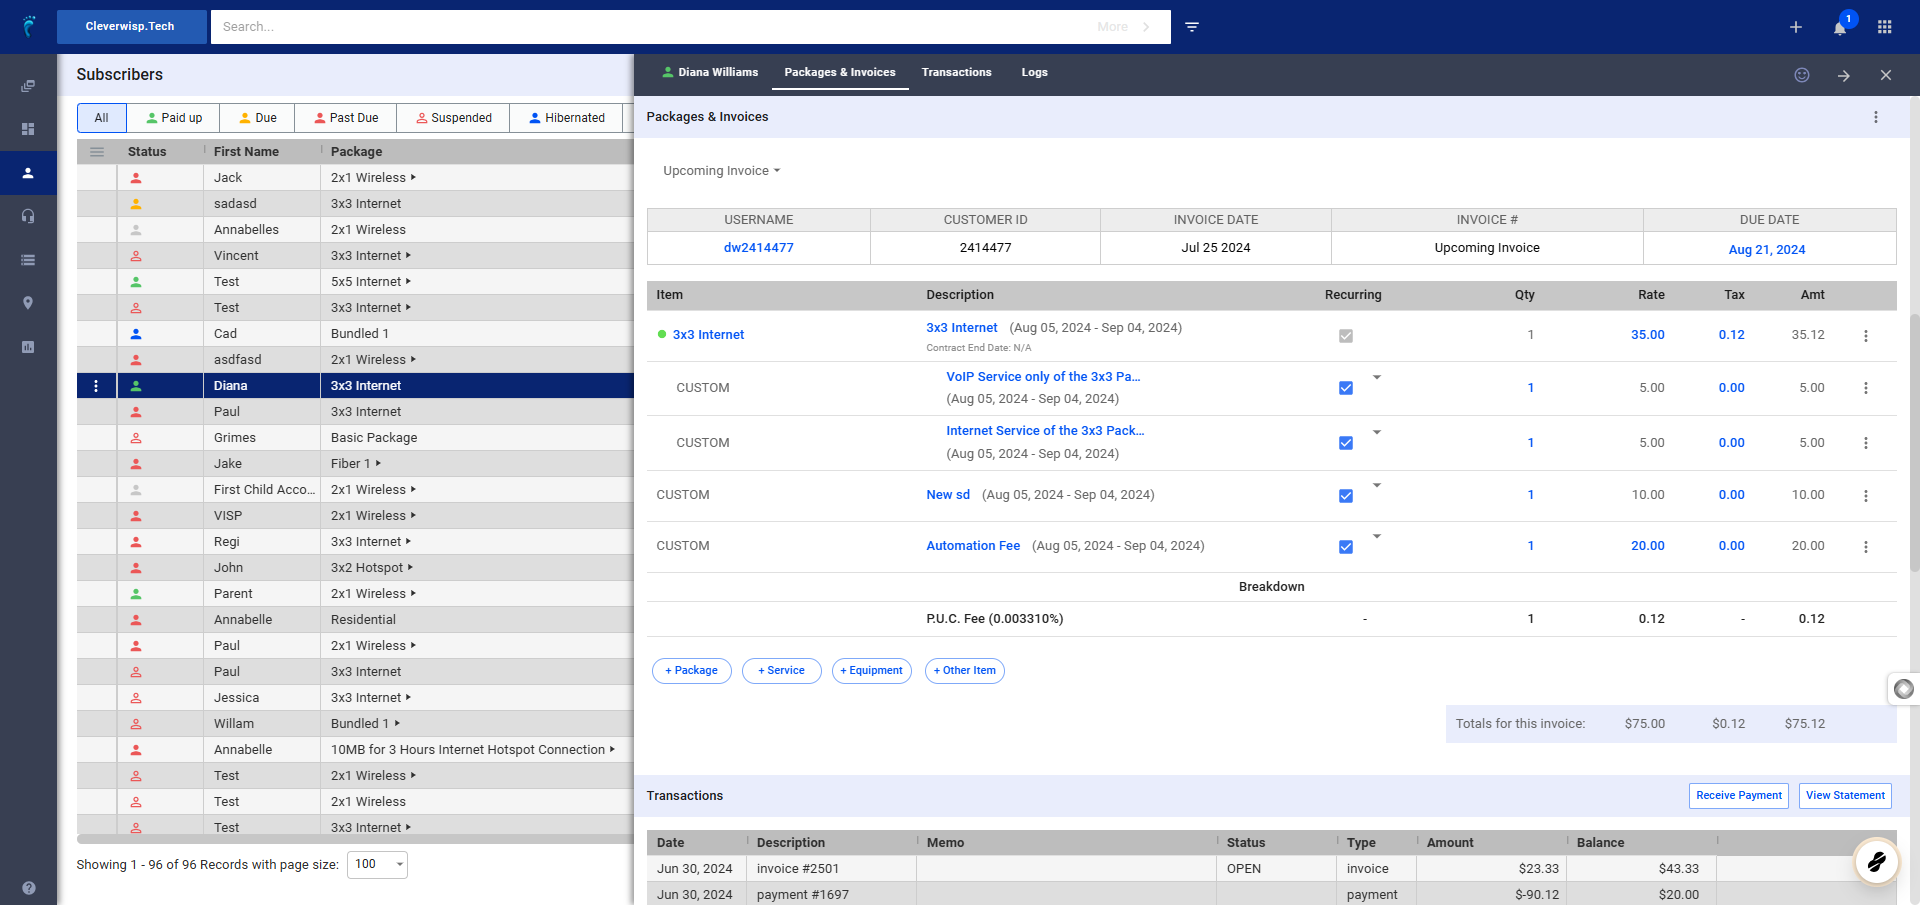
This guide outlines adding equipment charges to a customer’s invoice.
Prerequisites:
The equipment you want to charge for must be added to your Infrastructure Resource Management (IRM) system. This involves creating an inventory profile for the device and then adding the device to your inventory. (Refer to the separate video guide for detailed instructions on adding equipment to IRM.)
1. Access the Subscriber’s Account
Go to your subscribers list .
Select the subscriber you want to invoice.
2. Navigate to Invoices
- In the subscriber’s account, go to the Packages and Invoices section.
- Move to the right side of the section and click on the three dots.
- Select New Invoice.
3. Add Equipment
- In the new invoice window, click on the Plus Equipment (+ Equipment) button.
- If the equipment is listed: Select it from the list.
- If the equipment is NOT listed:
- Click Cancel on the pop-up window.
- Add the equipment to your IRM system first (refer to the prerequisite section above).
- Once added in IRM, return to the subscriber’s account and create a new invoice again. The equipment should now be available in the list.
4. Important Note about Equipment Location
- Remember that the equipment you’re adding to the invoice doesn’t have to be physically located in a warehouse. It can be at a wireless tower, site, or any other location.
5. Assign Equipment to Customer
- After selecting the equipment, click on the Add and Configure button. This assigns the selected device to the customer.
- Choose “Add to Invoice” if you’re selling the device to the customer and don’t need to configure it or save its information in their equipment section.
6. Invoice the Equipment
- In the equipment section of the invoice, click on the three dots under the equipment bar.
- Select Invoice .
- (The Invoice selection appears, unless you have already selected “Add to Invoice” in the earlier option.)
7. Configure Invoice Details
- Add a rate for the equipment if it’s not already populated.
- Add any necessary taxes.
- Set the line item as recurring or one-time:
- Check the recurring box for a recurring charge.
- Leave the box unchecked for a one-time charge.
- Save the Invoice
- Click on Save and Configure to save the changes.
8. Verify the Transaction
- Go back to the subscriber’s account.
- You should see a new invoice for the equipment under the Transactions section.
💡 For more information about this and all other features in Visp, reach out to your Visp Client Success Team today.
Phone: 541-955-6900Email: success@visp.net
Open a ticket via www.visp.net/ticket


