Documentation Series

Learn About VISP App Dashboard

Help Documentations / Automation Profile: Low Stock Notification or Reordering

Automation Profile: Low Stock Notification or Reordering

If you’re running low on certain equipment or devices, set up an automation profile to refill your stocks. This feature will either alert you when inventory drops below a certain level or it can automatically create a purchase order in Visp to the supplier. Follow these steps to add Low Stock Automation and activate it for your particular inventory profile.

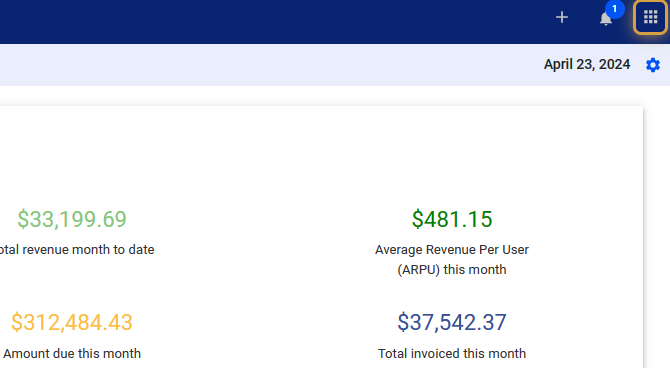
1. Click the nine-dot menu in the upper right corner to open the Visp Admin Page.

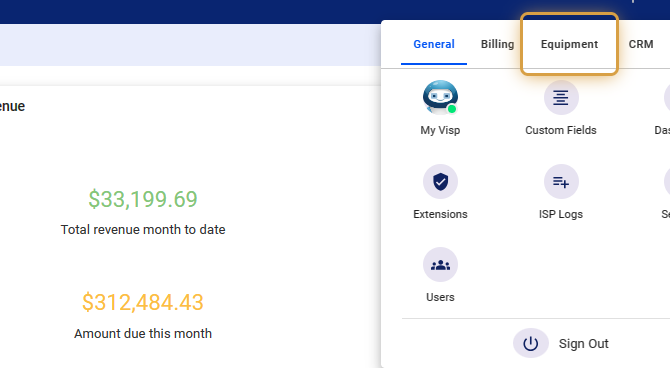
2. Click on Equipment

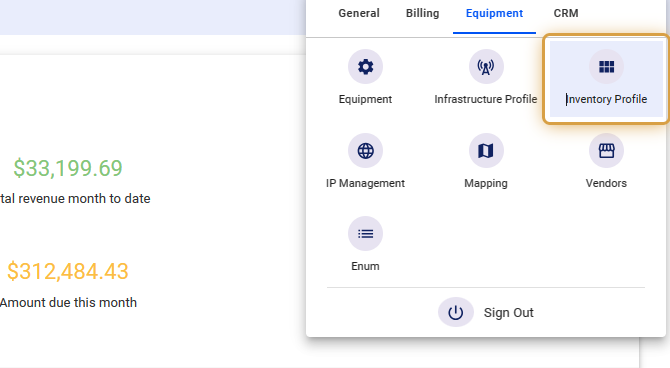
3. Select Inventory Profile

4. Click on the Automation Profile field.

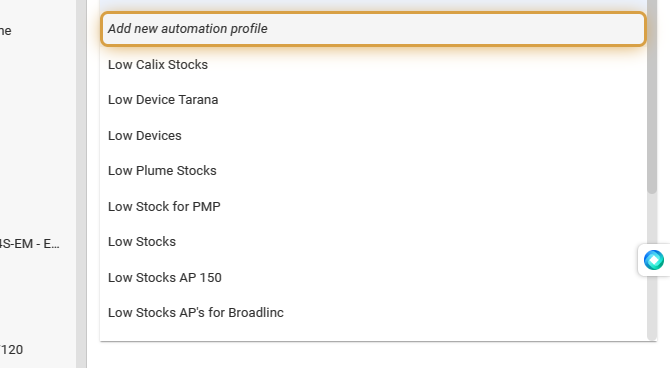
You can create a new Automation Profile or use an existing one from the list.

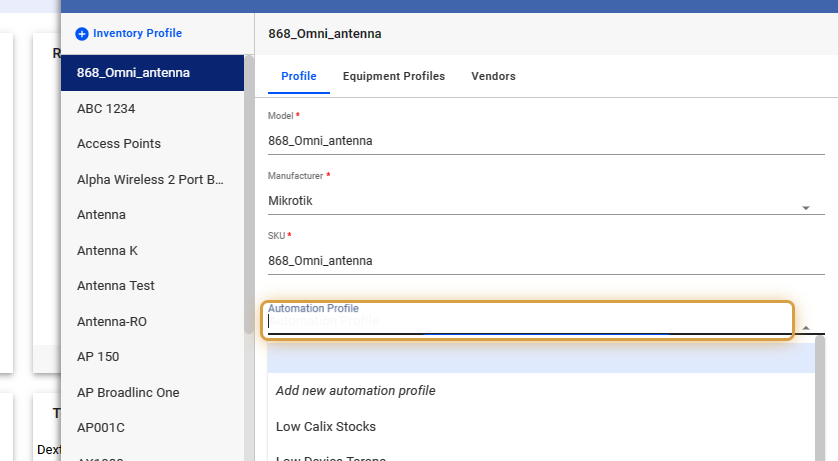
5. Click on “Add new automation profile.”

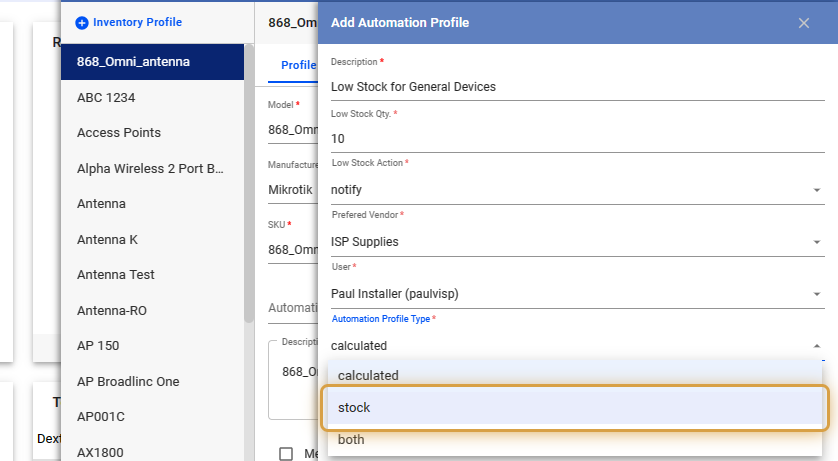
6. Add Automation Profile

Below, you’ll find various fields with short explanations for each. Choose the setup that suits your requirements, and contact your Visp Client Success team if you want assistance.

  1. Description
    – Input a brief description for the automation profile.
  2. Low Stock Qty.
    – Set the number or amount of an item in your inventory. If the inventory falls below a specific level, it can trigger an automated notification or reorder.
  3. Low Stock Action
    – Within the low stock settings, you can choose between prompting an automatic order or sending a notification.

    • Order
      – Selecting ‘Order’ will generate a purchase order in Visp to your preferred vendor.
    • Notify
      – The ‘Notify’ option will alert a specified user when stock levels are low.
  4. Preferred Vendor
    – You can assign a default vendor when automated orders are necessary due to low stock levels.
  5. User
    – Assign a User who will get notified when stocks run low.
  6. Automation Profile Type
    – You have three choices

    • Calculated
      – This triggers automatic reordering based on consumption patterns and lead times, but it’s not yet fully configured.
    • Stock
      – This relies on pre-set minimum inventory levels to initiate notification or restocking.
    • Both
      – Combines the two systems, using data analysis and established minimum levels as safeguards for low stocks.

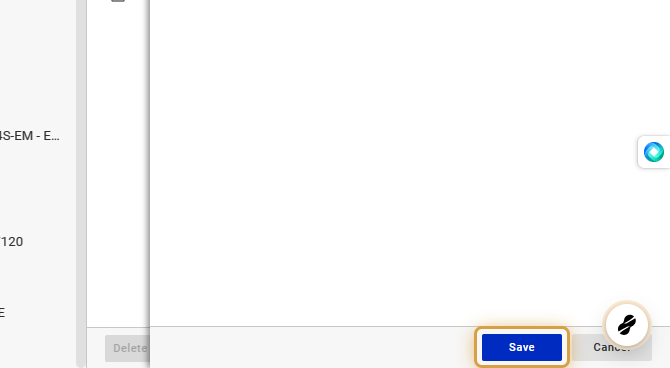
7. Save your work when done.

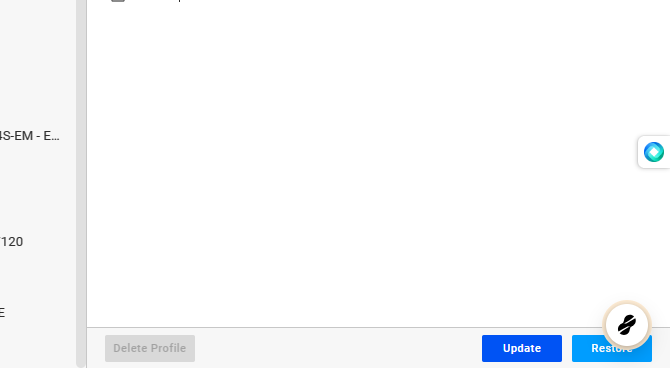
8. In your Inventory Profile section, click on Update to save your changes.

For more information about this and all other features in Visp, reach out to your Visp Client Success Team today.

Phone: 541-955-6900

Email:
success@visp.net

Open a ticket via
www.visp.net/ticket

Tags

low stock automation, low stocks

1. Allow Pre-signup Authentication

Let’s say you have a building that buys internet access from you that it supplies free and anonymously for all tenants. You earn revenue from the main connection but also when tenants upgrade to faster packages. Before, each of those tenants could not connect their…

2. Set-up SmartSession Authentication

VISP’s HyperRadius has many unique powerful features, one of which is SmartSession. SmartSession will allow you to make changes to your subscribers that are authenticated on Mikrotik devices, on the fly, including disconnects and package speed changes, right from…

3. Assigning a Static IP Address

When assigning static IP addresses through Visp.net, we recommend setting the IP into static if it is not included in the DHCP server’s address pool. Visp can’t tell Mikrotik which IP is not available for leases. When the static option is enabled, the RADIUS will…

4. Location ID

Setting up a location ID for your internet package allows you to: Restrict the location where the package is displayed on the signup page. Apply location-based authentications. Use the location ID of the customer’s subscribed package to filter the upgrade package list…

5. RADIUS Configuration

This section configures your Mikrotik router to communicate with the Visp.net HyperRADIUS servers. Critical Note: For the Multi-ISP setup, you must use these proxy servers: 52.37.68.81 and 52.11.17.135. Primary Click Radius (left) and click (+) symbol to add a radius…

6. Mikrotik DHCP Configuration

Client Isolation Recommendations AP’s should use Client-Isolation. This reduces load and improves reliability. Repeating broadcast messages between subscribers increases network load and can allow for rogue DHCP servers or other broadcast services to exist on the…

7. PPPoE Configuration

These instructions assume that you have a new Mikrotik with little to no existing configuration. It specifies certain IP ranges which are commonly used; however, you can replace the IP ranges referenced below with your own custom ranges if you wish. Likewise, if you…

8. Mikrotik Hotspot Configuration

Initial Setup If you’re using a new Mikrotik router, we recommend resetting the device to remove the preinstalled configuration as it contains settings you will probably not need. You may also need to upgrade your RouterOS to the latest stable version, from…

?