

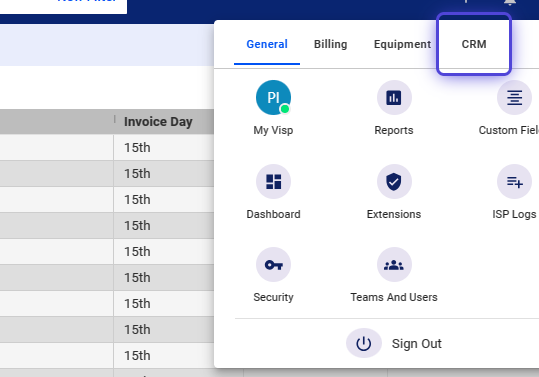
1. Click the nine-dot menu in the upper right corner to open the Visp Admin Page.
2. Click on General.
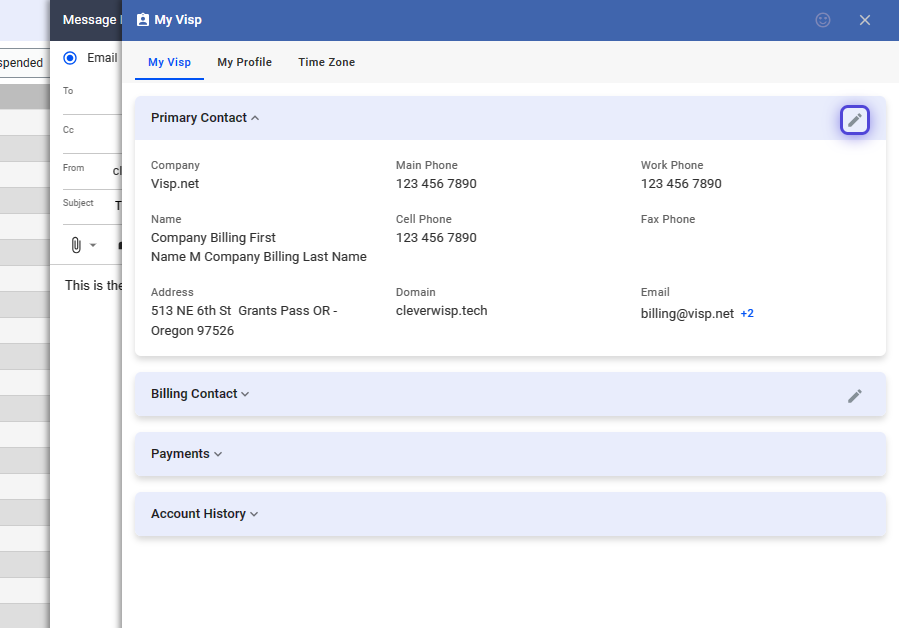
Select My Visp

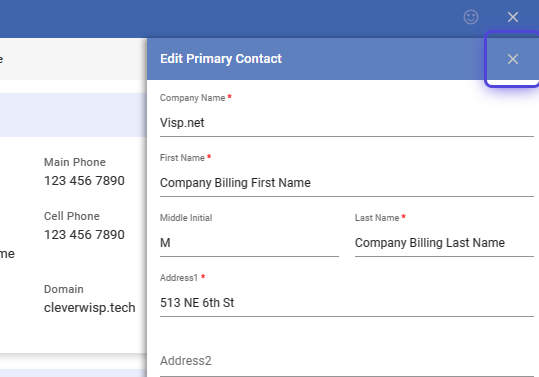
3. Click on the pencil icon in the Primary Contact section.
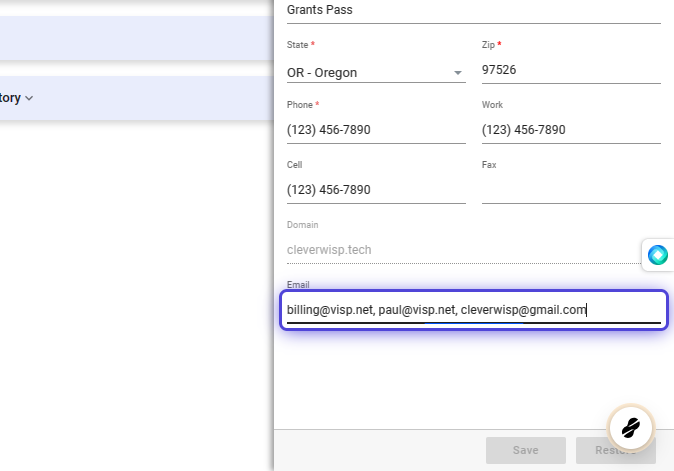
4. Separate additional email addresses with commas in the “Email” field.
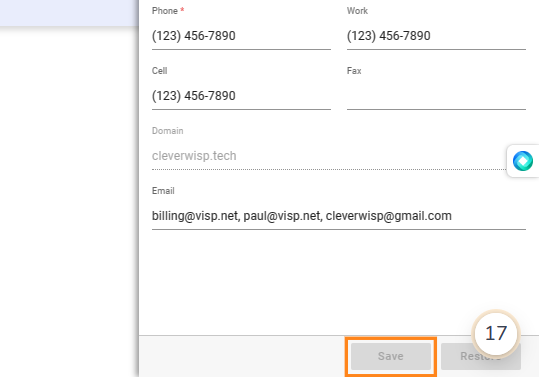
5. Save your work.
6. Click on the X icon to close the panel.
How to Enable the Messaging Service
💡 Why enable this feature?
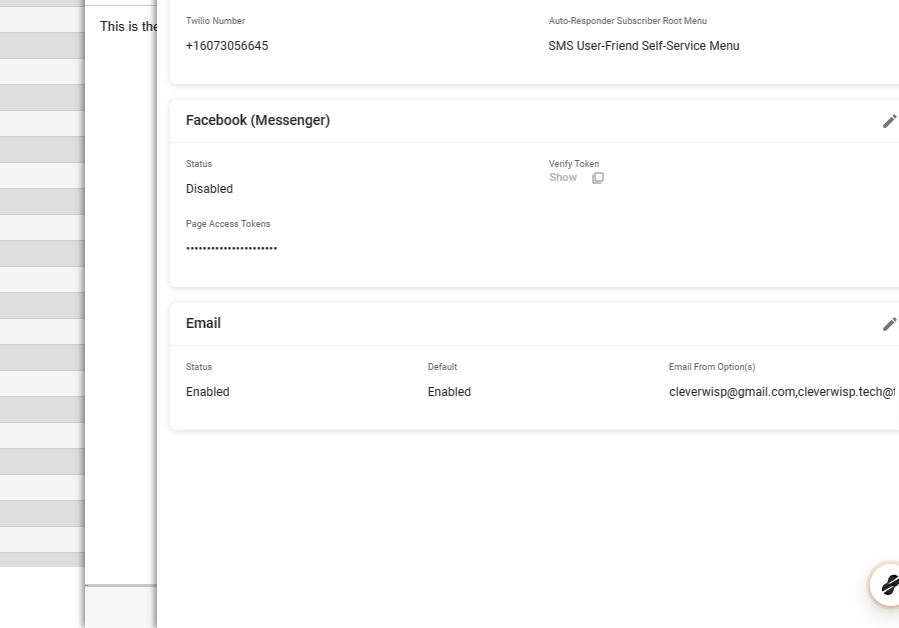
This adds more messaging options like text or SMS (via Twilio), auto-responder menus, and Facebook messaging, and also improves email features in Visp.The email service converts emails to tickets and allows sending messages or replies through Visp tickets.
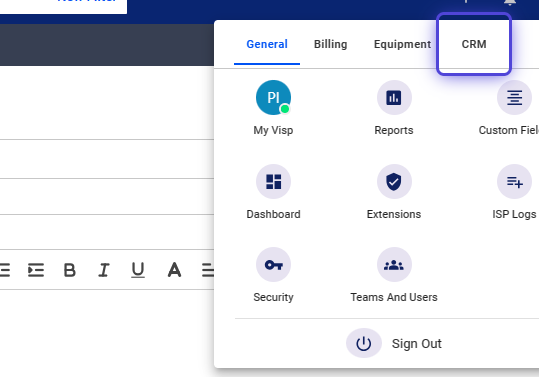
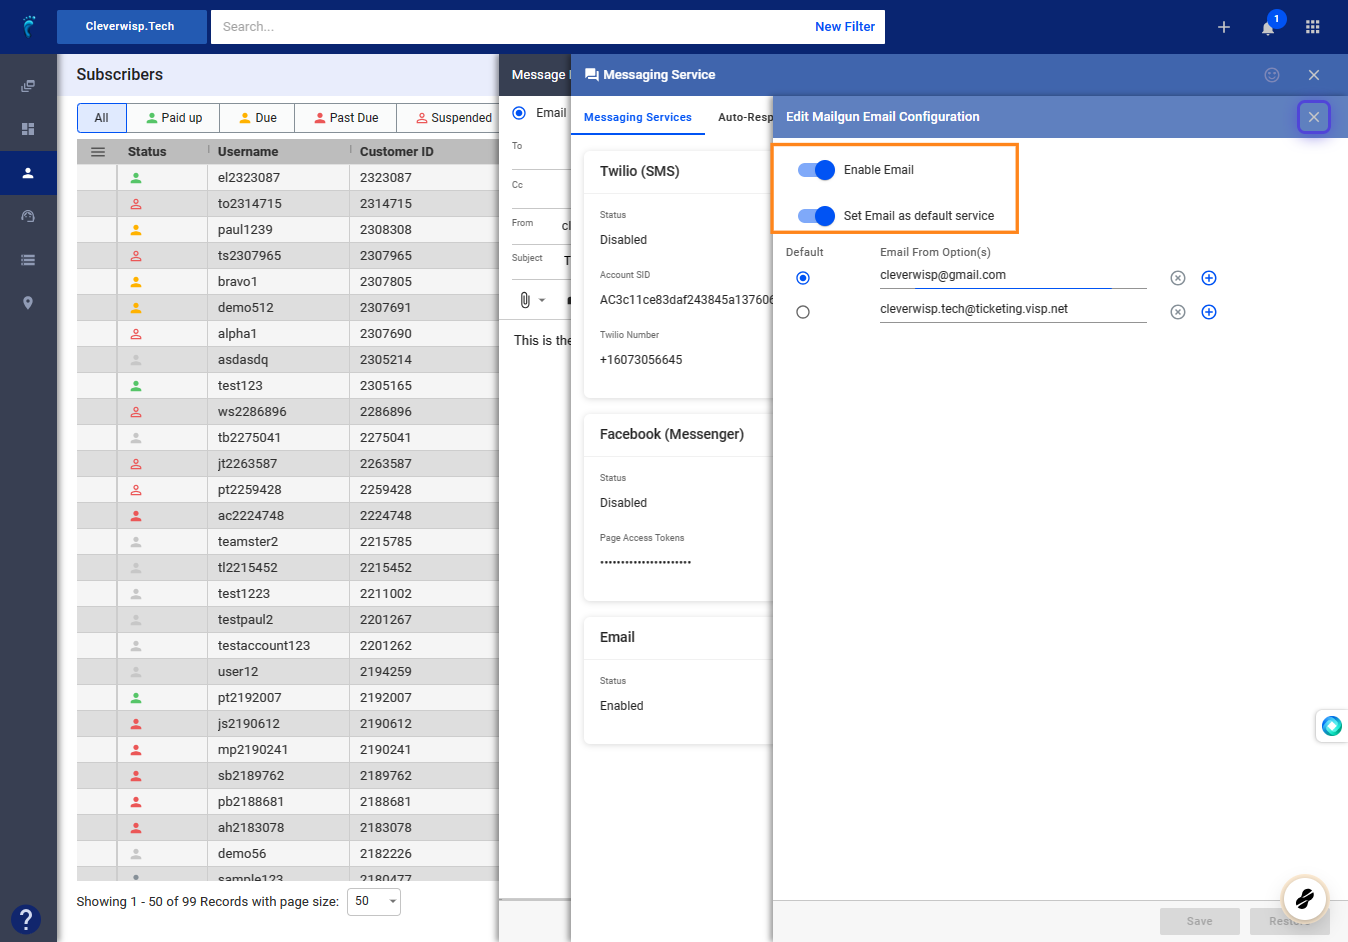
7. Click the nine-dot menu in the upper right corner to open the VISP Admin Page.
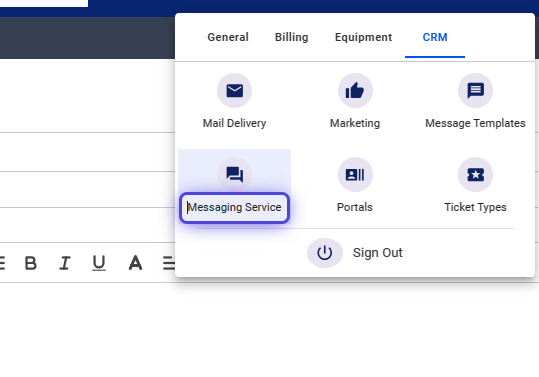
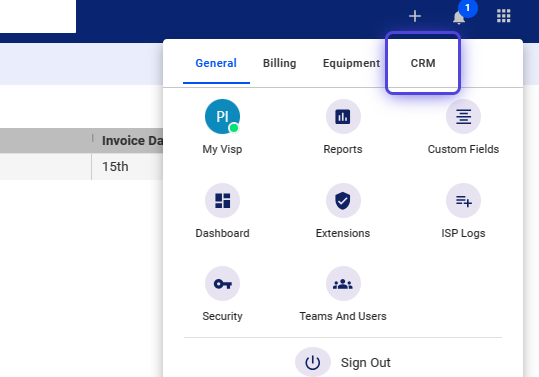
8. Click on “CRM.”
9. Select Messaging Service
10. Click on the pencil icon in the Email feature panel.

11. Toggle “Enable Email,” and enable the “Set Email as default service.”
12. Toggle

13. Click on highlight
How to Send a One-Off Email to Your Customer?
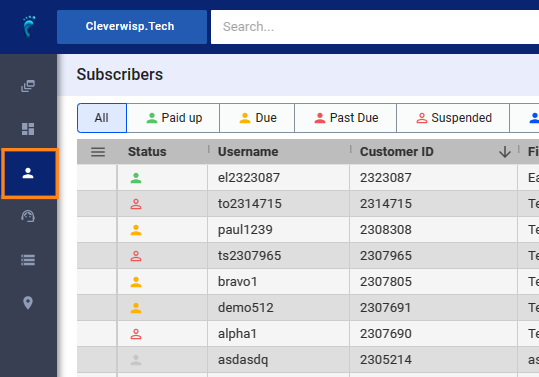
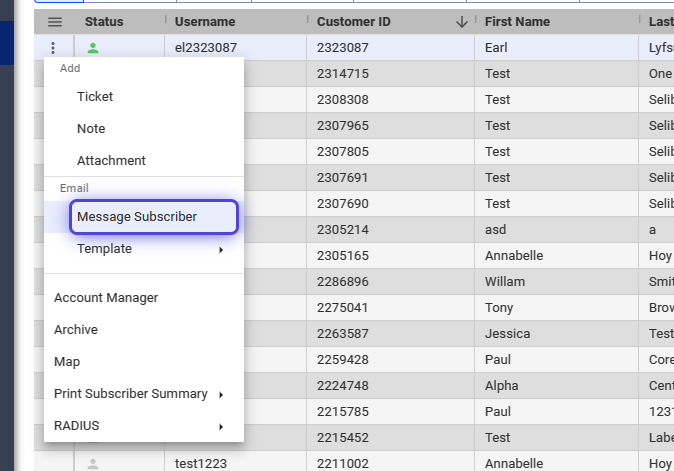
14. Click and open the Subscribers list.
15. Search or select a subscriber, then hover and click the three dots in the first column.
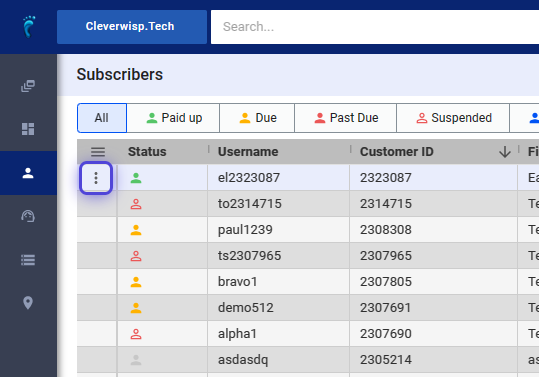
16. Select “Message Subscriber.”
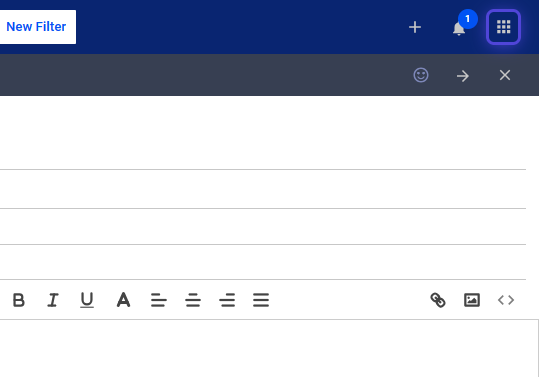
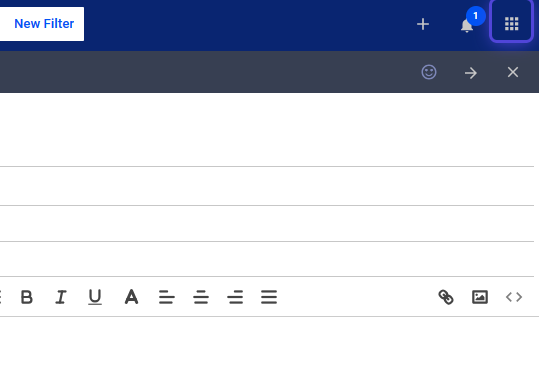
17. Fill out the fields and compose a message in the editor.

18. Add or remove email addresses from the “To” field.
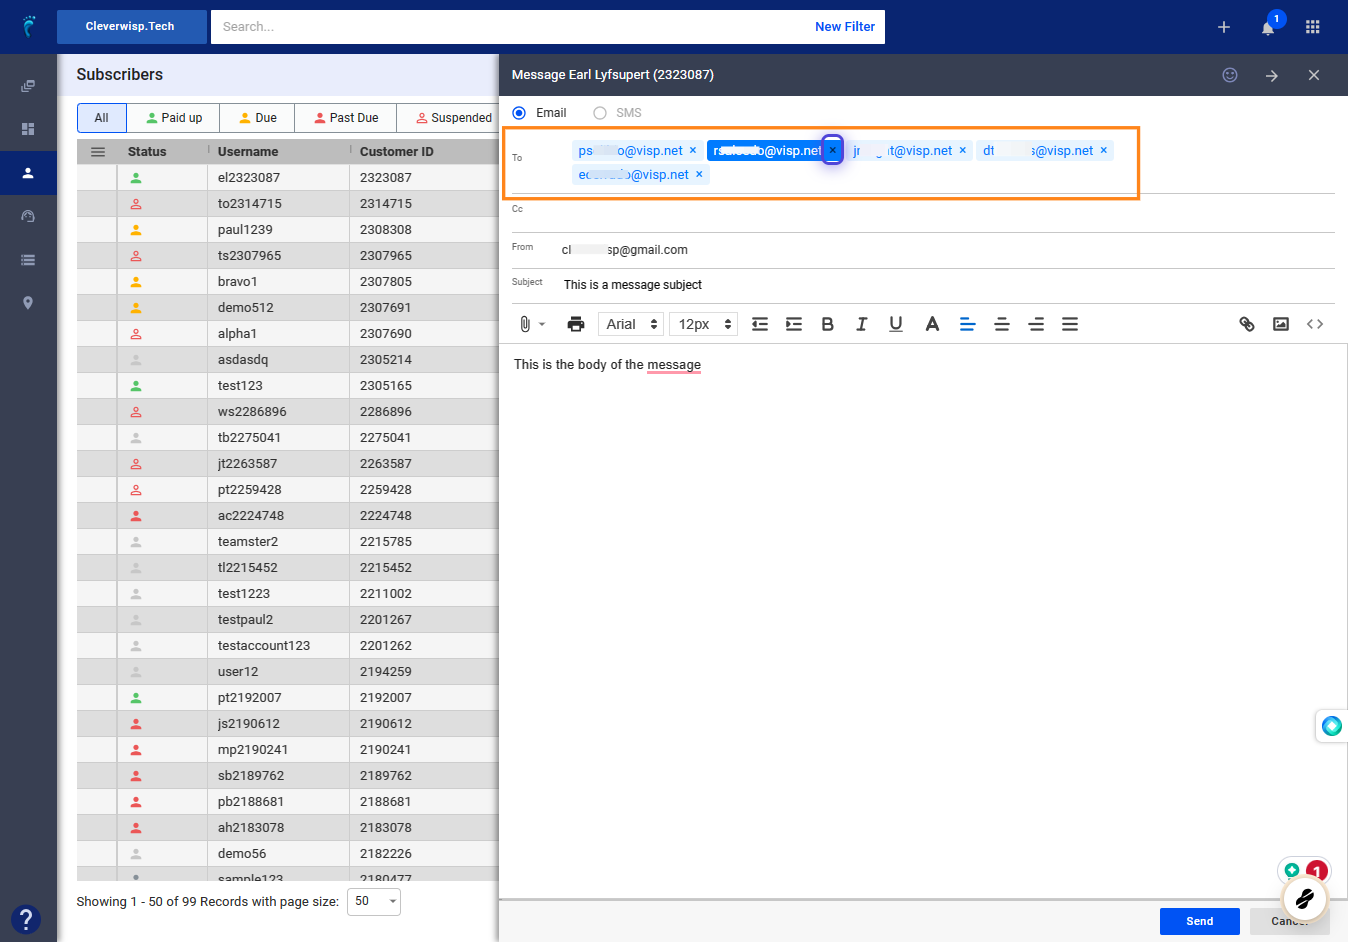
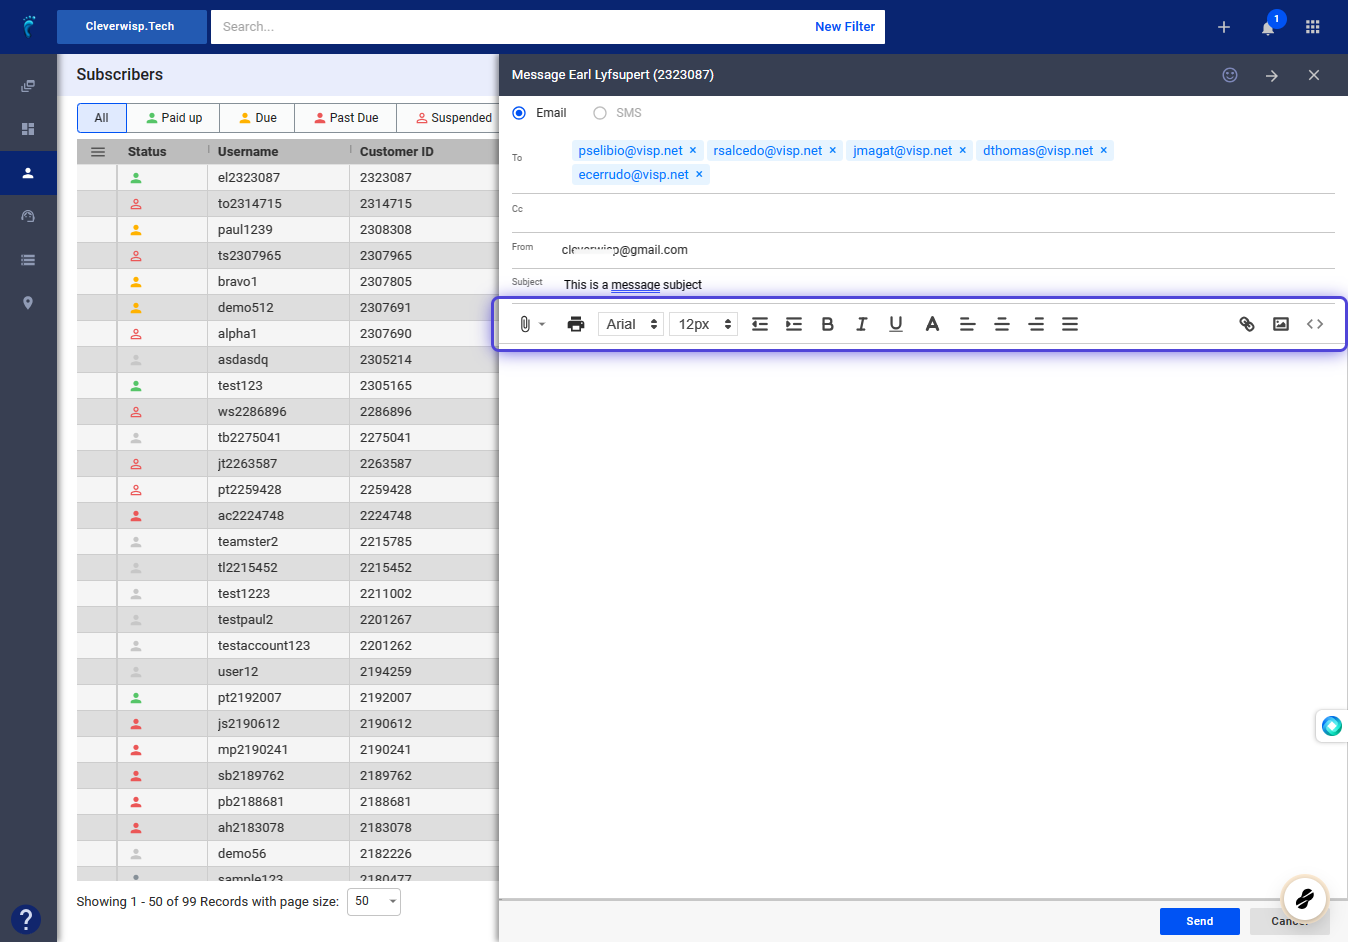
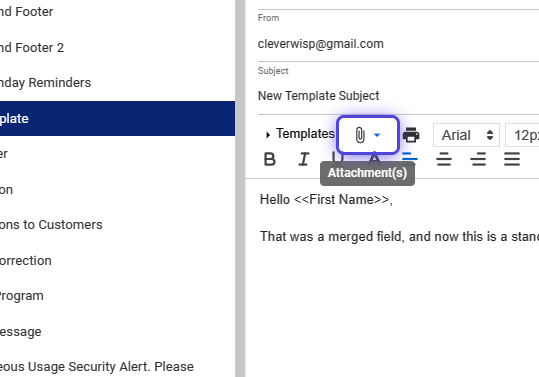
19. Use the toolbar to attach, print, or modify your message’s text format.
20. To update the sender email address, click on the “From” field.
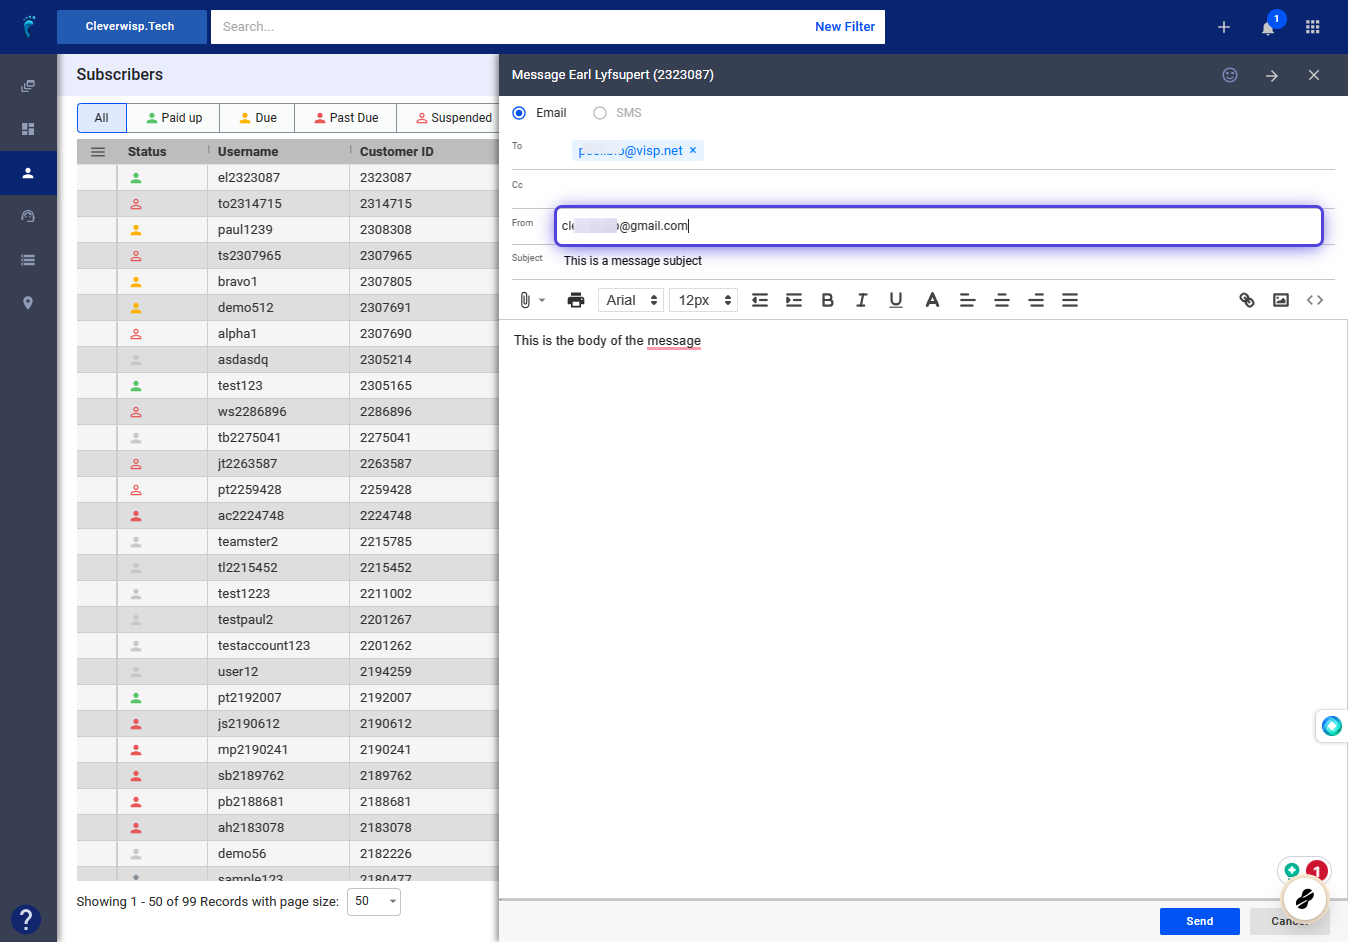
21. Use the dropdown list to select an email address from the list.
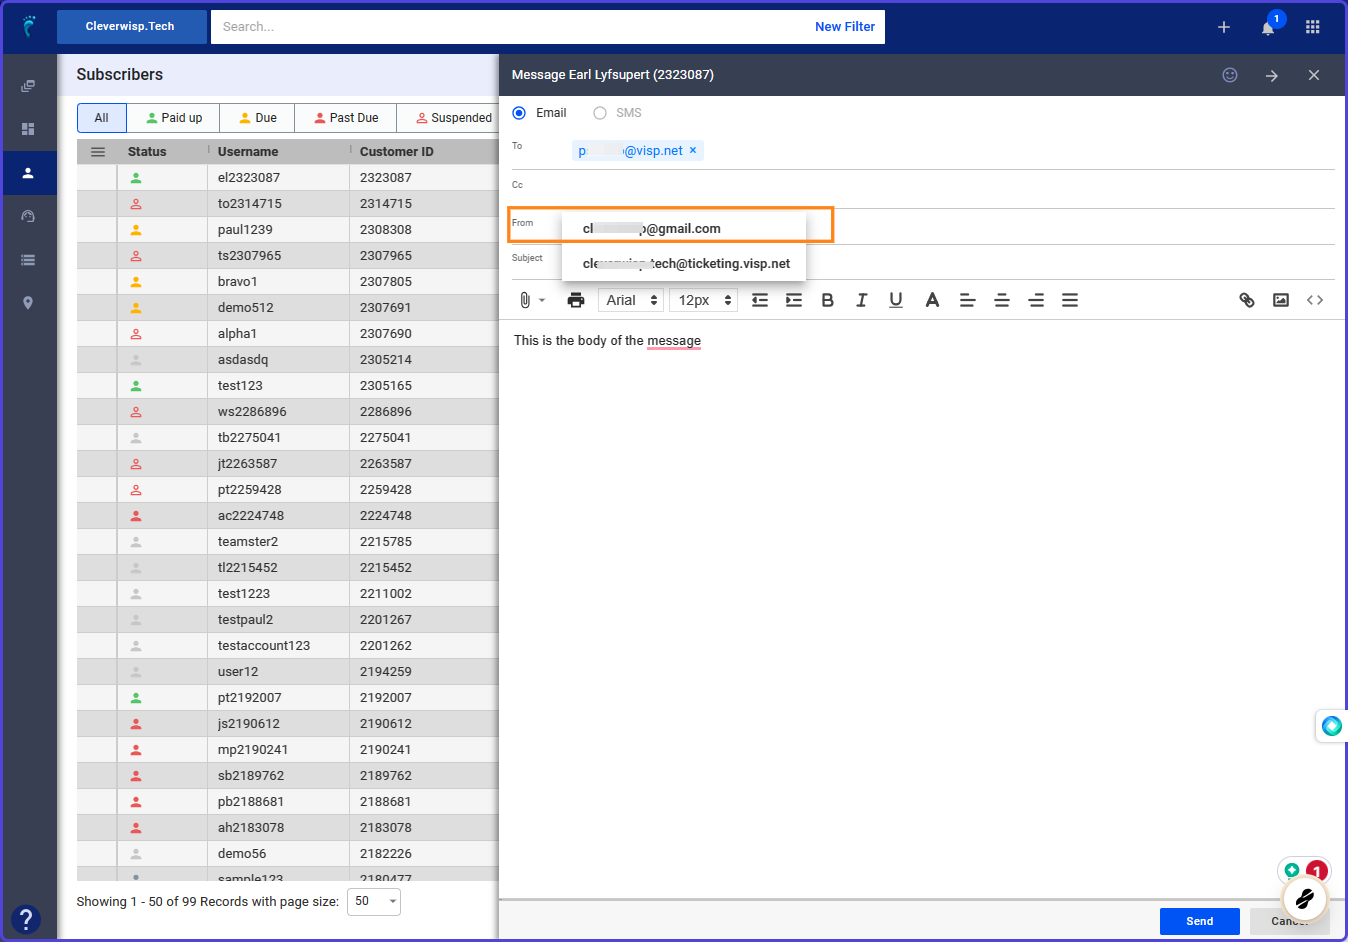
22. Compose the message.
Click on send when you’re done.
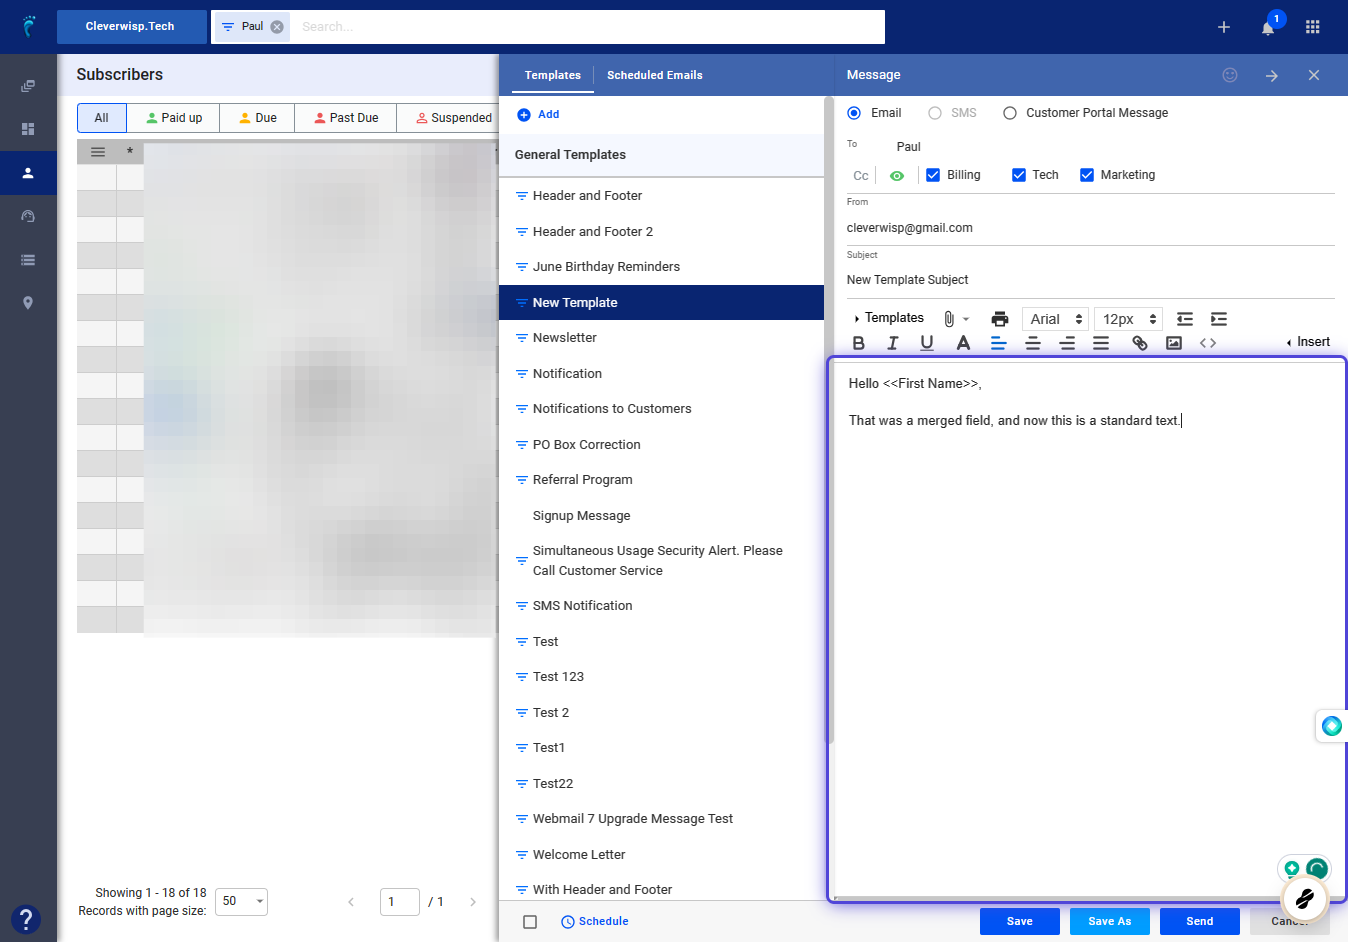
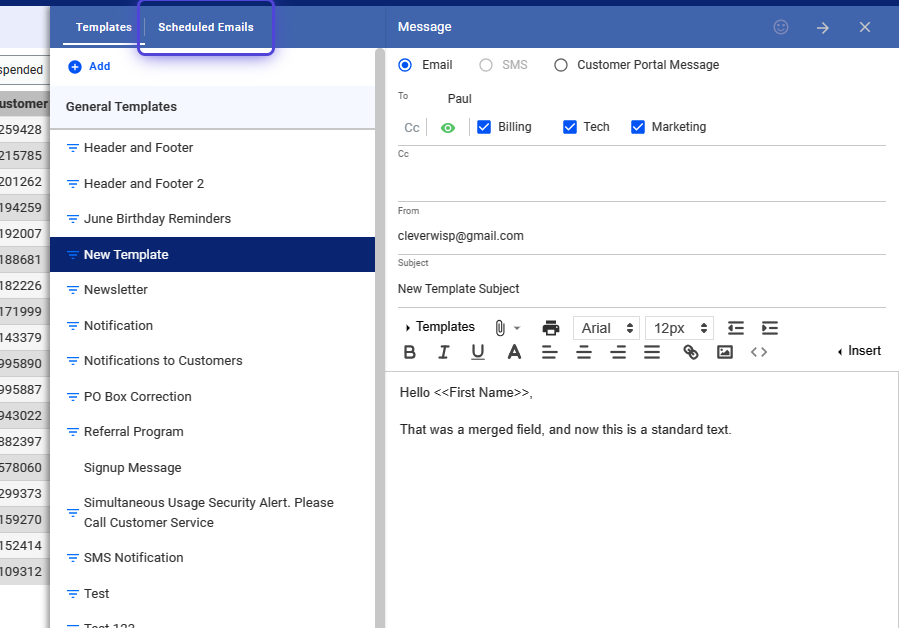
How to Add or Edit Message Templates?
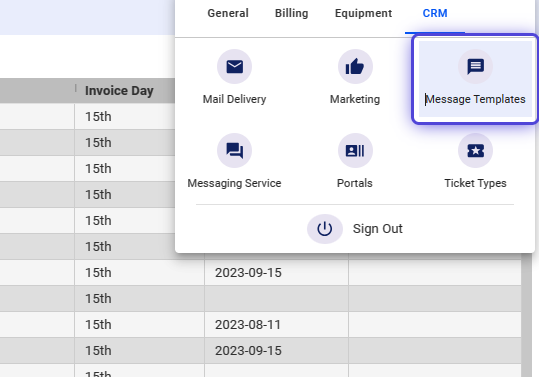
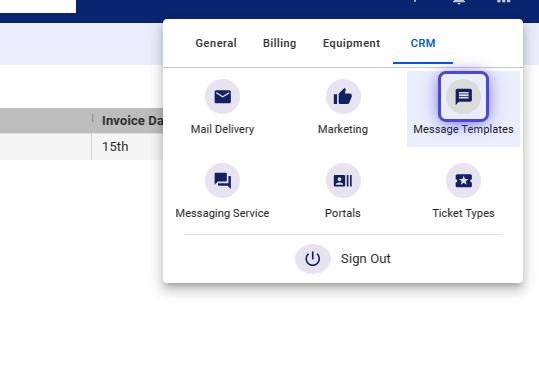
23. Click the nine-dot menu in the upper right corner to open the Visp Admin Page.
24. Click on CRM
25. Select Message Templates
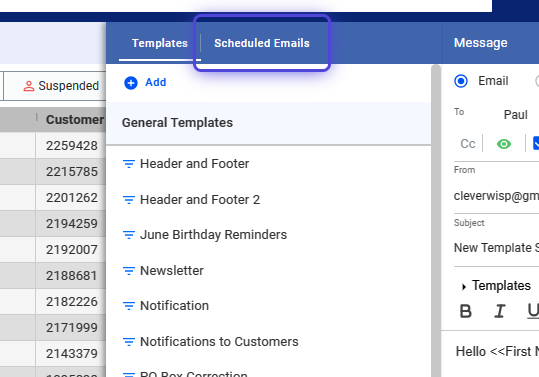
26. In the Templates tab, click on Add.
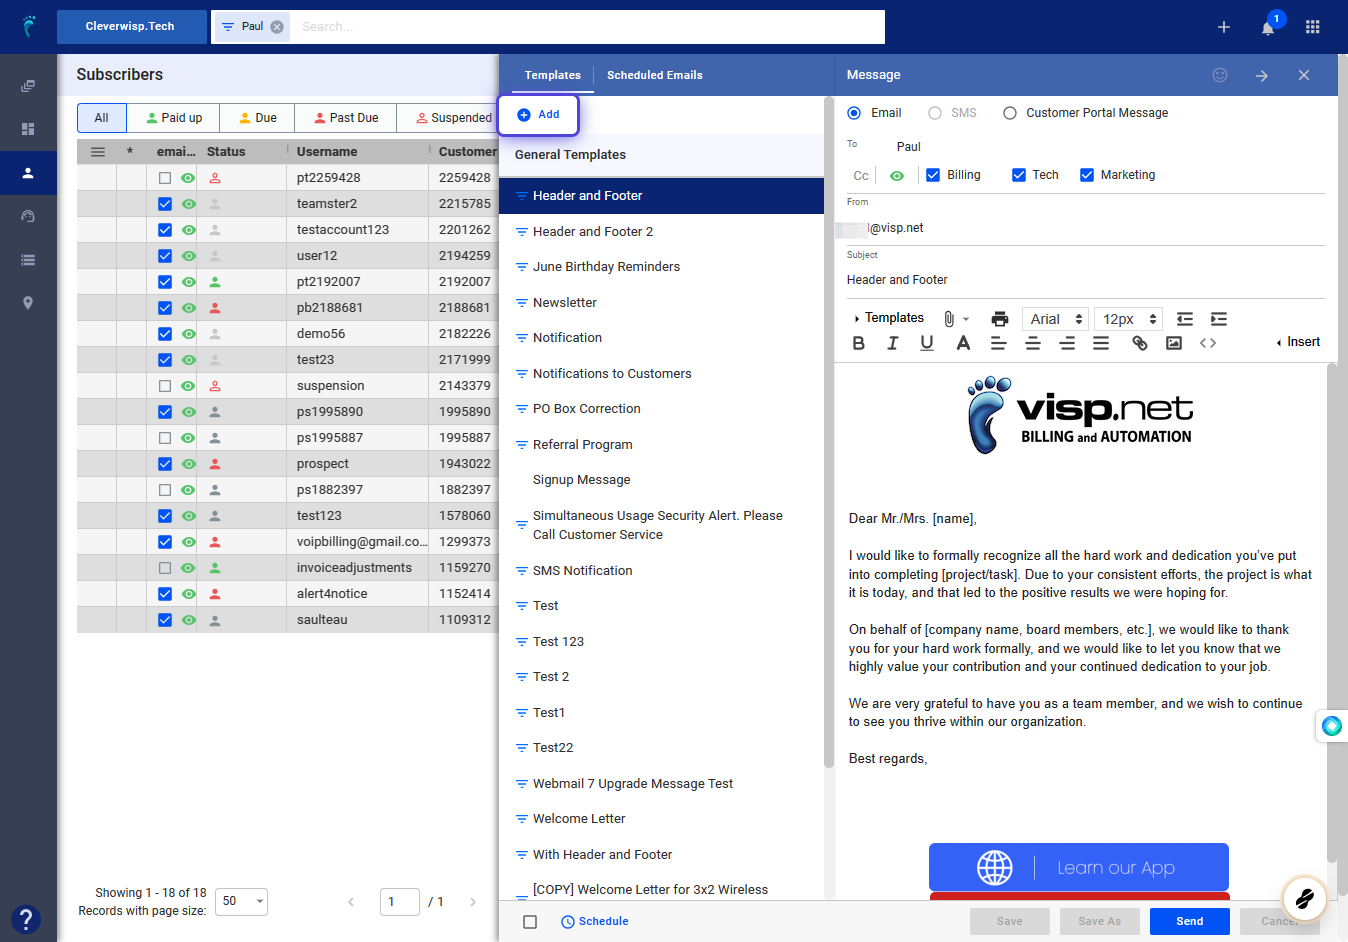
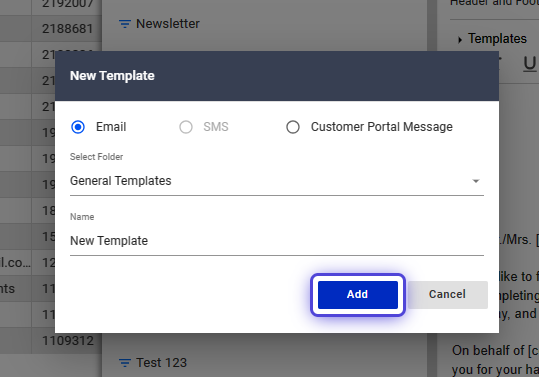
27. Select New Template.

28. Toggle Email.
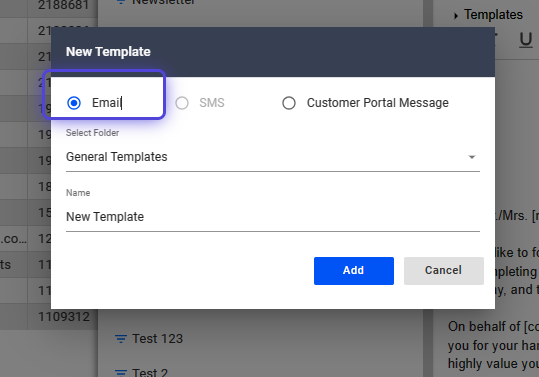
29. Click and choose a folder to add the email to.
Note: You may edit the template name in the field.
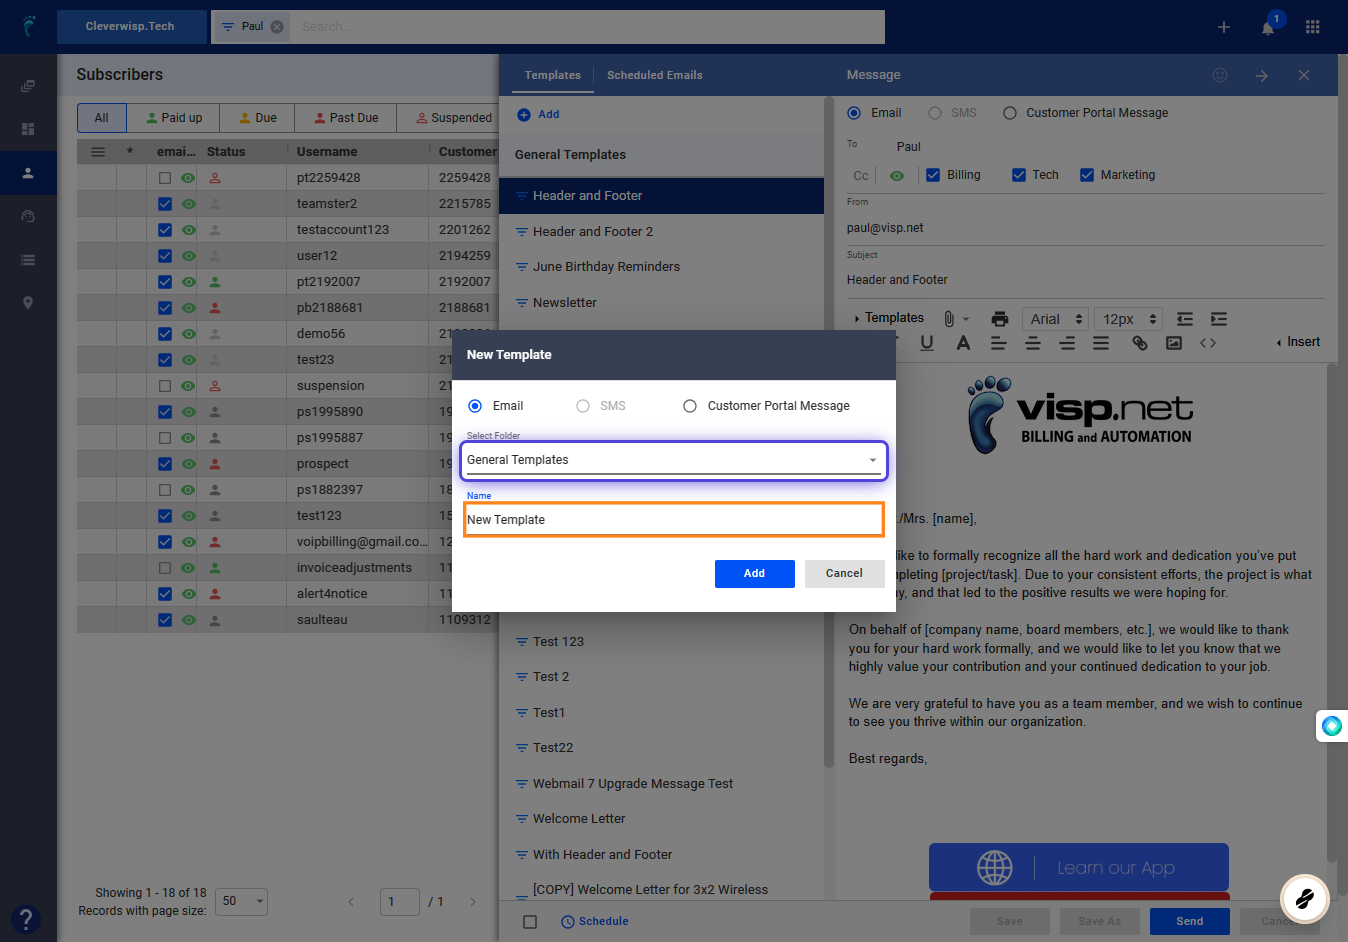
30. Click on Add
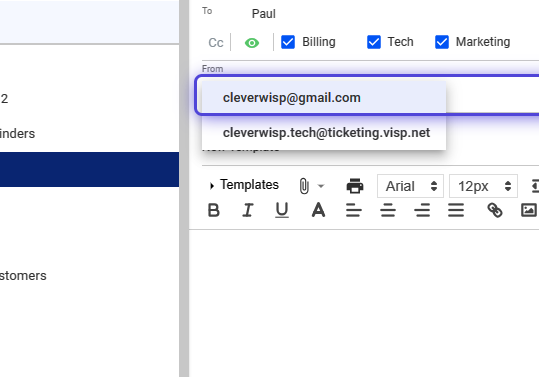
31. Click and select the Sender email address from the “From” field.
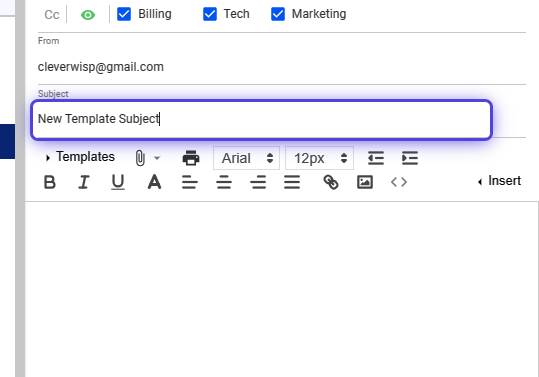
32. Input the subject of your email.
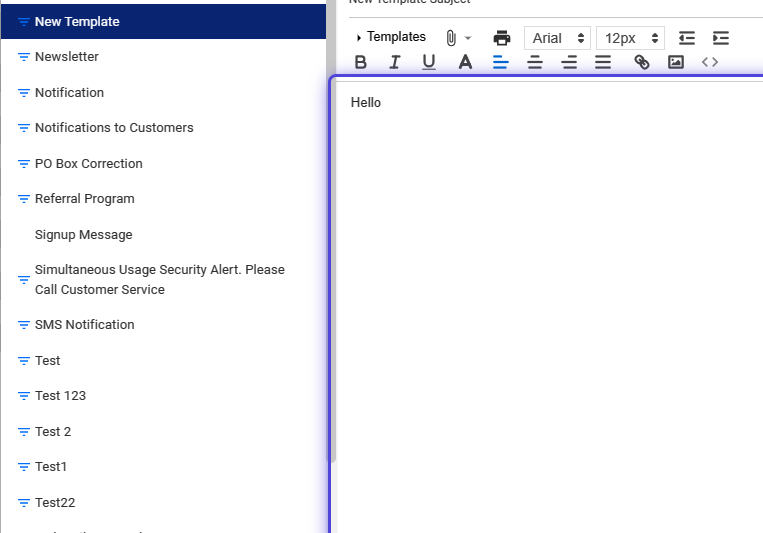
33. Compose the email message.
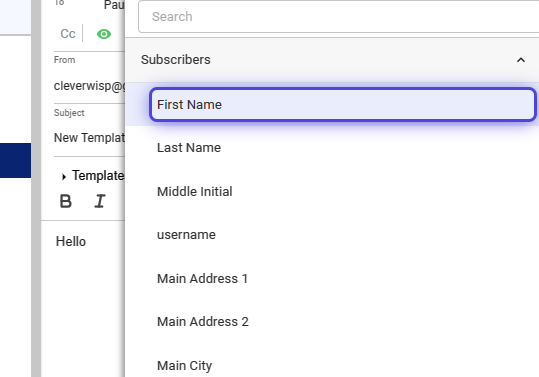
How to Add Merge Fields?
34. Click on Insert
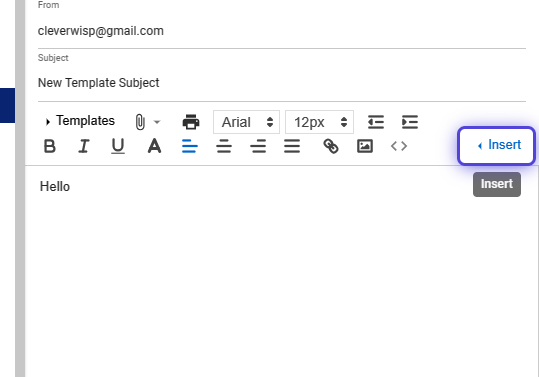
💡 The Insert option allows you to add merge fields to your email.
Merge codes, also known as merge fields, are placeholders in an email template that are replaced with actual customer data when the message is sent.
35. Select a merge field from the list.
36. Click on the X icon to close the panel.
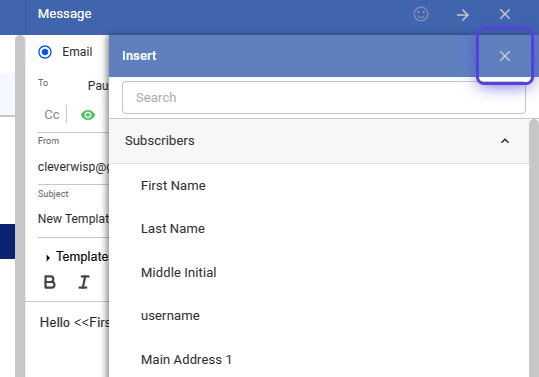
37. Compose your message with the merge field.
How to Attach Transactions and Files on the Email Template?
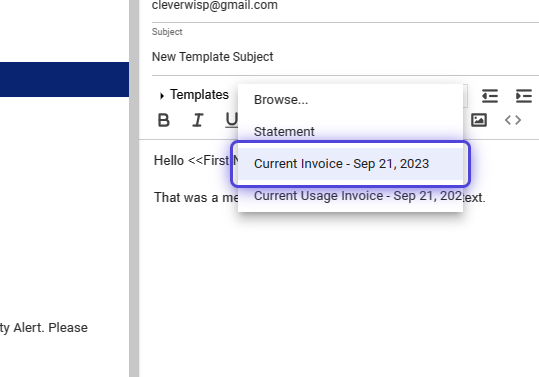
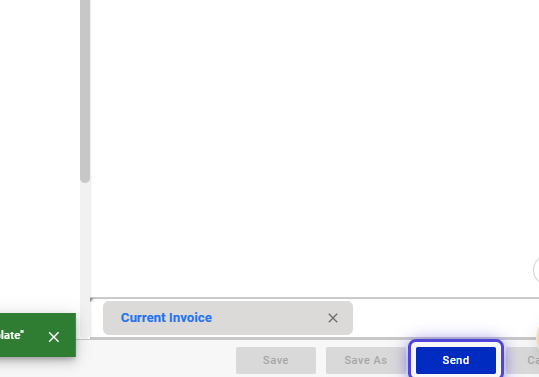
38. Click the paper clip icon to add statements, invoices, or files in the email.
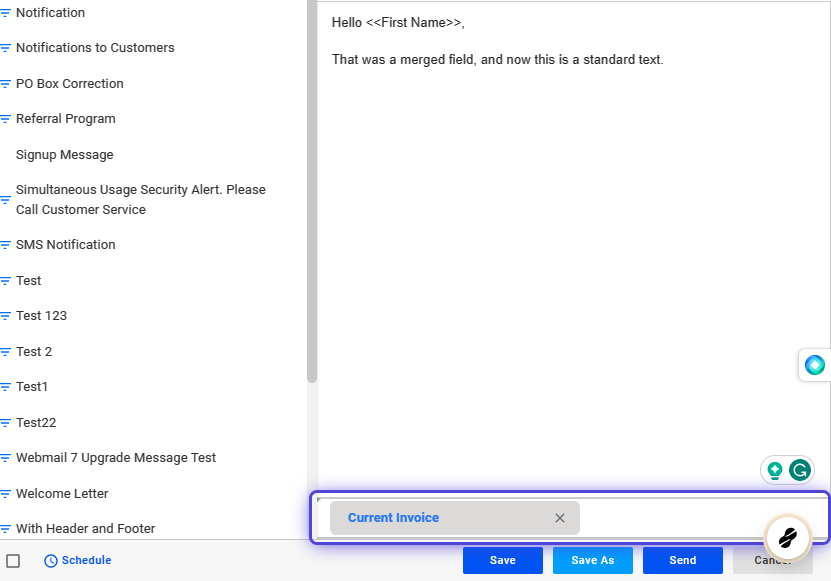
39. Select the current invoice.
40. The current invoice is attached at the bottom of the page.
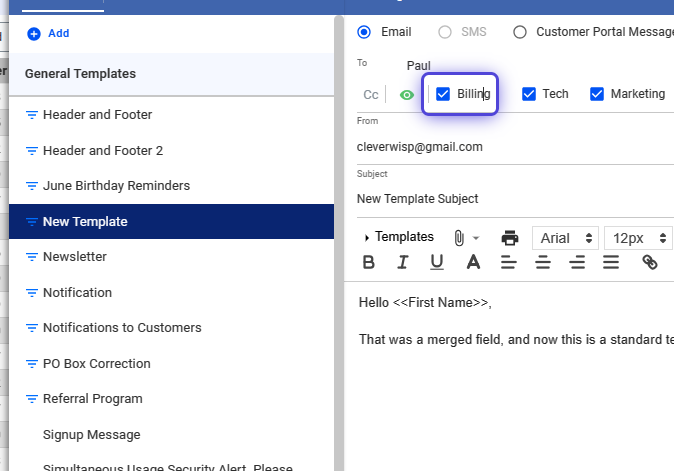
41. Select Billing, Tech, and Marketing options if there are recipients categorized in the customer’s profile that receives the email.
How to Preview an Email Message?
42. Toggle the eye icon to turn email previews on or off for the subscribers for this template.
To preview a subscriber’s email, click the eye icon in the Subscribers’ list.
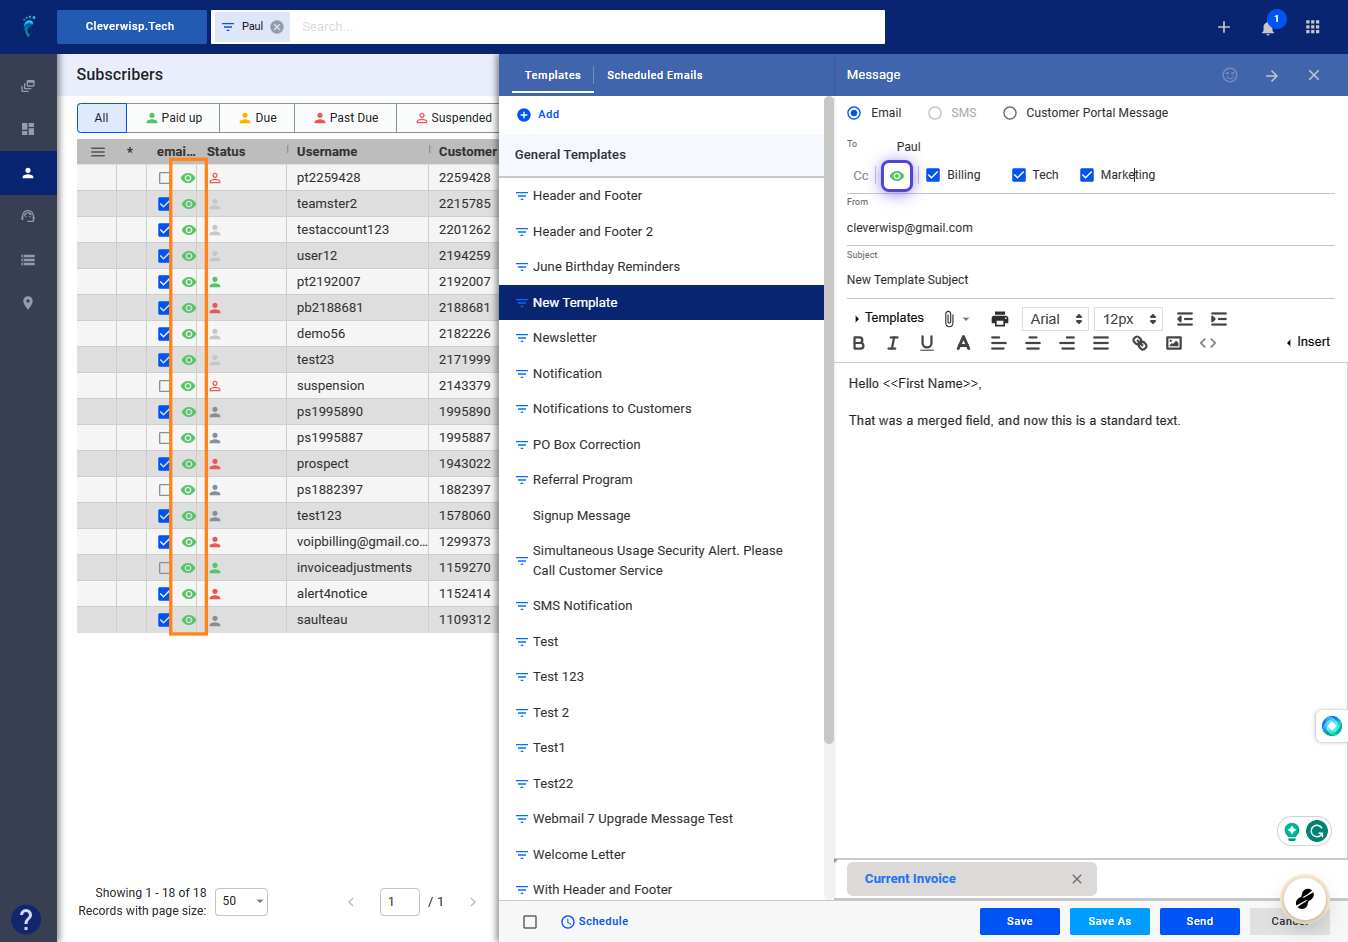
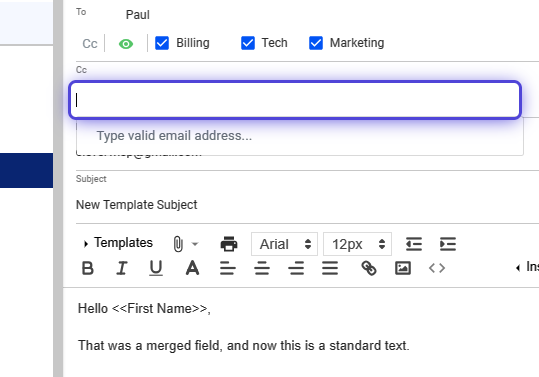
How to CC an Email Address?
43. Click on Cc and add an email address for a message copy.
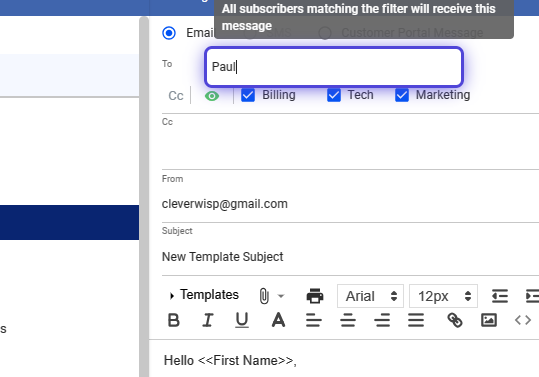
44. To change the email recipient, click on the To field, and select a filter or group on the list.
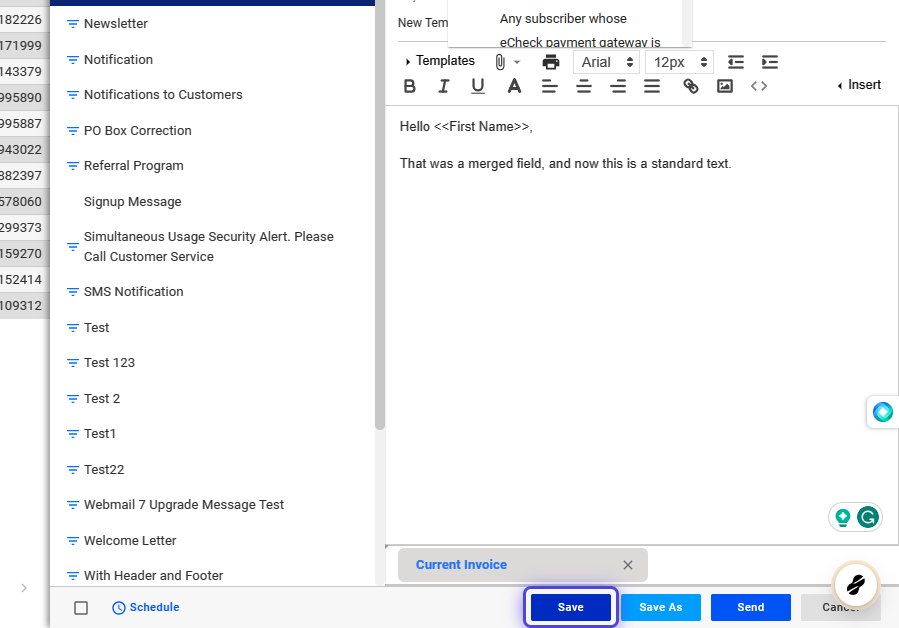
45. Save your changes.
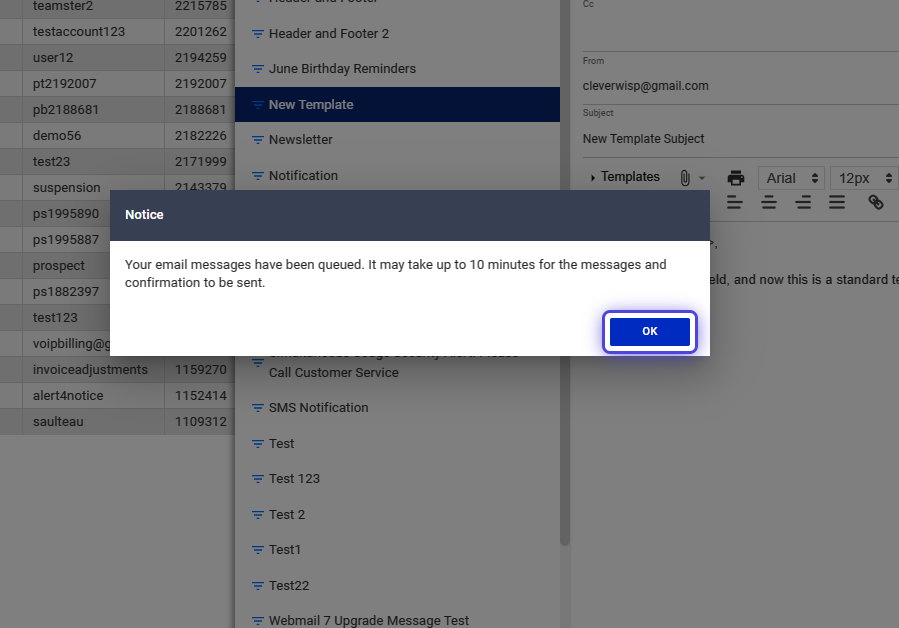
46. Click Send, to email.
47. Read and acknowledge the pop-up message.
Click OK, to continue.
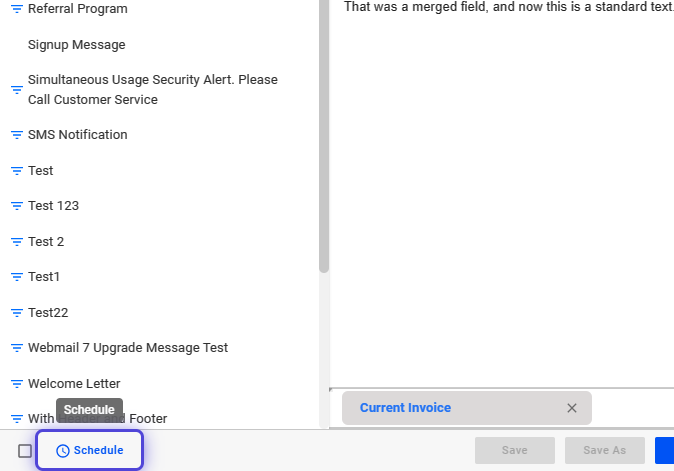
How to Schedule Email Delivery via the Templates?
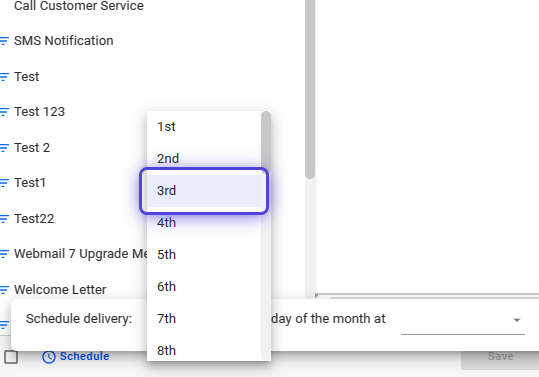
48. Toggle “Schedule,” to set schedule for email delivery.
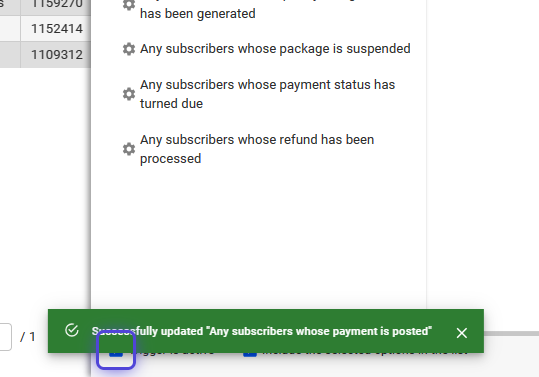
49. Click on the field.
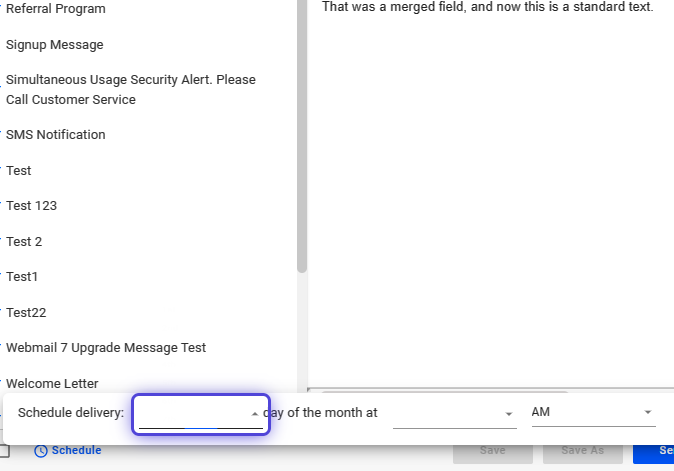
50. Use the dropdown to select the day of the month.
51. Click on the field.
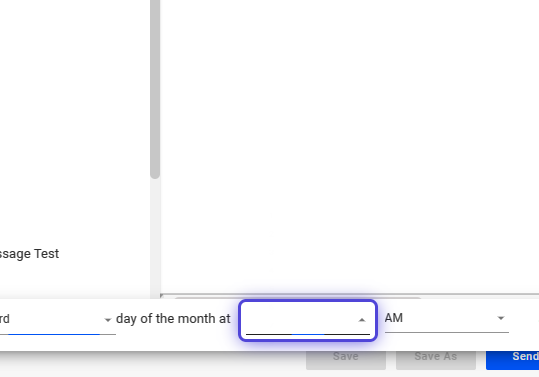
52. Use the dropdown to select the time of the day, to send the message.

53. Select AM or PM from using the dropdown.
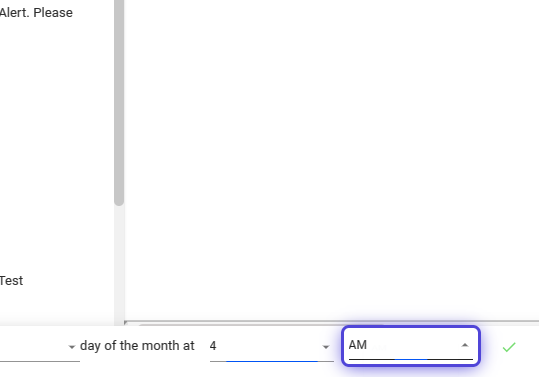
54. Click on the green check icon, to save your changes.

55. Click on Scheduled Emails
56. Click and expand your “Scheduled Templates”
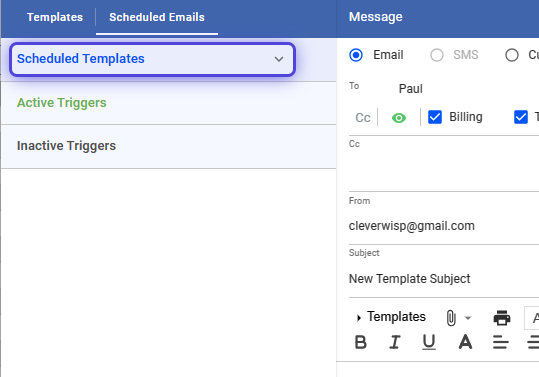
57. The scheduled template is available in the Scheduled Templates list.
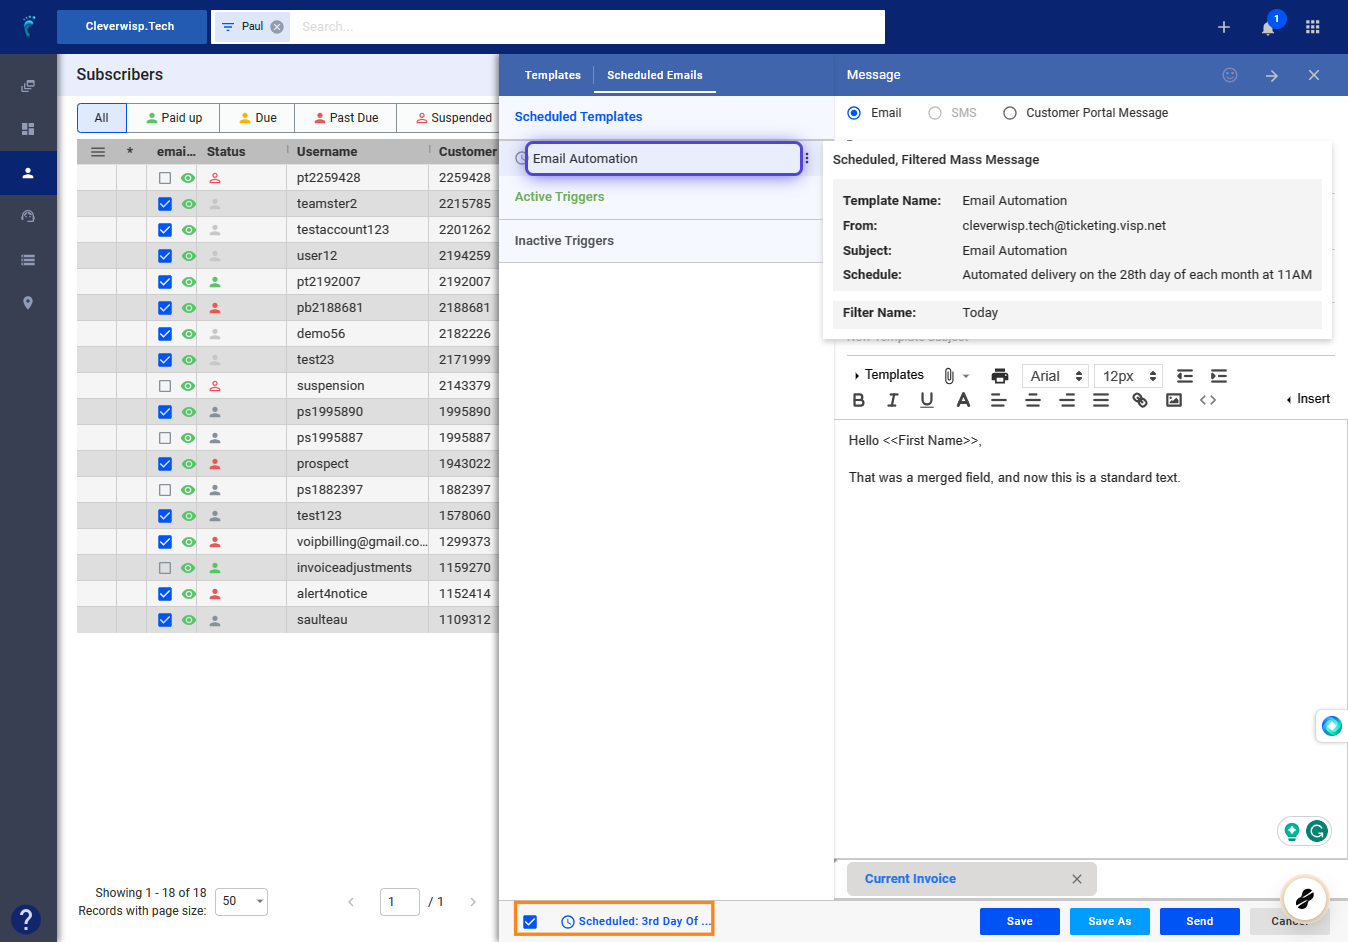
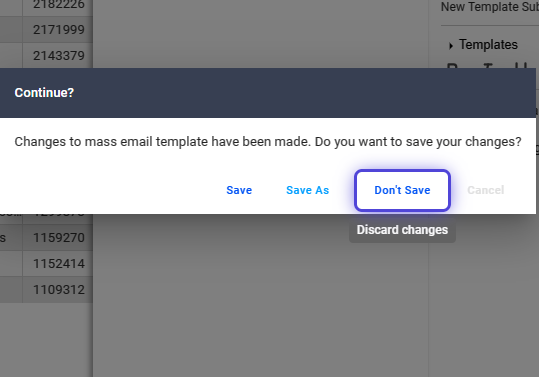
58. Any changes to the template will require you to Save your work.
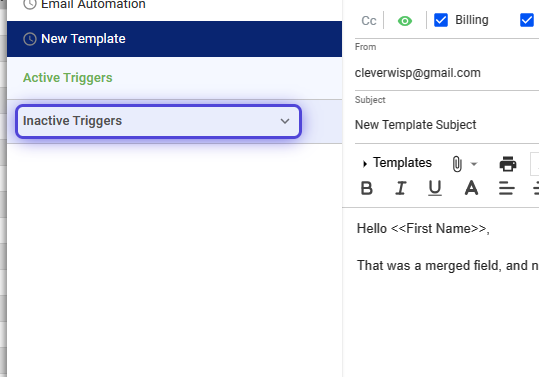
How to Automate Email Sending Using Triggers?
59. Click on highlight

60. Click on CRM
61. Select Message Templates
62. Click on Scheduled Emails.
63. Click and expand Inactive Triggers.
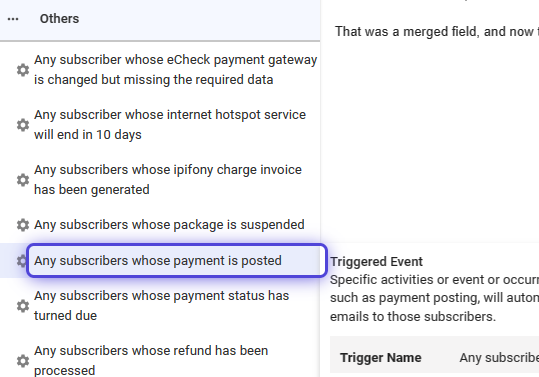
64. Click and expand, “Others.”
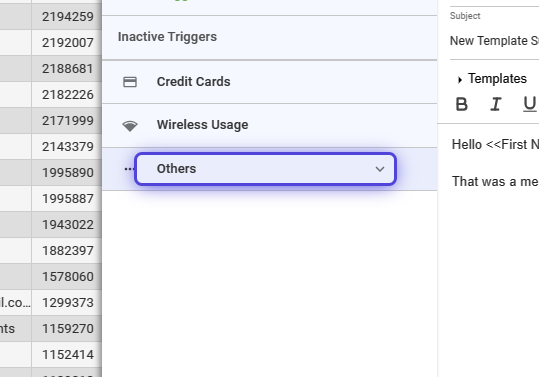
65. Select an event or trigger on the list.
66. Compose the email.
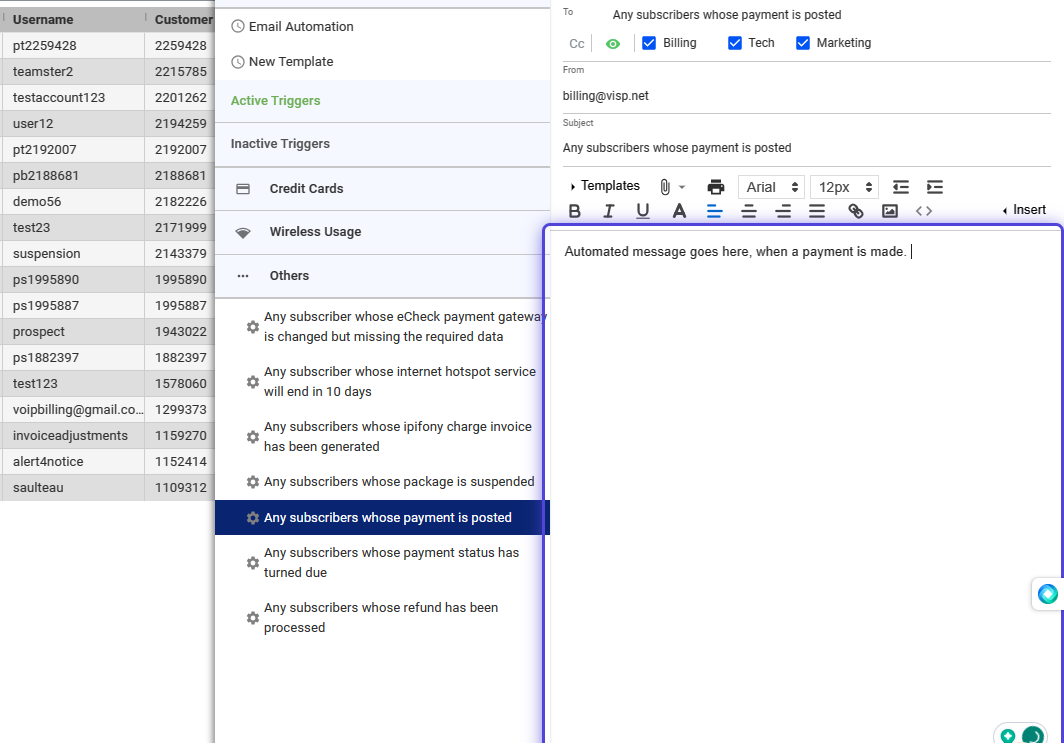
? Edit the necessary fields – From, To, Subject, and add the necessary merge fields, for your message.
67. Toggle, “Trigger is active.”
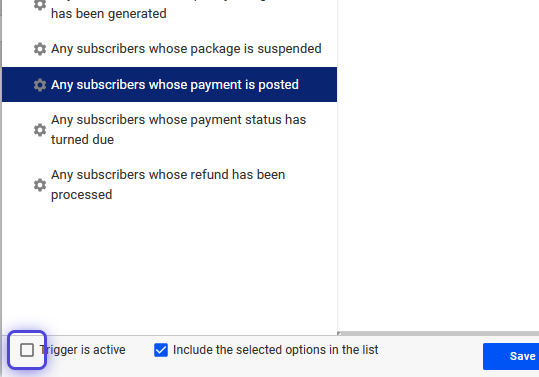
68. Save your work.
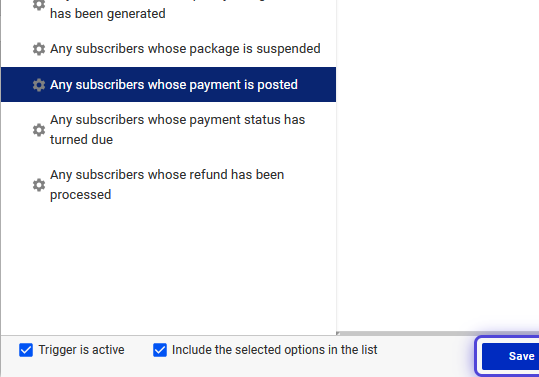
69. Read and acknowledge the pop-up message.
💡 When the email template activates due to the set action or event, affected customers receive a message.
💡For more information about this and all other features in Visp, reach out to your Visp Client Success Team today.
Phone: 541-955-6900
Email: success@visp.net
Open a ticket via www.visp.net/ticket