Make a one-time or single-use discount item by selecting the ‘CUSTOM’ type when you add it to your invoice.
Add a Custom Line Item on an Invoice
1. Click and open the Subscribers’ List
2. Search for the subscriber or select from the list.
3. In Packages & Invoices, click on the vertical ellipsis or three dots.
💡 Note: Ensure that the Discount does not reduce the invoice to a negative amount.
Ensure the discount doesn’t result in a negative invoice total. Essentially, avoid reducing the invoice to zero or less.In this example, we’re adding a line item charge on the invoice first, before adding the discount.
4. Select New Invoice
5. Select +Other Item
6. Use the field to search for an item.
7. In this example, use the dropdown to seleet a line item.
8. Add the line item on the invoice.
9. Save your work.
Add the One-Time or Single-Use Discount
10. Click on + Other Item to add a Custom item.
11. Select “Add new item.”
12. Add an Item label or type.
13. Click on the blue New Item text, to add a Description to the item.
14. Click on the blue plus icon, to save your changes.
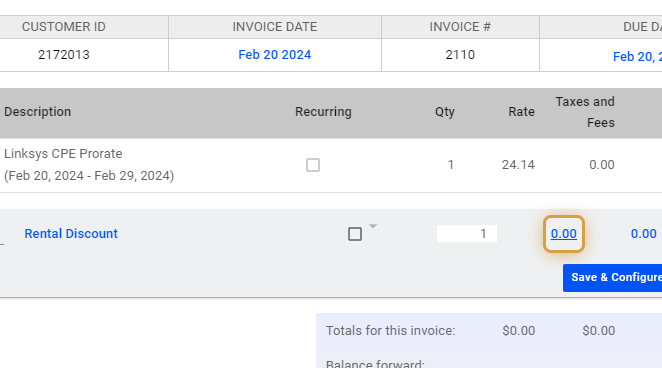
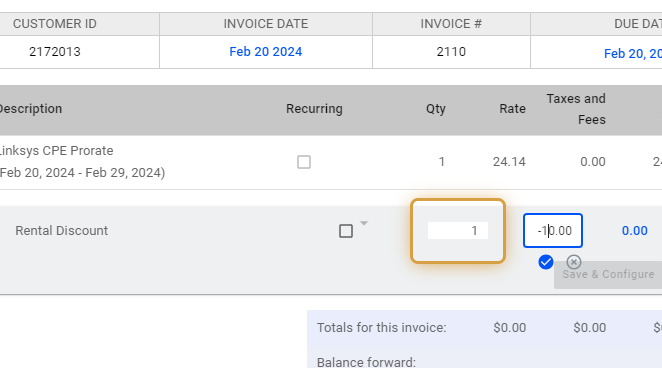
15. Click on the rate, and set a negative amount for the discount.
16. Remember to also set the quantity or number of items you want to charge for.
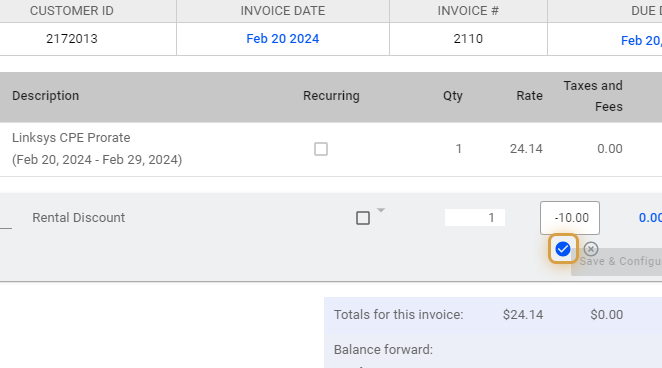
17. Click on the blue plus icon, to save your changes.
Set the Discount as Recurring
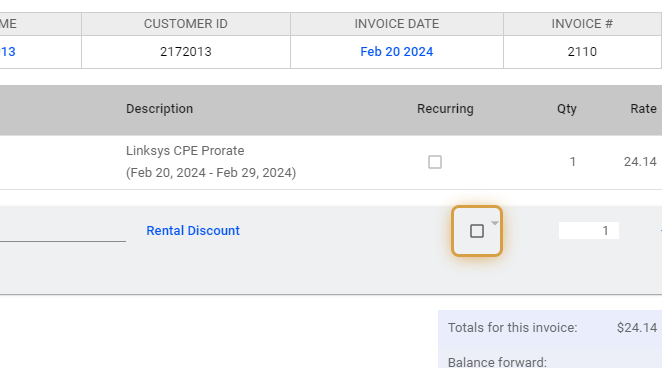
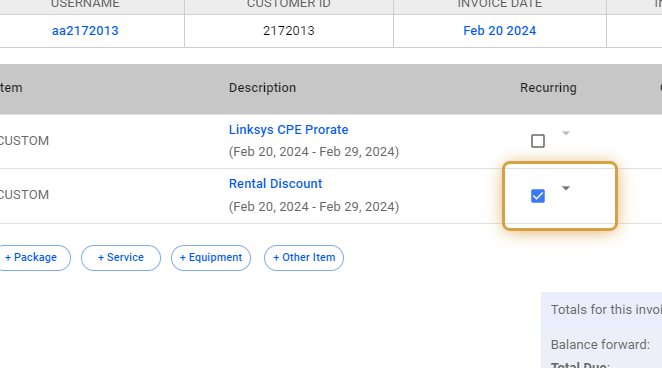
18. Enable or put a check on the recurring box, to make the charge recurring.
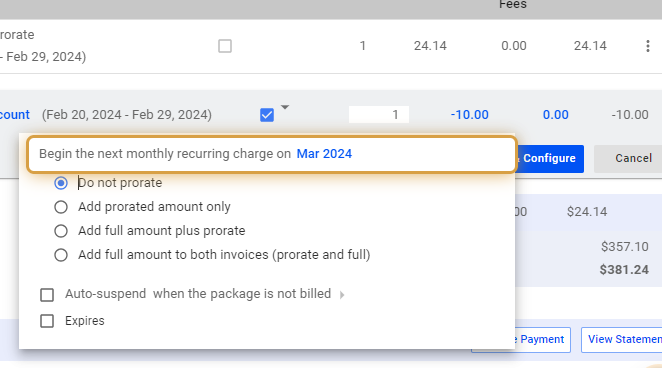
19. Set the conditions for the recurring discount.
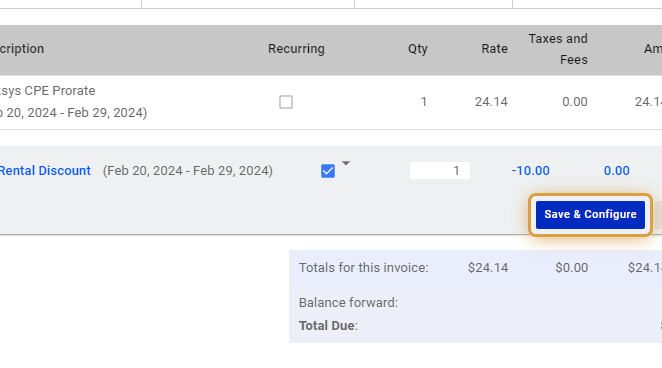
20. Click on Save & Configure when you’re done.
21. Enable or discable the recurring toggle to either turn the line item as a single-use discount or a recurring discount in the system.
22. Click on Yes
Acknowledge and click Yes on the toggle, to continue.
💡 For more information about this and all other features in Visp, reach out to your Visp Client Success Team today.
Phone: 541-955-6900Email: success@visp.net
Open a ticket via www.visp.net/ticket


