Configure Your Payment Gateway
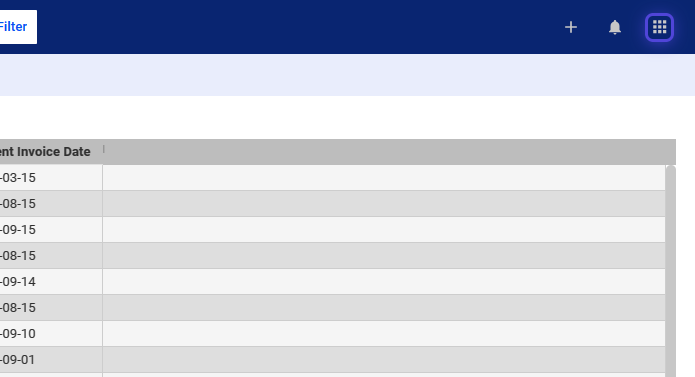
1. Click the nine-dot menu in the upper right corner to open the VISP Admin Page.
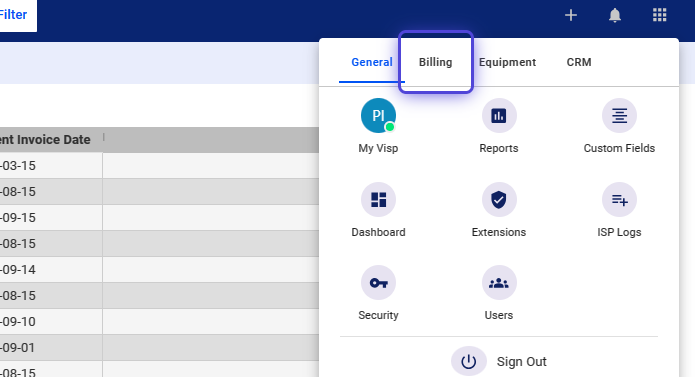
2. Click on Billing
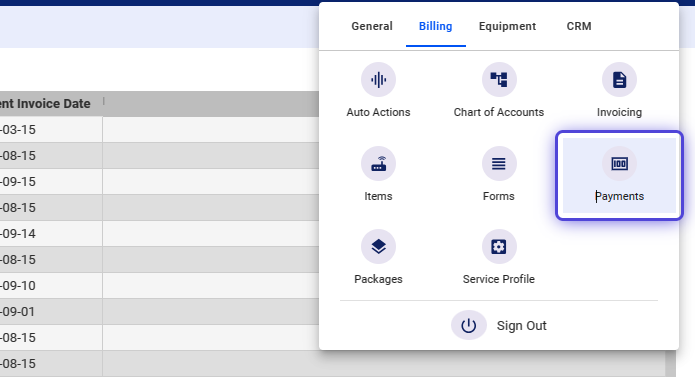
3. Select Payments
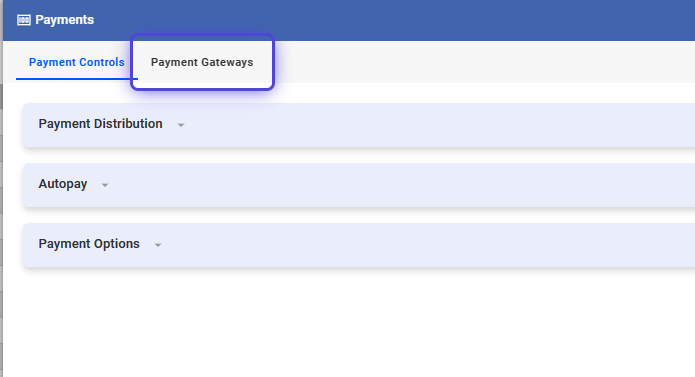
4. Click on Payment Gateways
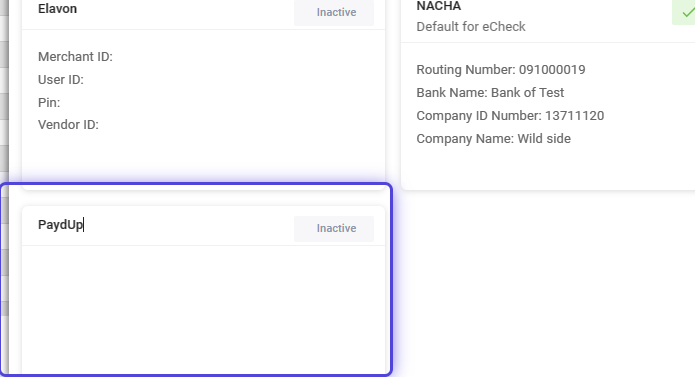
5. Select a Payment Gateway
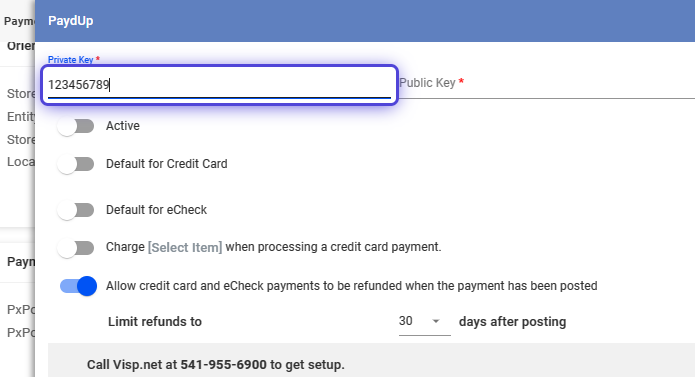
6. Enter the API or credentials for your Merchant Account
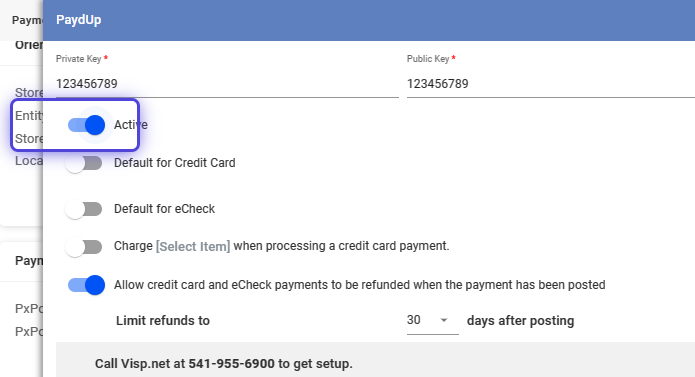
7. Toggle to Activate the Merchant Gateway
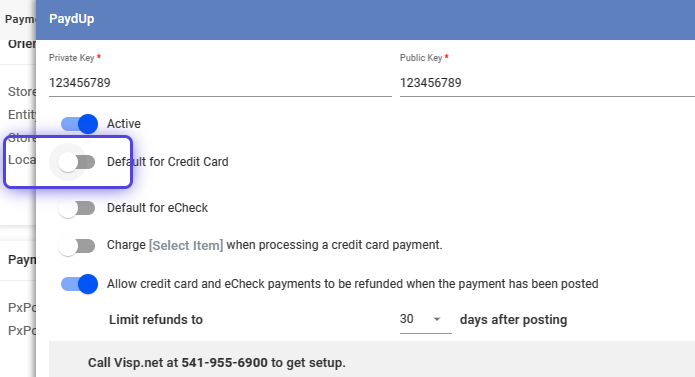
8. Toggle to set this gateway or processor as default for credit card processing
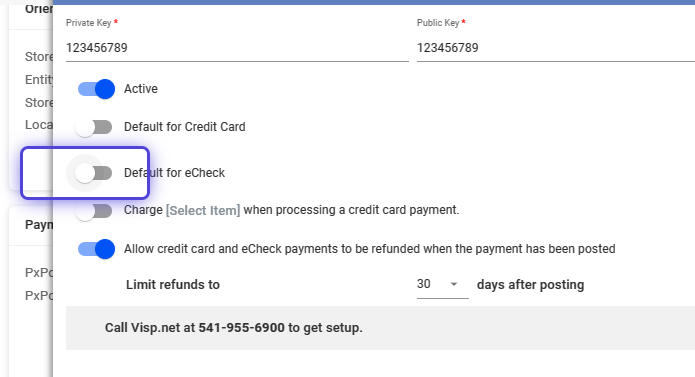
9. Toggle to set this gateway or processor as default for eCheck processing.
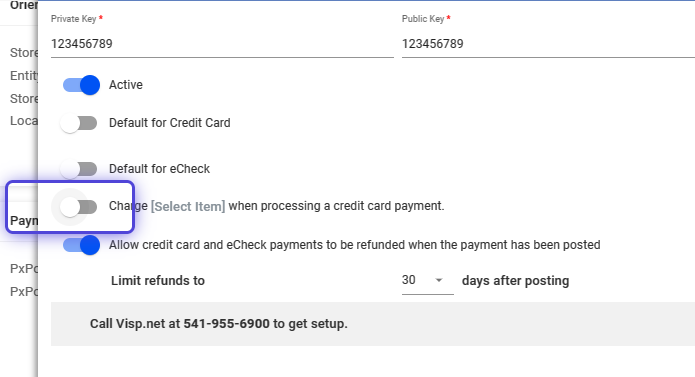
10. Toggle to set a charge when processing a credit card payment.
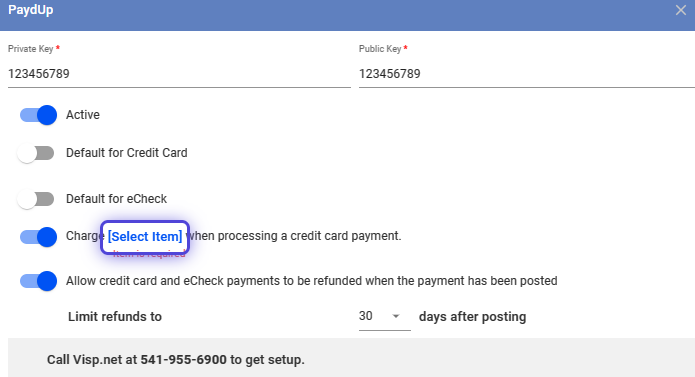
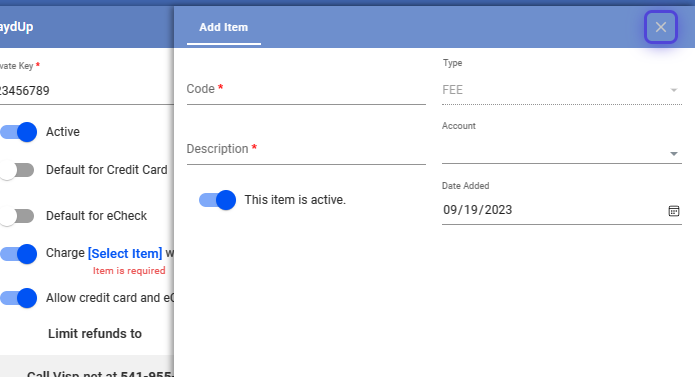
11. Click on [Select Item] to select or create a new line item charge.
.
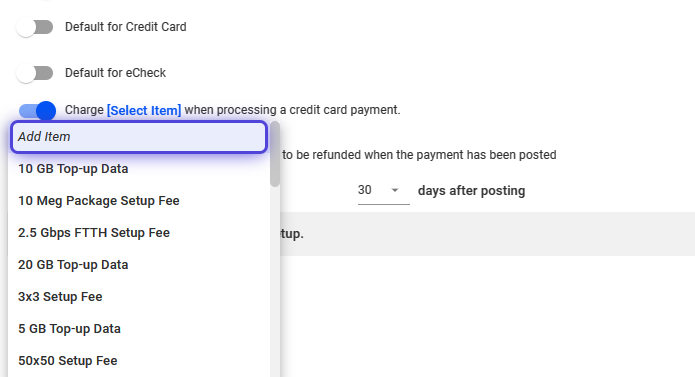
12. Select the item or fee from the list.
13. Click on the X icon to close the panel.
How to Enable and Set the Refund Period
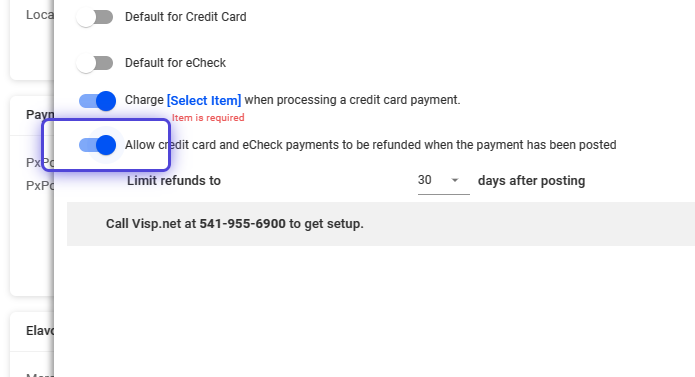
14. To enable refunds, toggle this option.
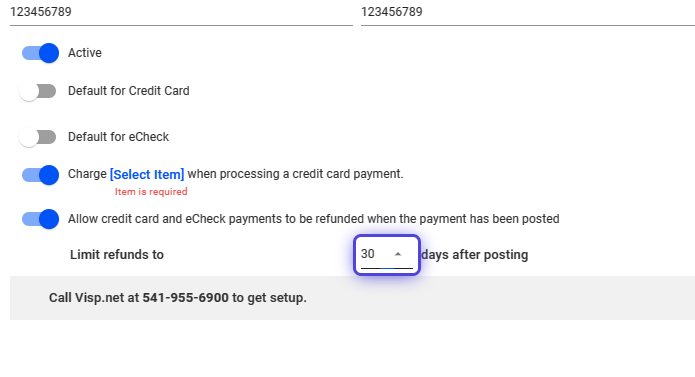
15. Determine the refund period after a payment is posted
16. Save your work when done.
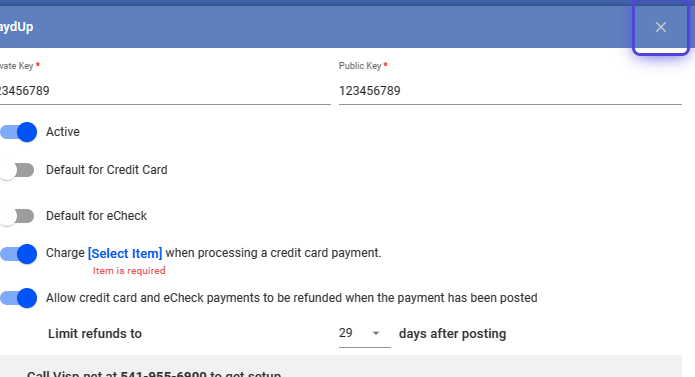
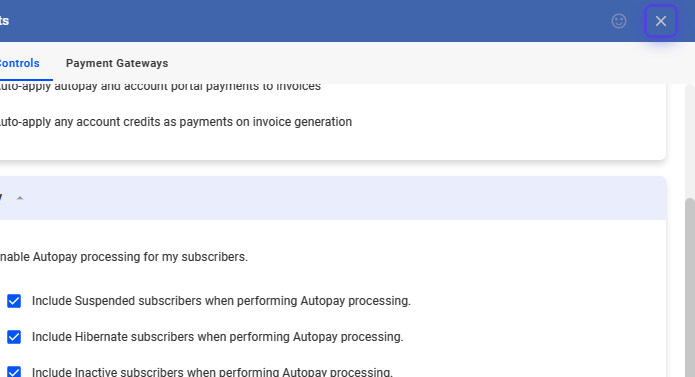
17. Click on the X icon to close the panel.
How to Configure Autopays
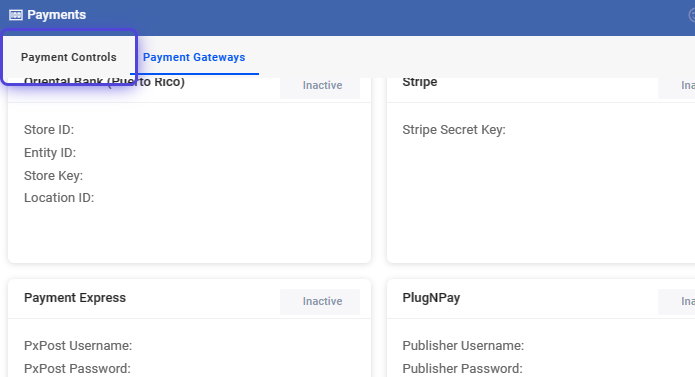
18. Click on Payment Controls
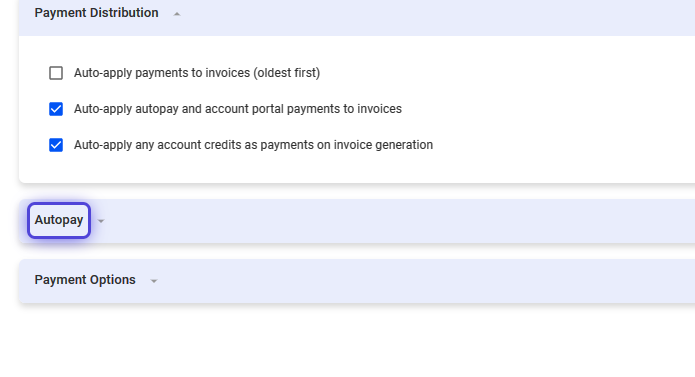
19. Click and expand the Autopay section.
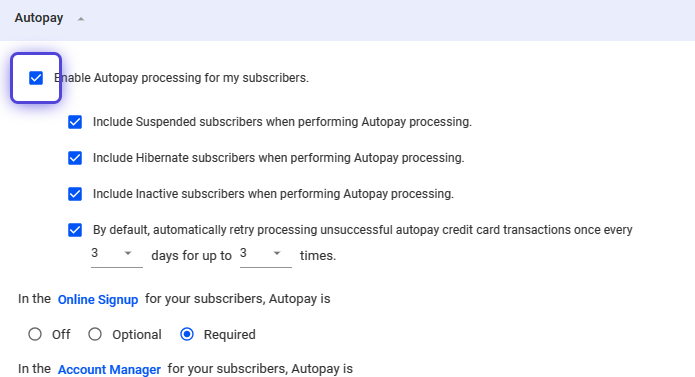
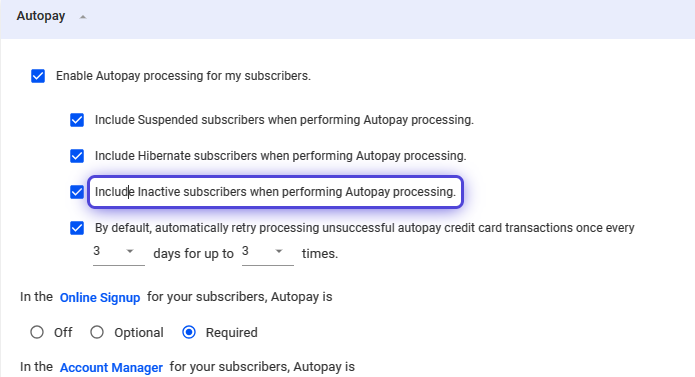
20. Toggle, “Enable Autopay processing for my subscribers.”
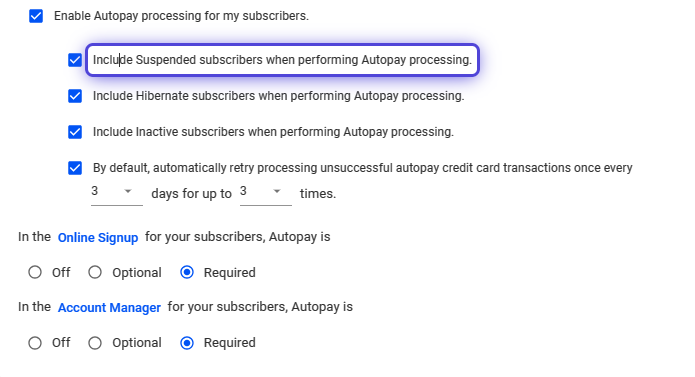
21. Toggle to “Include Suspended subscribers when performing Autopay processing.”
22. Toggle to “Include Hibernate subscribers when performing Autopay processing.”
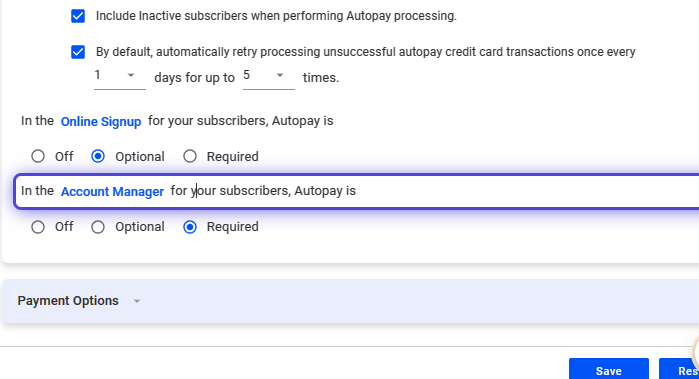
23. Toggle to Include Inactive subscribers when performing Autopay processing.
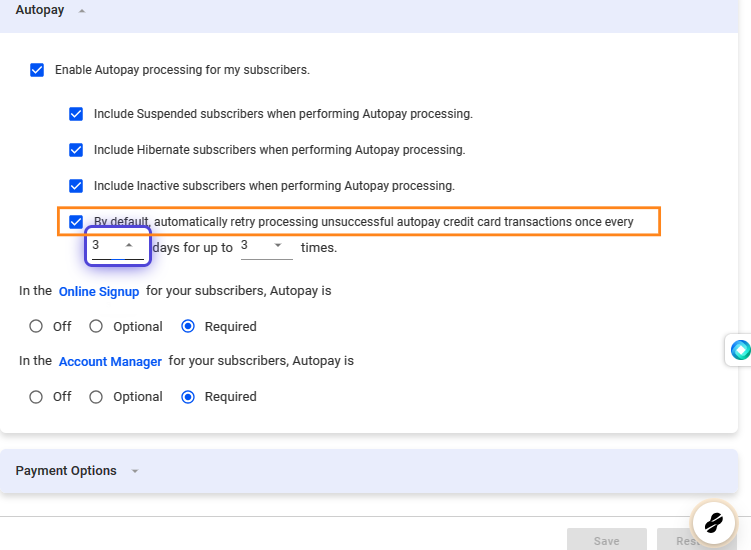
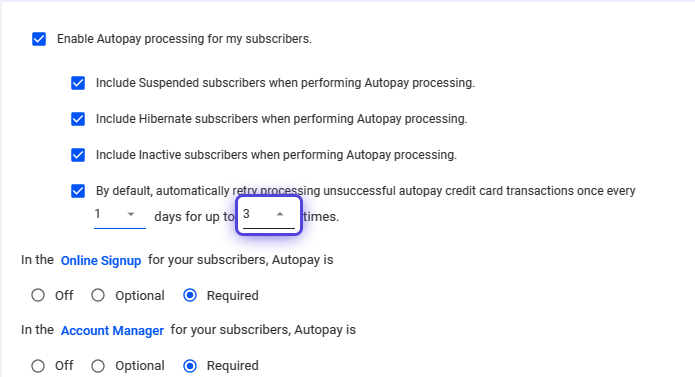
24. Toggle to enable automatic retry to reprocess unsuccessful autopay credit card transactions.
Set the number of days.
25. Set the frequency of the automatic retry.
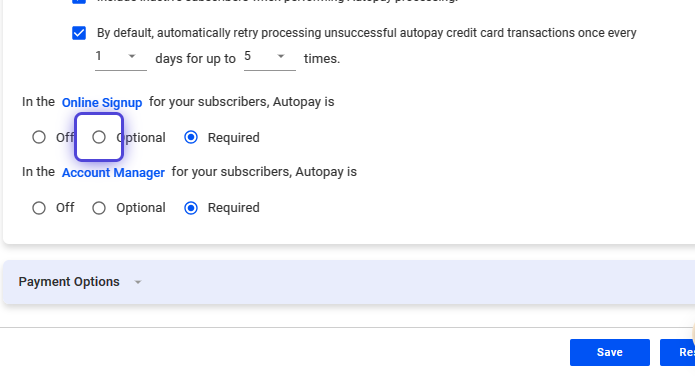
26. Enable automatic Autopay enrollment for customers using the online signup form.
27. Enable automatic Autopay enrollment for customers using the Account Manager.
Set to Required if you want anyone who pays via credit card in the Account Manager to be automatically enrolled to Autopay.
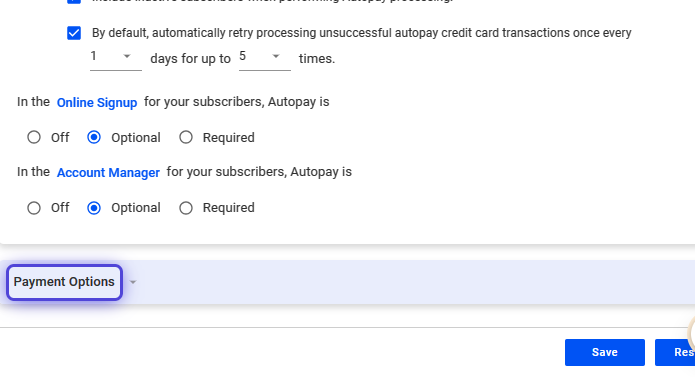
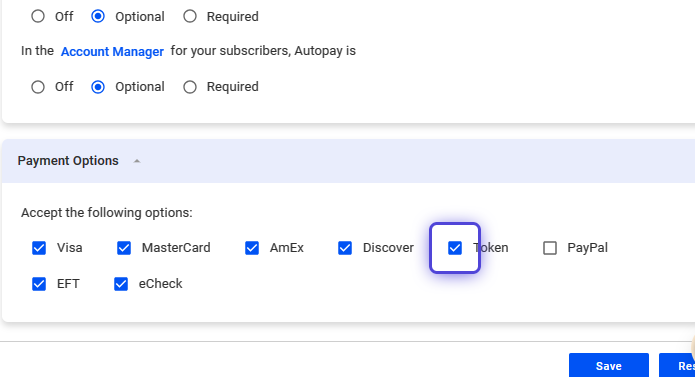
28. Click on Payment Options
29. Set up payment methods in Visp. Confirm with your gateway and bank if they accept the payment method(s).
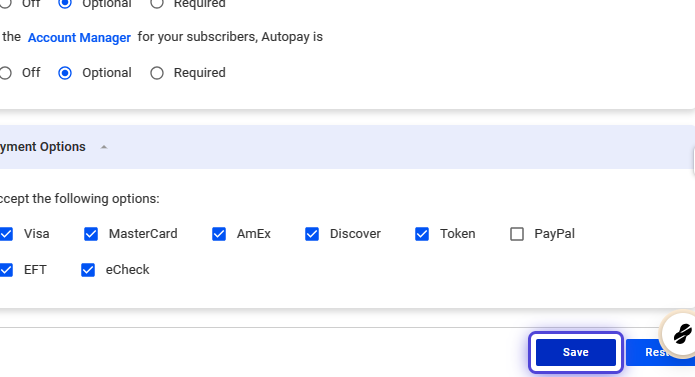
30. Save your changes.
31. Click on the small X icon to close the panel to go back to the main page.
How to Process a Credit or Debit Card Payment for a Subscriber in Visp
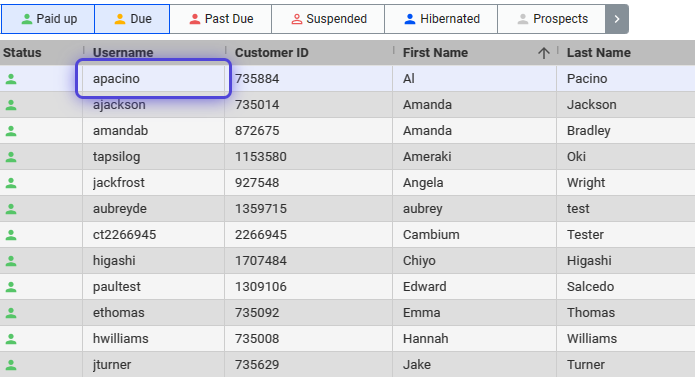
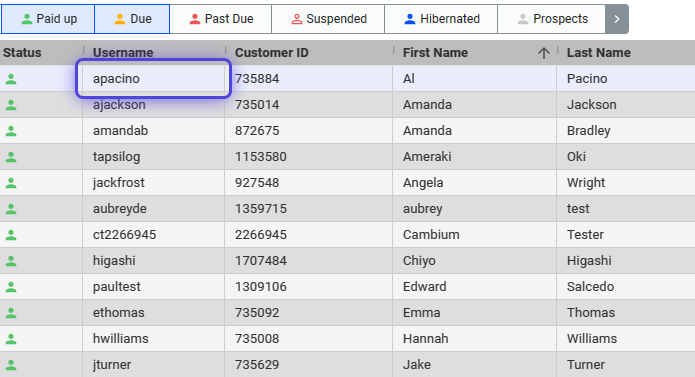
32. Search for the subscriber or select from the list.
Click and open the subscriber profile.
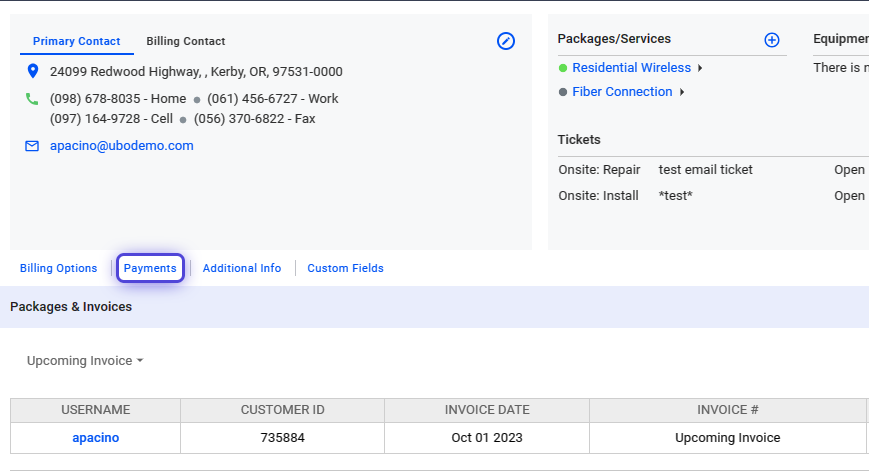
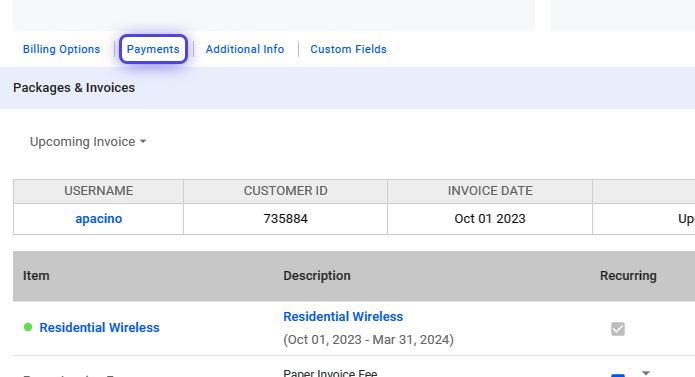
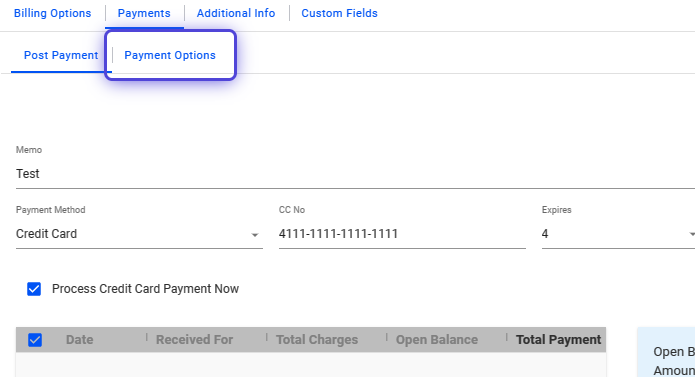
33. Click on Payments
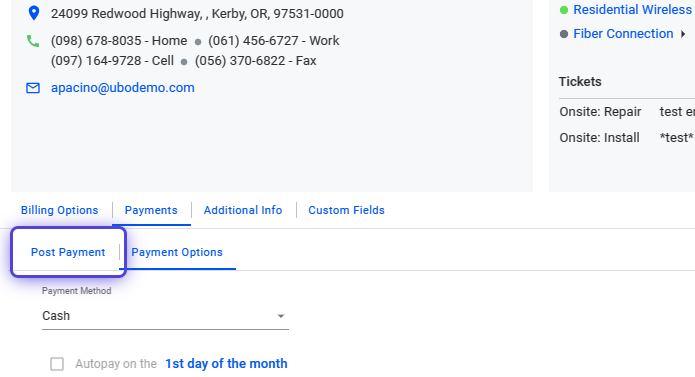
34. Select Post Payment
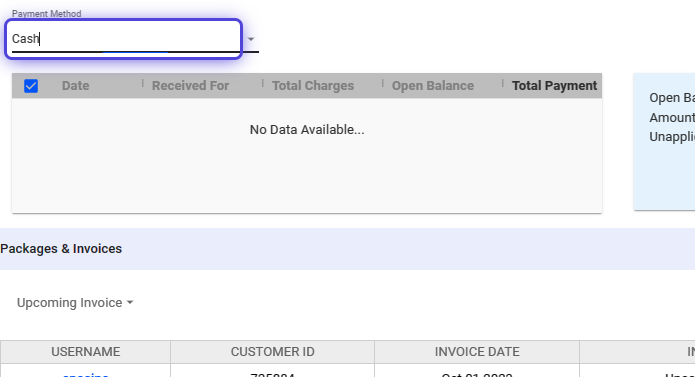
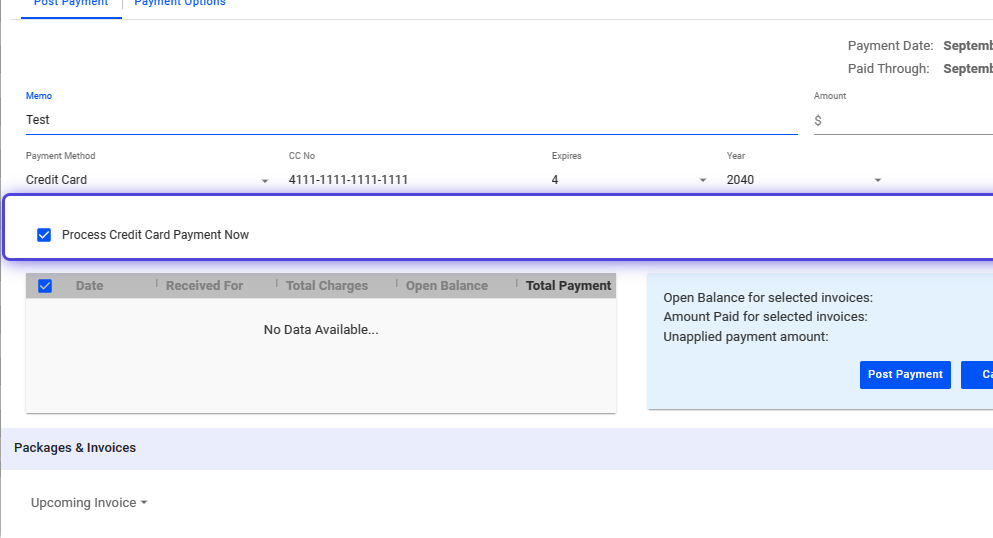
35. Click on Payment Method
36. Use the dropdown to select a Payment Method.
Select Credit Card
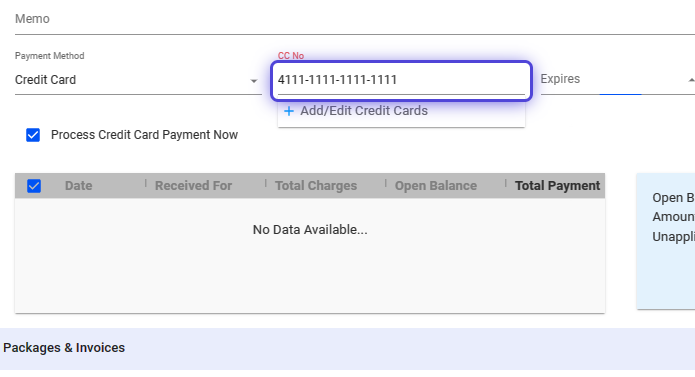
37. Type the credit or debit card number in the CC No. field.
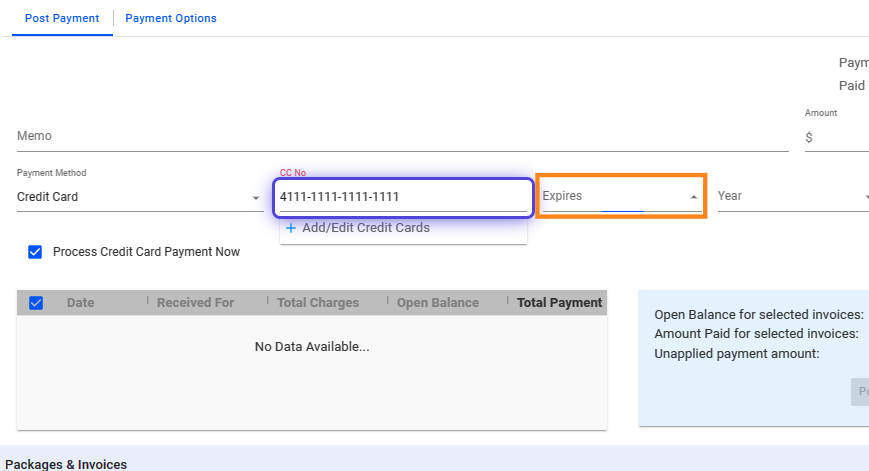
38. Click on the Expires field.
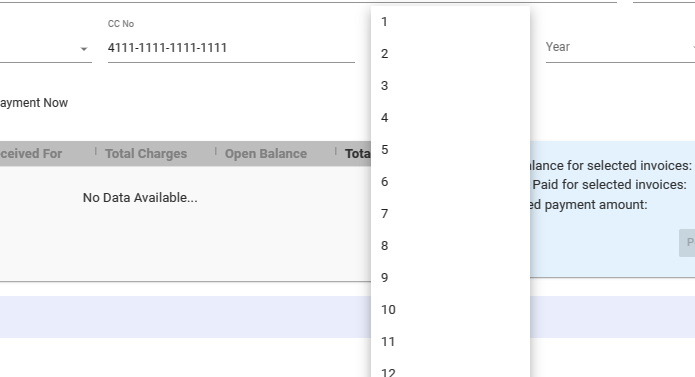
39. Use the dropdown to select the month of expiry for your subscriber’s card.
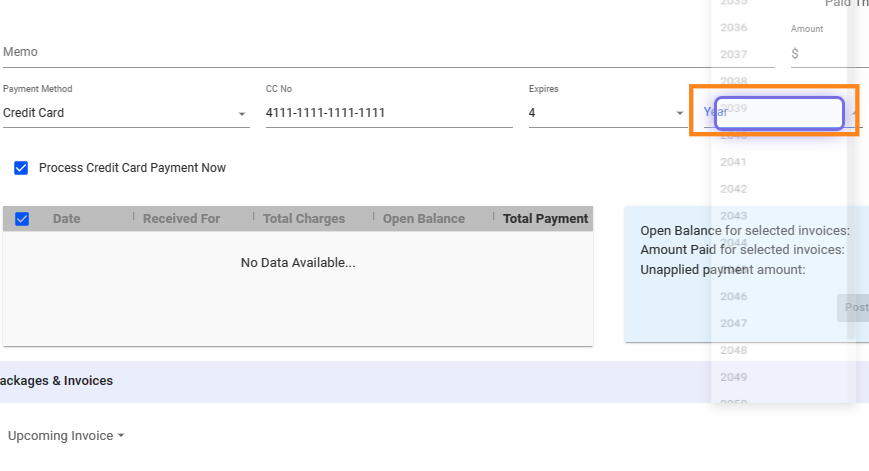
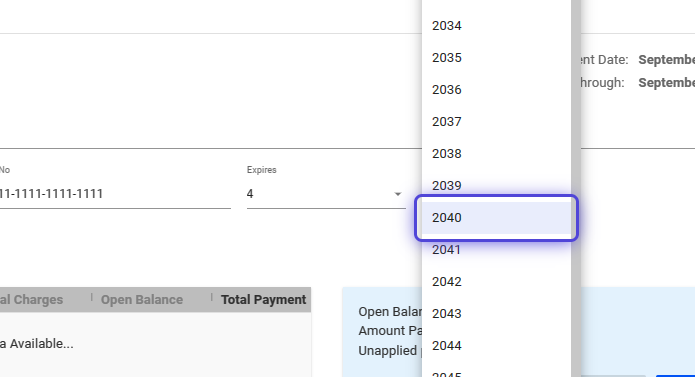
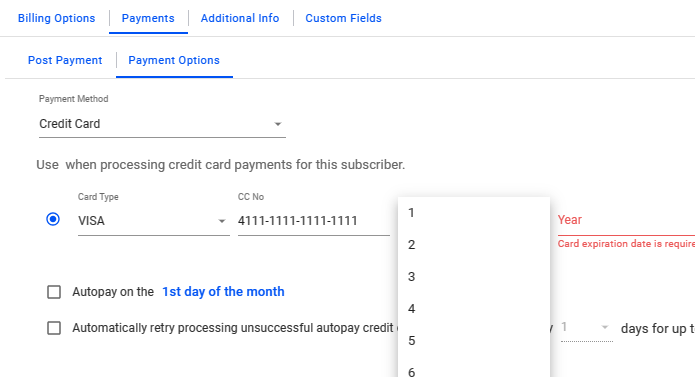
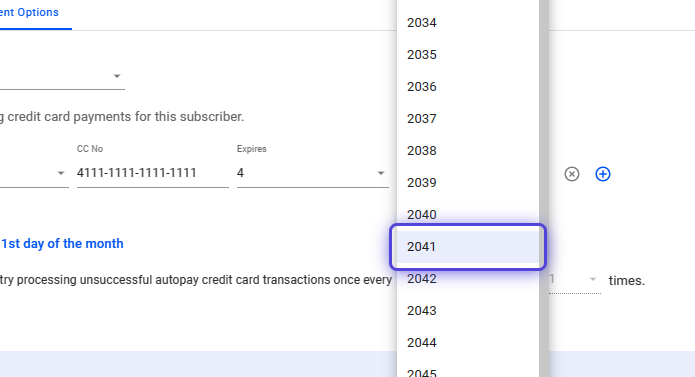
40. Click on the Year field.
41. Use the dropdown to select the card’s year of expiry.
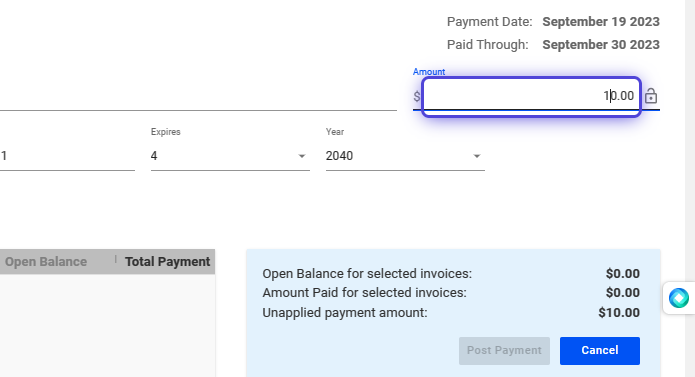
42. Type the amount for the charge.
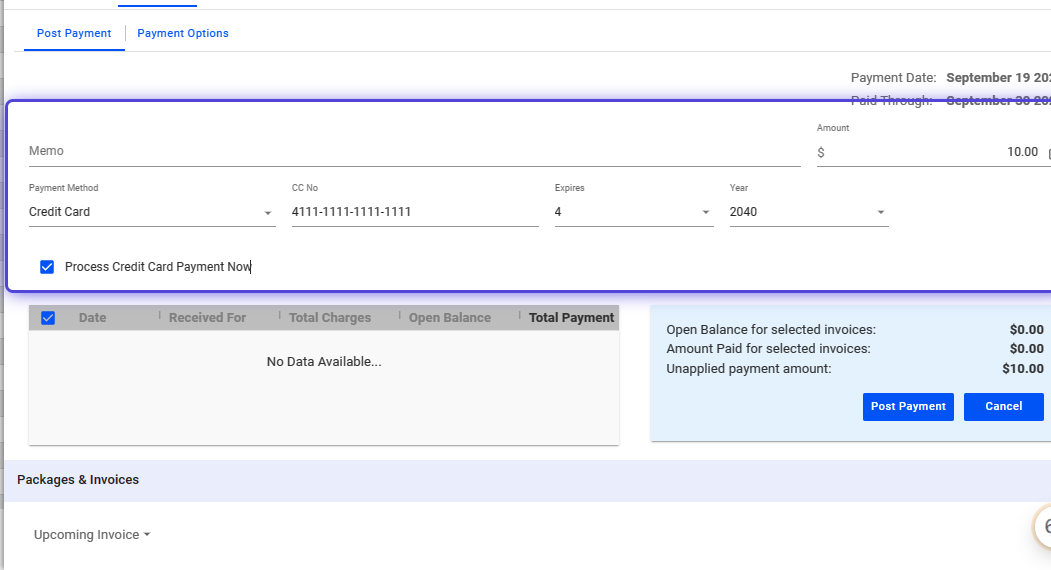
43. Add a brief memo or description about the payment.
44. Toggle, “Process Credit Card Payment Now.”
If not enabled, payments are recorded but not collected from the bank.
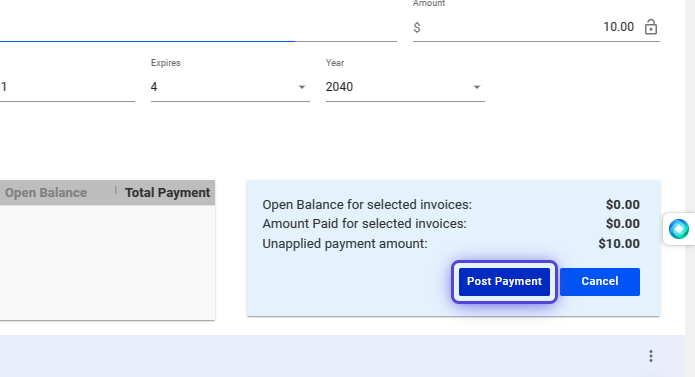
45. Click on Post Payment
How to Save a Card on File for a Subscriber in Visp
46. Search for the subscriber or select from the list.
Click and open the subscriber profile.
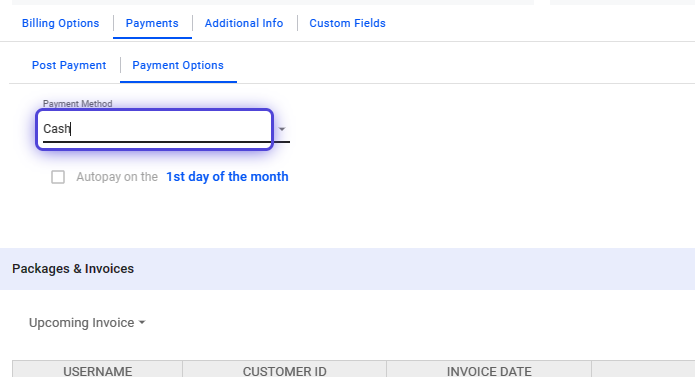
47. Click on Payments
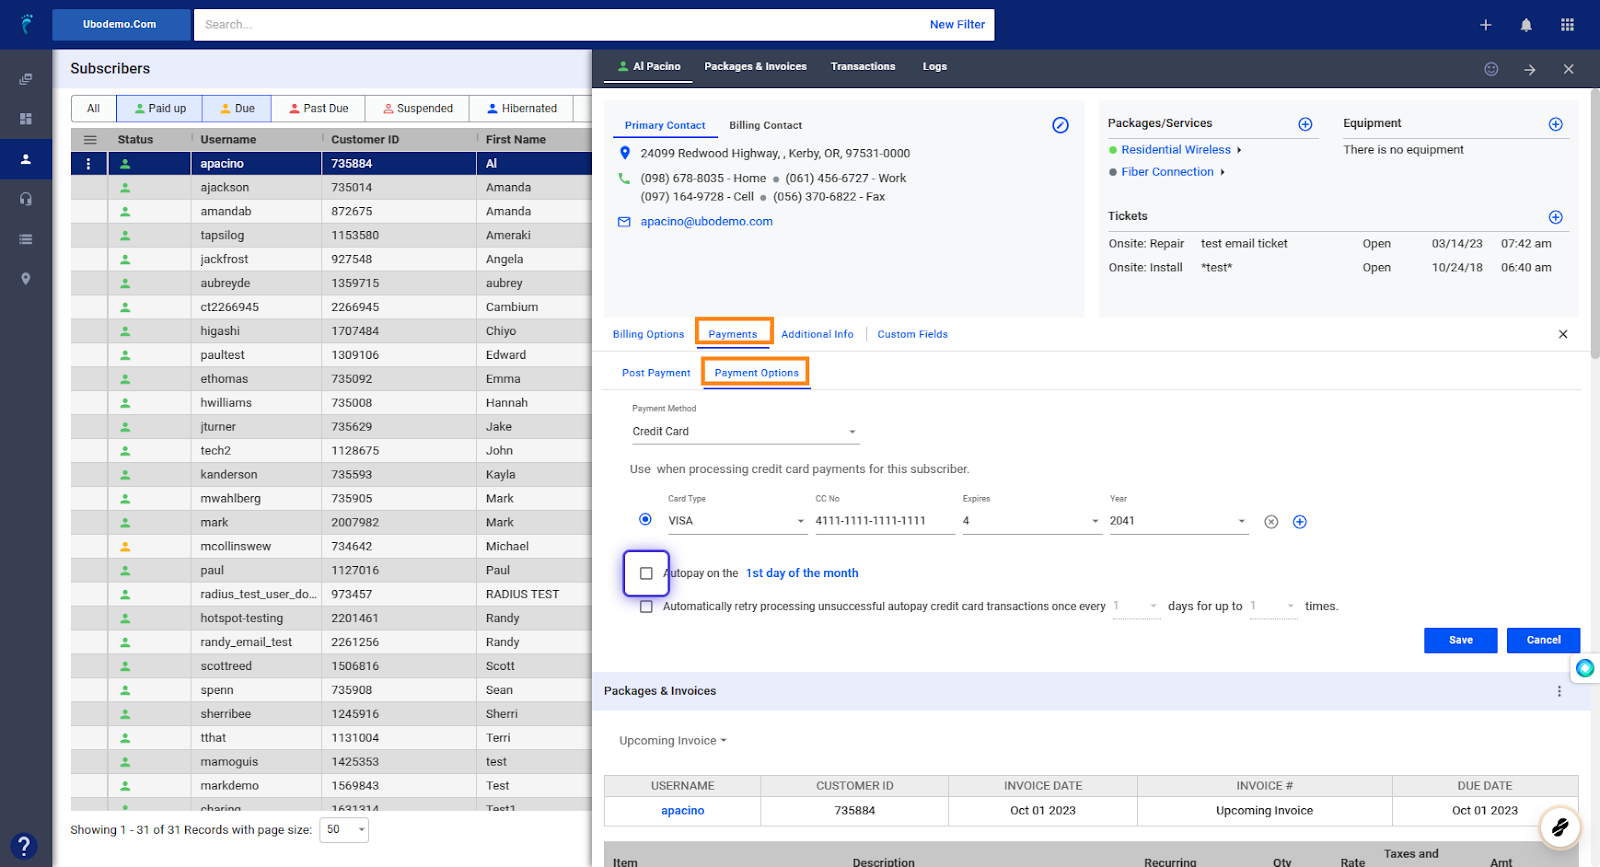
48. Click on Payment Options
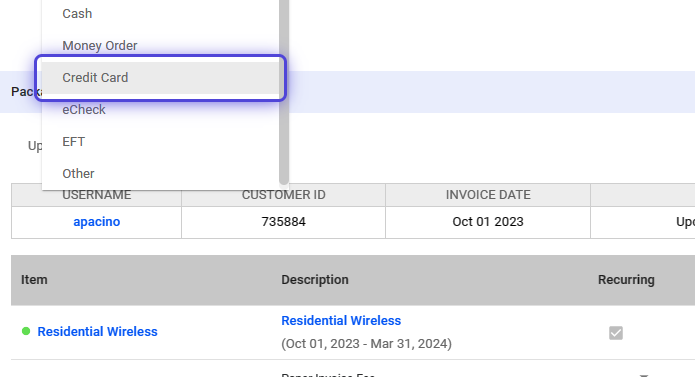
49. Use the dropdown to open the list of available Payment Methods.
50. Select Credit Card
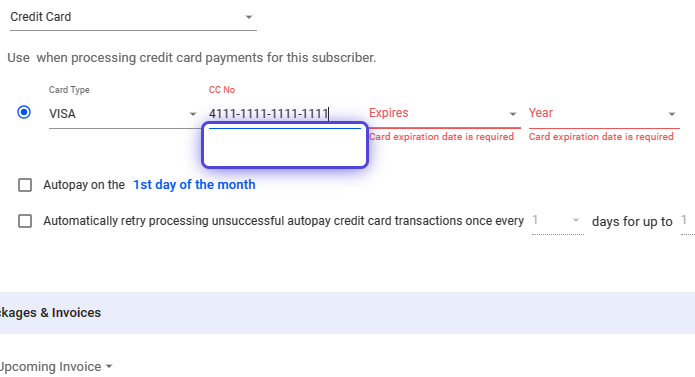
51. Enter the customer’s card number in the CC No. field.
52. Select the month of expiry of the credit card.
53. Set the year of expiry.
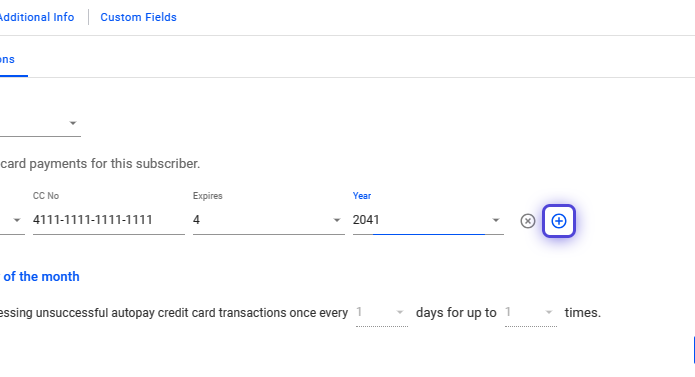
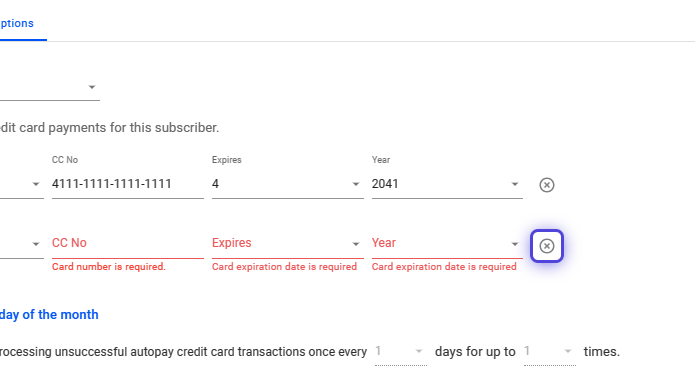
54. Click on the blue plus icon, to enter additional cards.
55. Fill out the required information. How to Enable and Setup Autopay for a Subscriber in Visp
How to Enable and Setup Autopay for a Subscriber in Visp
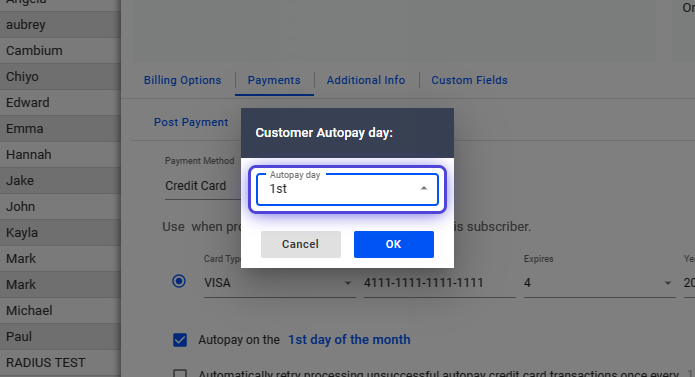
56. Toggle the Autopay option.
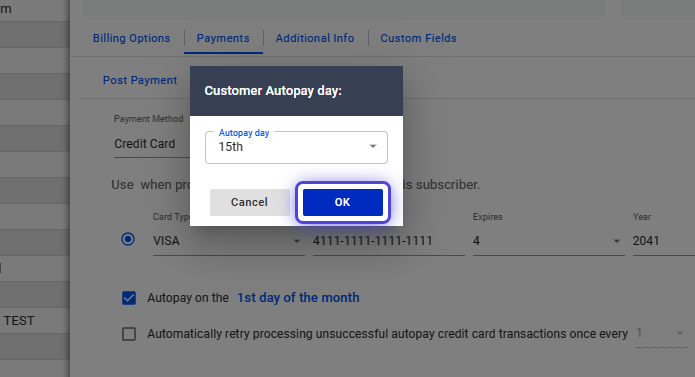
57. Use the dropdown to select the Customer Autopay day.
58. Click OK to confirm. ?
Save your work when done.
How to Enable and Setup Automatic Retry if Credit Card Processing is Unsuccessful
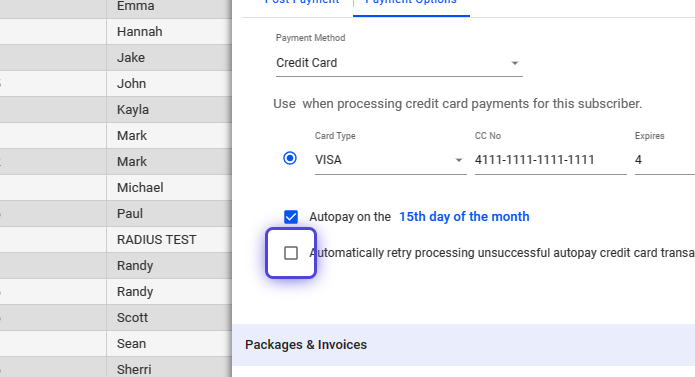
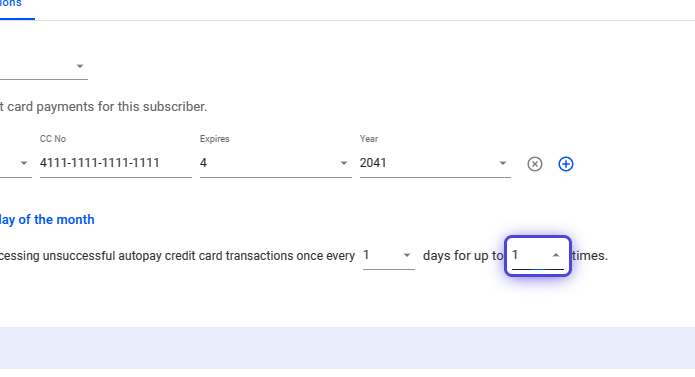
59. Toggle the option to “automatically retry processing…”
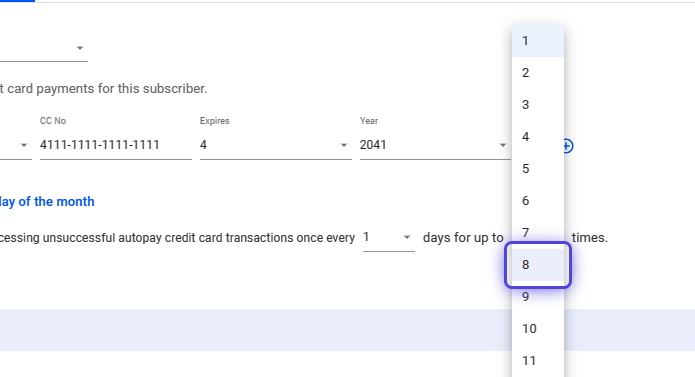
60. Set the retry duration.
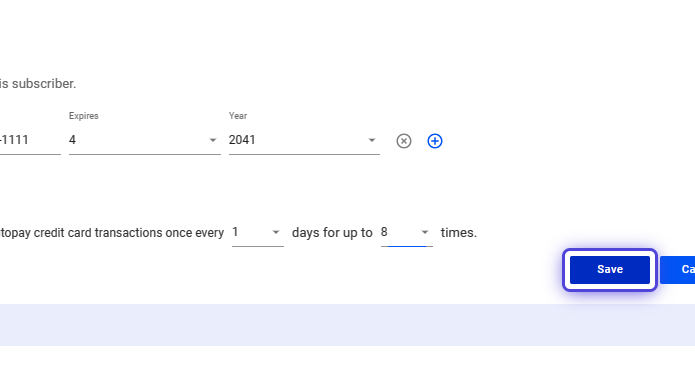
61. Set the frequency for retrying the credit card processing.
62. Save your work when done.


