

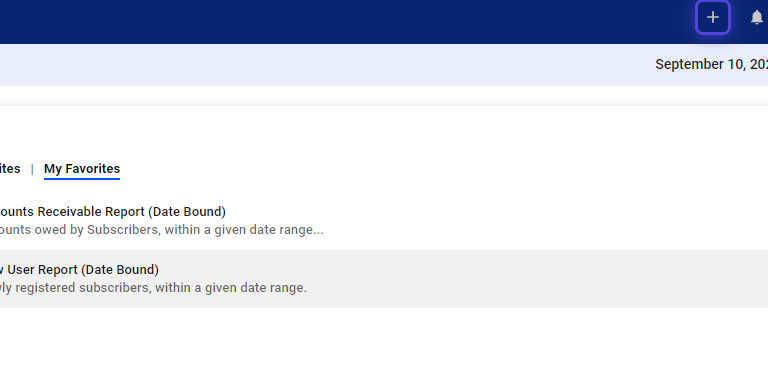
1. Click the nine-dot menu in the upper right corner to open the VISP Admin Page.
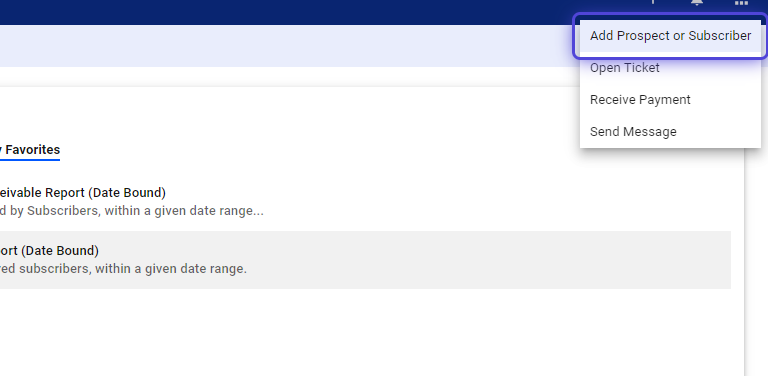
2. Click on “Add Prospect or Subscriber”
3. Fill out the form.
Fields with a red asterisk (*) are required.
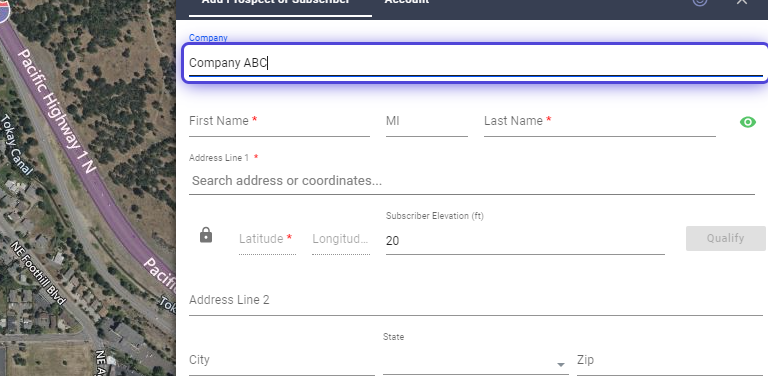
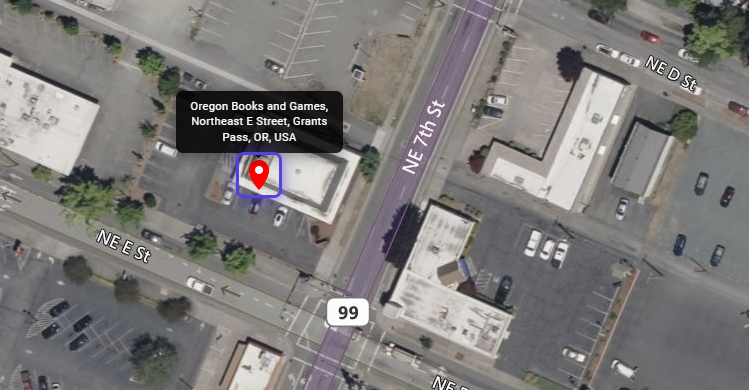
4. Type the customer’s address.
The Address field offers suggestions, making it simple to pick an address from the available options.
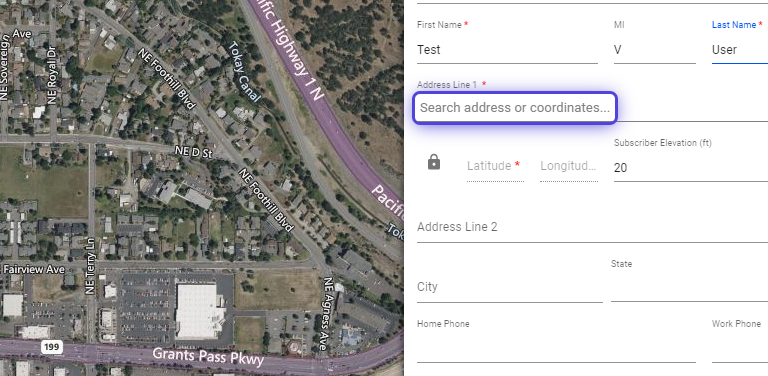
5. Choose the customer’s address from the auto-suggestions.
? If the address is not on the list, try this:
Select the closest option, and input the client’s house or room number in the Address 2 field.
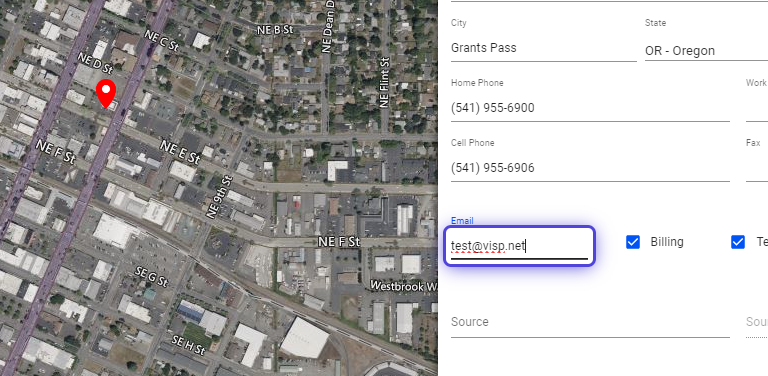
6. Find the customer’s address pin on the map beside the form.
Move and fix the pin to the right spot if necessary.
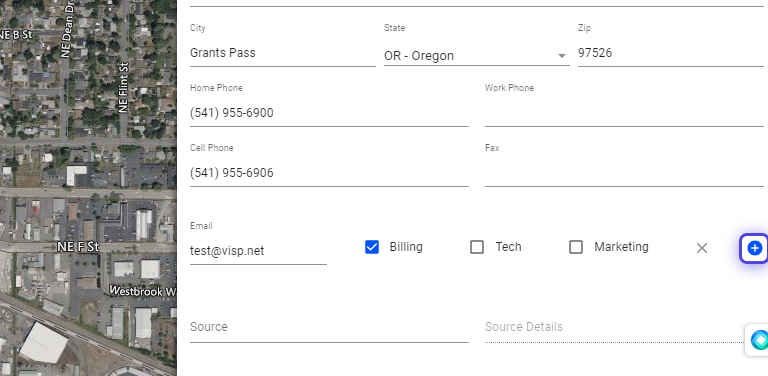
7. Input the subscriber’s elevation (optional)
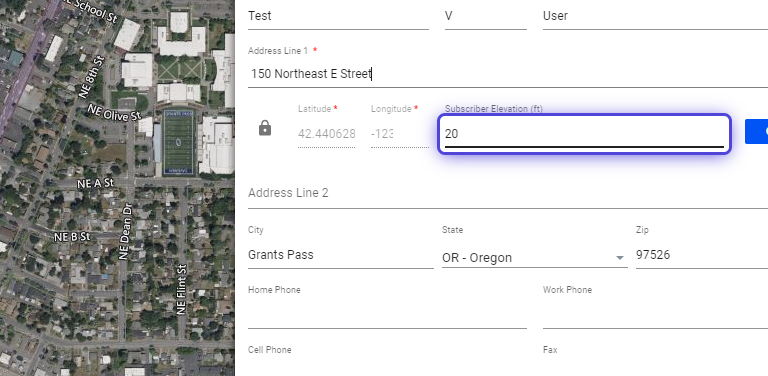
? City, State, and Zip Codes fill automatically when you choose a suggested address.
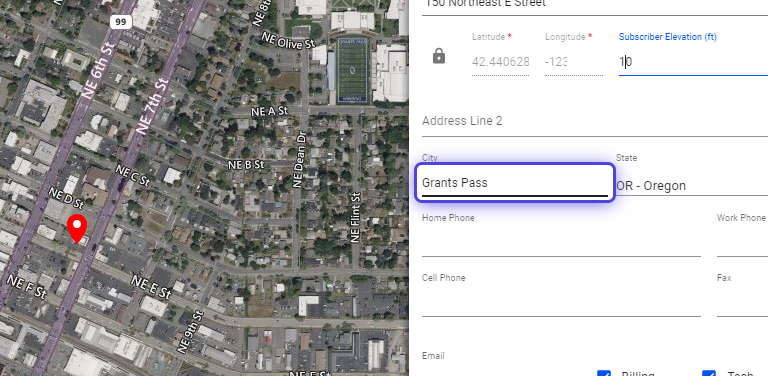
8. Adjust the fields manually if incorrect.
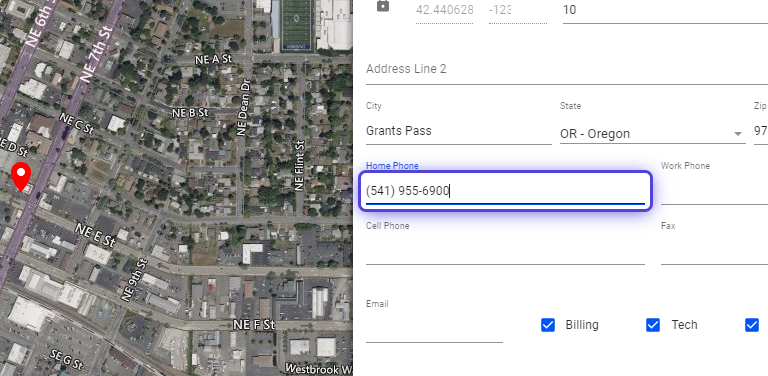
9. Input the customer’s phone number.
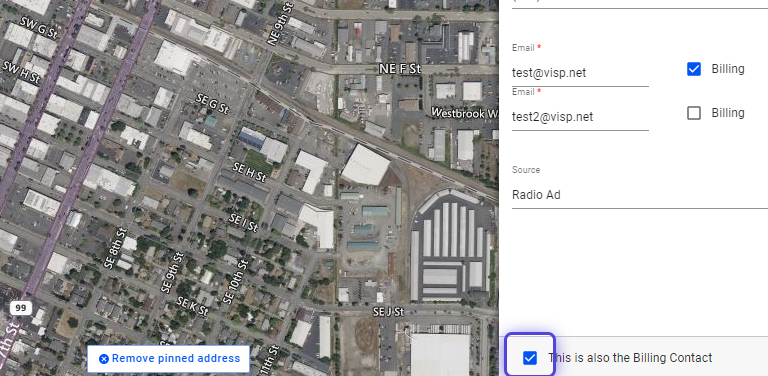
10. Input the customer’s email address.
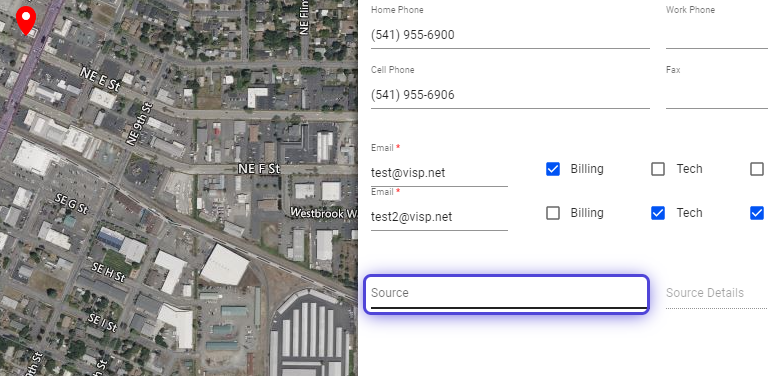
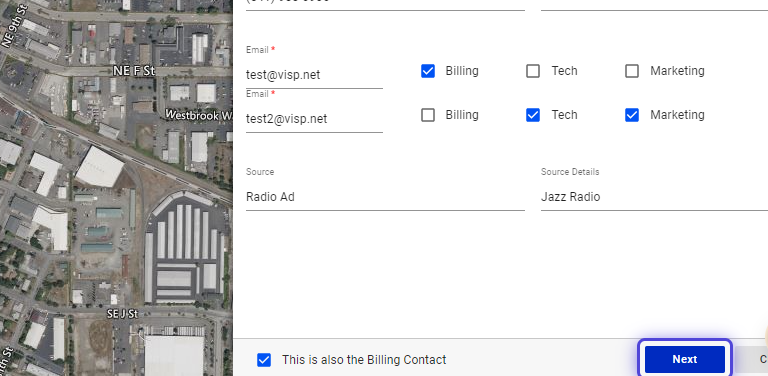
11. Click the blue plus icon to add more email addresses.
12. Click on the Source field.
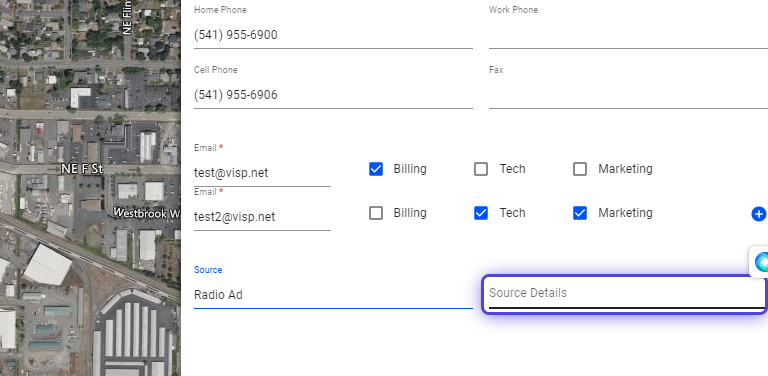
Identify the referral source that led the customer to sign up for the service.
13. Click on the Source Details field.
14. Enable the option, “This is also the Billing Contact.”
If the service and billing contact profiles are the same, keep this option enabled.
15. Click “Next” to continue.
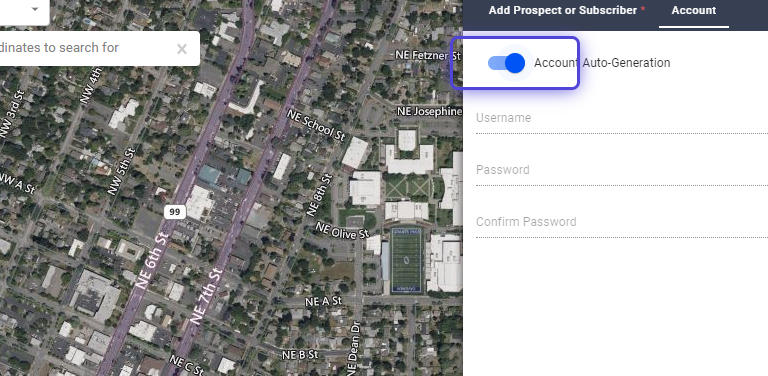
16. Enable the option, “Account Auto-Generation.”
The system creates a username and password for customers to access and manage their account.
17. Click on Add to create the account.

What’s next?
Once the customer is added, you can:
-
- Add and Activate the Customer’s Package .
- Charge the customer for products and services.
- Email the customer about their new account and bill.
For more information about this and all other features in Visp, reach out to your Visp Client Success Team today.
Phone: 541-955-6900
Email: success@visp.net
Open a ticket via www.visp.net/ticket