Requires: Quickbooks Online Account
Reminders to ISPs: Data is passed from VISP to Quickbooks Online in a one-way sync. No data is transferred or synced from Quickbooks to VISP.
To integrate QuickBooks Online with VISP, follow these steps:
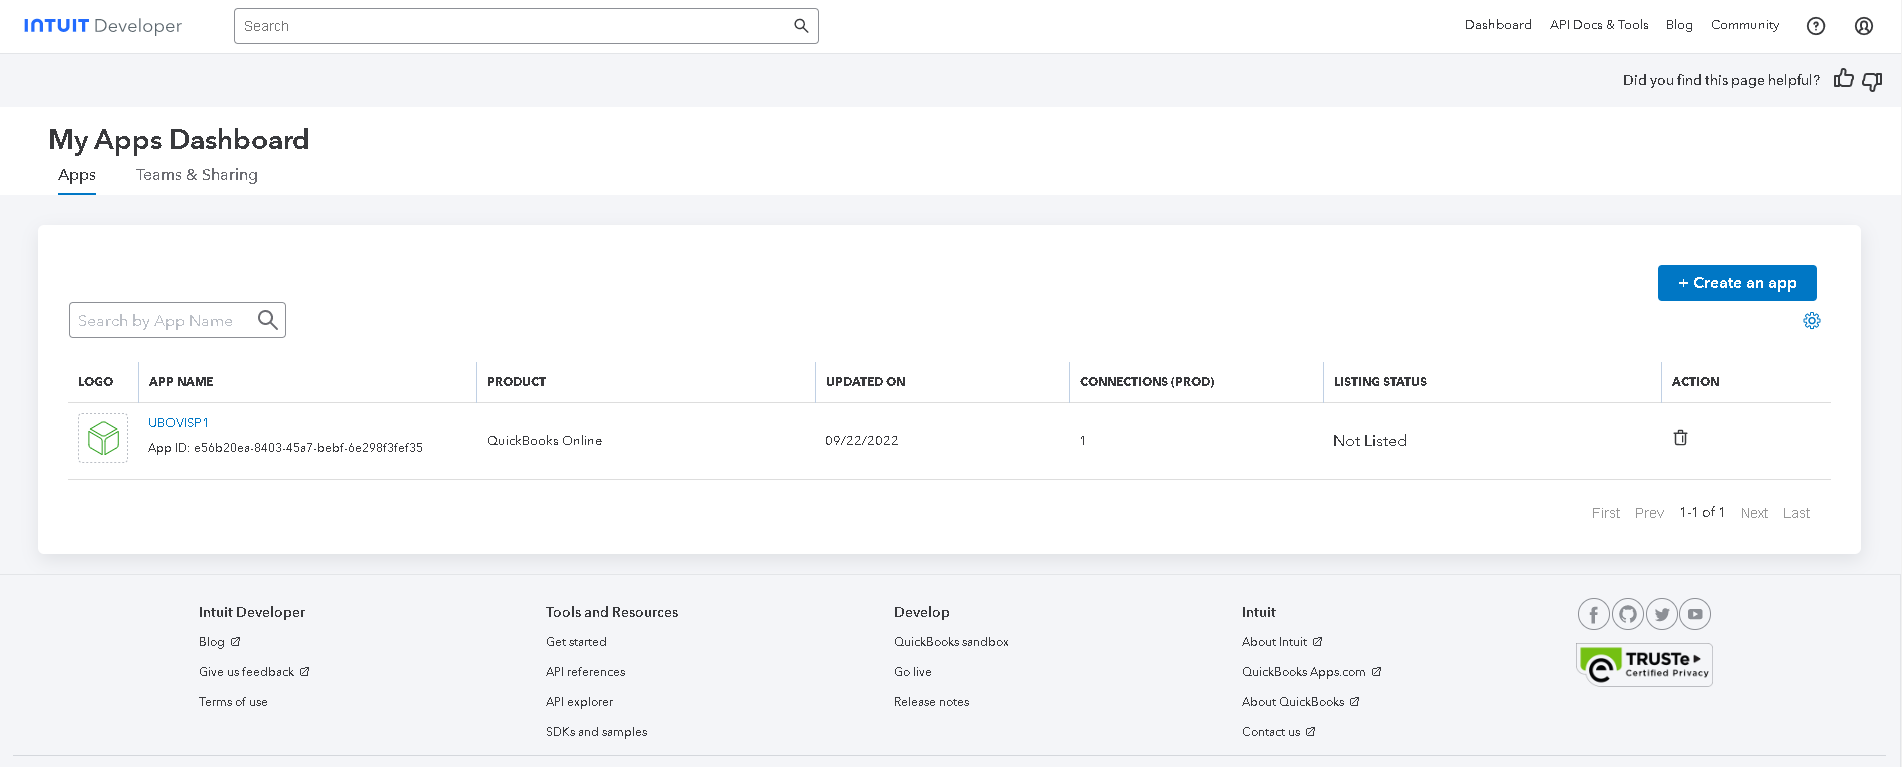
- Login to QuickBooks Online Developer Page (https://developer.intuit.com)
- Go to the Dashboard and click on Create an App
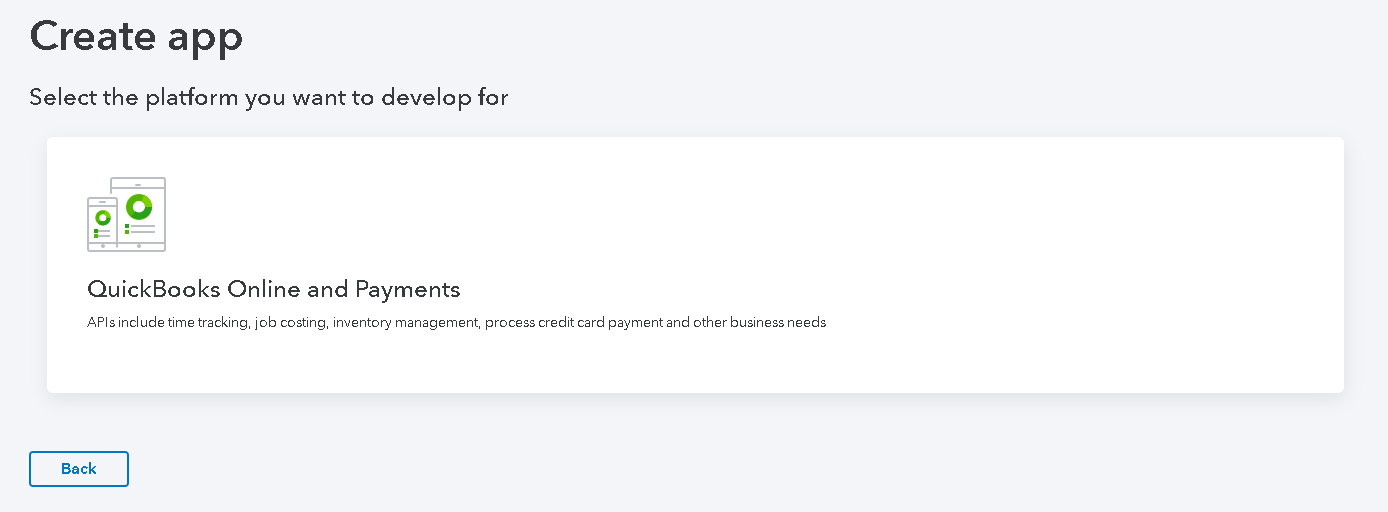
- You will be asked to Select the Platform your want to develop for; choose Quickbooks Online and Payments.
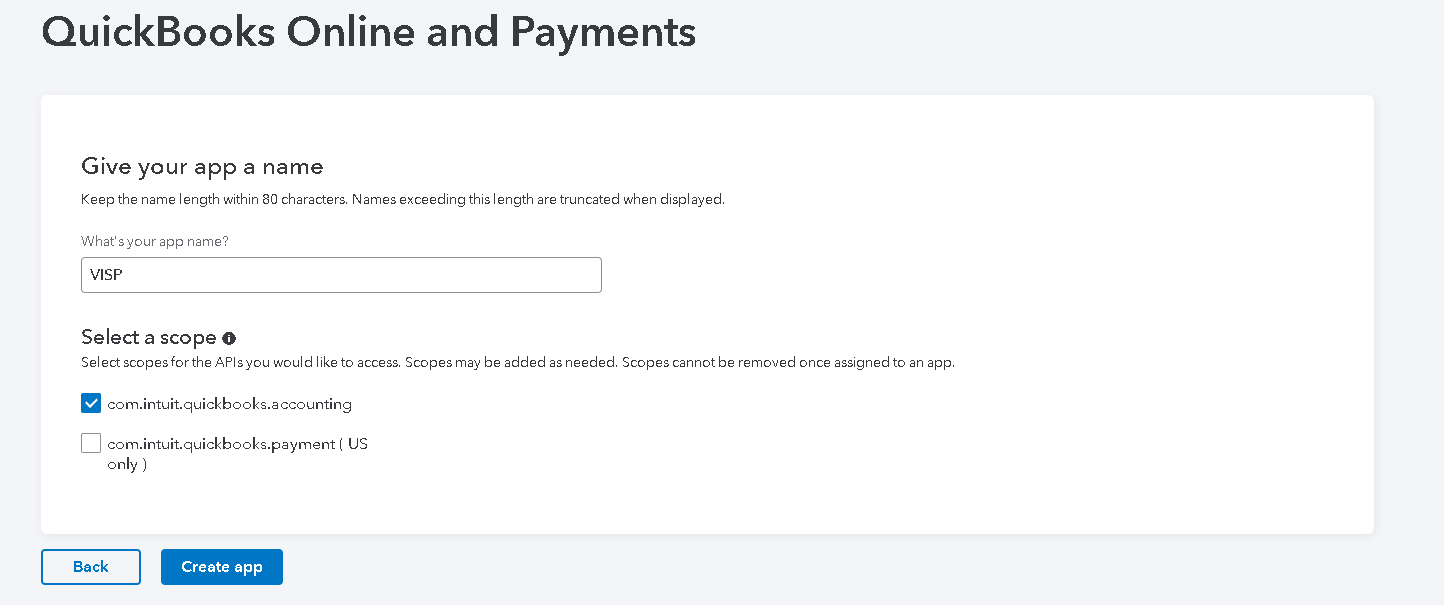
- On the Next page, give your App Name (VISP)
- For the scope, put a check on com.intuit.quickbooks.accounting
- Click on Create app.
Generating the Quickbooks Online Production Keys & Credentials
- From your left sidebar, go to Production Settings
- Click on Keys & Credentials
- Complete your App information
- Provide your Terms of Service link
- Provide your Privacy Policy link
- In the App URLs section, enter the following:
- Host Domain: Your ISP website or domain
- Launch URL: https://qbo.visp.net
- Disconnect URL: https://qbo.visp.net
- Next, categorize your App for Accounting
- In the section, “Tell us about regulated industries that use your app,” select None of the above.
- In the “Where is your app hosted?” section, select your country.
-
- In the “Countries, you accept connections from,” identify other countries you may be providing service to or where you are accepting connections from.
-
- Save your work when done.
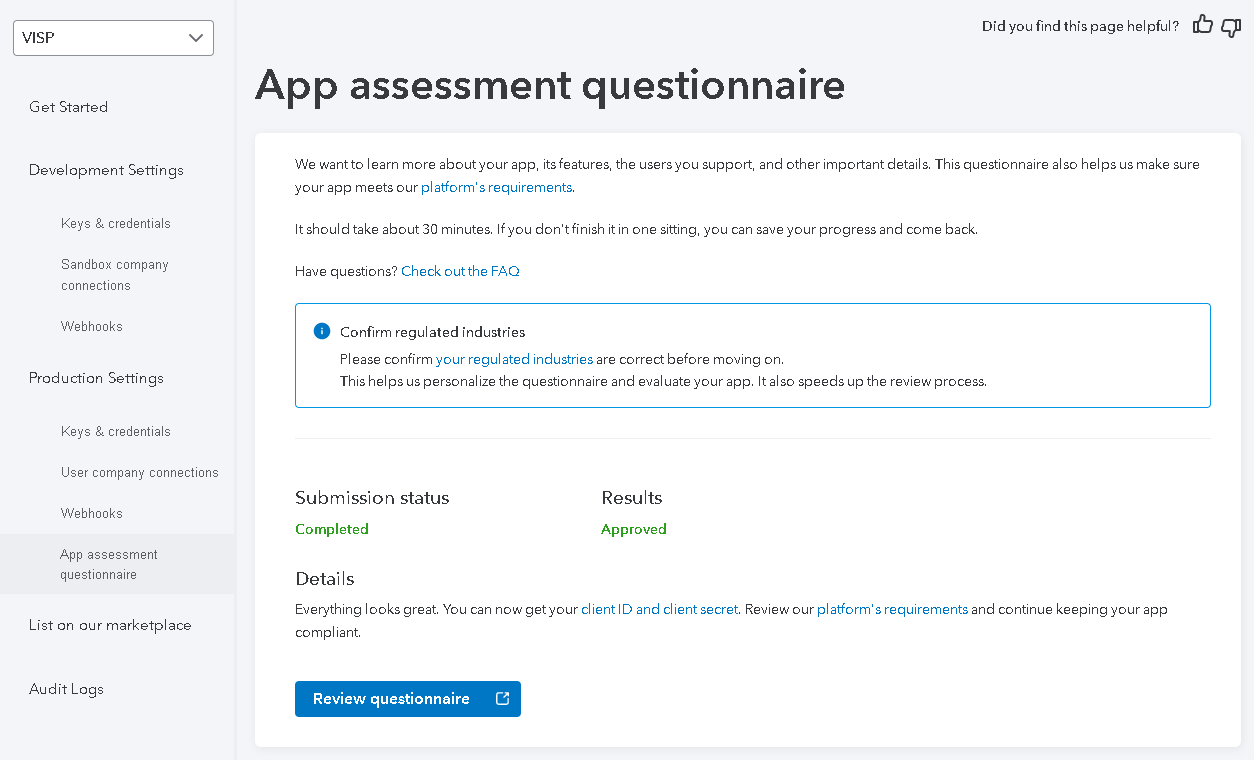
- Go back to your Keys & Credentials section from the sidebar. You may be asked to complete a questionnaire
Complete the App Assessment Questionnaire
You may follow these steps to complete the questionnaire:
- Go to the App Assessment Questionnaire.
- Click on Start Questionnaire.
- For the General Questions, here’s a sample of the information already filled out. <link to image>
- For the App Information section, refer to the sample answers here, <link to image>
- After the questionnaire has been submitted by you and then approved by Quickbooks, you can proceed to the Production Settings section of the menu.
Adding the Keys to VISP
Once you’re in the Keys & credentials section of the Production Settings, you will find the Keys and the fields for the Redirection URI’s.
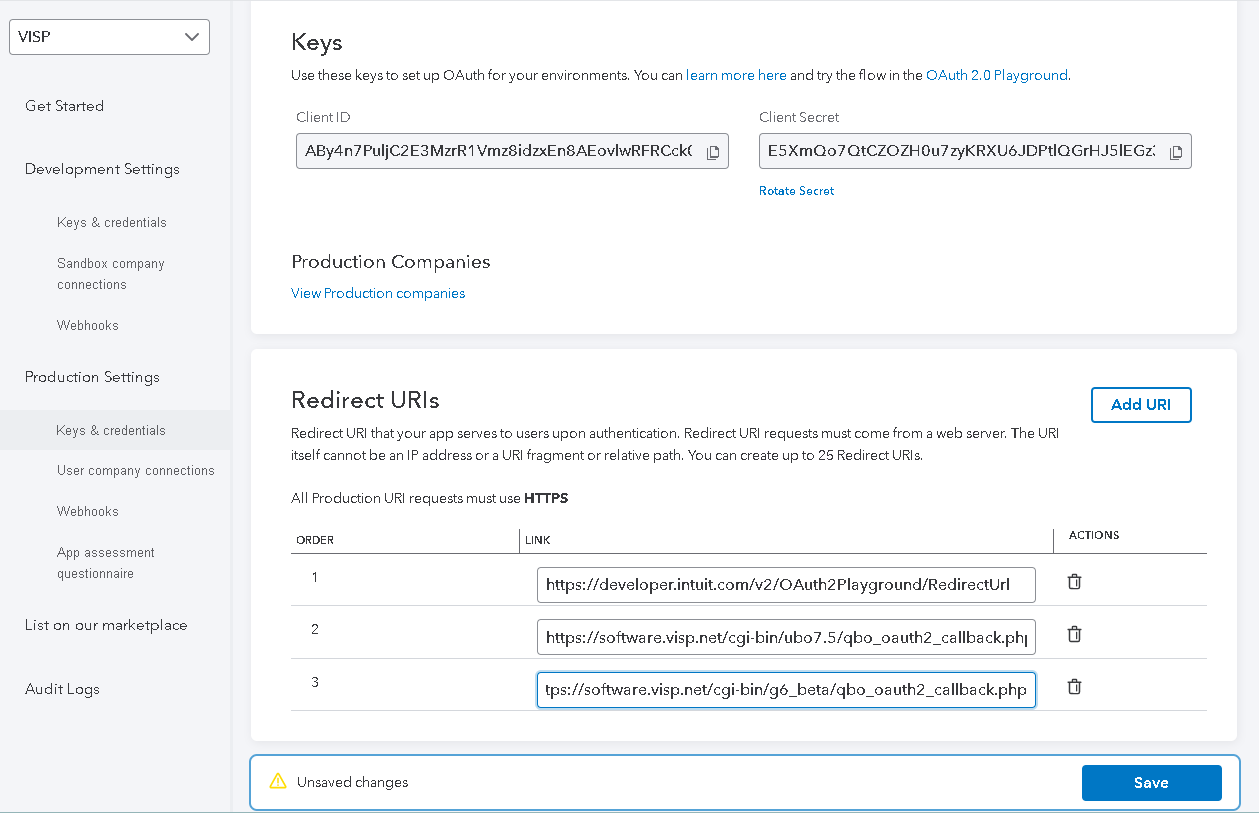
In the Redirection URI fields, enter and replace any existing data with the following information below:
| Order | URI |
| 1 | https://developer.intuit.com/v2/OAuth2Playground/RedirectUrl |
| 2 | https://software.visp.net/cgi-bin/ubo7.5/qbo_oauth2_callback.php |
| 3 | https://software.visp.net/cgi-bin/g6_beta/qbo_oauth2_callback.php |
Next, do the following steps:
- Copy the Client ID and Client Secret from the Keys section.
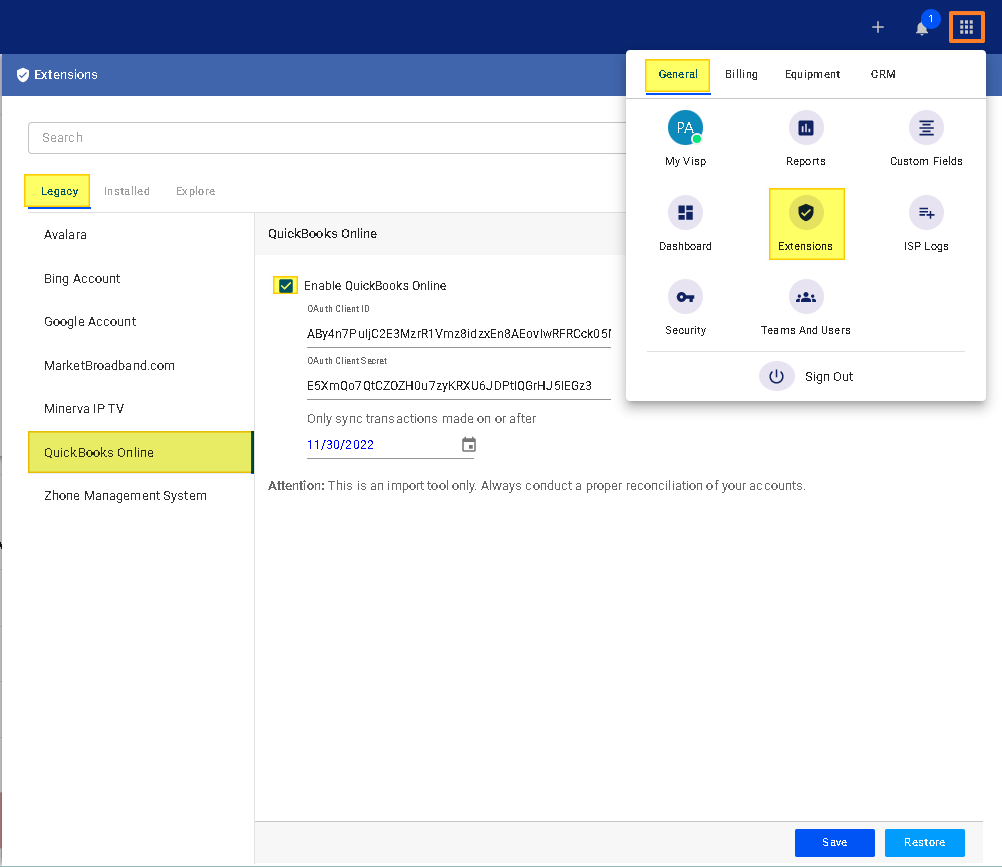
- Open VISP on your browser. The latest features for the Quickbooks Integration can be found in your VISP Web Application.
- Go to the menu.
- In the General tab, click on Extensions.
- From the Legacy tab of your VISP Extension’s list, select Quickbooks Online.
- Paste the OAuth Client ID and Client Secret into their respective fields.
- Select the date you want the data from VISP to start syncing with Quickbooks Online.
- Save your work when done.